

- Create and configure an EC2 instance
- Manage SSH keys
- Apply user data scripts
- Use provisioners for automation
- Allocate and associate an Elastic IP
- Understand Terraform’s dependency graph
Prerequisites
- OpenTofu CLI installed (
tofu version) - AWS CLI configured (
aws configure) - An SSH key pair (we’ll generate one in step 2)
1. Provision a Simple EC2 Instance
-
Change to your project directory and open
main.tf: -
Define the EC2 resource and variables:
-
Initialize and apply:
Example output:
2. Create an SSH Key Pair
Generate an SSH key pair on your local machine:main.tf:
3. Attach the Key to the EC2 Instance
Update theaws_instance block to reference the key:
4. Install Nginx via User Data
Provision your instance to install Nginx at launch:-
Create
install-nginx.sh: -
Reference it in your EC2 resource:
User data scripts run only on the first instance launch. Future
tofu apply runs will not re-execute user_data.5. Provisioners and Connection Blocks
Terraform supports three built-in provisioners. Only local-exec does not require aconnection block.
Remember: provisioners must be nested inside the resource block they target.
6. Retrieve the Public IPv4 Address
After creating your EC2 instance, run:public_ip attribute (for example, 54.214.169.15).
7. Reserve and Associate an Elastic IP
An Elastic IP (EIP) is a static public IPv4 address. Add this resource:local-exec provisioner:
This block allocates and associates an Elastic IP, then writes the instance’s public DNS to
/root/serverless_publicDNS.txt.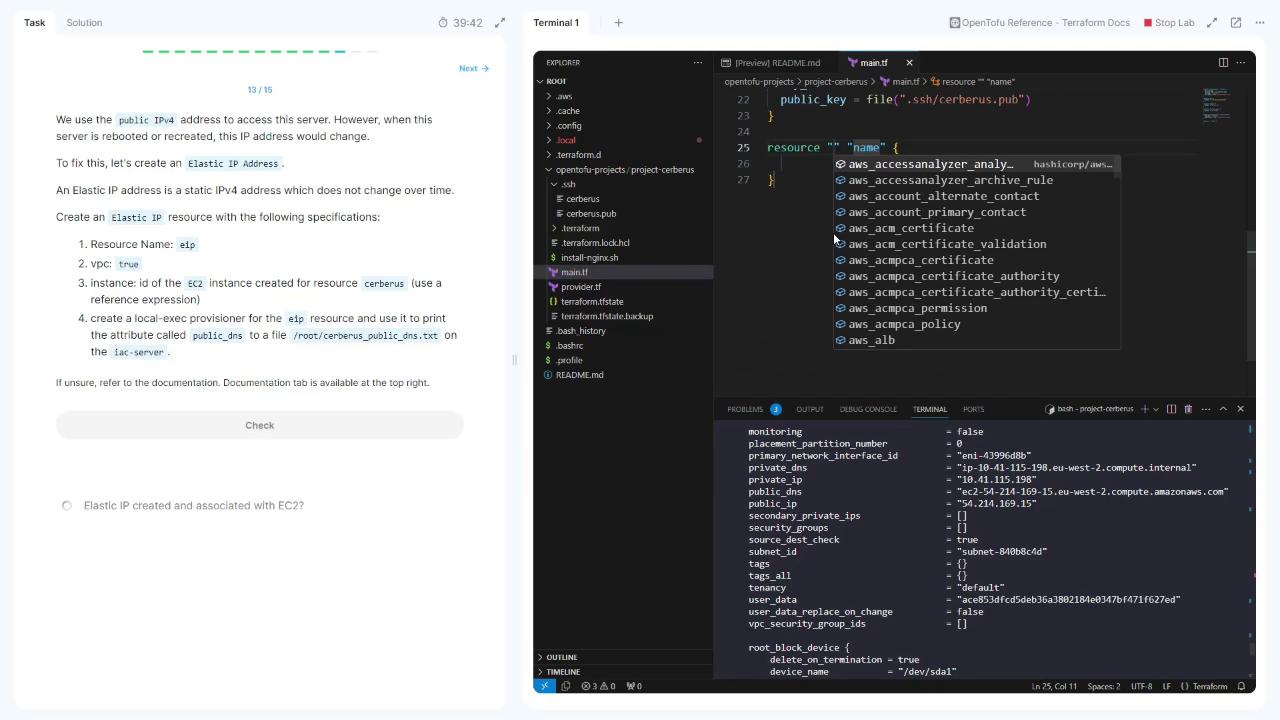
public_ip (e.g., 52.47.169.195).
8. Understanding Dependency Direction
Becauseaws_eip.eip references aws_instance.cerberus.id, Terraform automatically creates the EC2 instance before allocating the EIP. There’s no reverse dependency.
Terraform’s graph engine infers resource creation order by scanning references. No explicit
depends_on is needed here.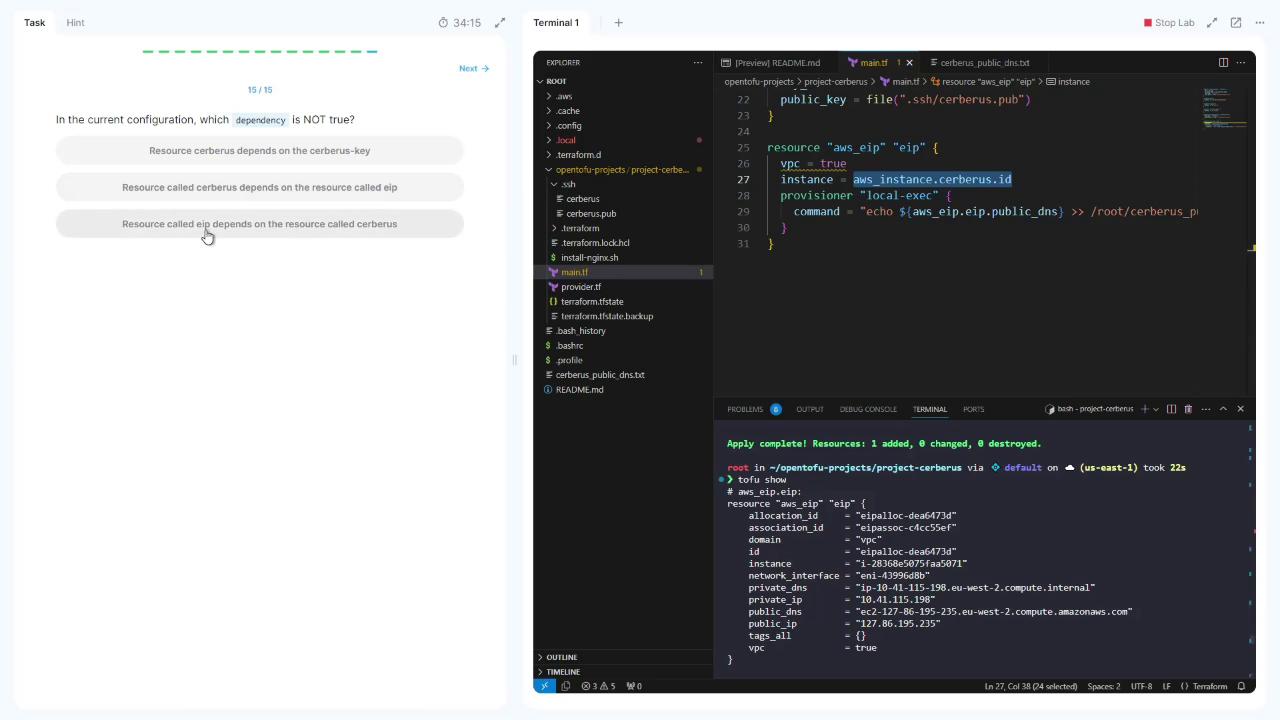
That completes this lab. Thank you for following along!