A quick guide to creating an OpenAI account and configuring API access. Follow these steps to start building AI-powered applications in minutes.Documentation Index
Fetch the complete documentation index at: https://notes.kodekloud.com/llms.txt
Use this file to discover all available pages before exploring further.
1. Create Your OpenAI Account
- Navigate to openai.com and click Sign Up.
- Enter a valid email address and choose a strong password.
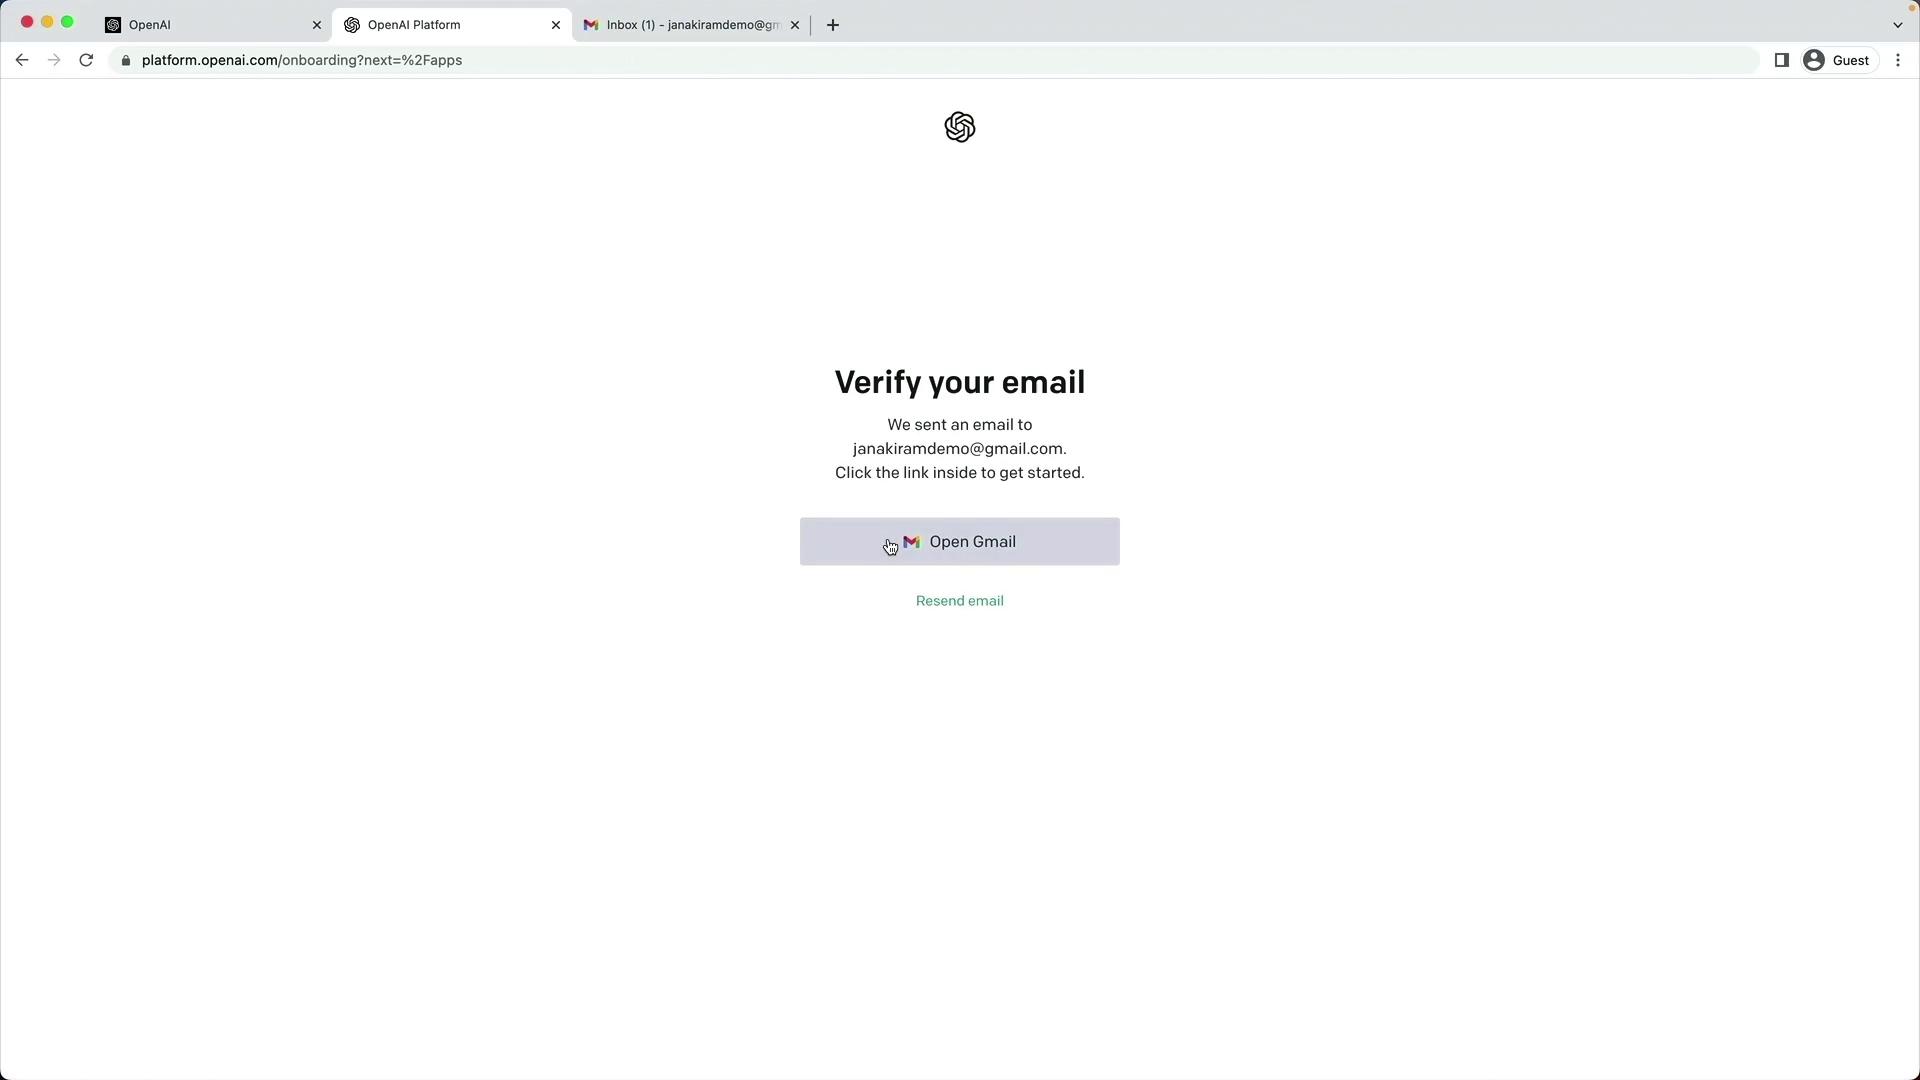
- Open the verification email from OpenAI and click the confirmation link.
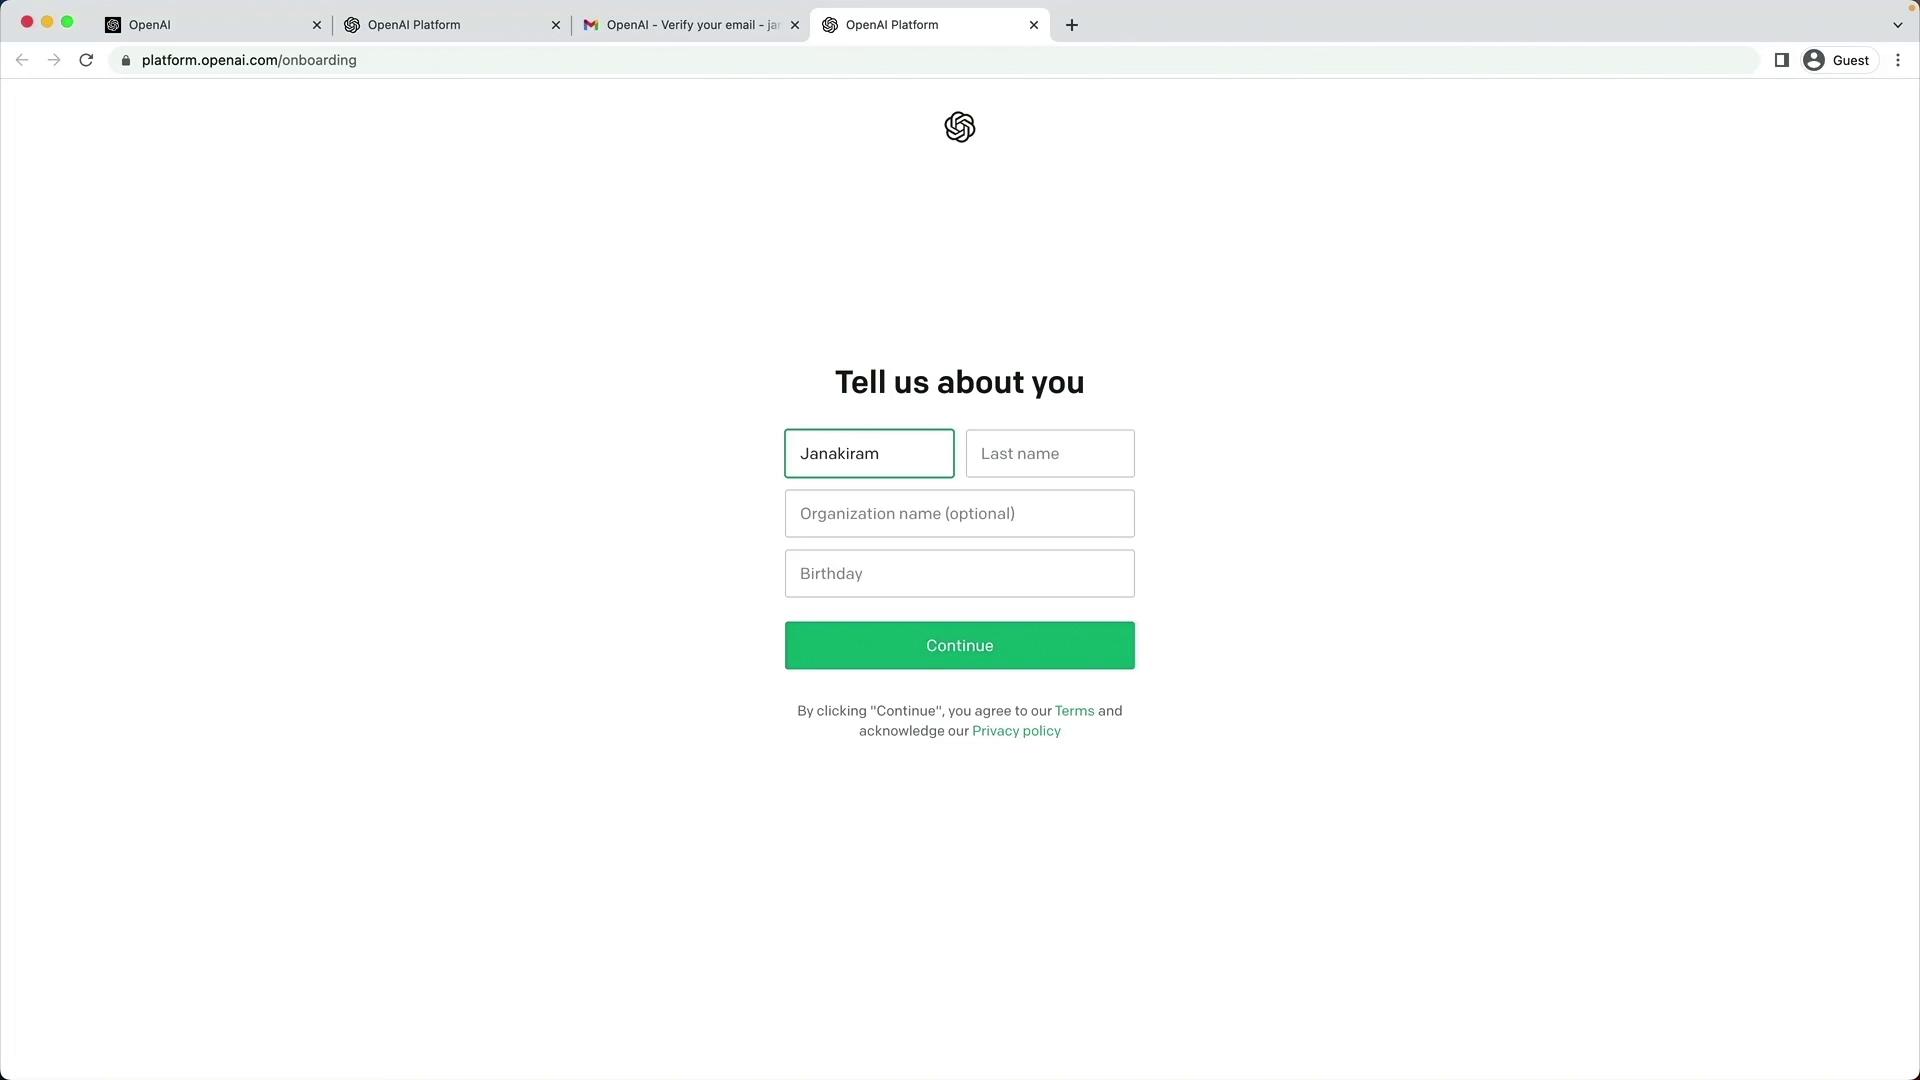
2. Complete Your Profile
After email verification, fill in your personal and organizational details:- First name
- Last name
- Organization name
- Birthday
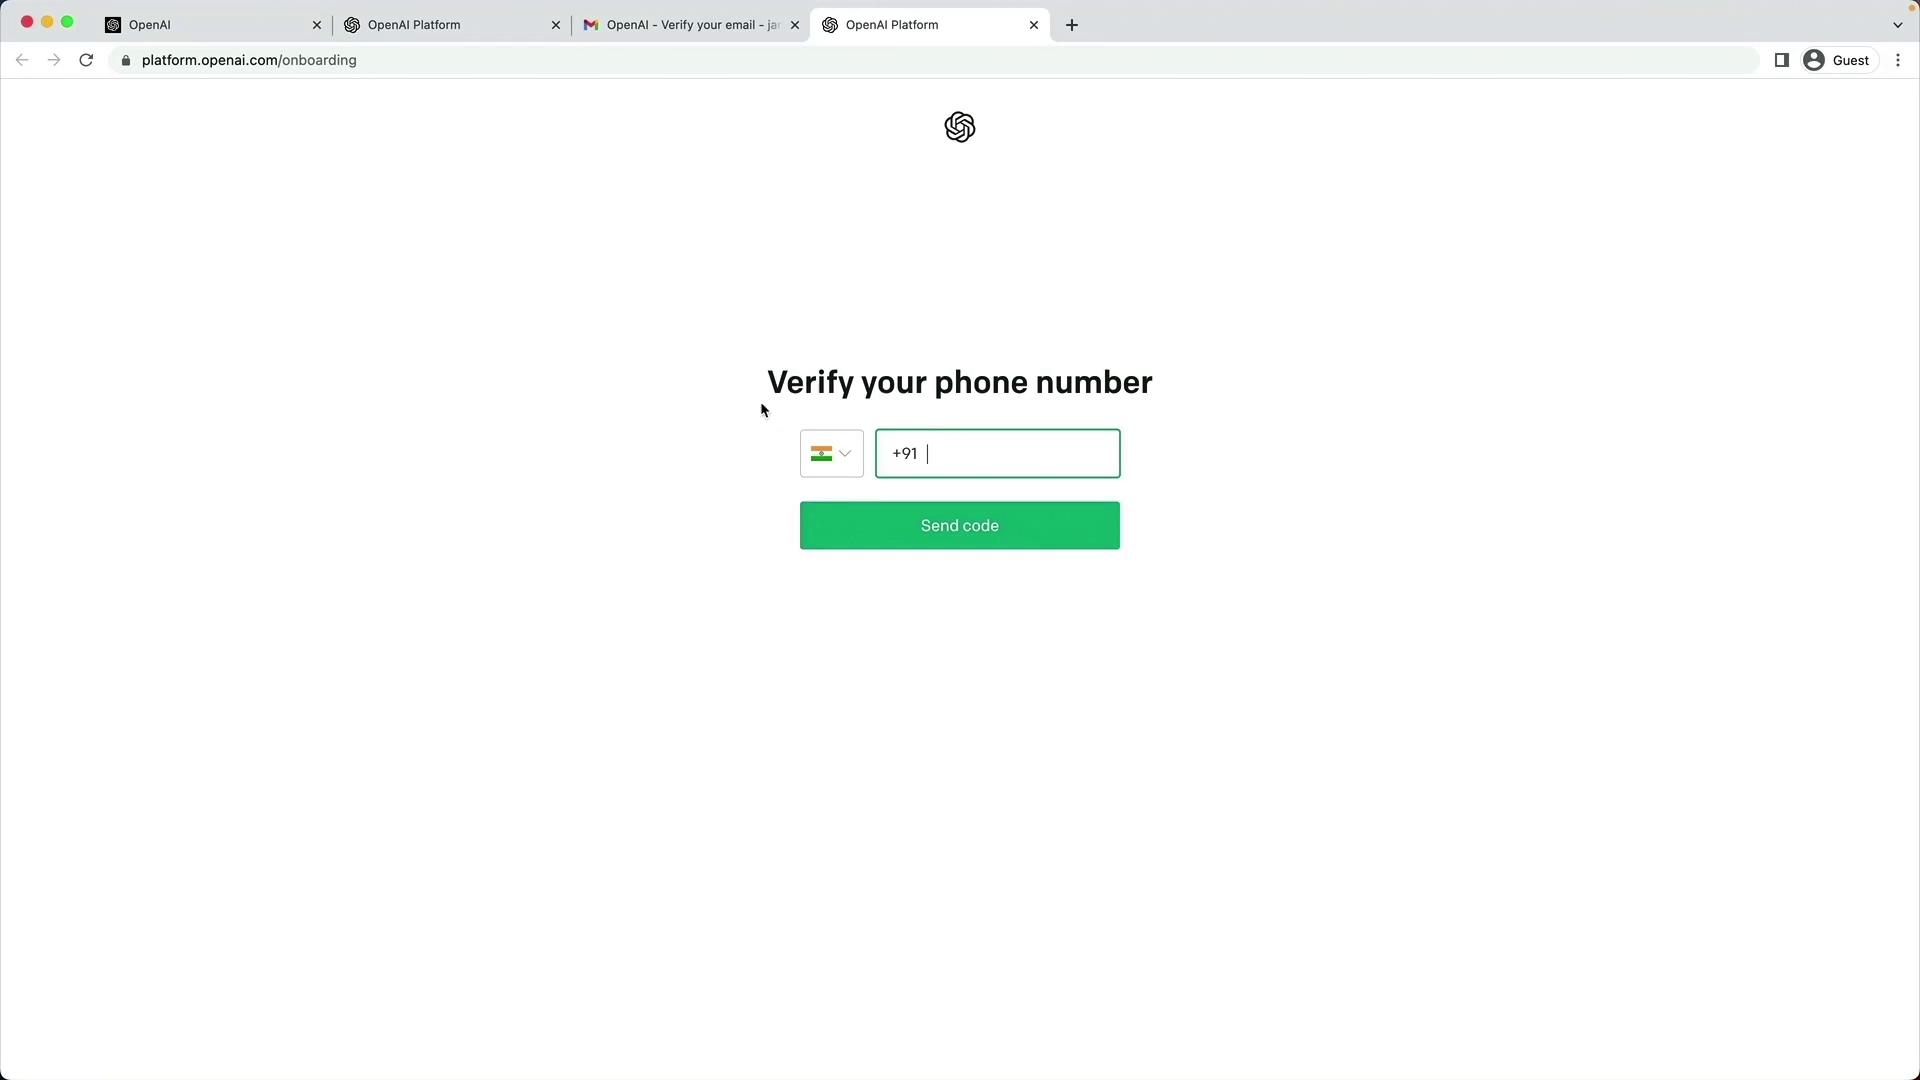
3. Verify Your Phone Number
To enhance account security, OpenAI requires phone verification:- Enter your phone number.
- Click Send code.
- Input the one-time password (OTP) you receive.
4. Access the API Dashboard
Once your identity is confirmed, you’ll be directed to the OpenAI dashboard. Choose API to view your API keys, usage stats, and documentation.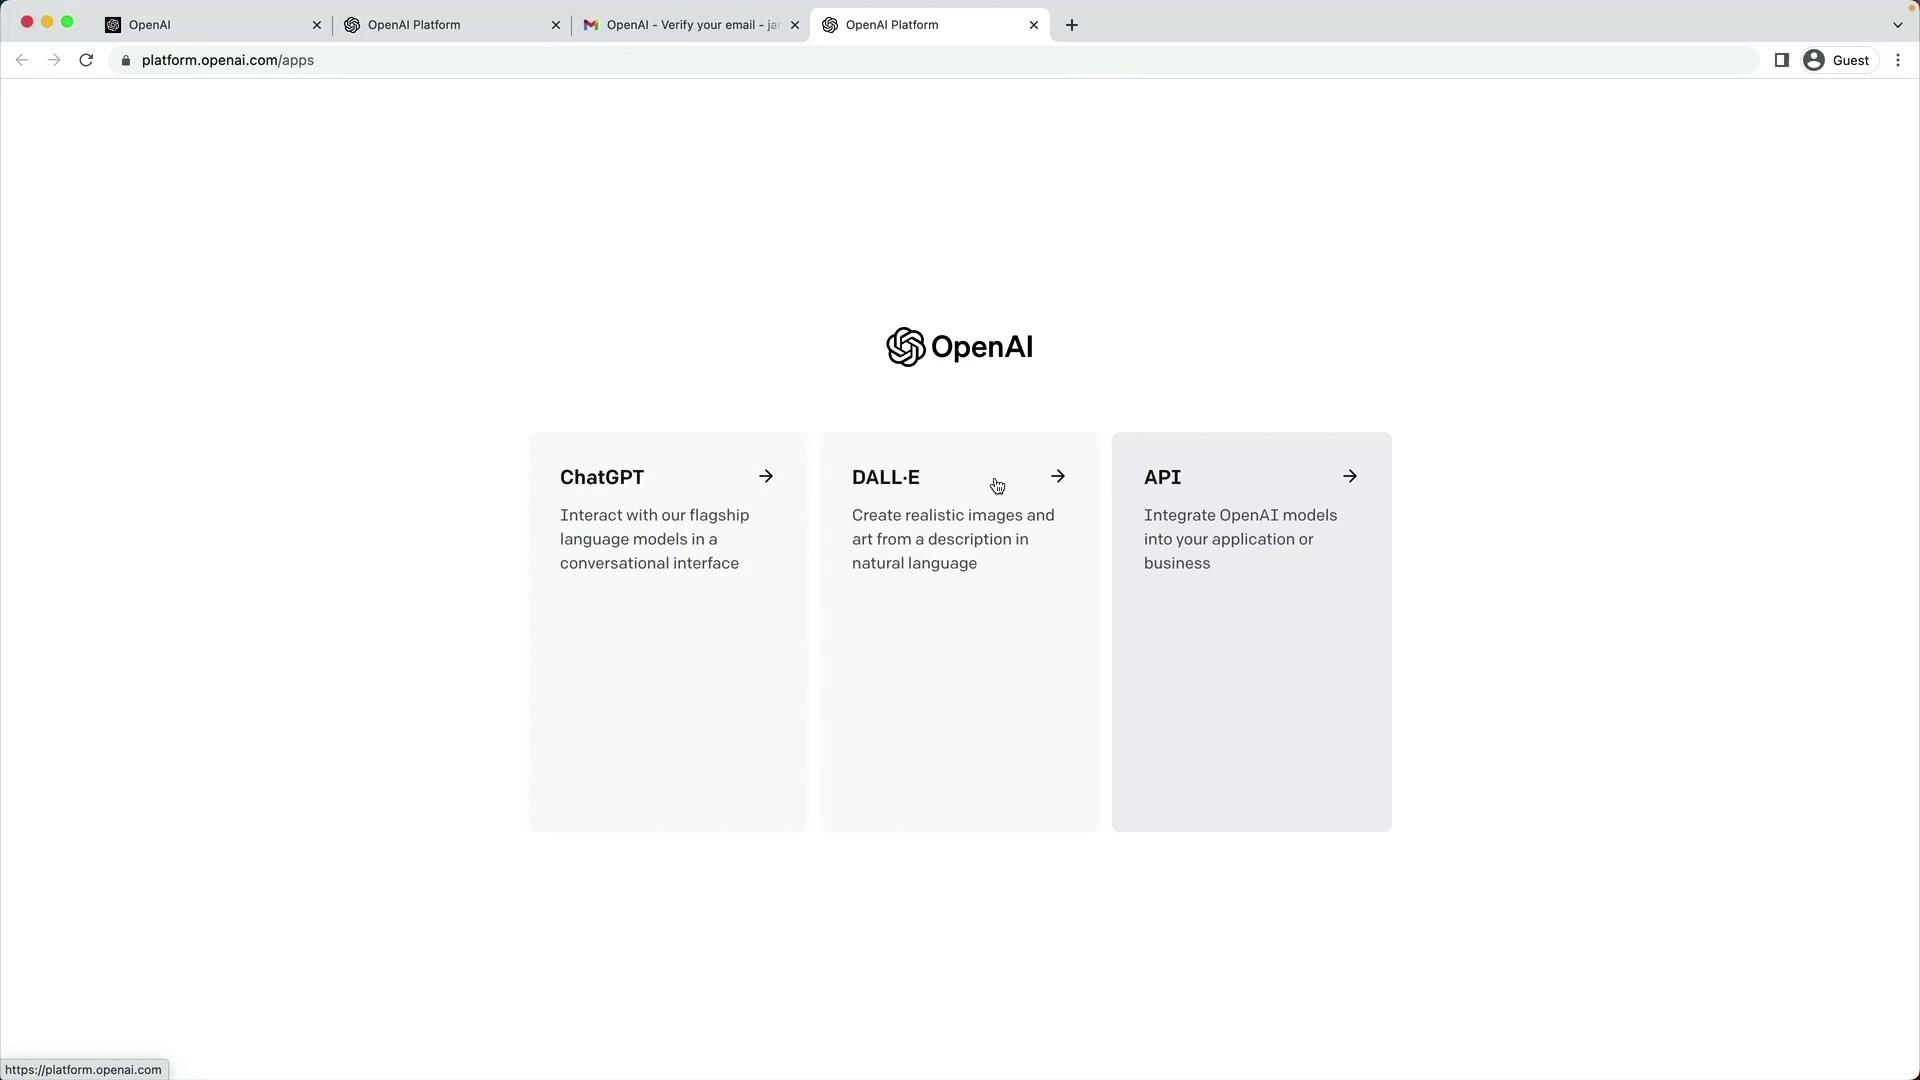
5. Monitor Usage & Configure Billing
On the API dashboard, you can track your API calls, review your free credits, and add a payment method:- New users receive $5 in free trial credits.
- To continue past the trial limit, click Upgrade and submit billing details.
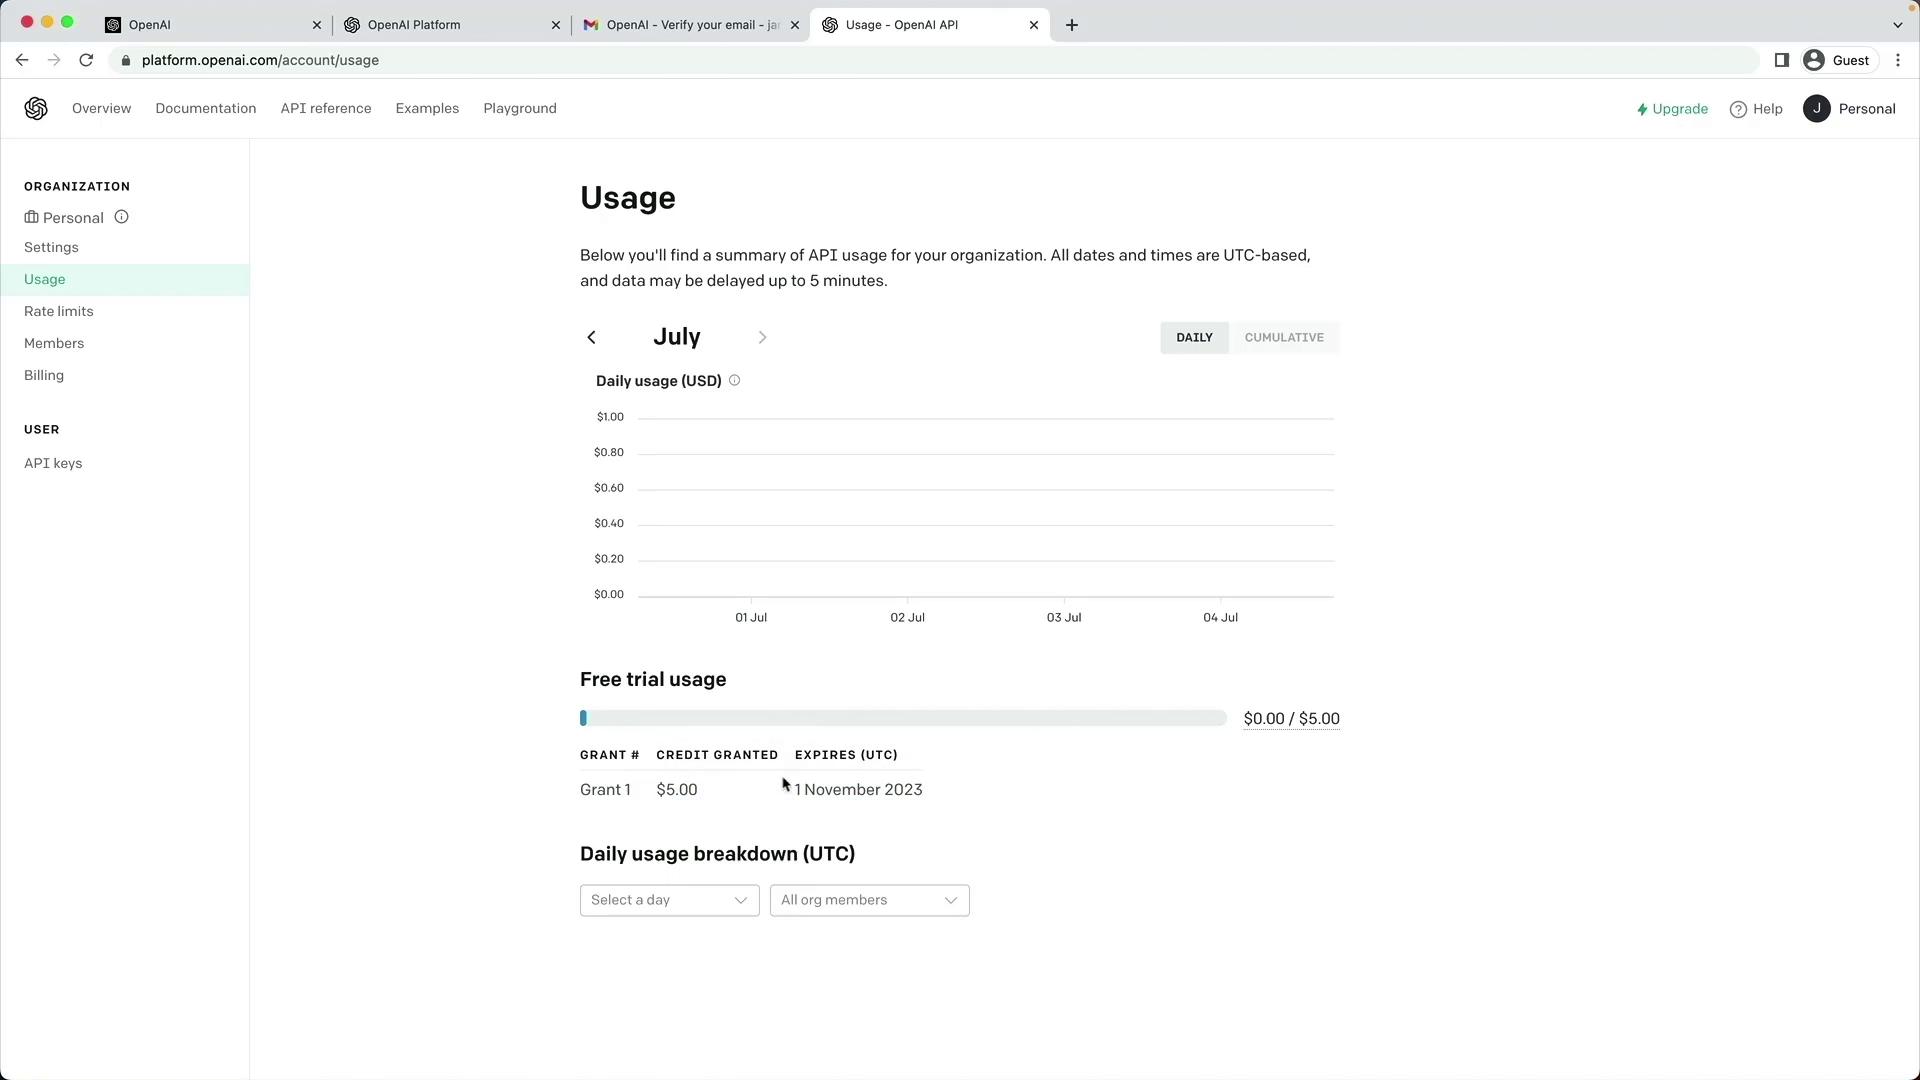
Your $5 free-trial credits expire after three months. Keep an eye on your usage to avoid unexpected charges.
Treat your API keys like passwords. Never expose them in public code repositories.
OpenAI Services Overview
| Service | Purpose | Documentation |
|---|---|---|
| ChatGPT | Real-time conversational AI | Chat Guide |
| DALL·E | Text-to-image generation | Image Guide |
| API | Programmatic access to AI models | API Reference |
Next Steps
Now that your account and API access are set up:- Review the OpenAI API Quickstart.
- Explore SDKs and sample code on GitHub.
- Join the OpenAI Community Forum for support and tips.