This article provides a step-by-step guide for deploying an EC2 instance on AWS, including configuration and connection instructions.
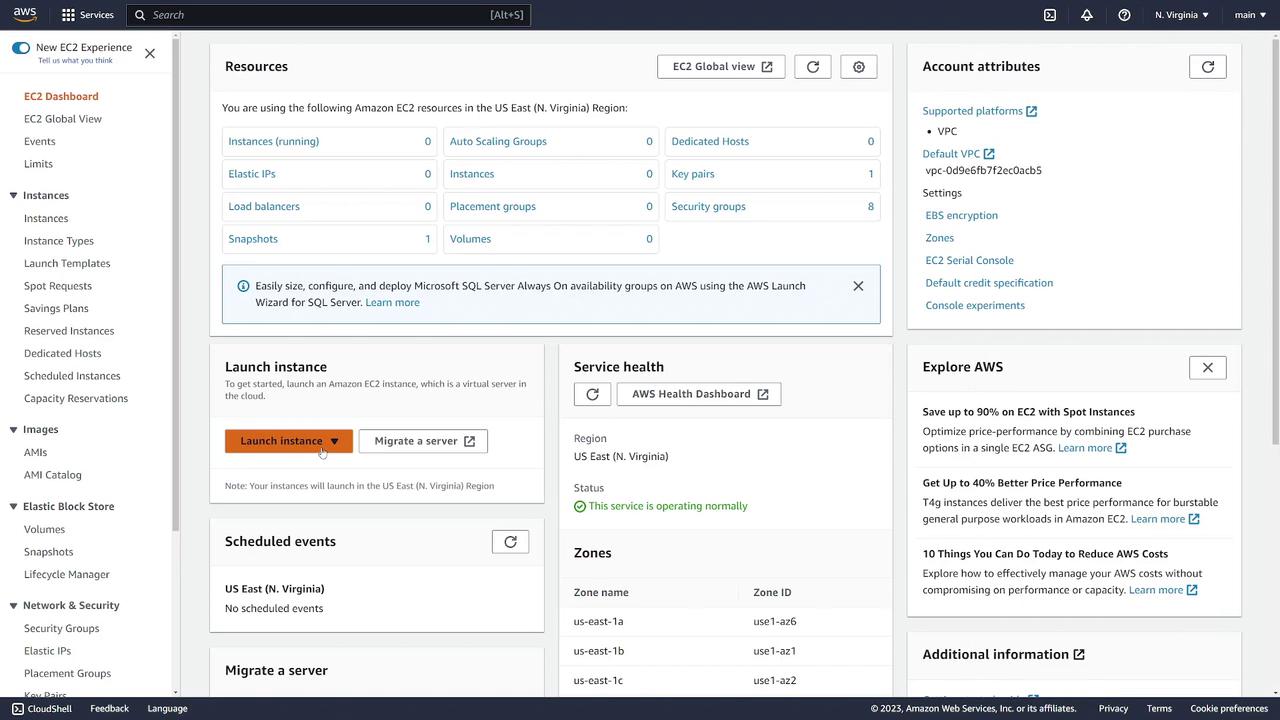
In this guide, we will walk through a step-by-step demo of deploying an EC2 instance on AWS. This tutorial is designed to help you quickly launch and connect to your instance, whether you’re using the free tier or a larger configuration.Before you begin, ensure you are in the intended AWS region. In this demo, we are using the US East 1 region, but the process remains consistent across all regions.
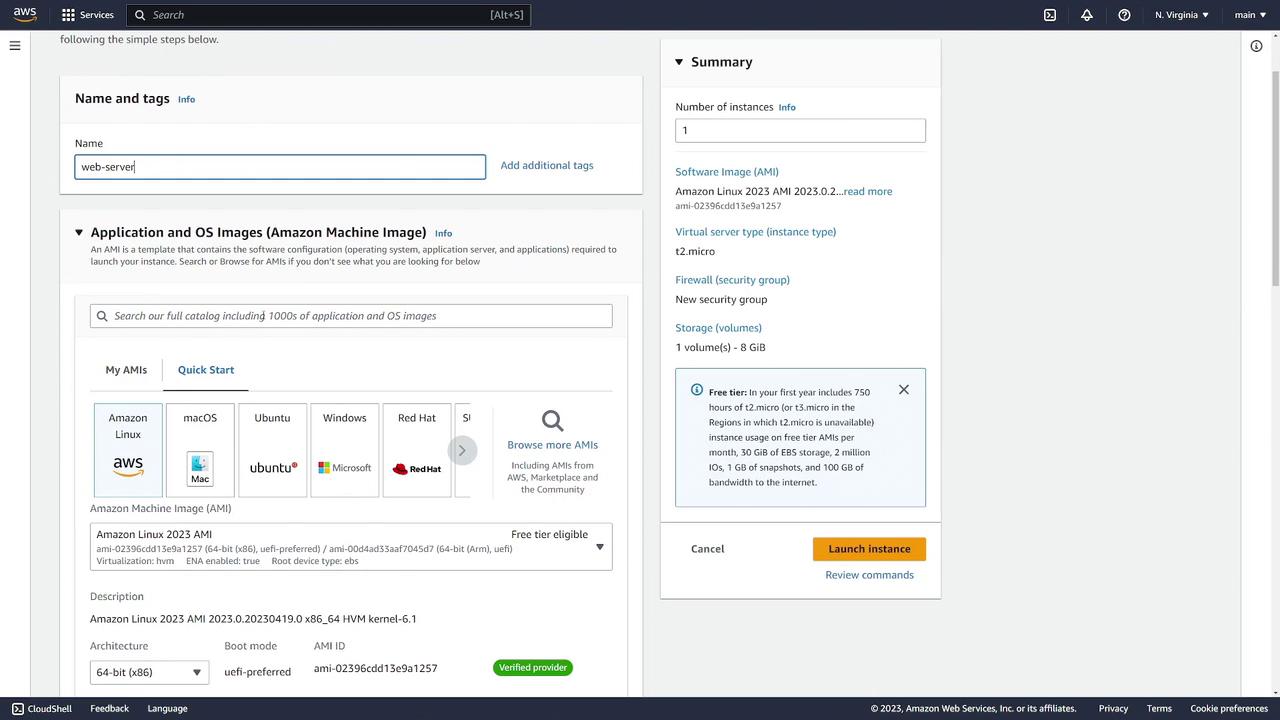
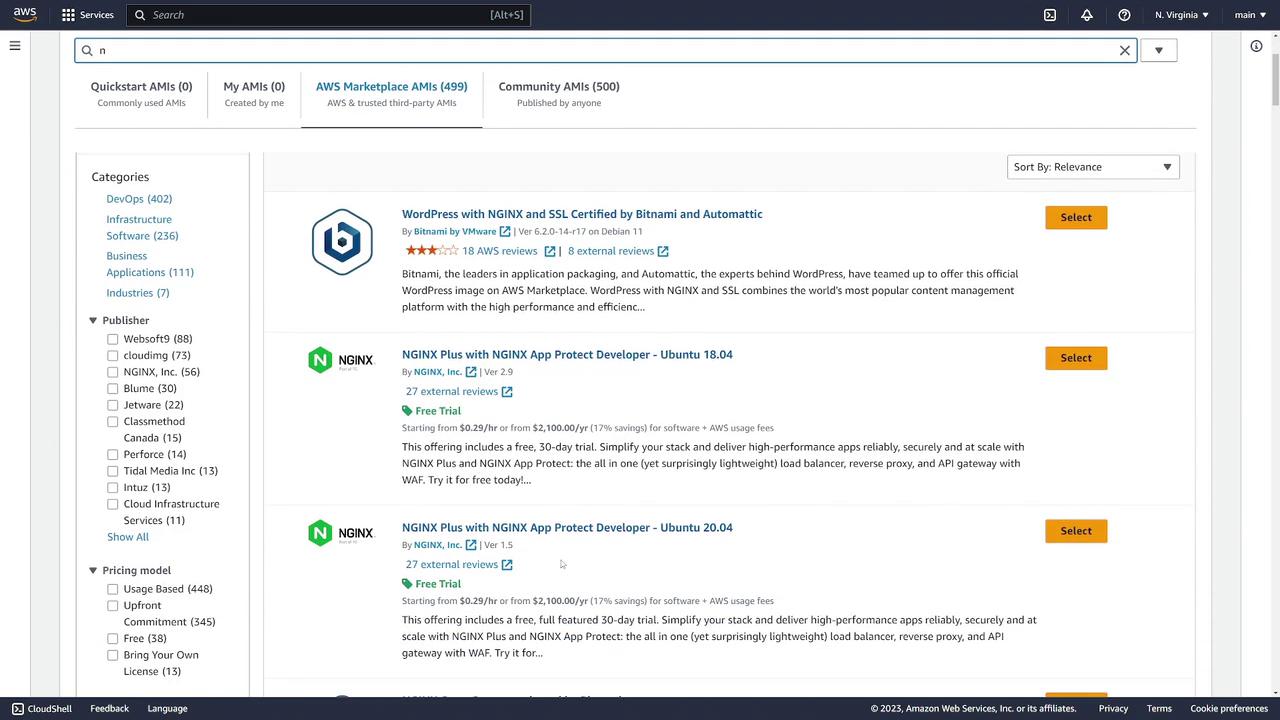
Start by assigning a name to your instance (for example, “Web Server”). Then, choose the Amazon Machine Image (AMI) for your preferred operating system. Options include various Linux distributions, Ubuntu, macOS, and more. If you need a custom environment—for instance, one with pre-installed Nginx—browse the AWS Marketplace.
Searching the AWS Marketplace for Nginx yields a range of images.
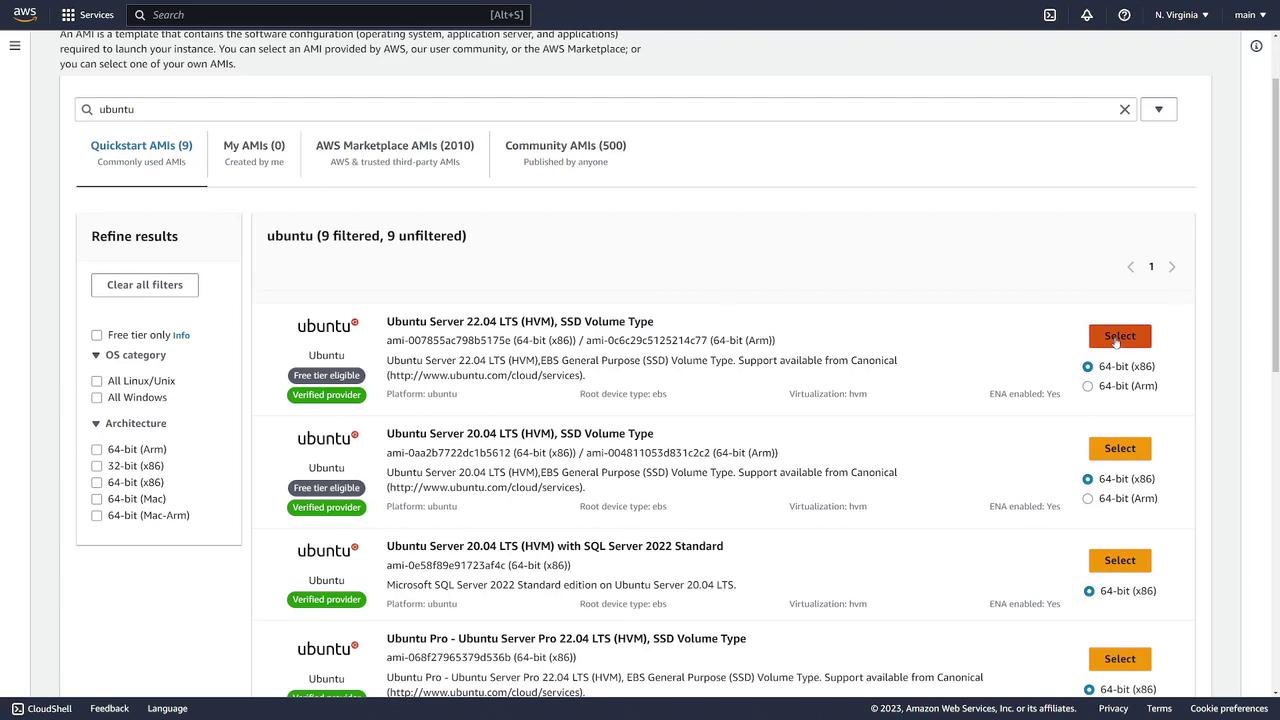
For this demo, we select a commonly used AMI by searching for “Ubuntu” and choosing the Ubuntu 22.04 64-bit x86 image. Note that the AMI ID may vary by region.
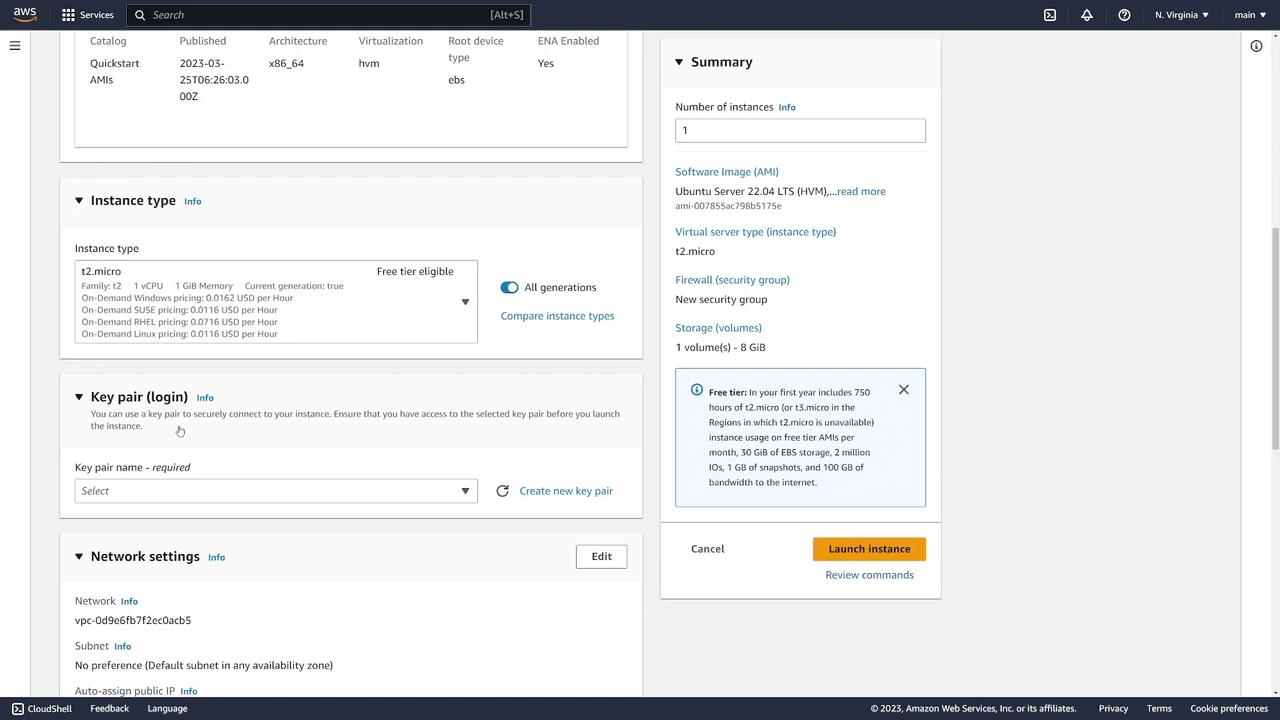
After selecting your AMI, choose the instance type. The instance type defines the hardware configuration and performance attributes of your server. The default T2 micro, which provides one vCPU and 1 GB of memory, qualifies for the free tier. However, you can select from a variety of options using the drop-down menu.
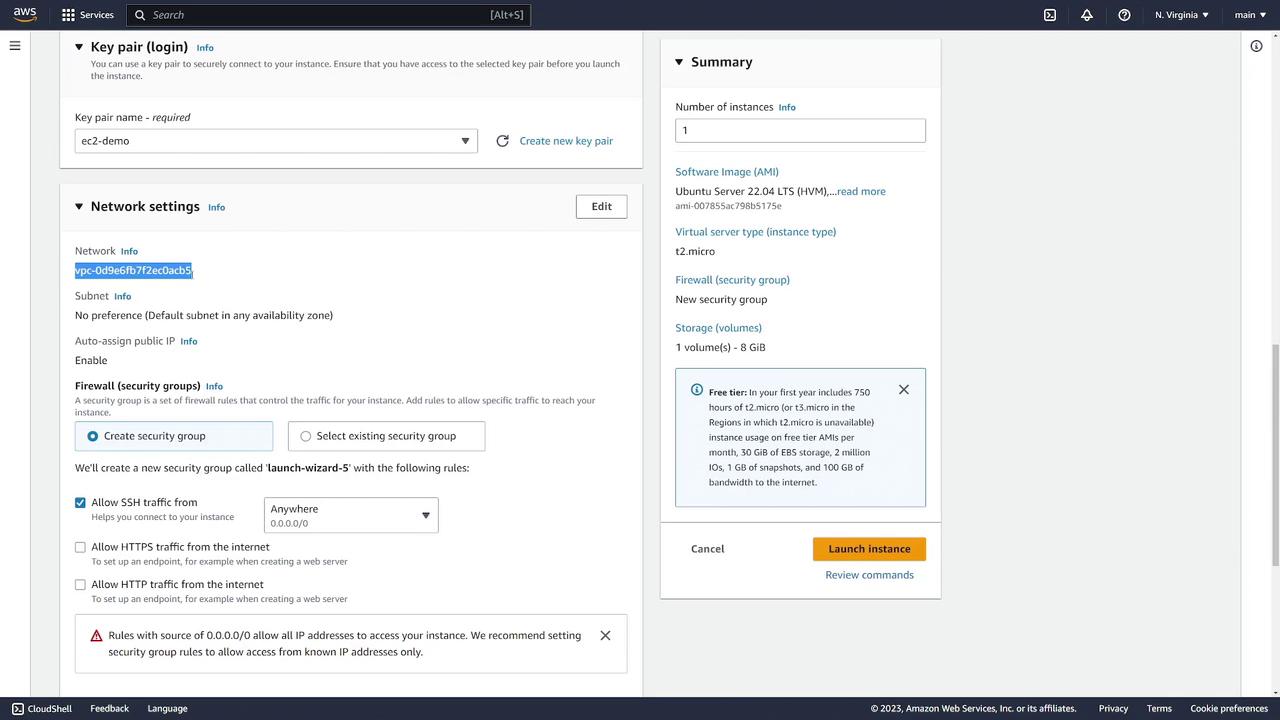
For secure SSH access, it is highly recommended to use a key pair rather than a username and password. If you already have a key pair, select it; otherwise, create a new one. To do this, click Create new key pair, enter a name (for example, “EC2 demo”), and choose the PEM file format. Your key pair file will be automatically downloaded after creation.
Under network settings, select the appropriate Virtual Private Cloud (VPC) and subnet for deploying your instance. In many regions, the default VPC is the primary option.
Next, assign a security group. You have two options:
Use an existing security group.
Create a new security group.
For this demo, create a new security group that at least permits SSH traffic (port 22) from any IP address. This configuration is essential for connecting via SSH. You may later include additional rules for HTTPS or other traffic as needed.
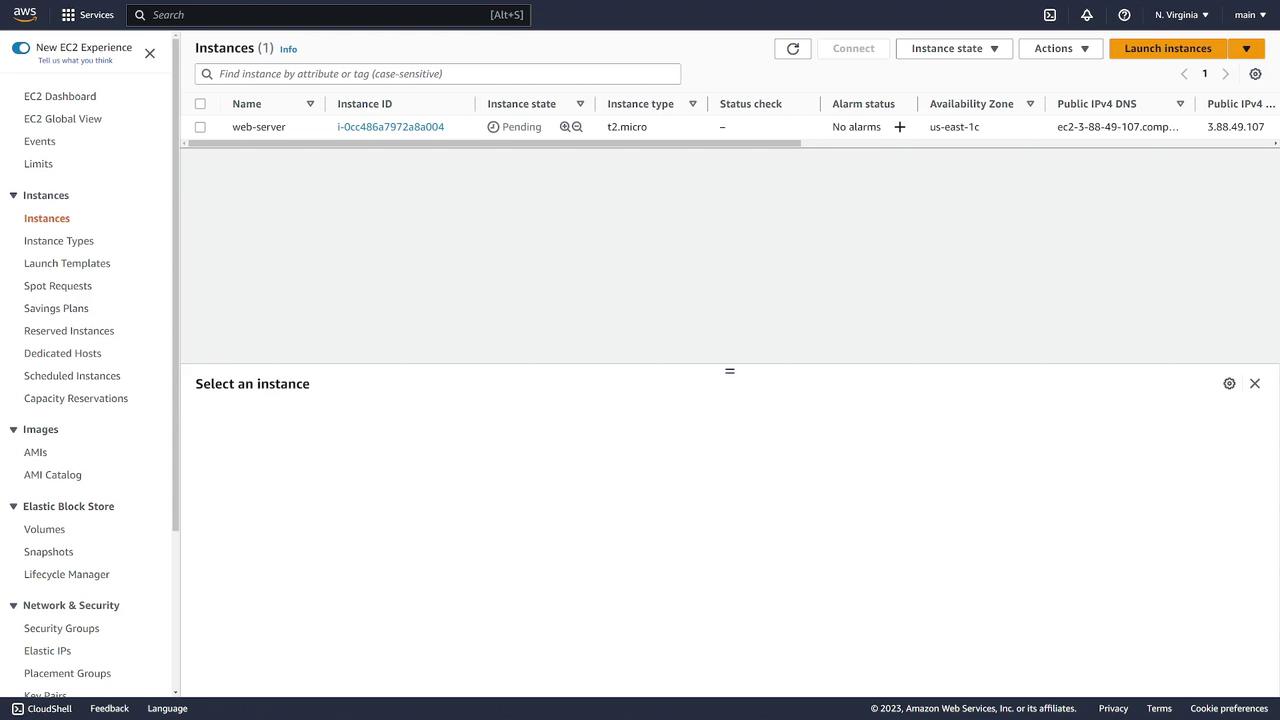
Configure the storage options for your EC2 instance. A typical setup might include an 8 GB volume for the root device. Advanced storage settings are available, but the default configuration is adequate for basic deployments.Once you have finalized the settings, click on Launch Instance. Then, navigate back to the “Instances” page to see your web server instance. Initially, the instance will display a “pending” status while it boots up. Once it transitions to “running,” your instance is ready for connection.
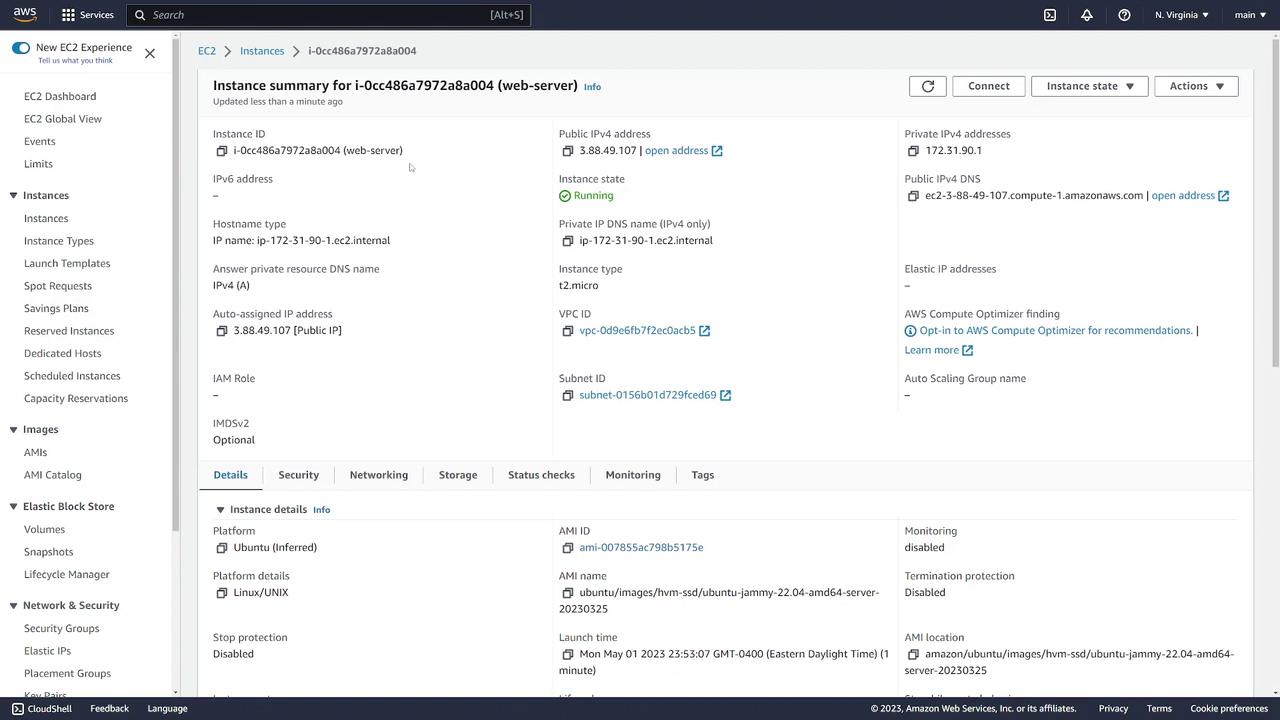
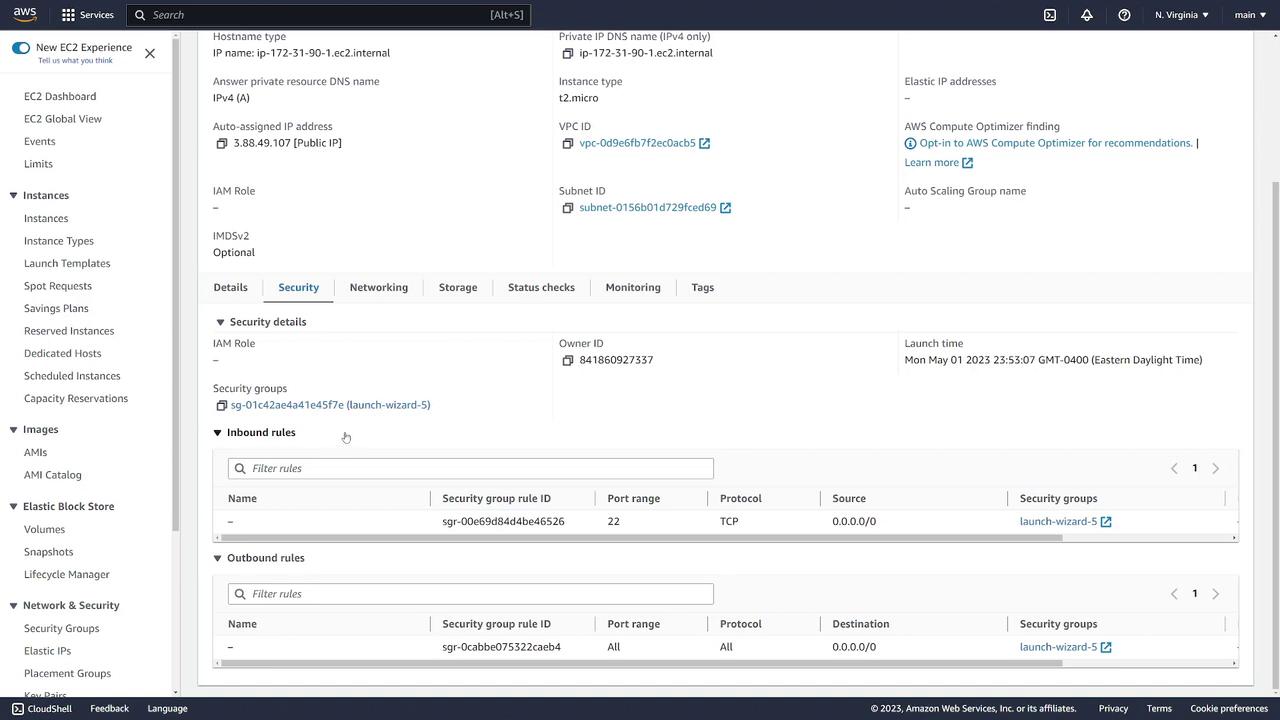
After the instance is running, click on the instance ID to view detailed information, including:
Public and private IP addresses (if deployed in a public subnet)
Instance ID and public DNS name
Associated VPC and subnet
AMI, key pair, and security group details
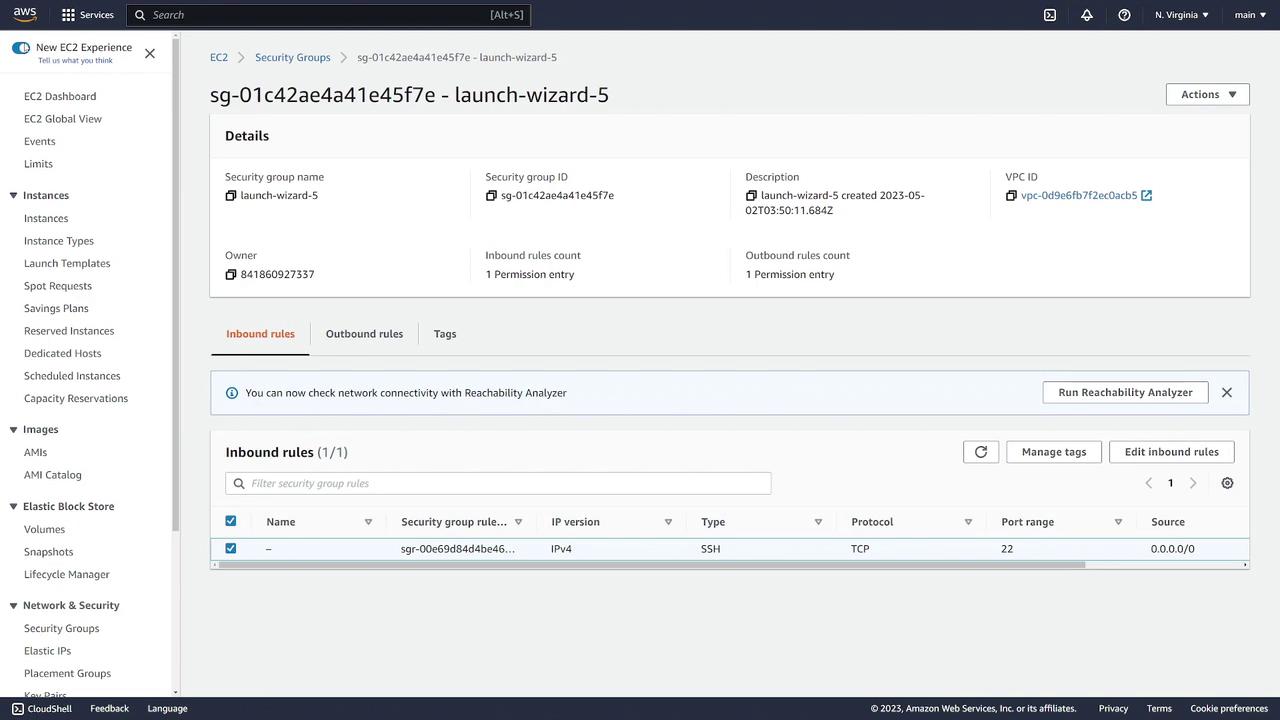
The security group details will display an inbound rule permitting SSH (port 22) from any IP, along with outbound rules that allow all traffic. AWS security groups are stateful; therefore, responses to allowed inbound traffic are automatically permitted. Further modifications can be made by selecting the respective security group.
You can also inspect and edit the inbound rules directly:
Step 7: Review Networking and Monitoring Information
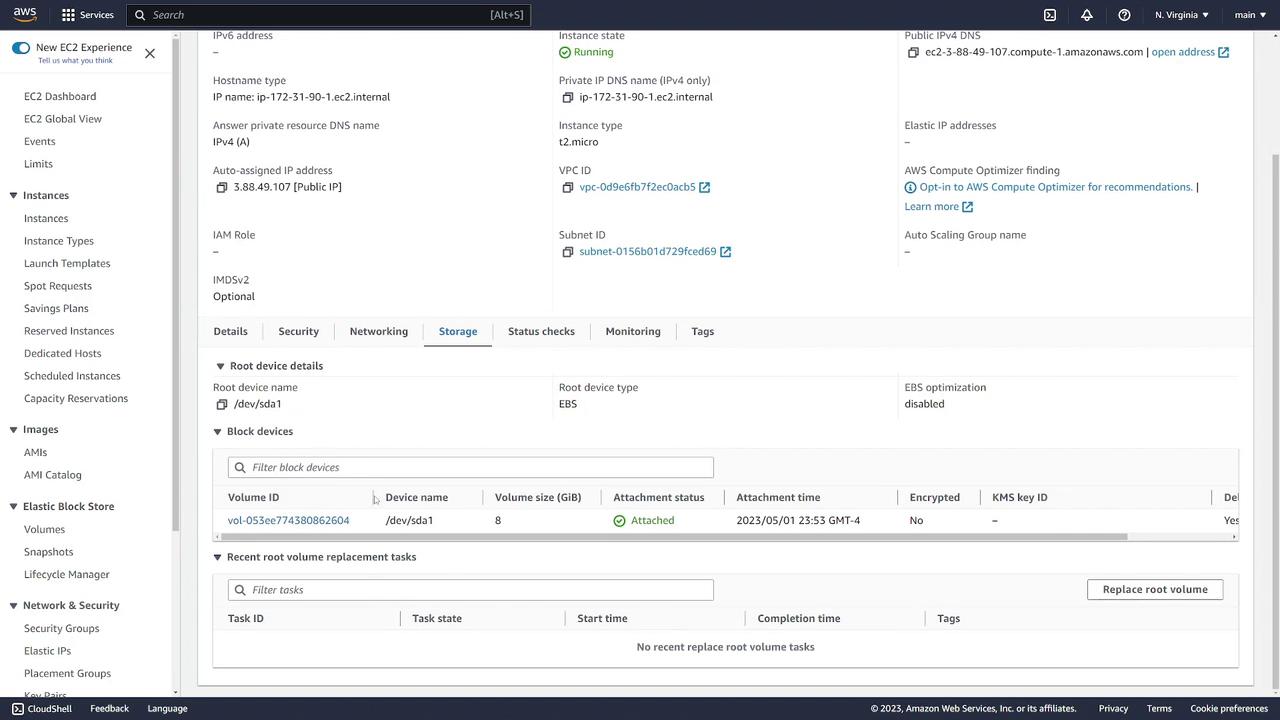
Explore the Networking tab to view detailed network interface information, such as additional IP addresses or attached Elastic IPs. The Storage tab provides details on attached volumes.
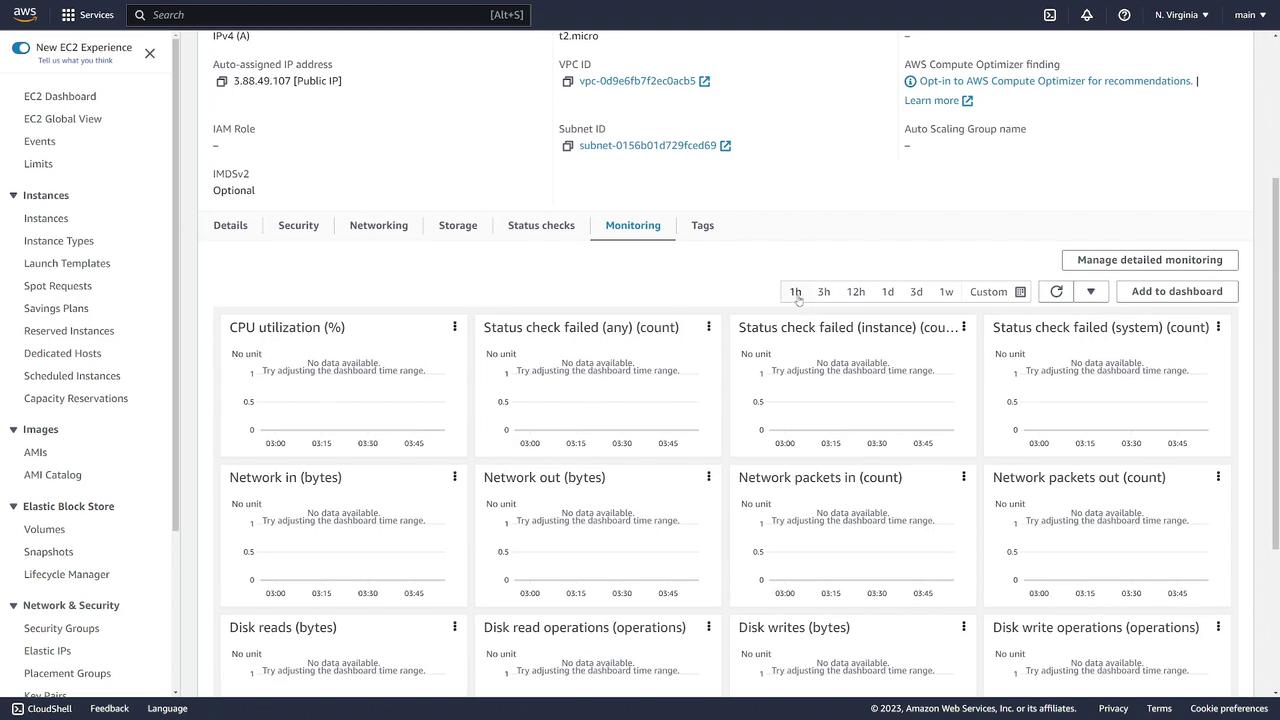
The Monitoring tab offers performance metrics including CPU utilization, network traffic, disk reads, and status checks. Historical data review is also supported, aiding in performance tracking and diagnostics.
Other actions available from the “Instances” page include modifying network interfaces, changing security groups, or managing instance states (stop, reboot, terminate).
Before proceeding with termination, verify that your instance is functioning as expected by connecting to it. You will need the public IP address or DNS name of the instance along with your PEM key file.Open your terminal and run the following SSH command. Replace “ec2-demo.pem” with the path to your PEM file, and adjust the username (“ubuntu” for Ubuntu AMIs) as required:
After verifying the connection, it is important to terminate the instance if it is no longer required to avoid unnecessary charges. To terminate, navigate to the EC2 console, select the instance, choose Instance State, and then click Terminate. The instance status will update as it shuts down and will eventually be removed.This concludes the step-by-step demo on deploying an EC2 instance on AWS. For further information, explore additional AWS Documentation or related guides on EC2 Instances.