Overview
This demo uses two EC2 instances running in the US East 1C Availability Zone. Our objective is to create an EFS file system and mount it on both instances. One of the key advantages of EFS is its ability to allow concurrent access by multiple instances. First, verify that your EC2 instances (instance one and instance two) are up and running in US East 1C. Once confirmed, proceed with creating the Elastic File System.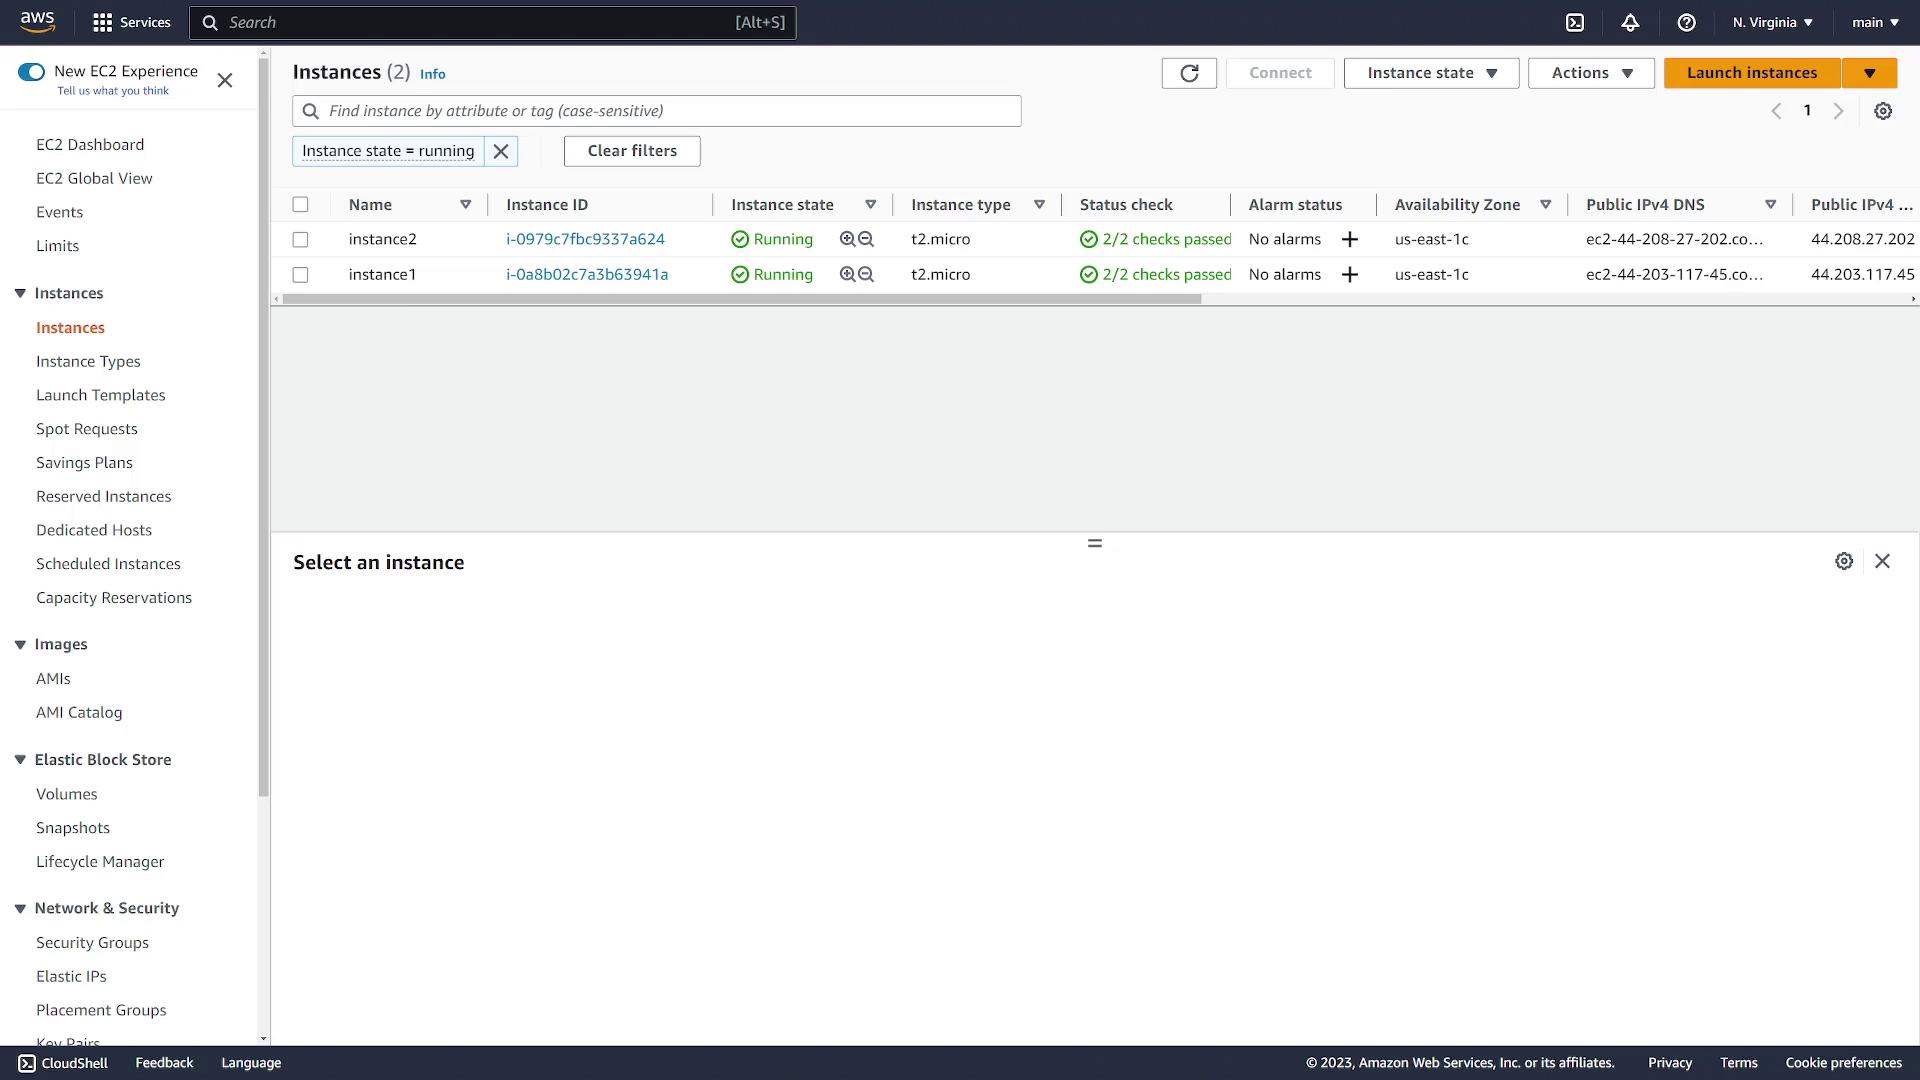
Creating the EFS File System
- In the AWS Management Console, search for the Elastic File System service.
- Click Create File System. You can choose the default quick creation option or select Customize to adjust detailed settings:
- Provide a name (e.g., “EFS Demo”).
- Choose the storage class:
- Standard: Ensures redundancy across multiple Availability Zones.
- One Zone: Stores the file system in a single Availability Zone.
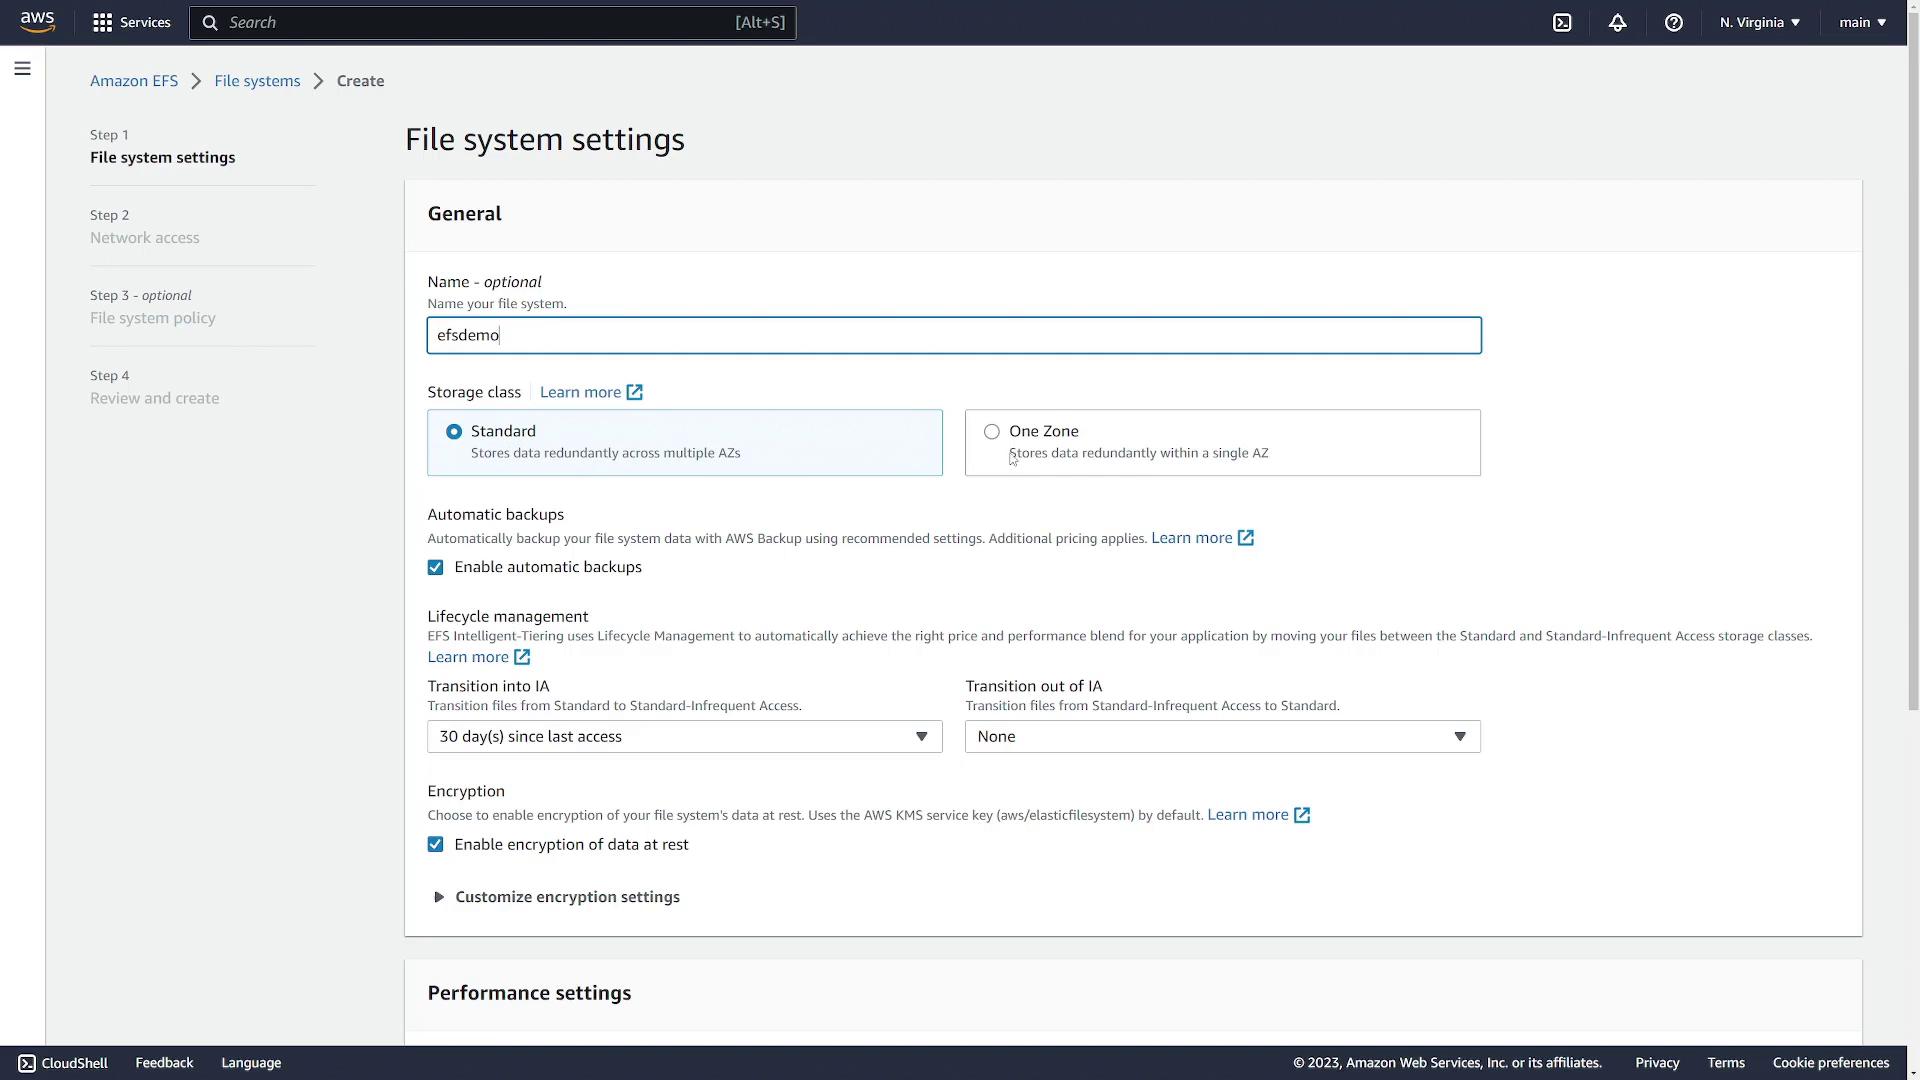
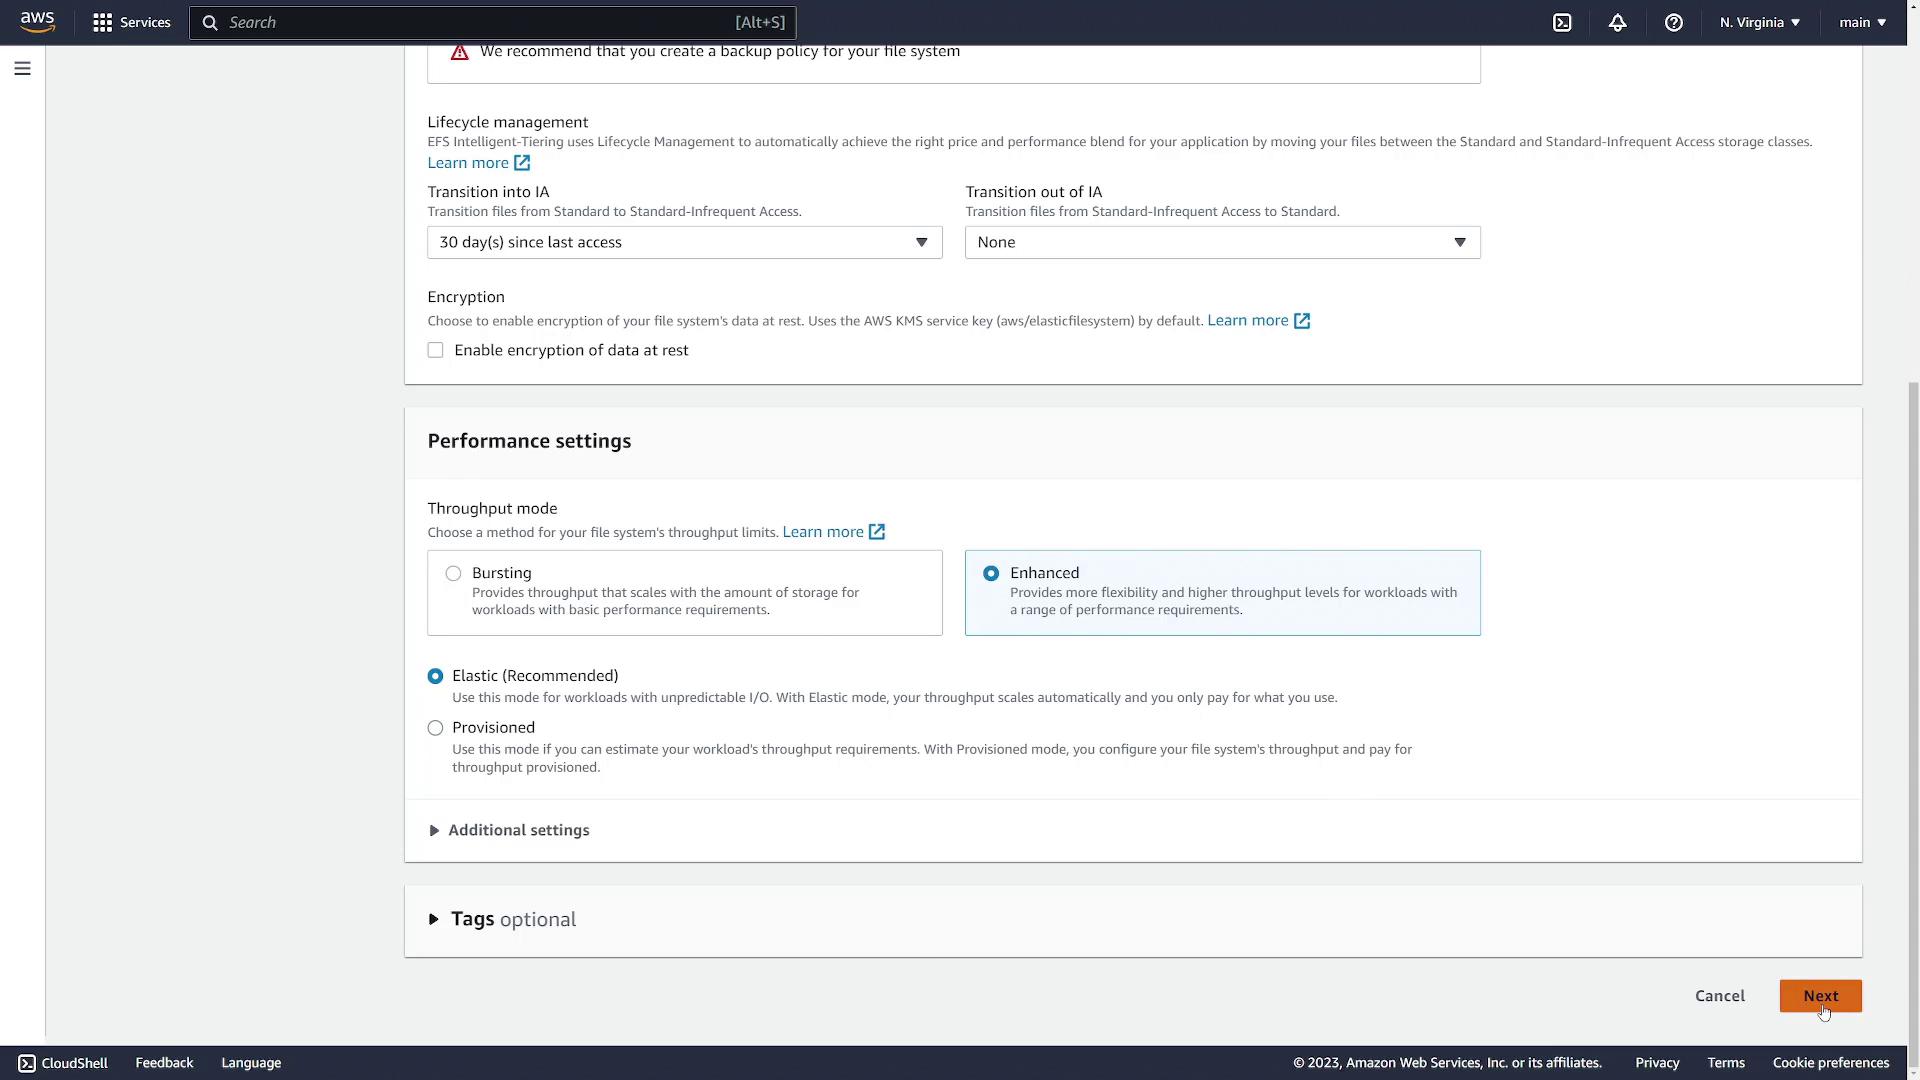
- For this demonstration, disable automatic backups, choose lifecycle settings as needed, and leave encryption disabled. Use the default throughput mode.
- Click Next.
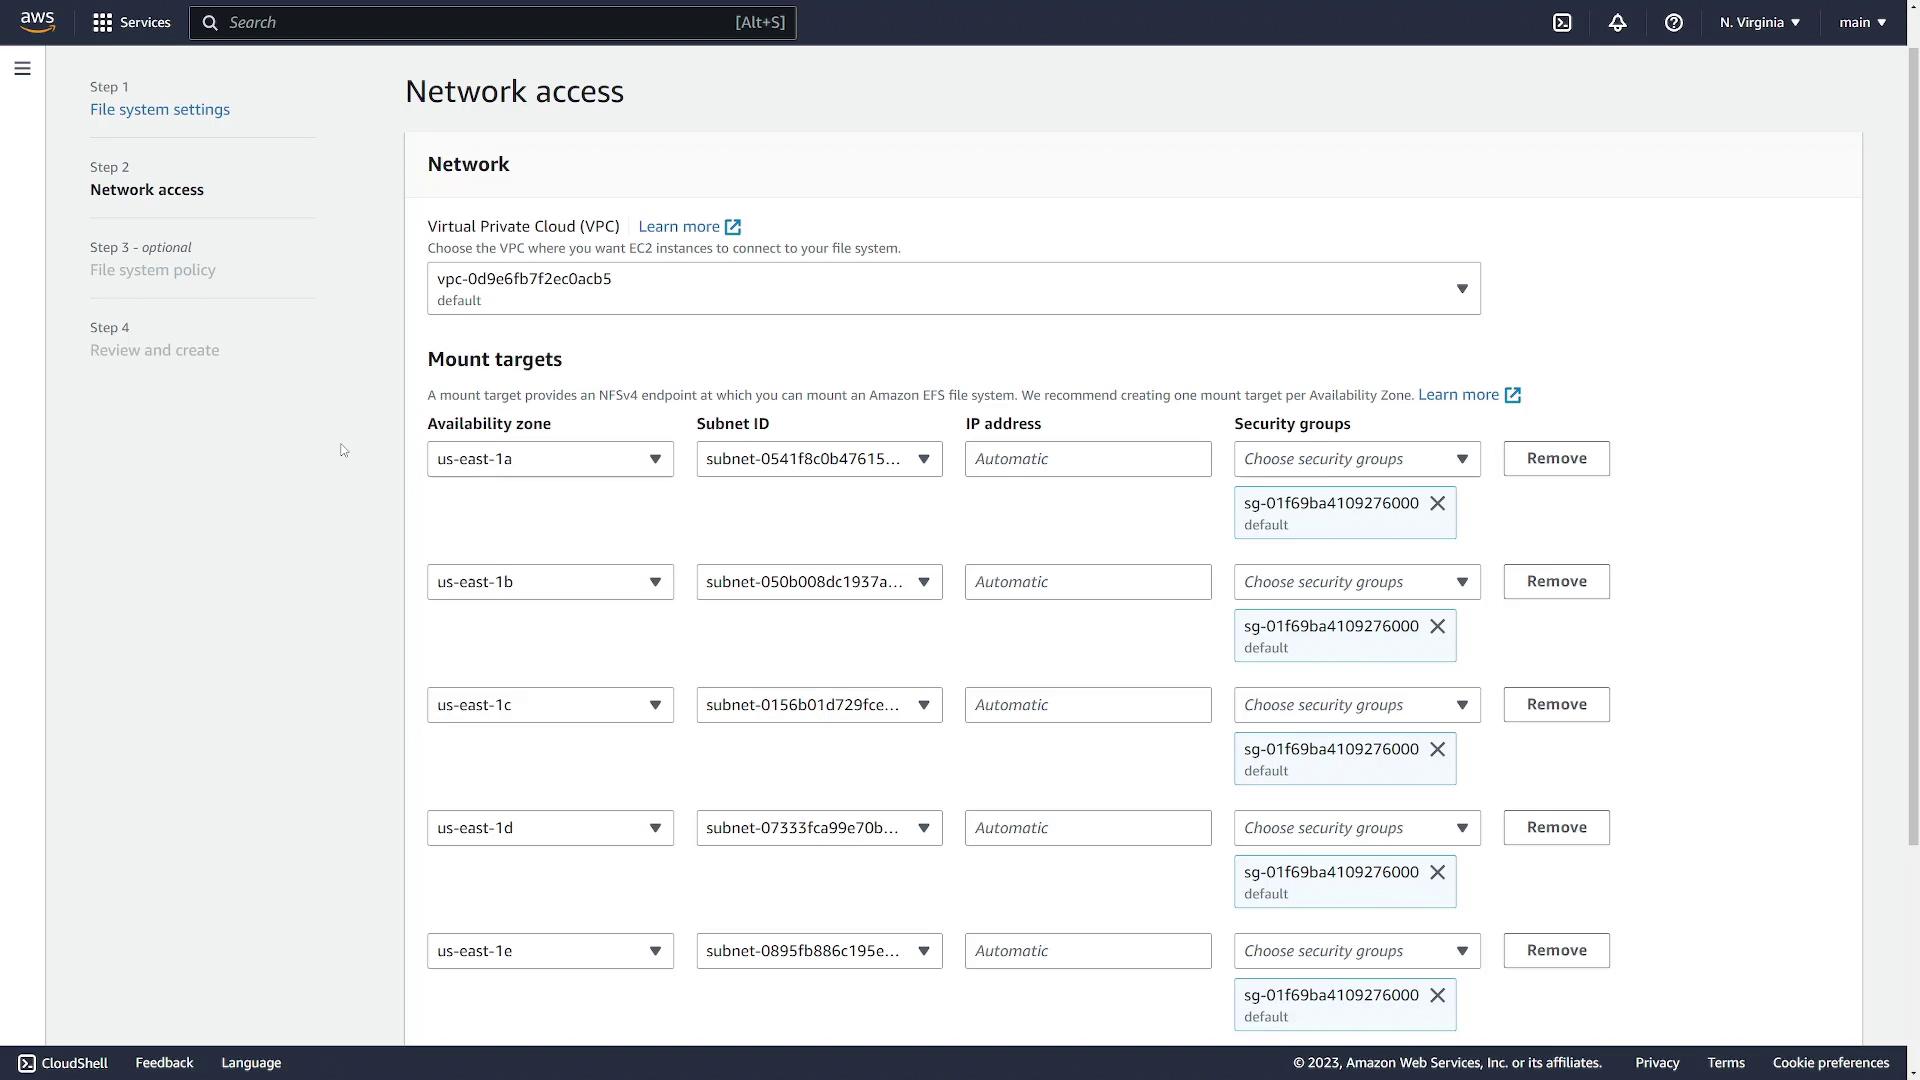
Configuring Mount Targets
Mount targets expose your EFS file system to the instances within your VPC. They are required in every Availability Zone that houses servers needing access.- Since both instances are in US East 1C, remove any other availability zones if present.
- Select the subnet corresponding to US East 1C.
- Specify a security group (e.g., one named “EFS”) that permits access from your EC2 instances.
- Confirm the correct VPC is selected.
- Click Next.
Setting File System Policies
Set file system policies to control access—options include preventing root access or enforcing read-only mode. For this demo, leave the defaults.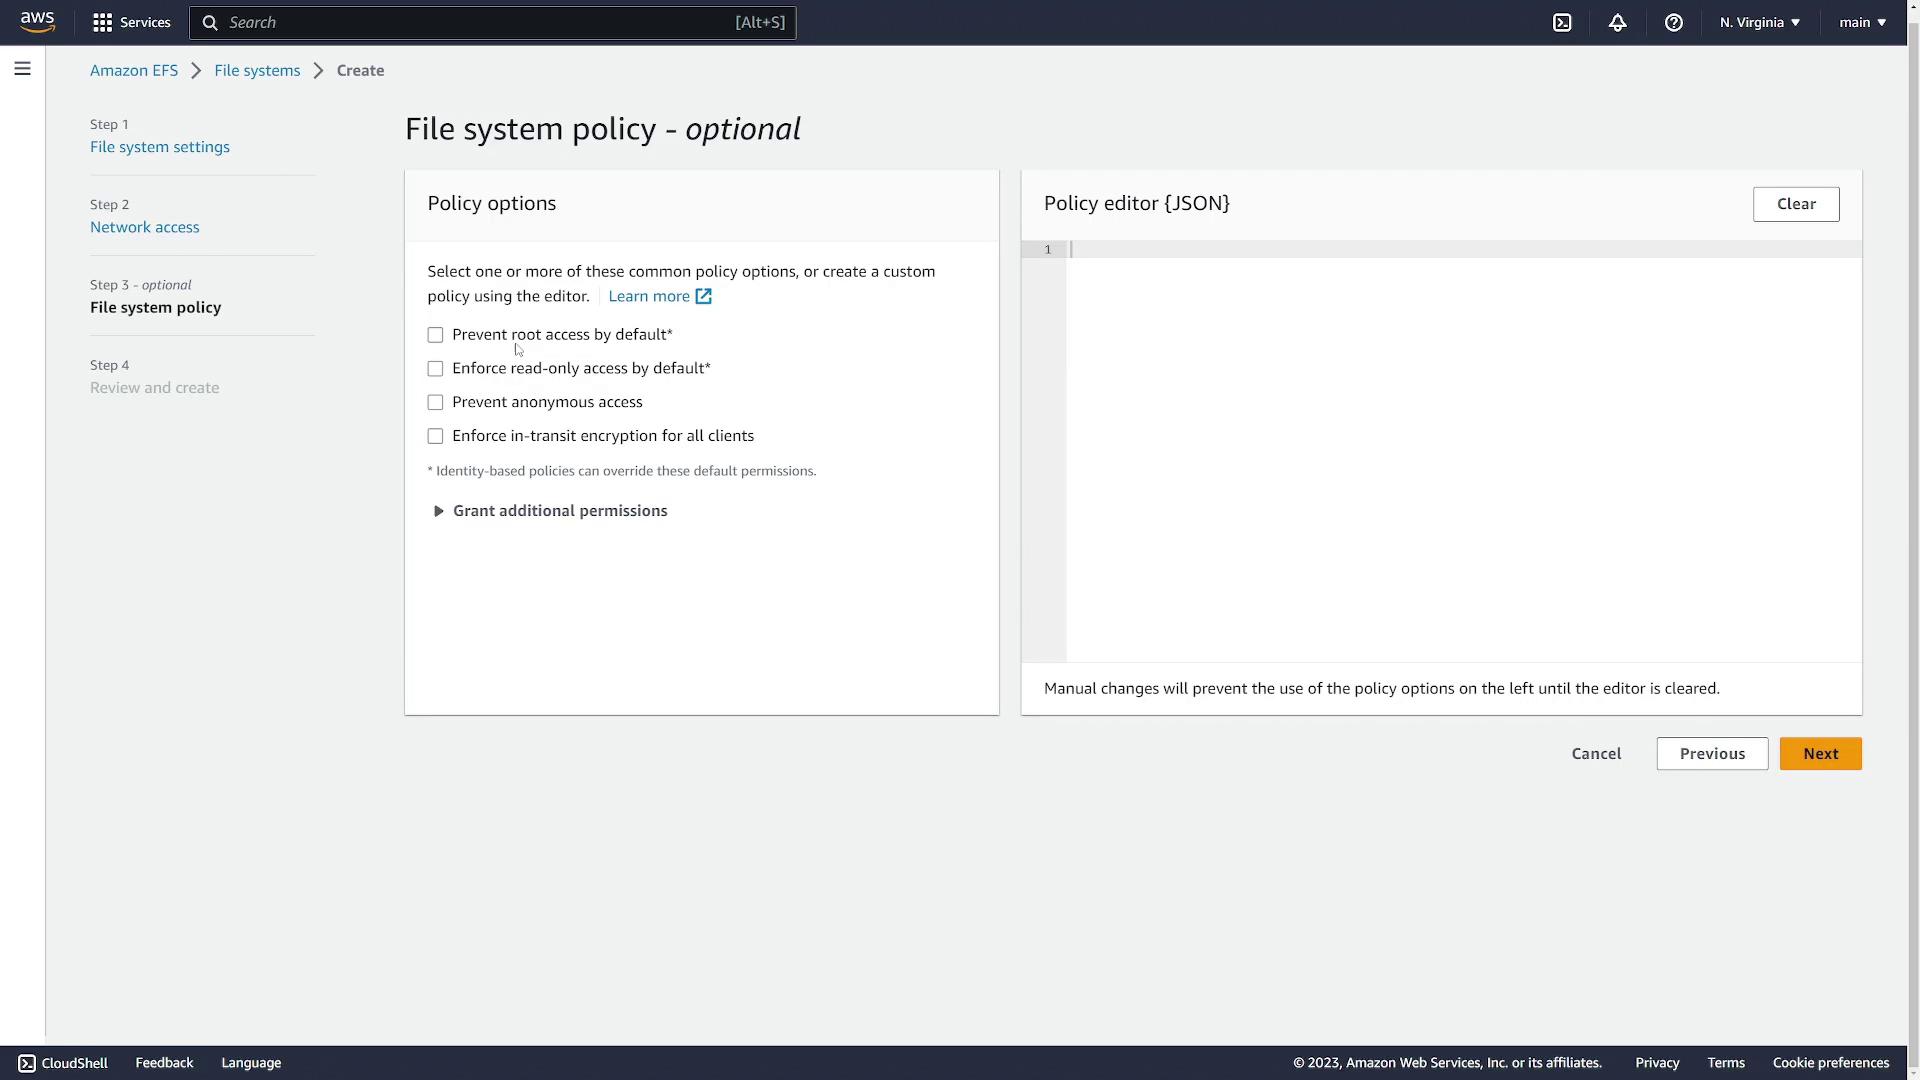
Preparing the EC2 Instances
For both instances, install the Amazon EFS Utils package to simplify mounting EFS on Amazon Linux images. On instance 1 (apply the same on instance 2), run:Mounting the EFS File System
Step 1: Create the Mount Directory
On instance 1, create a directory where the EFS file system will be mounted:Step 2: Mount the EFS File System
To mount the EFS file system, use themount.efs command with two arguments:
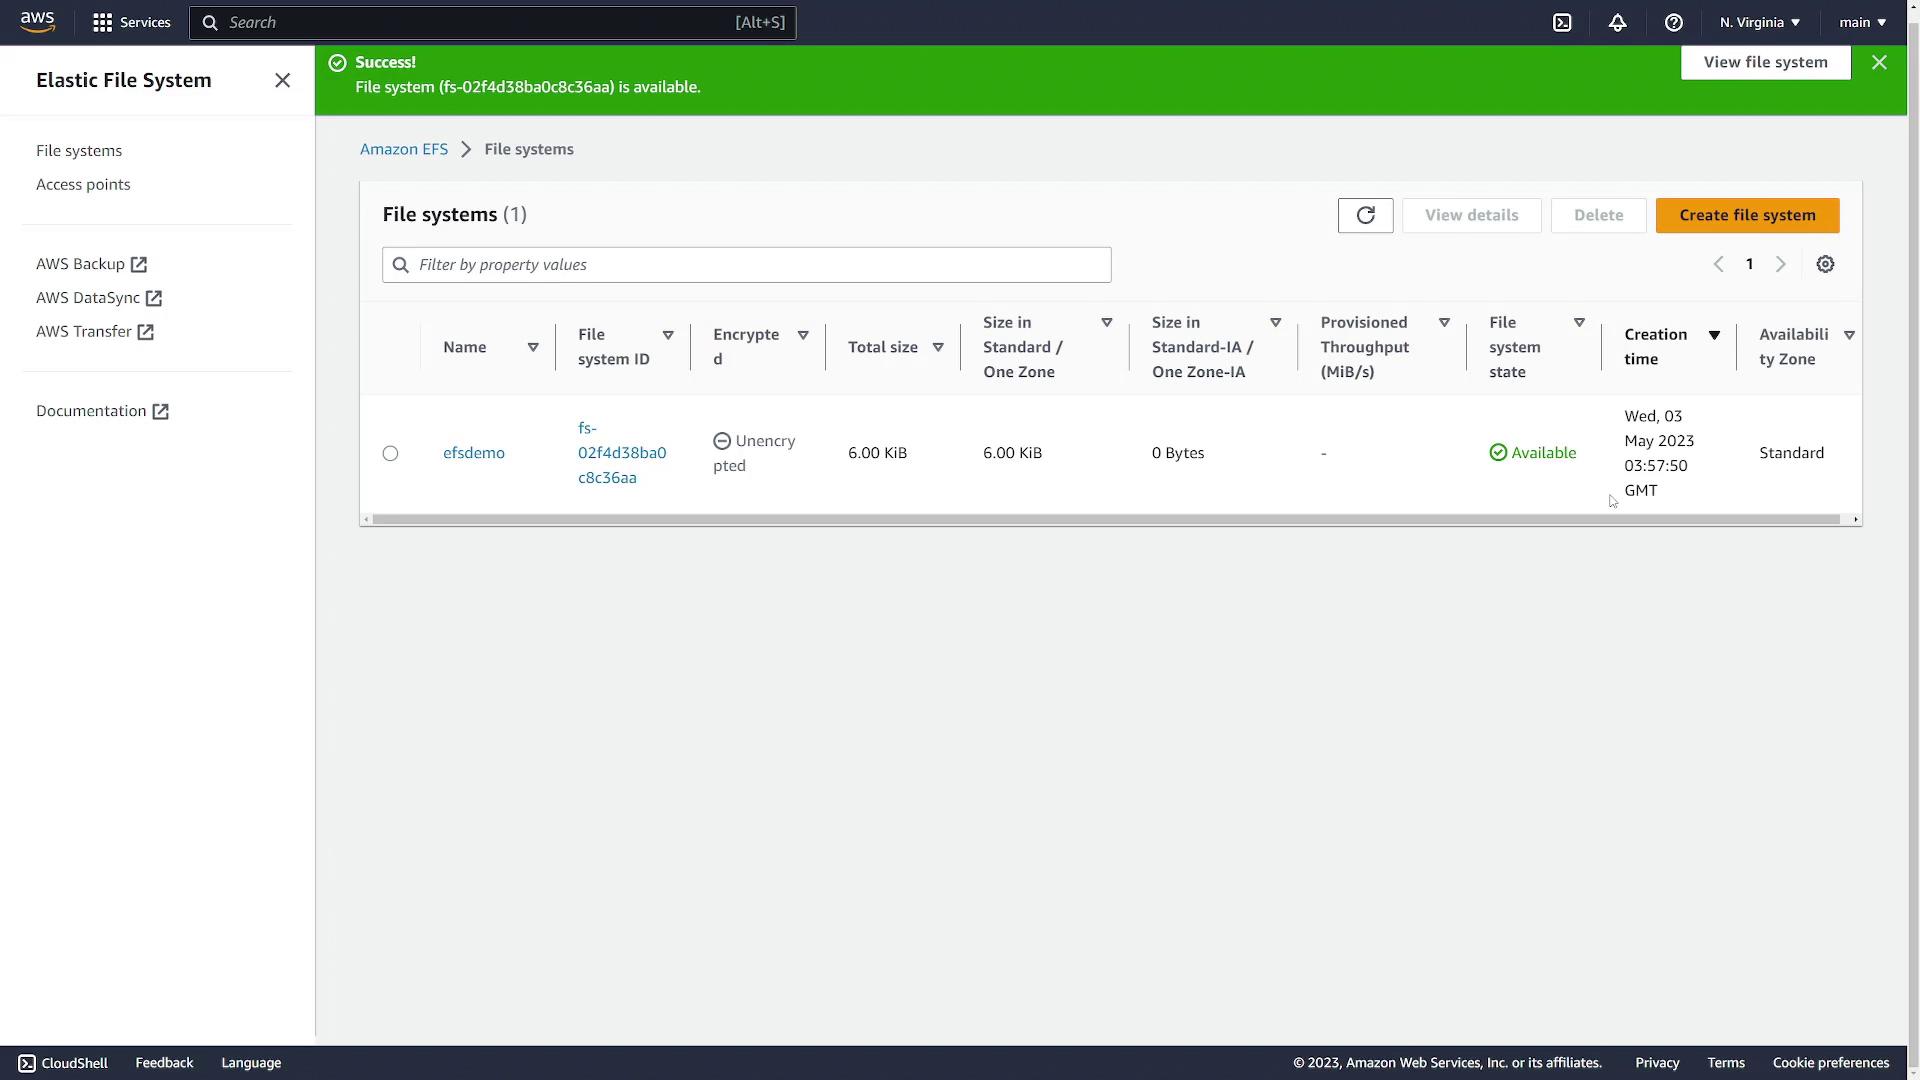
- The EFS file system ID (copy it from your AWS console under EFS details).
- The target directory (e.g.,
/efsdemo).
Ensure you create the mount directory only once before executing the mount command with the correct file system ID.
Step 3: Make the Mount Persistent
To automatically mount the file system after a reboot, update the/etc/fstab file. Add a new line with your file system ID and mount point:
/etc/fstab file:
/etc/fstab, mount all file systems with:
Sharing Files Between Instances
To test the shared file system, create a file on instance 1 in the/efsdemo directory:
-
Create the mount directory (if it doesn’t exist yet):
-
Mount the EFS file system using the same command as on instance 1:
-
Verify the mount:
-
Navigate to
/efsdemoand verify thatfile1.txtexists: -
Optionally, create another file on instance 2:
Add the content:
-
Return to instance 1 to ensure both files are visible:
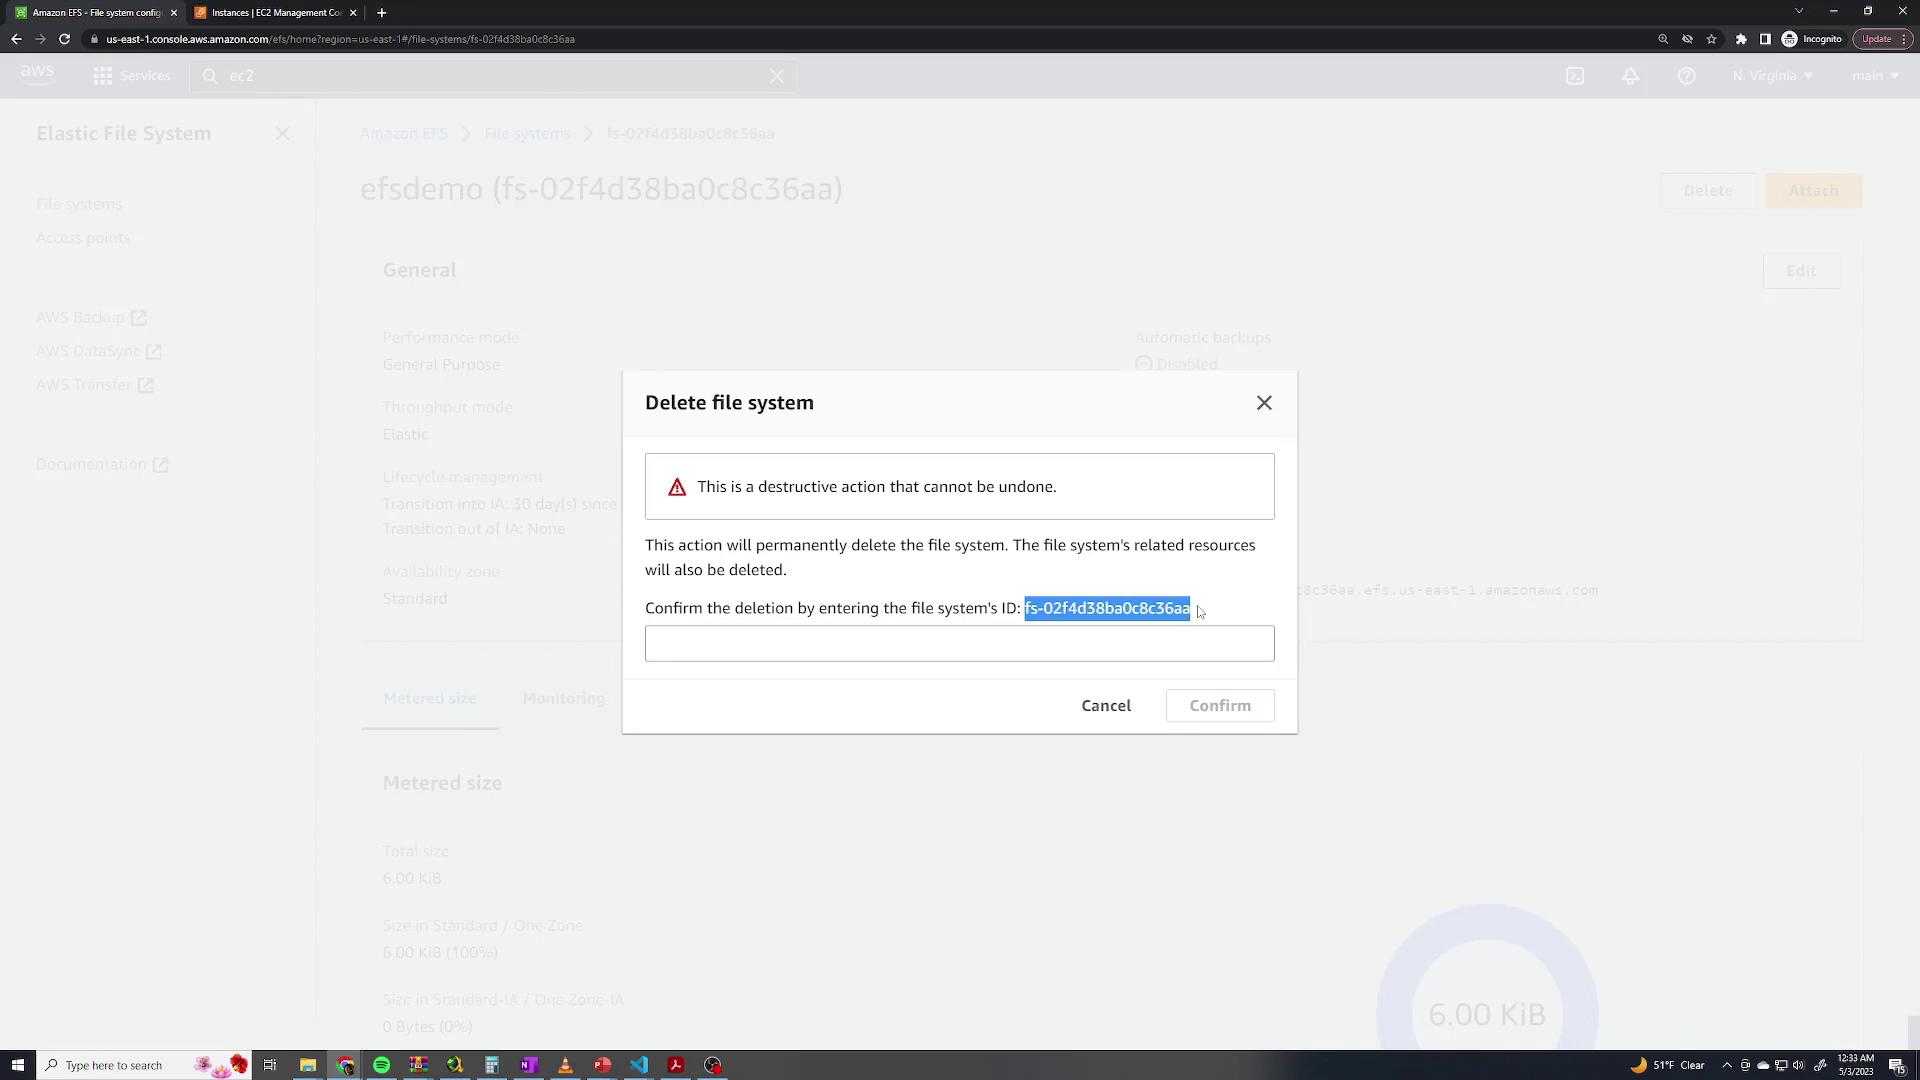
Cleaning Up
To conclude the demo, delete the EFS file system through the AWS console:- Select your EFS file system and click Delete.
- When prompted, copy the file system name, paste it into the confirmation box, and confirm deletion.
This demonstration covers creating, mounting, and using AWS EFS across multiple EC2 instances. For more information on AWS EFS configuration and best practices, refer to the AWS Documentation.