

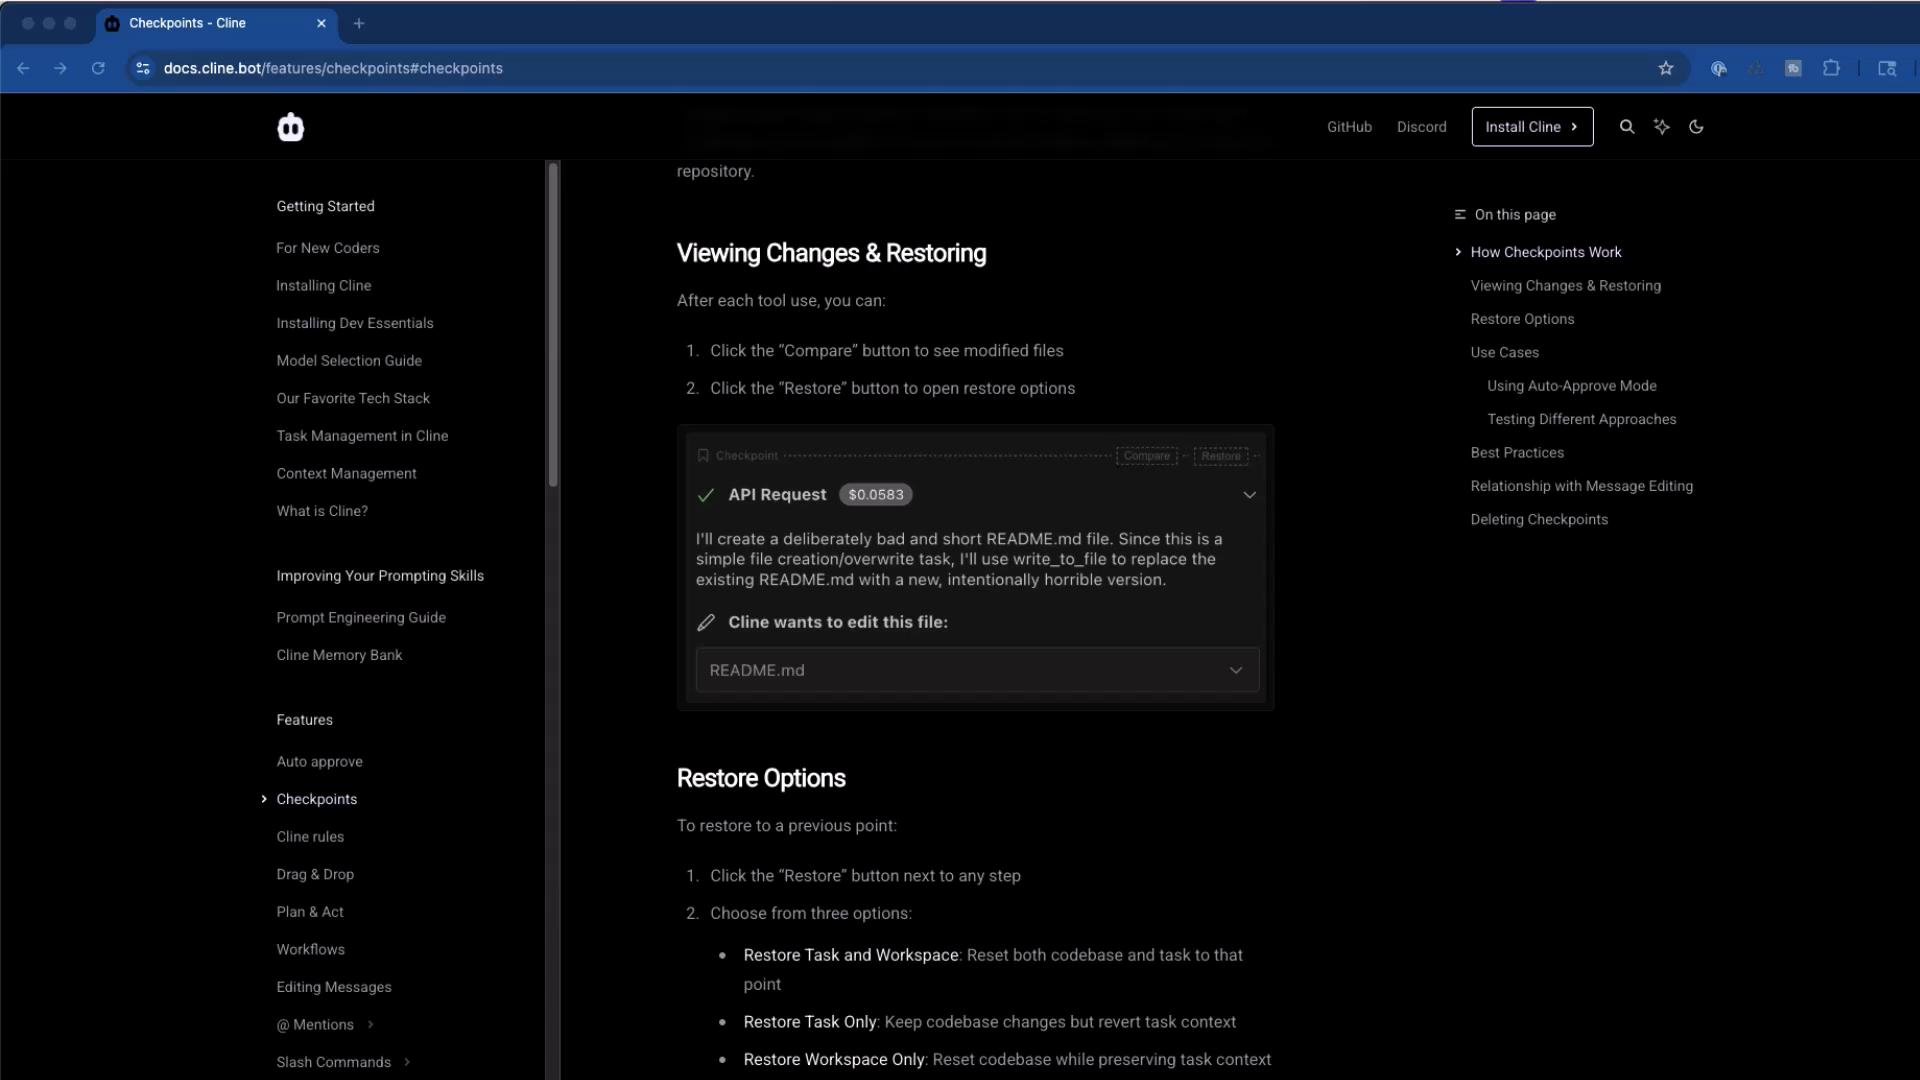
- Click “Compare” to inspect changes between snapshots.
- Click “Restore” to reveal options and revert to a previous snapshot.
- Use the restore variants to restore files only, conversation history, or both.
- Create a feature branch.
- Ask the assistant to scaffold a web interface for an existing API.
- Approve or modify generated files and iterate.
- If something breaks, restore the workspace to a previous snapshot and try again.
- The context window aggregates file contents read by the assistant, terminal commands, prompts, and assistant responses.
- Everything shown in the UI (colored assistant messages vs. terminal output) contributes to the rolling context.
- Models have context limits; Cline supports up to ~200K tokens for some models. When you approach that limit, start a fresh conversation or include only the relevant portions of history.
- api_client.py — a small API client used by the Flask app:
- templates/casting_detail.html — Jinja template (kept as a code block so template tags are preserved):
- app.py — minimal Flask app that uses the API client and serves templates:
- When the FastAPI backend responds, you might see output like:
- If Flask wants to use a different port (for example when 5000 is occupied), a scaffolded run may display:
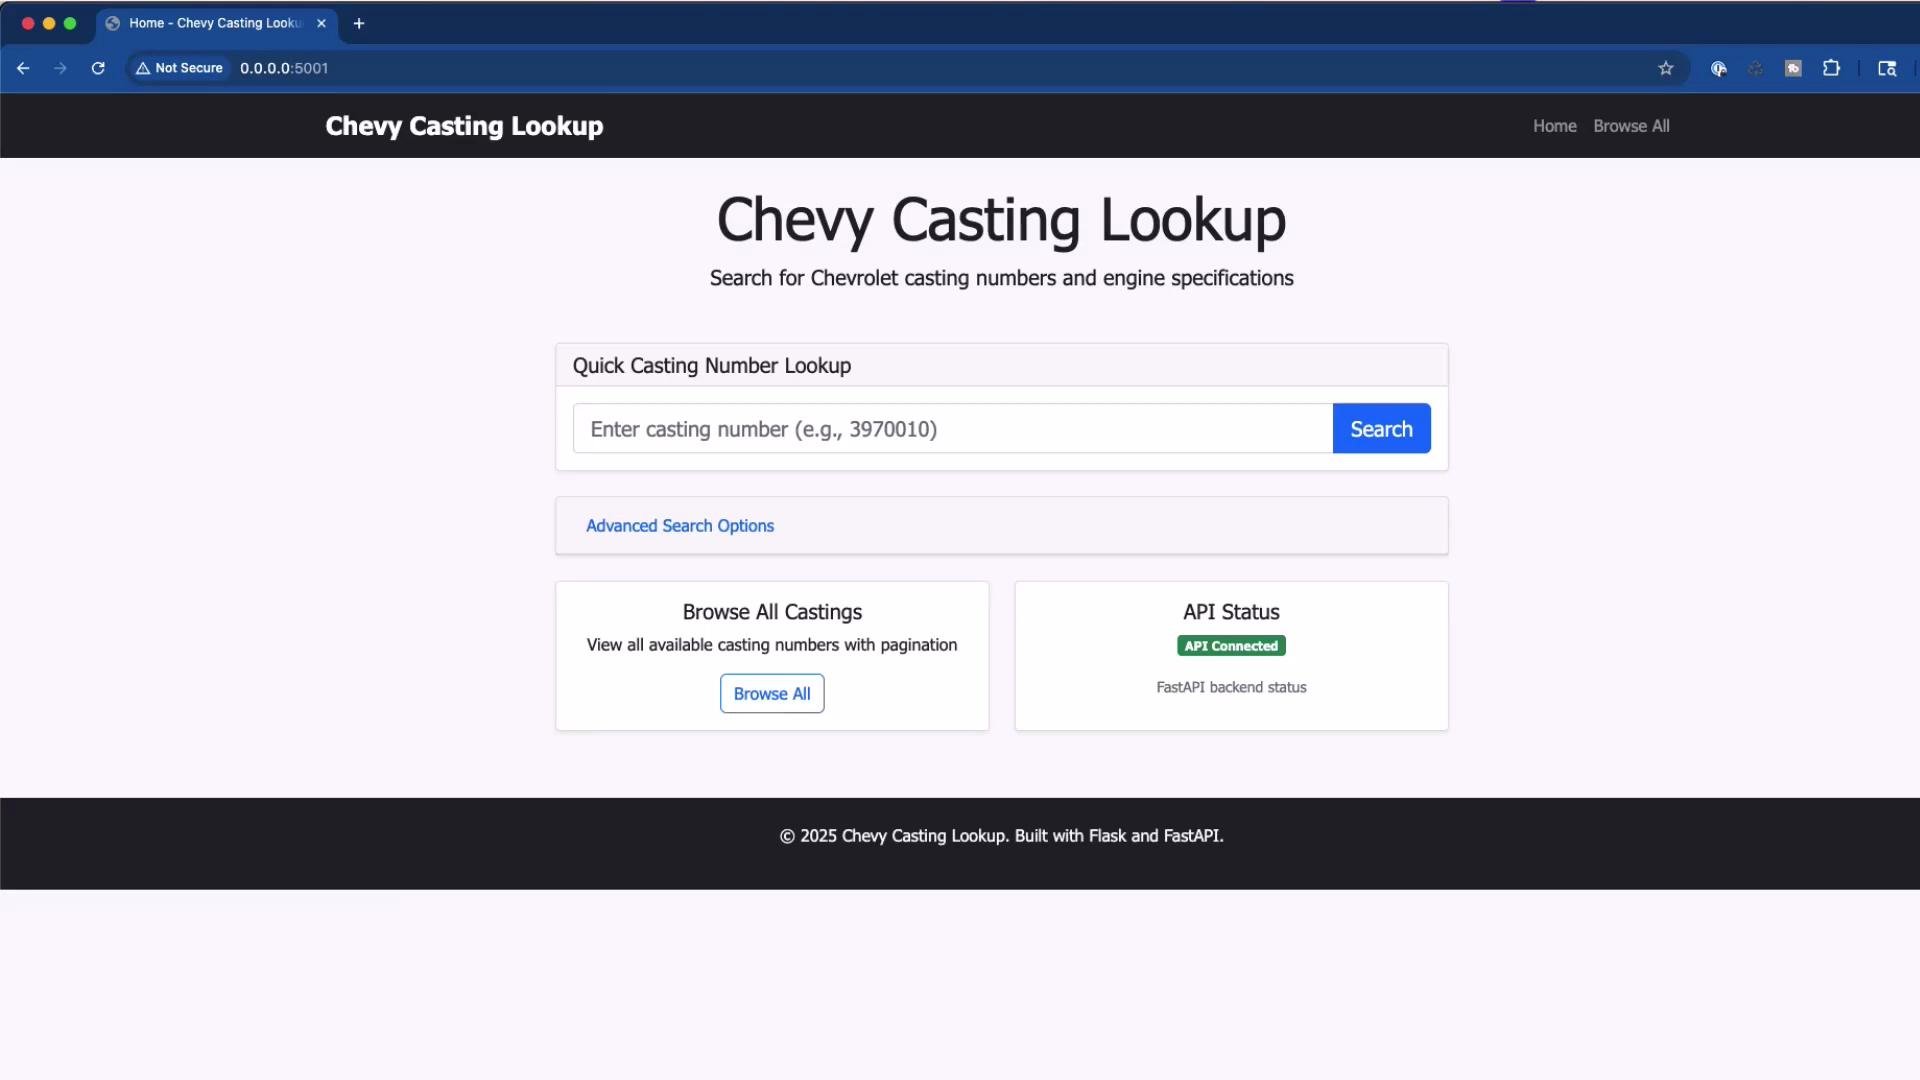
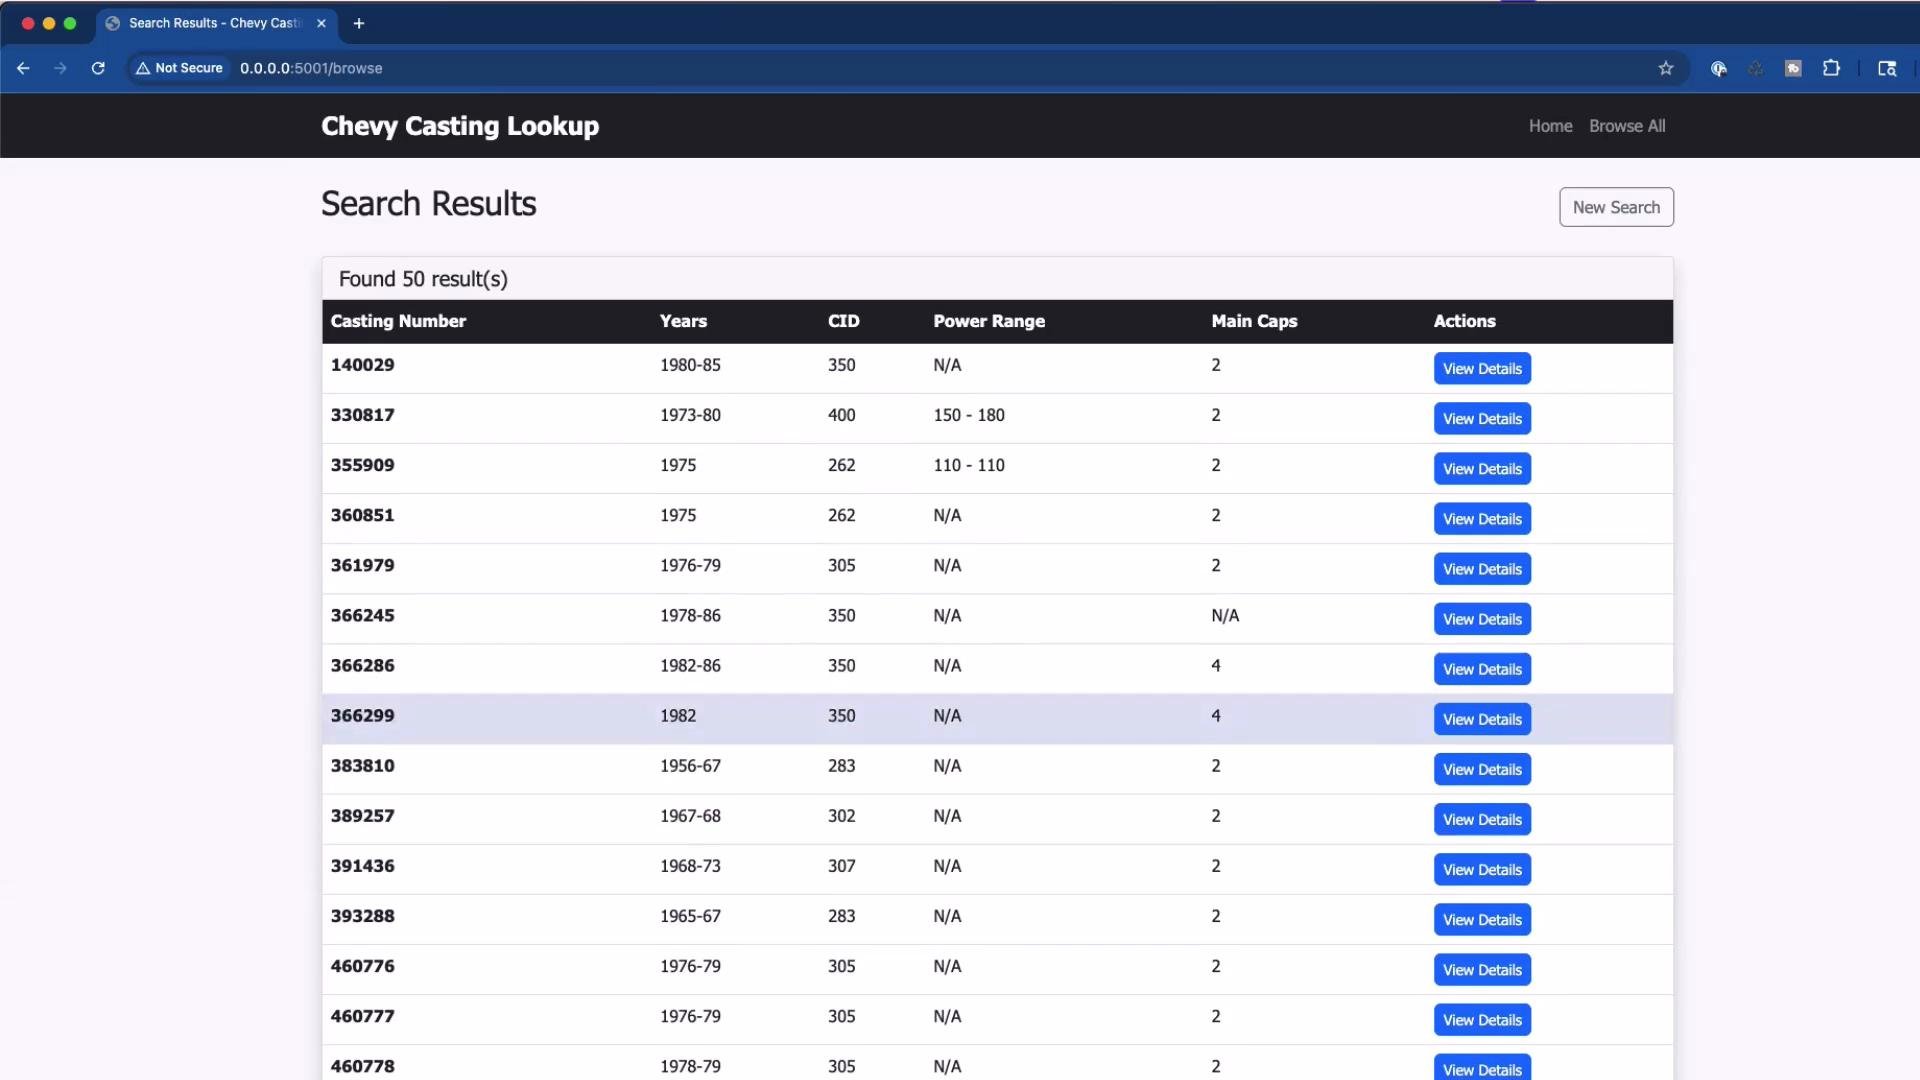
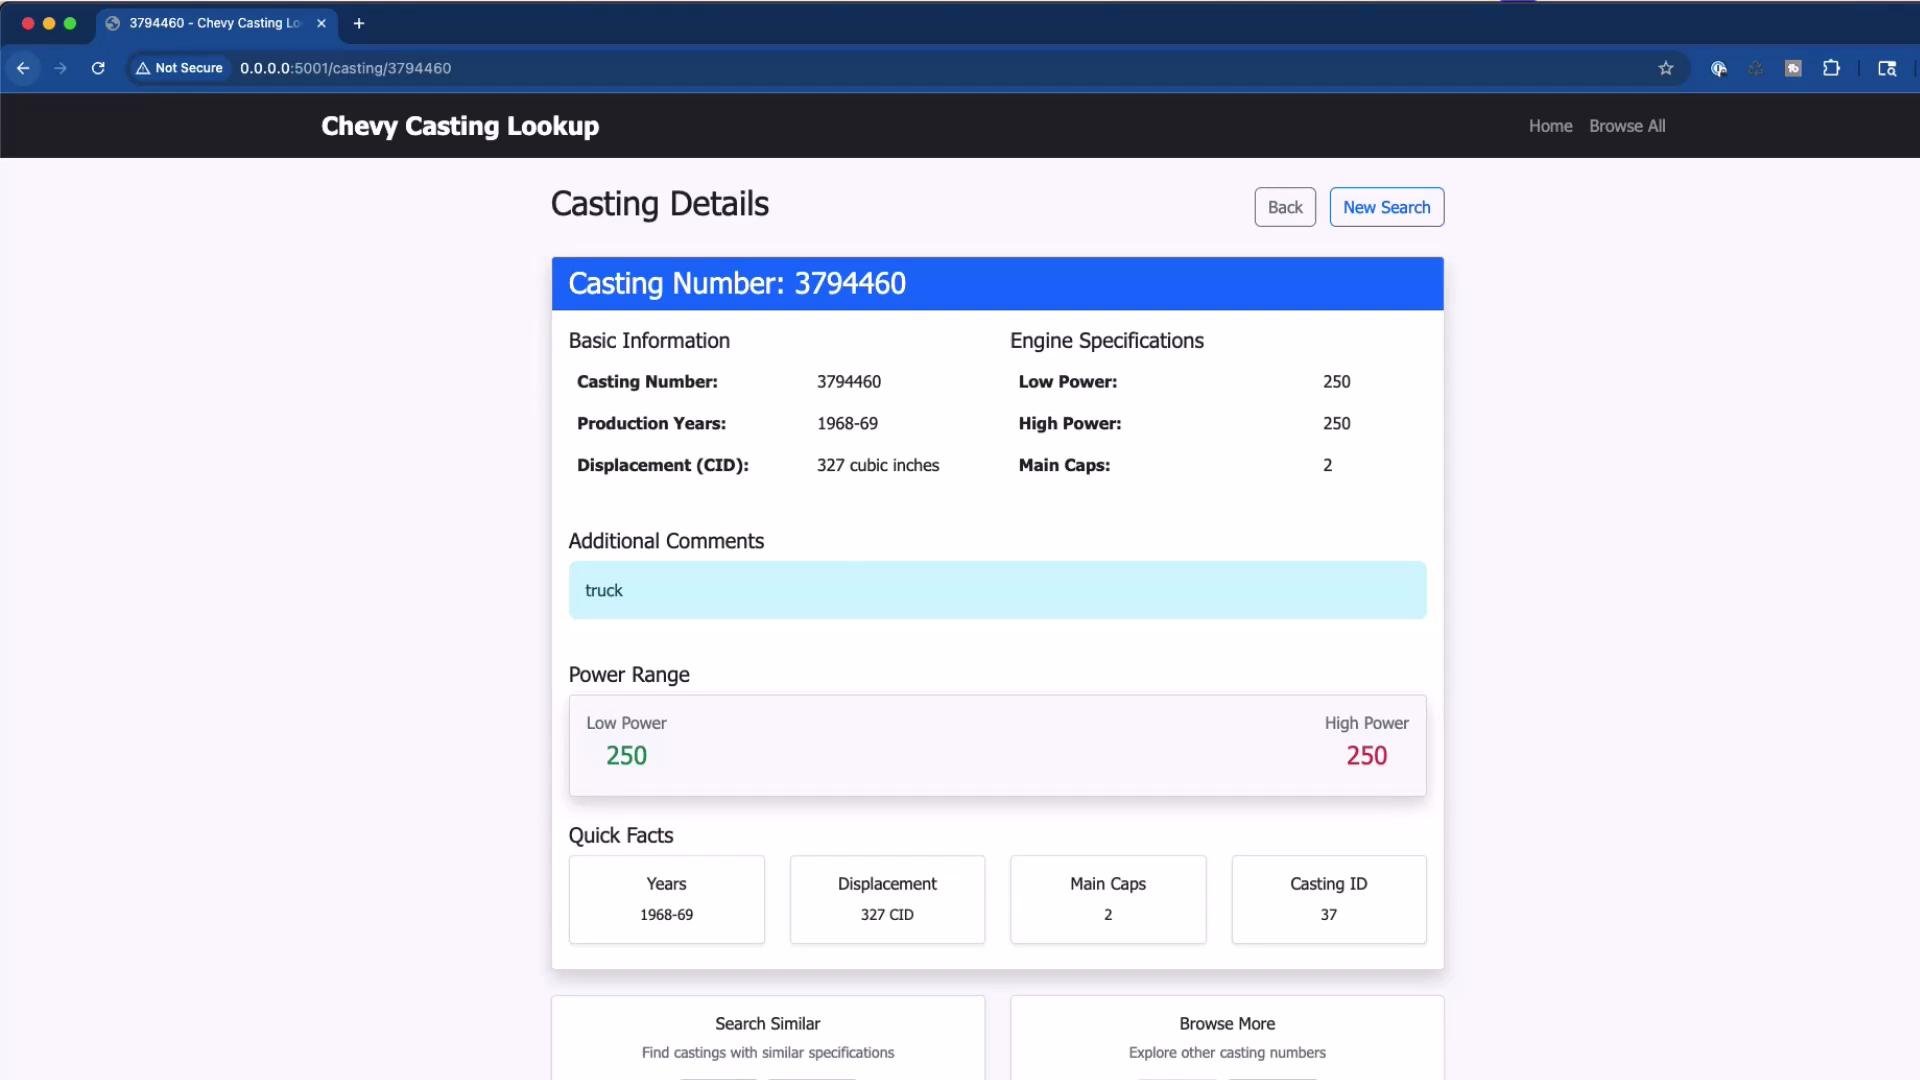
- Because the assistant was given a broad prompt (“create a web interface”), it added convenience features: “browse all”, “search similar”, and filtering by year/power.
- Narrow prompts yield more deterministic results; broad prompts enable creative additions.
- If the generated app doesn’t match your intent, restore to a snapshot and re-run with a refined prompt.
Common failure example (missing template):
Checkpoints provide fine-grained rollback and experimentation support while preserving your normal Git workflow. Use checkpoints to iterate quickly, then commit to Git when you have a stable, intentional batch of changes.
- Checkpoints capture each tool use (file edits, commands, assistant messages) in a shadow repository for quick diffs and restores.
- They complement — not replace — Git: commit stable snapshots to your main repository as usual.
- Monitor context window size; when limits are near, start a fresh conversation or trim history.
- Use checkpoints to experiment with generated code safely, and restore when needed to refine prompts or correct mistakes.
- Cline overview and course: https://learn.kodekloud.com/user/courses/cline
- Git basics: https://learn.kodekloud.com/user/courses/git-for-beginners
- FastAPI course: https://learn.kodekloud.com/user/courses/python-api-development-with-fastapi
- Flask documentation: https://flask.palletsprojects.com/