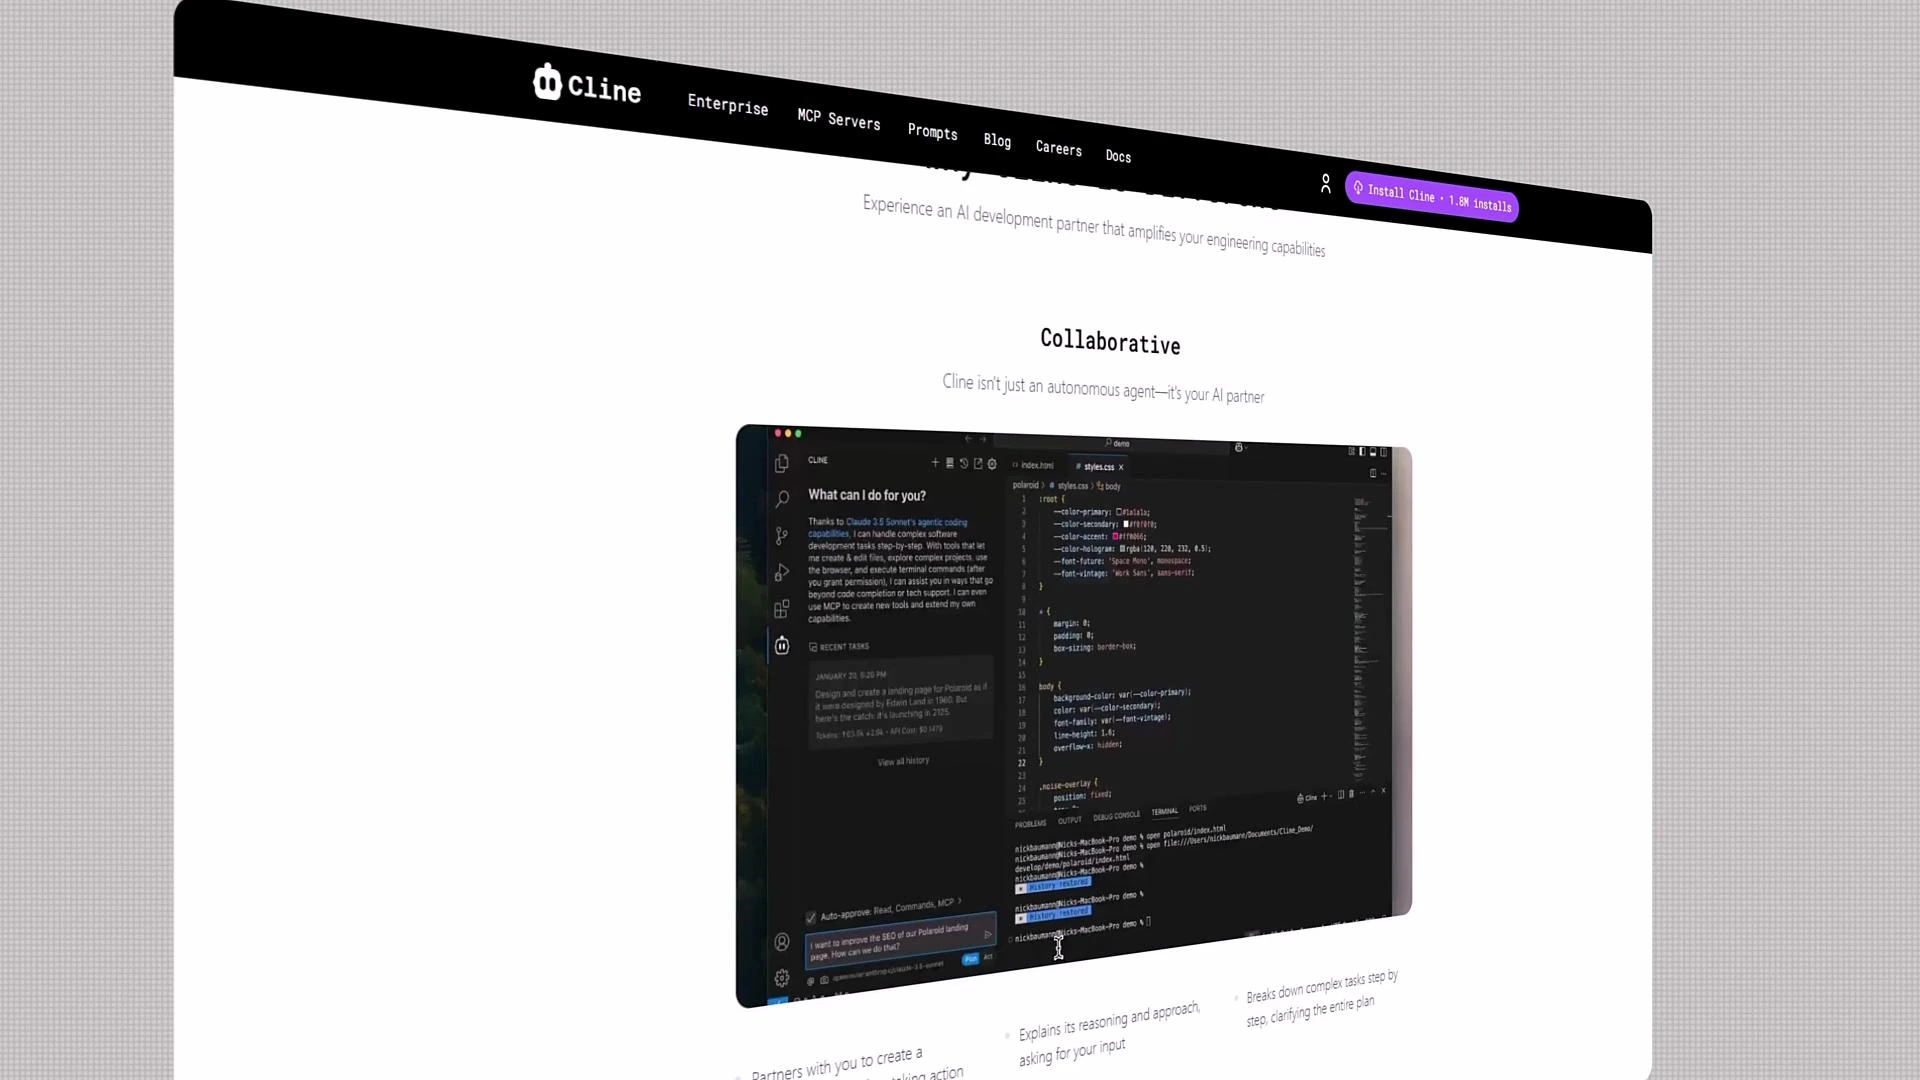
Introduction to Cline course teaching AI-powered development workflows, workspace setup, Plan and Act modes, prompt engineering, API documentation, and hands-on labs for engineers
Welcome. If you’re curious about the future of software development, you’re in the right place. Cline brings AI-powered development workflows to everyday engineering: fast iteration, intelligent automation, and a collaborative, extensible environment. Best of all, Cline is open source and free to use.I’m Jeremy Morgan, and I’ll guide you through this course. Whether you’re a beginner or an experienced engineer, you’ll learn how to use Cline’s AI features to build, automate, and maintain applications more effectively.
To illustrate how Cline interacts when diagnosing and running an application, here’s a typical assistant request panel. It explains the steps it will take and asks permission before executing commands:
API Request...To run the app and fix errors, I'll need to follow these steps:1. Start the development server2. Analyze any errors that occur3. Investigate the relevant files4. Make necessary corrections5. Verify the fixesLet's begin by starting the development server.Cline wants to execute this command:npm start[Cancel] [Allow]
This flow demonstrates Cline’s safe-execution model: it proposes a plan, shows you the commands, and asks for explicit approval before taking action.
Cline helps you author and maintain API documentation alongside code. Here’s an example OpenAPI-style endpoint listing for a simple “castings” resource:
Casting Number Lookup API/openapi.jsonAPI for looking up casting numbers and their associated datacastingsGET /api/castings/ Get CastingsPOST /api/castings/ Create CastingGET /api/castings/{casting_id} Get Casting By IdPUT /api/castings/{casting_id} Update CastingDELETE /api/castings/{casting_id} Delete CastingGET /api/castings/search/ Search CastingsdefaultGET / Read RootSchemasCasting › Expand all objectCastingCreate › Expand all objectCastingUpdate › Expand all object
To keep API code in sync with docs, you can use frameworks like FastAPI. Here’s a typical router implementation for the same resource:
from typing import List, Optionalfrom fastapi import APIRouter, Dependsfrom sqlalchemy.orm import Sessionfrom app.db.database import get_dbfrom app.models.casting import Casting as CastingModelfrom app.schemas.casting import Castingrouter = APIRouter()@router.get("/", response_model=List[Casting])def get_castings(db: Session = Depends(get_db)): # Return a list of castings pass@router.get("/{casting_id}", response_model=Casting)def get_casting_by_id(casting_id: int, db: Session = Depends(get_db)): # Return a single casting by id pass@router.get("/search/", response_model=List[Casting])def search_castings( years: Optional[str] = None, cid: Optional[int] = None, db: Session = Depends(get_db),): # Search castings by criteria such as years or cid pass
Running a FastAPI app locally produces startup and access logs similar to the example below. These logs are useful for troubleshooting and verifying that docs (e.g., /openapi.json, /docs) are served correctly:
Throughout this course you’ll complete practical labs and realistic scenarios to apply what you learn. We encourage collaboration — share logs, code snippets, and specific questions so others can help quickly.
If you get stuck at any point, post your question in the community forums with logs and code snippets. Sharing concrete details helps others help you faster.
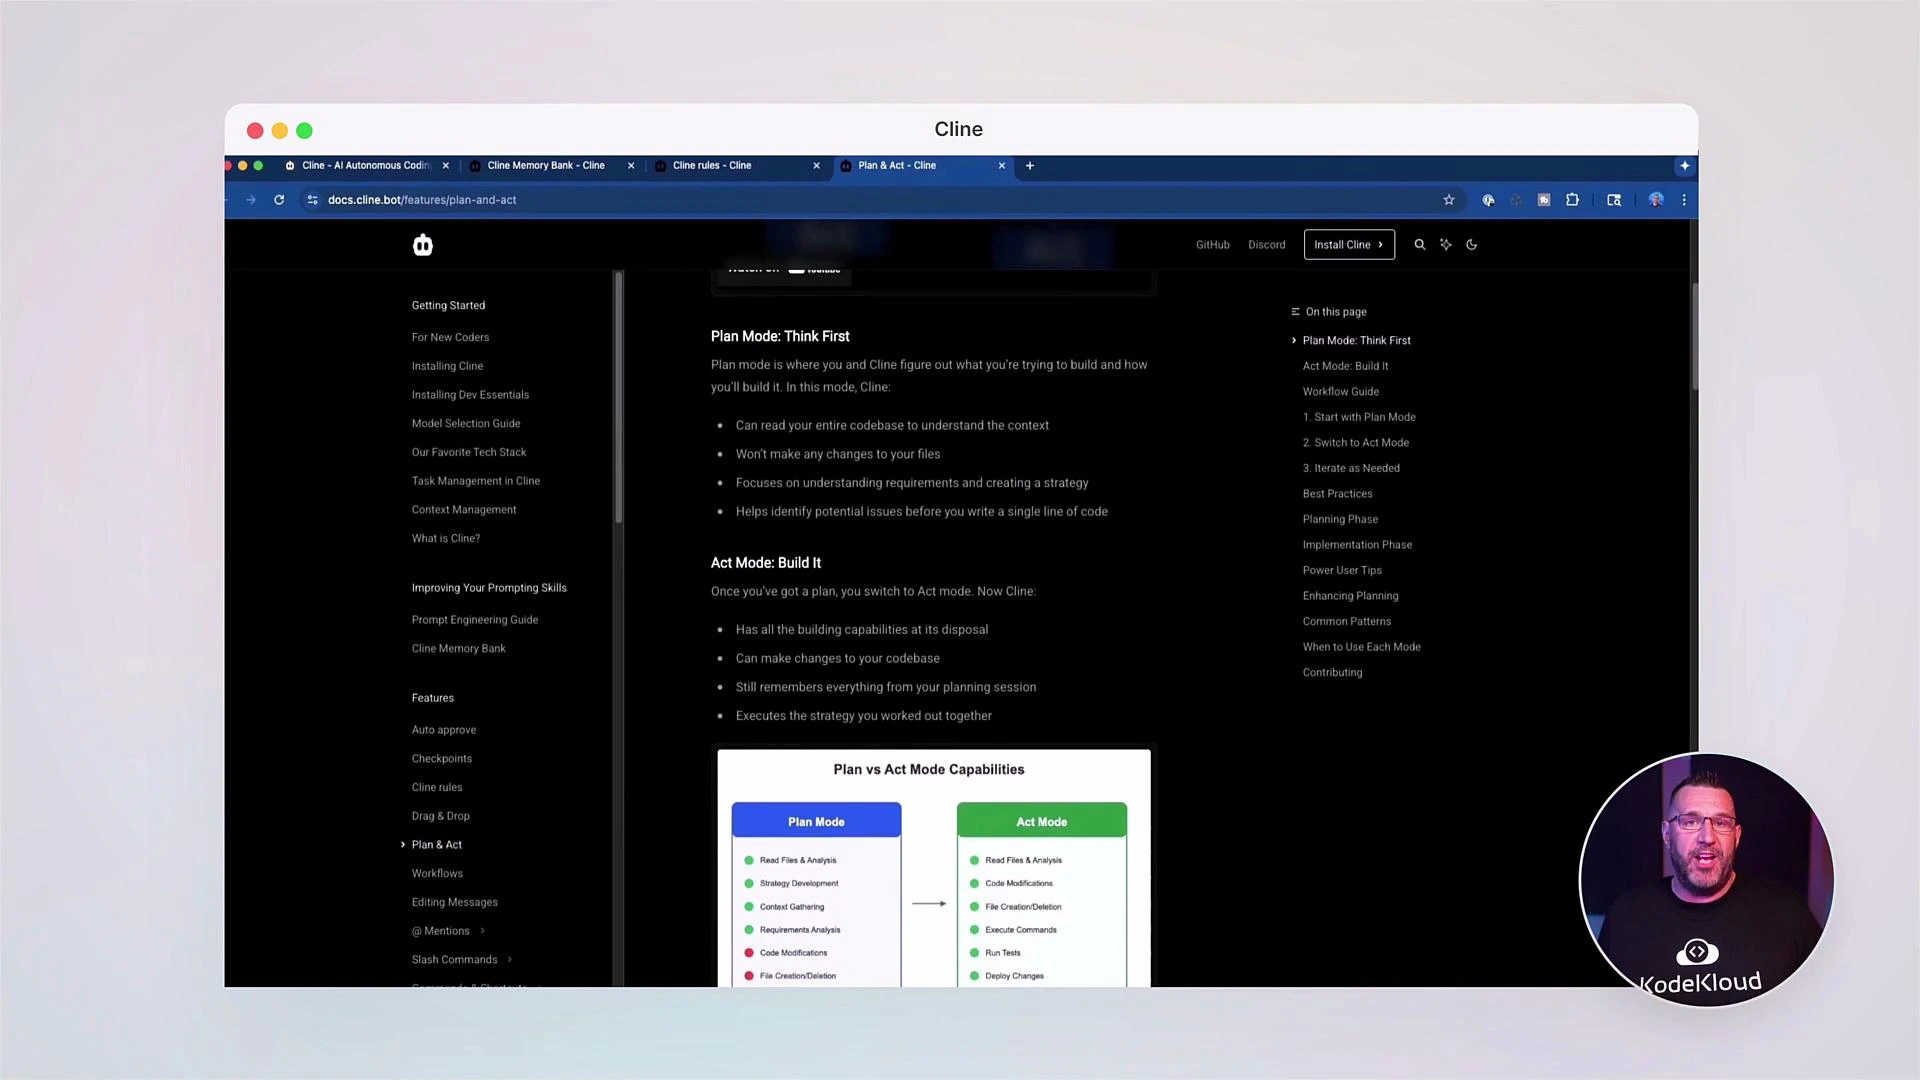
Ready to begin? Start with the workspace setup module: configure your default model, create a rule set, and practice a simple Plan + Act flow.Useful references:
Let’s build the future of AI-powered development together. If you have questions, reach out in the forums — I’m excited to guide you through this course.