

max_tokens, temperature, top_p, and stop.
Table of Contents
- Prerequisites
- Installation
- Client Setup
- Creating the Prompt Function
- Running and Testing
- Tuning Generation Parameters
- Parameter Reference Table
- Summary
- Links and References
Prerequisites
- Python 3.7+
- An OpenAI API key
- Basic familiarity with Python
Never commit your API key directly to source control. Use environment variables or a secrets manager in production.
Installation
Open your terminal in Visual Studio Code (Terminal → New Terminal) and install the OpenAI package:Client Setup
Create a new file namedprompt_engine.py and initialize the OpenAI client. For this example, we’ll inject the API key inline—remember to switch to environment variables later.
Creating the Prompt Function
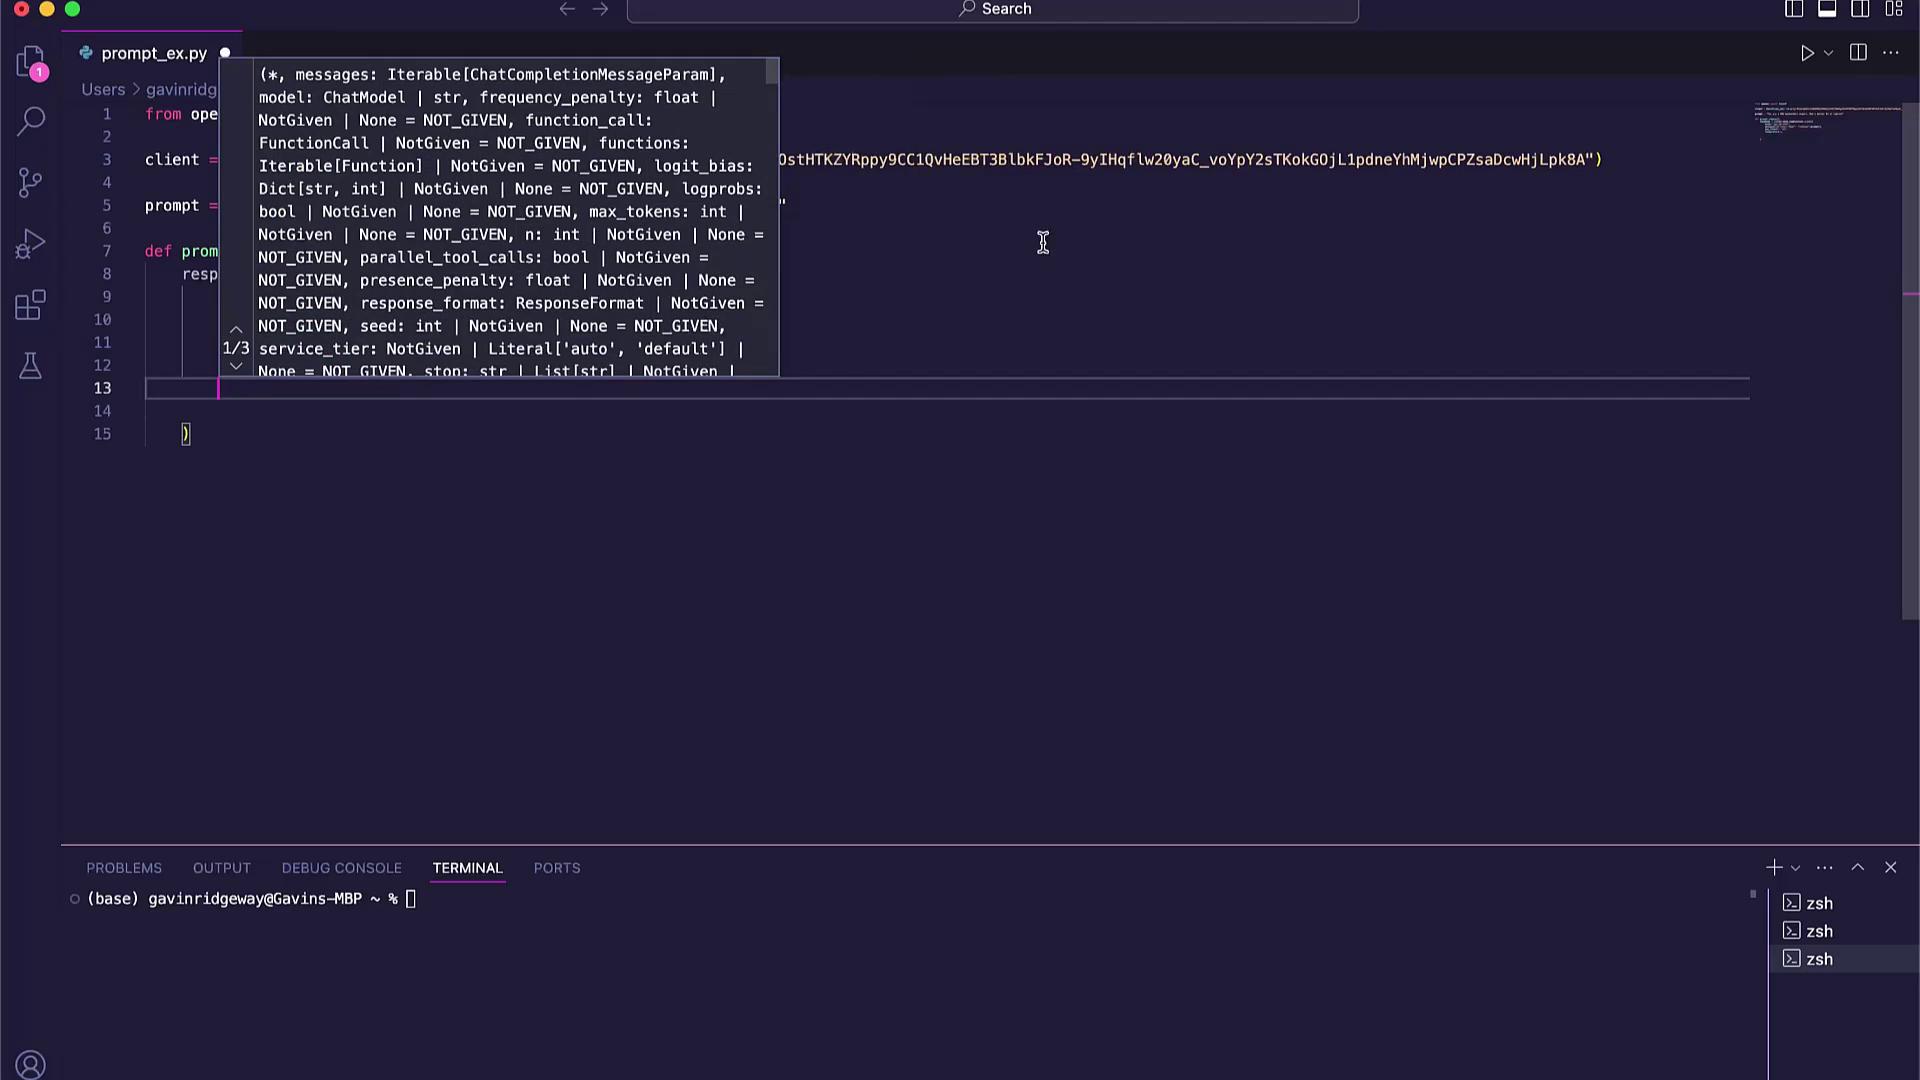
Define a functionprompt_engine that sends user input to the model and returns the generated text:
Running and Testing
Append a sample prompt and print the result:Tuning Generation Parameters
Fine-tuning parameters lets you control creativity, length, and focus. Here’s how to adjust the main options:max_tokens
Controls the maximum number of tokens in the response. Increase for more detailed output:temperature
Sets randomness:- 0.0 for deterministic responses
- 1.0 for highly creative output
top_p
Limits token selection to a cumulative probability. Lower values focus the output:top_p must be between 0 and 1 (exclusive). Values closer to 0 yield more focused results.stop
Define one or more stop sequences to end the generation early:Parameter Reference Table
Summary
You’ve now covered:- Installing the OpenAI Python SDK
- Initializing the
OpenAIclient - Writing a generic
prompt_enginefunction - Running and validating outputs
- Fine-tuning with
max_tokens,temperature,top_p, andstop