

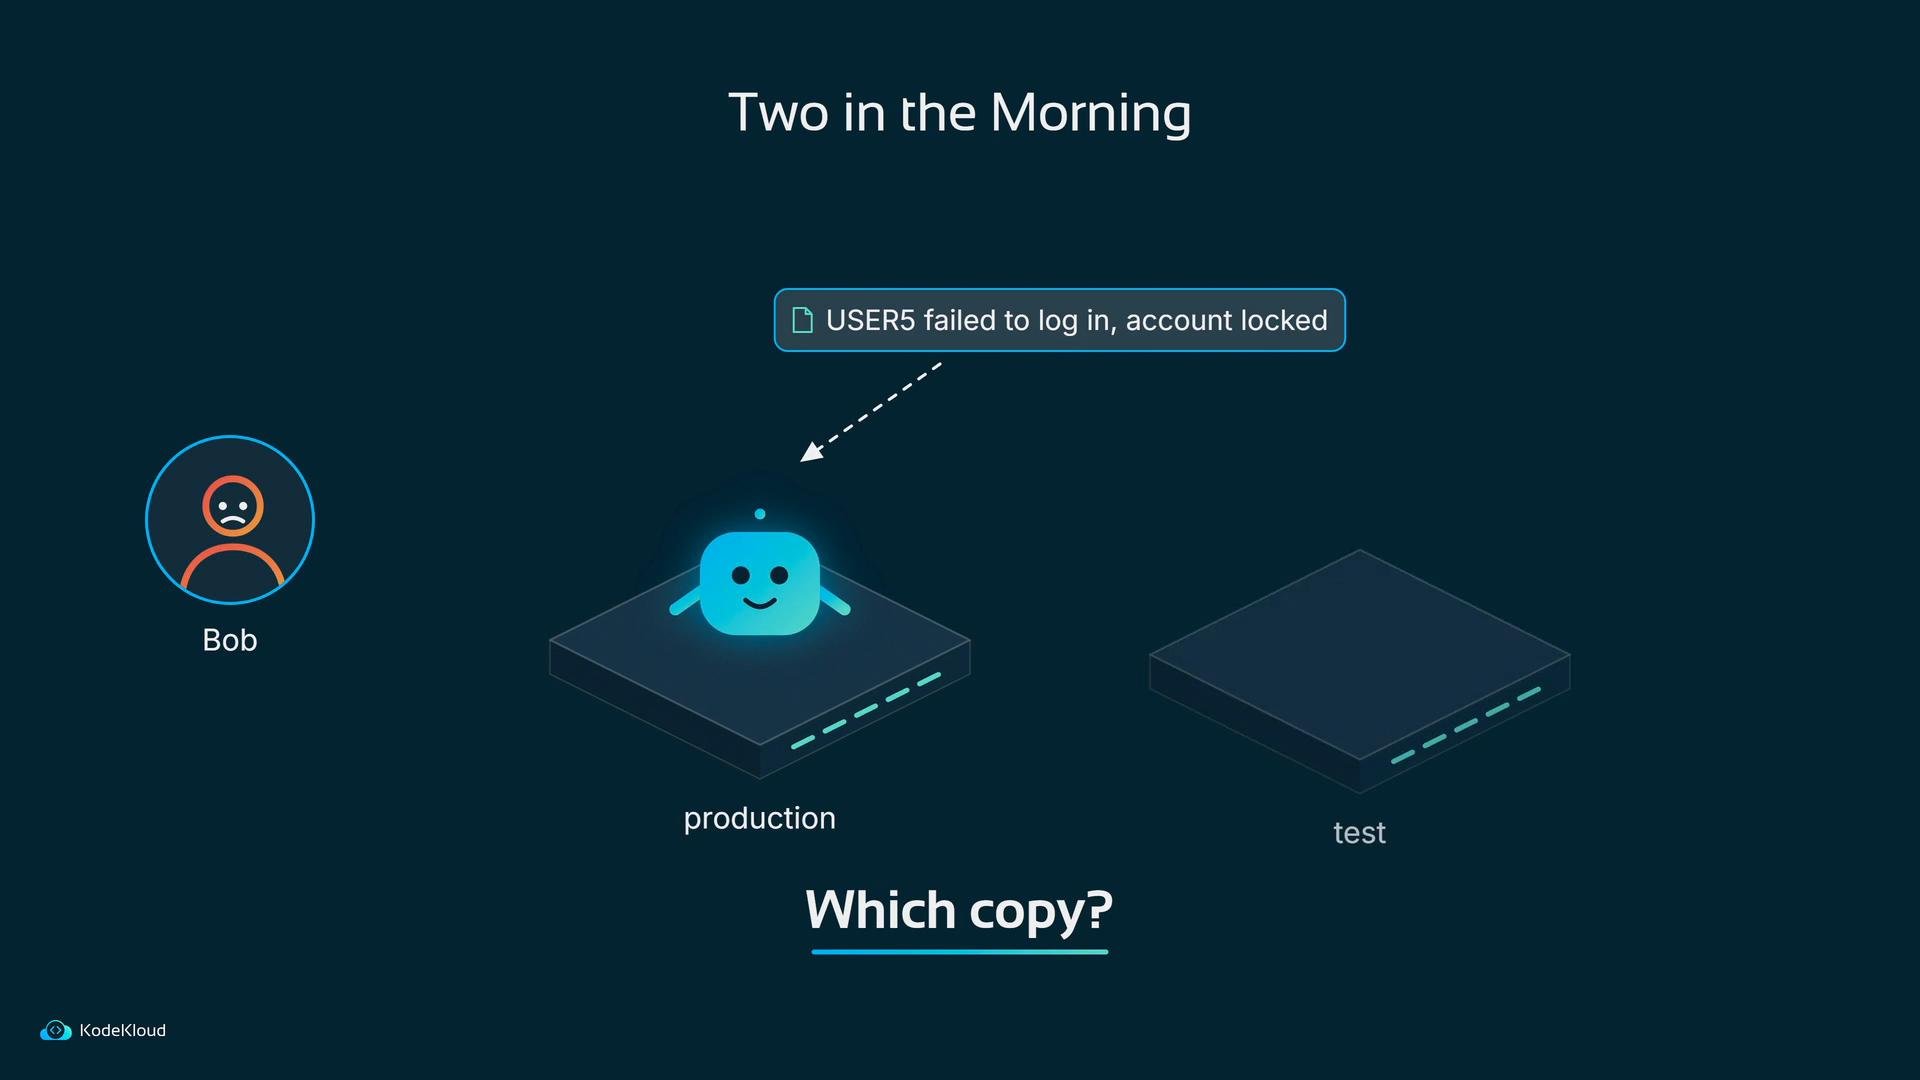
team or environment) attached to each record, something must add those fields while the record is passing through Fluentd.
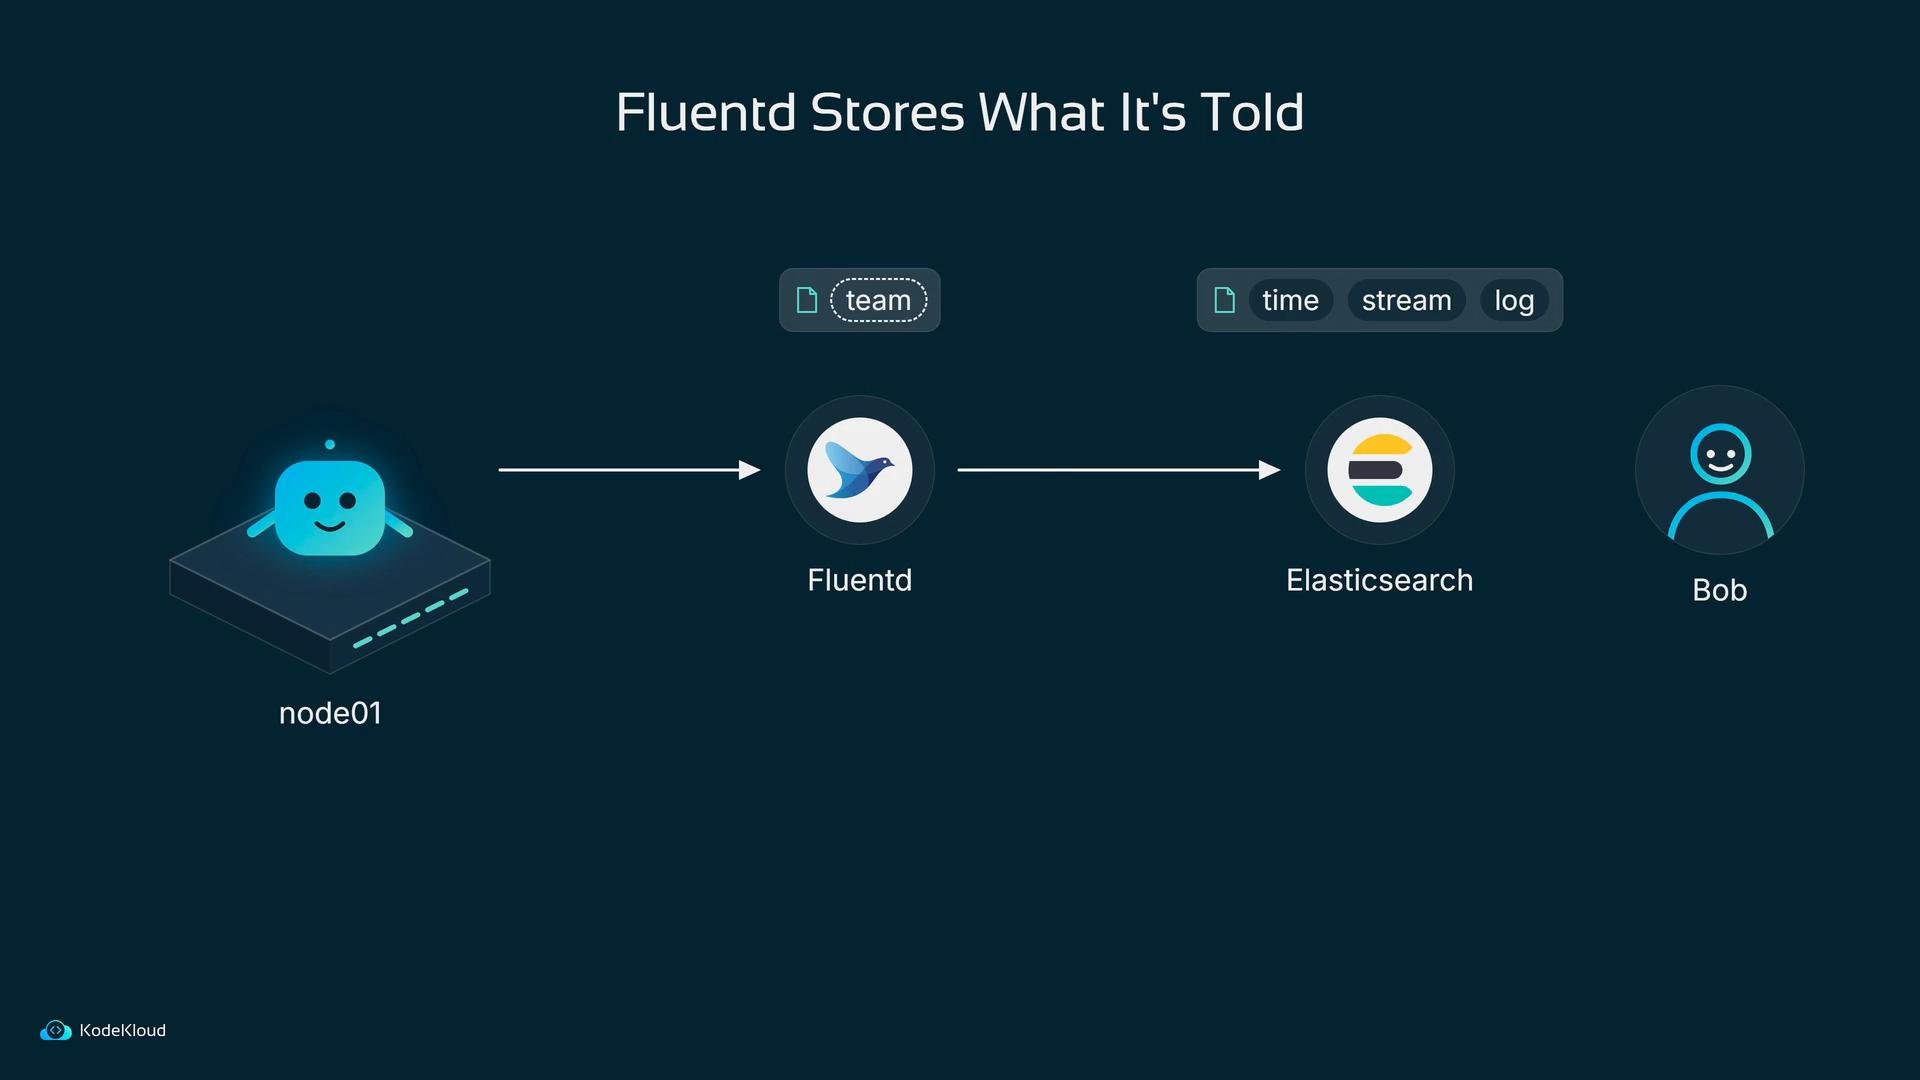
Log Enrichment: Filters and Plugins
Fluentd’s pipeline is normally: Read → (optional) Filter → Send. The filter stage is where you enrich, parse, or drop records. If you need extra context, the filter step is not optional.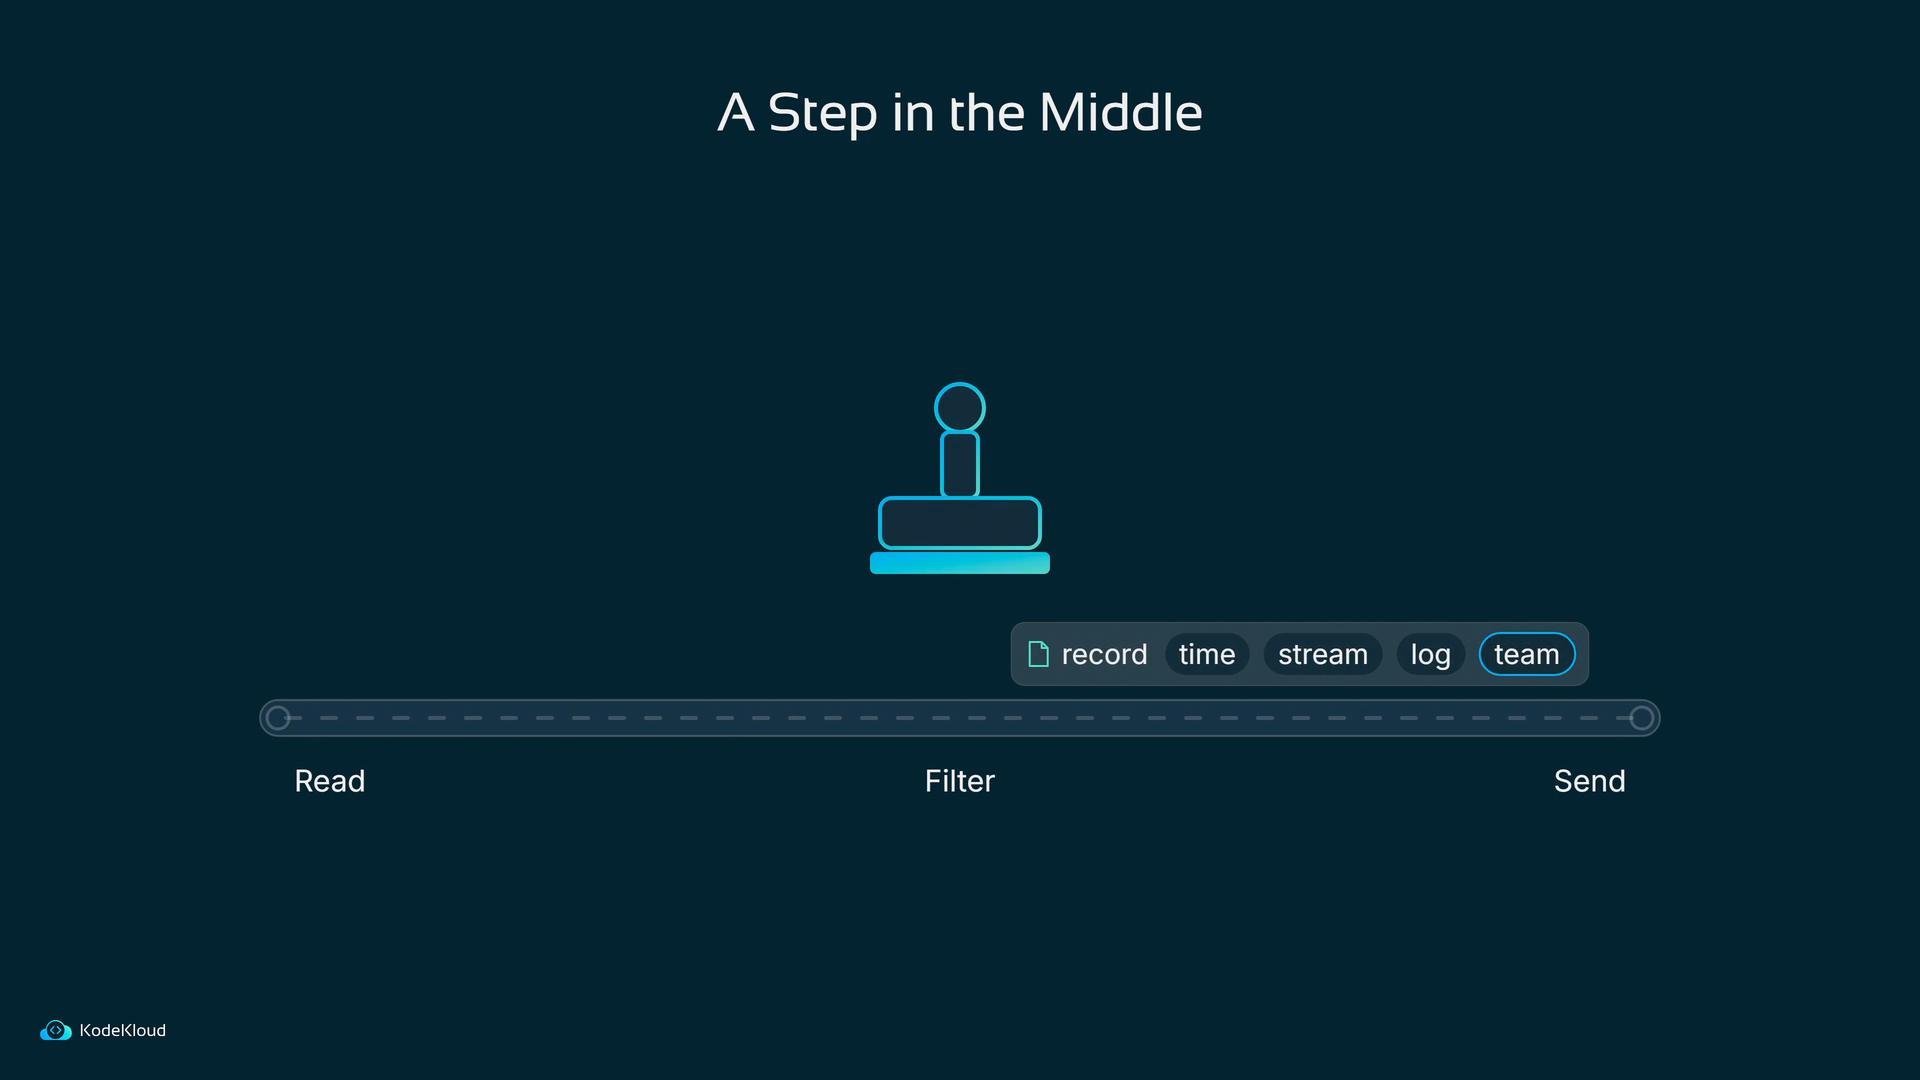
environment: production before the line continues. Fluentd includes many built-in filters (for example record_transformer, parser, or kubernetes_metadata). When none of the built-in filters does exactly what you need, you can create a small custom filter plugin.
A Fluentd plugin is a Ruby file that Fluentd loads at startup. A filter plugin receives each record, can mutate it, and returns it. For simple enrichment (add team and environment if missing), a custom plugin can be only a few lines.
Example Fluentd config block that references a custom filter plugin:
team and environment fields if they are missing:
/etc/fluent/plugin) and enable it in your Fluentd config, passing desired parameters:
Remember to restart Fluentd after placing a plugin file so Fluentd loads it at startup.
Index Lifecycle: Rollover and Retention
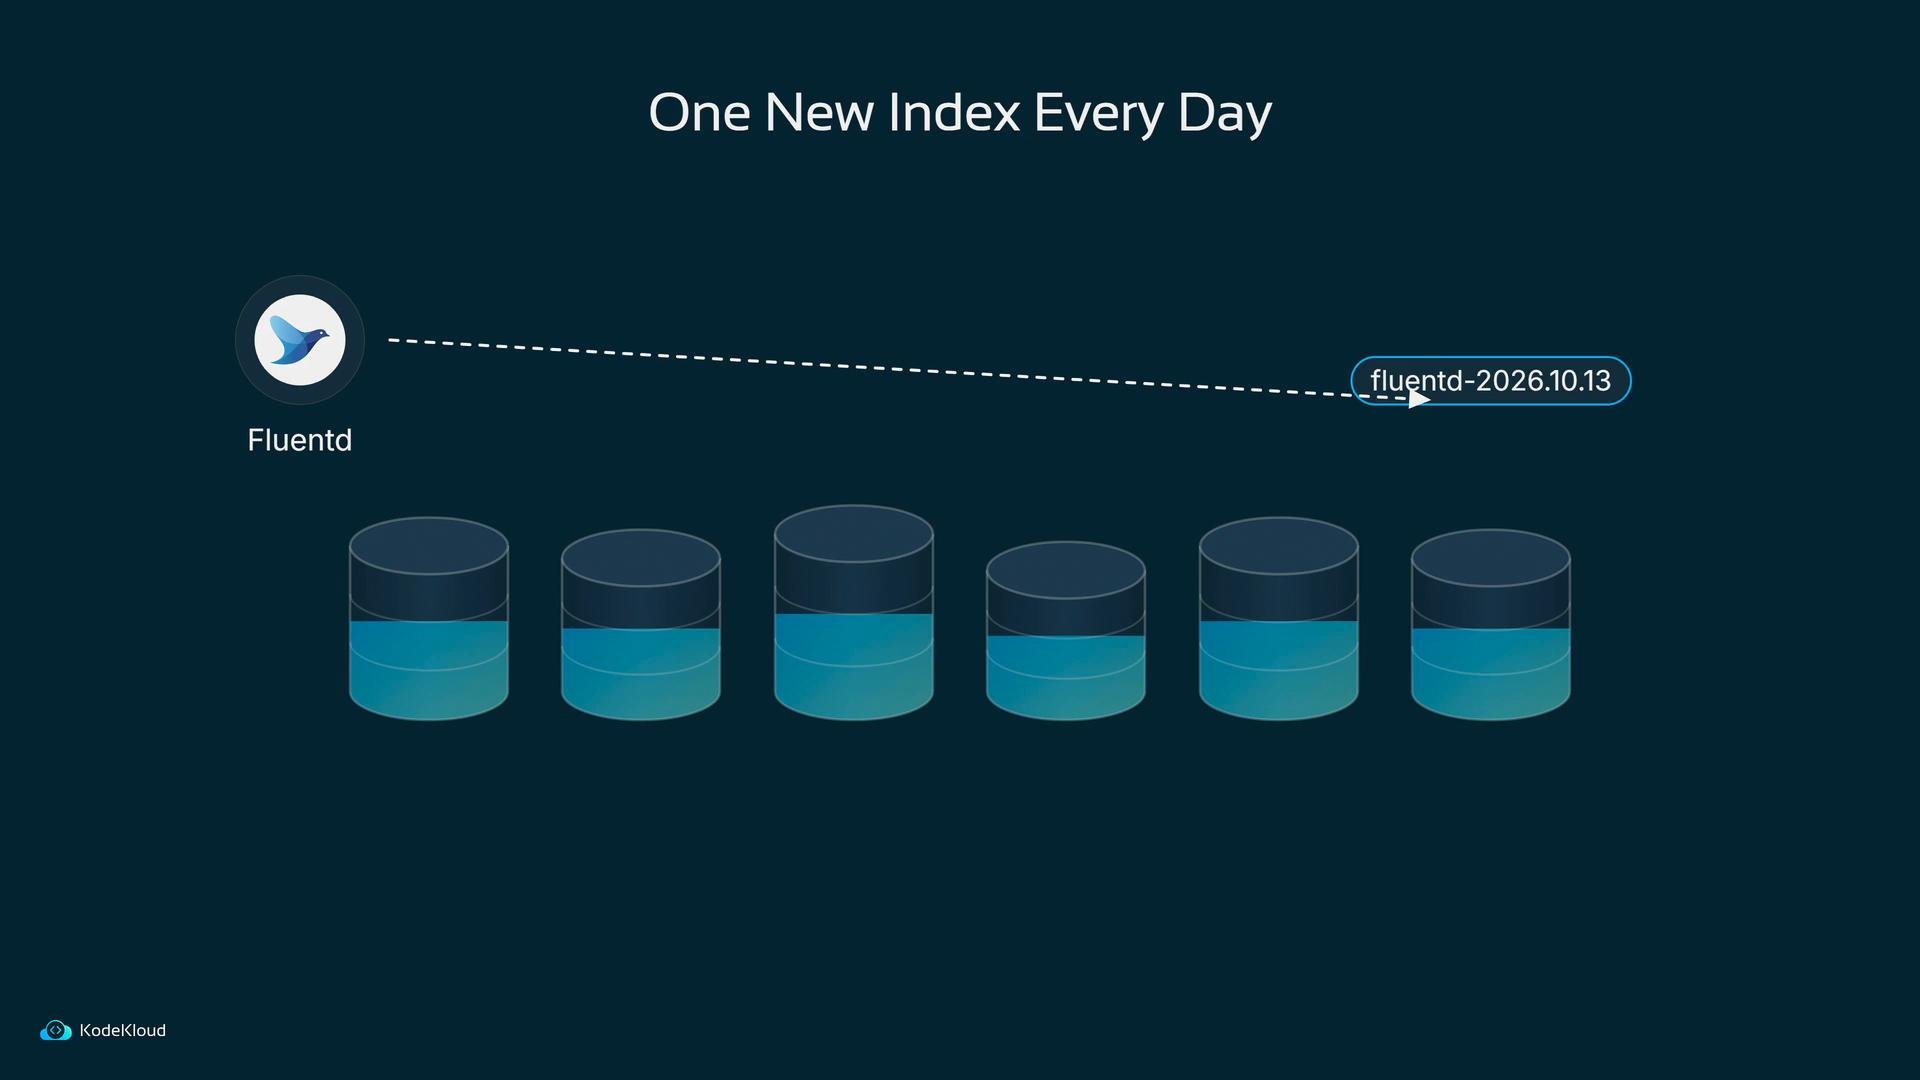
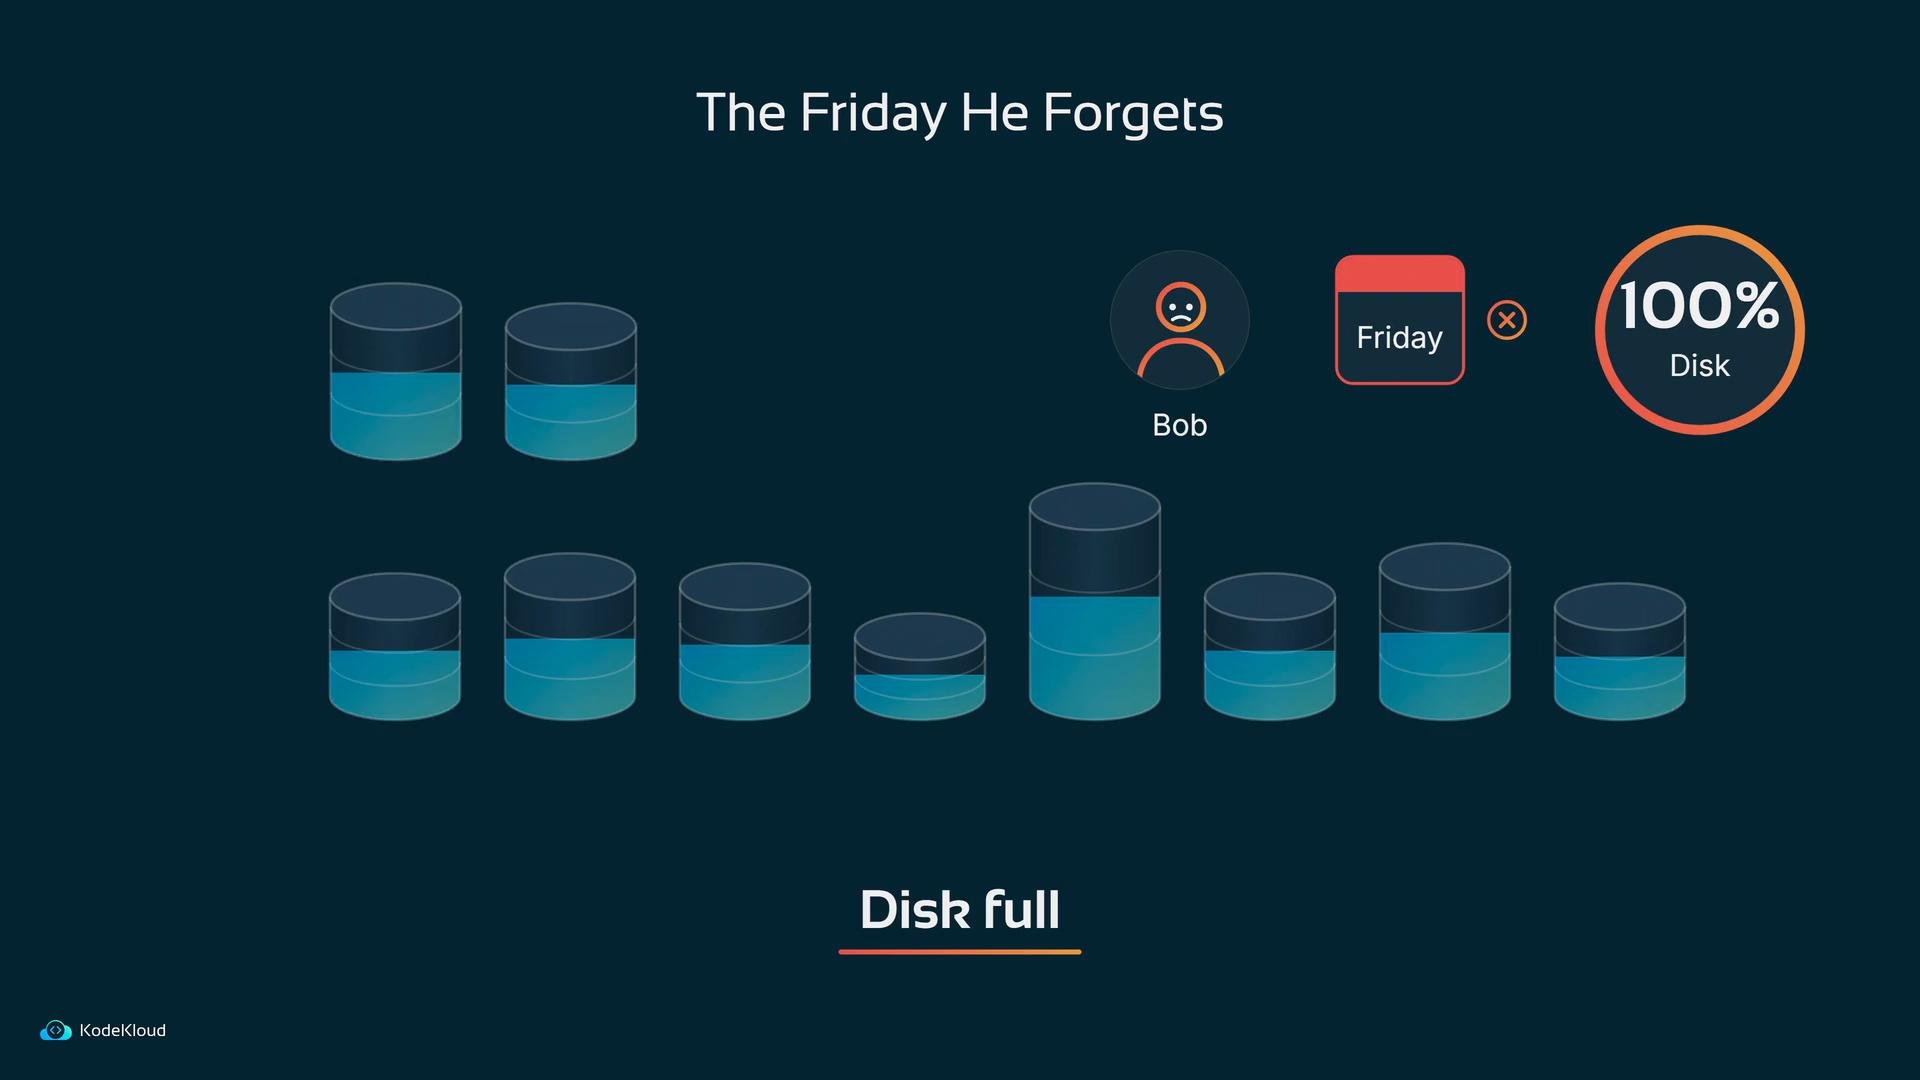
Even with enrichment solved, another operational problem remains: index growth and disk usage. By default Fluentd/ELK deployments commonly create a new index per day (for examplefluentd-2026.10.13). A quiet day produces a small index; a busy month-end might create a very large one. If indices accumulate indefinitely, disk fills up.
- Rollover when an index reaches 5 GB or 30 days (whichever comes first) — the “hot” phase.
- Delete indices once they are 90 days old — the “delete” phase.
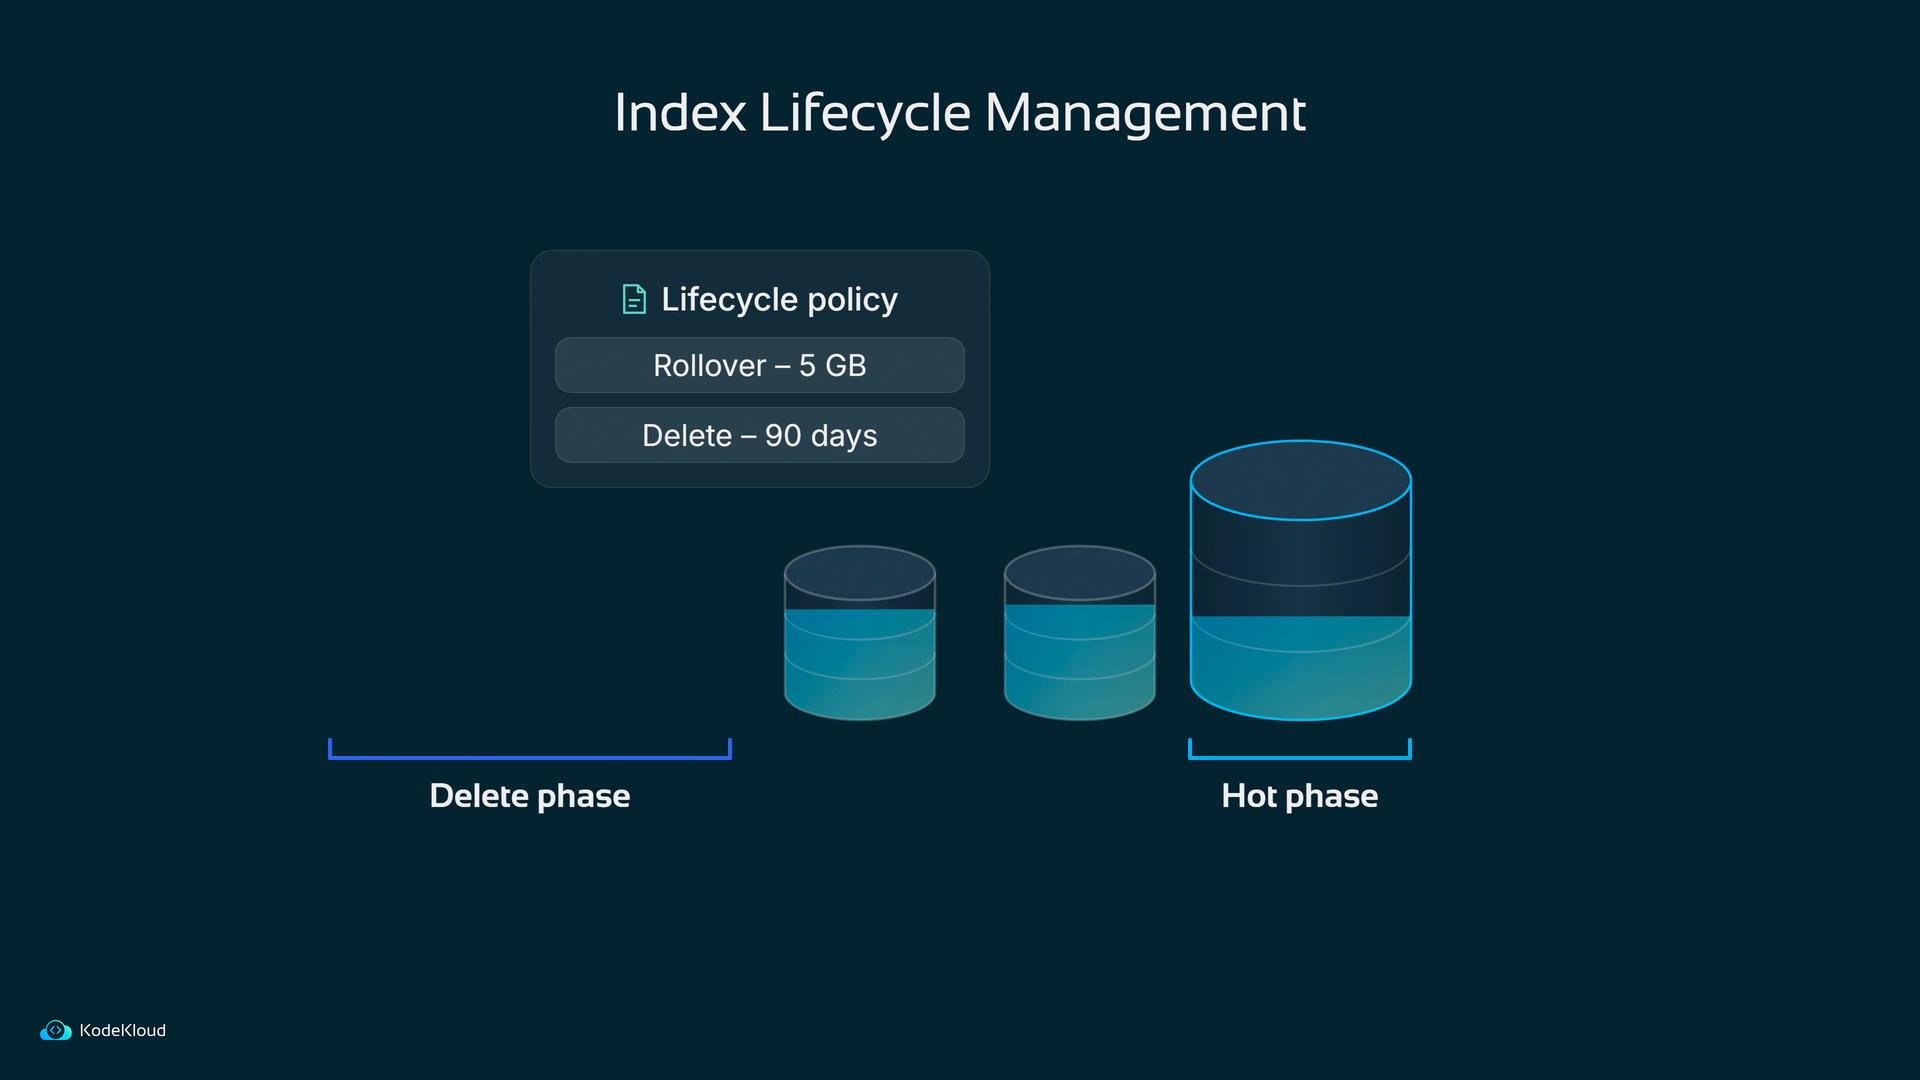
- Hot phase: the index is actively written to.
- Rollover: switch from the current concrete index (e.g.,
fluentd-000001) to a new one when size/age limits are reached. - Delete phase: remove indices after retention expires.
- Use a write alias (for example
fluentd-write) that points to the current write index — ILM manages the concrete indices beneath that alias.
- If you need context that isn’t in the original log line, add it in Fluentd while the event flows through the pipeline — you cannot reconstruct it reliably later.
- If data has a known shelf life, encode that shelf life in an ILM policy rather than relying on manual deletions.
Implementation: Enrichment + ILM (Step-by-step)
Below are the concrete steps and example snippets to implement both log enrichment (Fluentd filter plugin) and automated index lifecycle (Elasticsearch ILM and template).- Create the Fluentd filter plugin and enable it
- Place the Ruby plugin file (example above) into Fluentd’s plugin directory, for example
/etc/fluent/plugin/my_custom_filter.rb. - Add a filter block to Fluentd config to enable the plugin and pass parameters:
- Create an ILM policy in Elasticsearch
- Define a lifecycle policy that rollovers at 5 GB or 30 days and deletes at 90 days:
- Configure an index template and write alias for rollover
- ILM rollovers work best when writing to an alias like
fluentd-write. Attach the ILM policy via an index template and define the alias:
- Create the initial concrete index and mark the alias as the write index:
- Point Fluentd at the write alias
- Configure Fluentd’s Elasticsearch output to write to the alias name so ILM can rollover the underlying concrete indices:
- Fluentd enriches each record as it passes through the filter, so you can query by
teamorenvironmentin Kibana and find which copy produced the locked-account message. - Elasticsearch ILM rollovers indices and deletes them after the retention period, preventing disk-full surprises and removing the need for manual index cleanup.
Quick reference
Summary
- Use Fluentd filters or custom plugin filters to enrich logs as they pass through the pipeline — add
team,environment, pod names, etc. at ingestion time. - Use Elasticsearch ILM (rollover + delete) to automate lifecycle management and avoid manual deletions and disk exhaustion.
- Combine both: enrichment ensures logs have the context needed to answer operational questions; ILM ensures logs don’t consume unbounded storage.
Links and References
- Fluentd documentation: https://docs.fluentd.org/
- Elasticsearch Index Lifecycle Management: https://www.elastic.co/guide/en/elasticsearch/reference/current/index-lifecycle-management.html
- Elasticsearch templates and aliases: https://www.elastic.co/guide/en/elasticsearch/reference/current/index-templates.html