

1 — Create a namespace and set it as default
Create a named “folder” for the Elasticsearch objects and make it the default for your kubectl session so subsequent commands don’t need-n elastic-stack:
Using a dedicated namespace (
elastic-stack) isolates the EFK/Elasticsearch objects (PersistentVolumes, Services, StatefulSets, etc.) from your application namespaces and simplifies resource management and RBAC.2 — PersistentVolume (the disk)
Decide the storage first so the StatefulSet can bind to it. Create a PersistentVolume manifest forpv-elasticsearch that exposes a 5Gi hostPath on the node. Example:
3 — Service (the address) — create before pods
A Service provides a stable network address for Elasticsearch. Create a NodePort Service namedelasticsearch that exposes:
- port 9200 — HTTP, search/data API
- port 9300 — inter-node transport
Why create the Service first? Services route by labels, so when matching pods appear they will be immediately discoverable.
4 — StatefulSet (the Elasticsearch pods)
A StatefulSet gives predictable identities and stable storage. Key configuration pieces:metadata.name: elasticsearchand pod labelapp=elasticsearch- container image:
docker.elastic.co/elasticsearch/elasticsearch:7.1.0 discovery.type=single-nodeso the cluster knows it’s intentionally running alone (for single-node setups)
discovery.type, pass the setting on the Elasticsearch command line (for example, start Elasticsearch with -E discovery.type=single-node) or provide the setting in the configuration file.
Persistent storage for the StatefulSet
UsevolumeClaimTemplates so each pod gets a PersistentVolumeClaim that binds to the pv-elasticsearch we created earlier:
5 — Fix filesystem ownership (init container)
Elasticsearch runs as UID 1000. A brand-newhostPath directory on the node is typically owned by root and not writable by UID 1000. This prevents Elasticsearch from starting. Fix ownership before the main container starts using an init container that runs chown on the mount.
The data directory on the host must be writable by Elasticsearch (UID 1000). If permissions are incorrect, the main container will fail to start. The
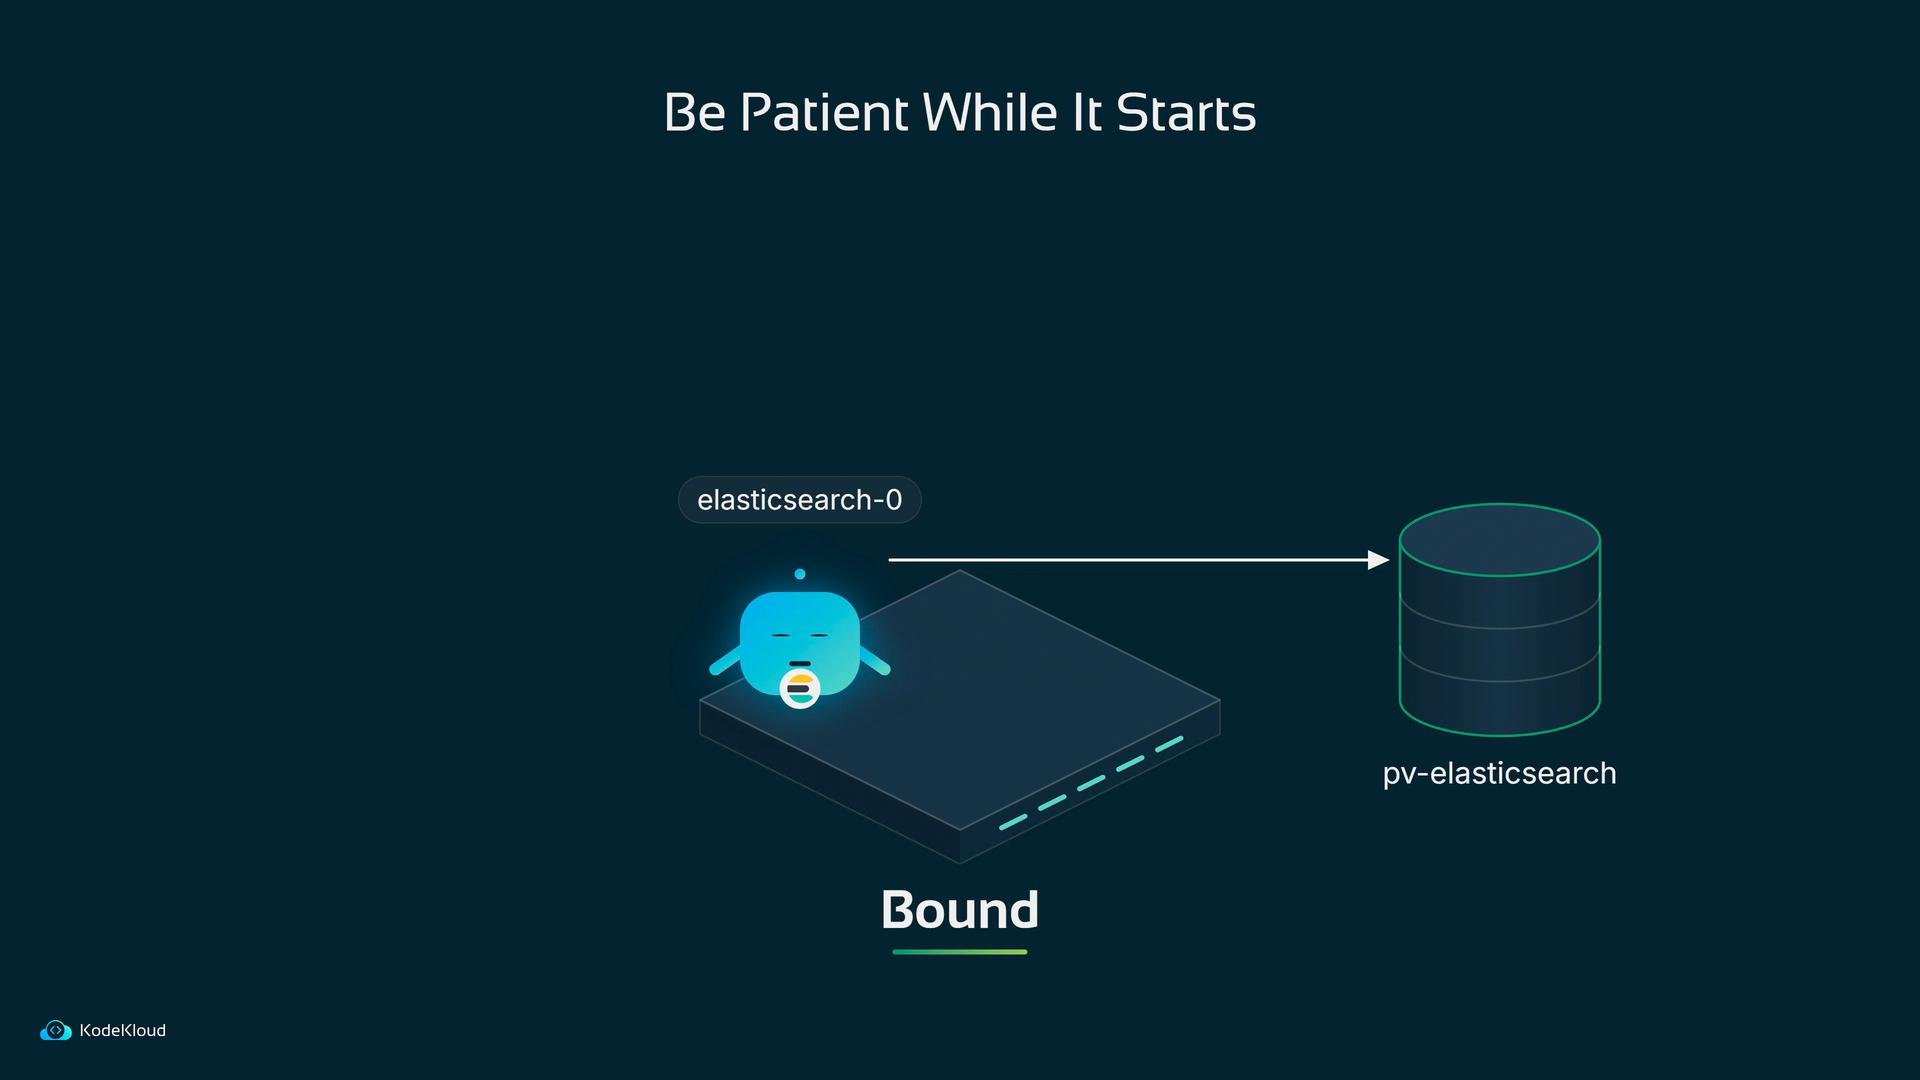
initContainer below corrects ownership before Elasticsearch starts.kubectl apply -f elasticsearch-statefulset.yaml) and watch Kubernetes create the first pod elasticsearch-0. StatefulSet pods are numbered predictably (e.g., elasticsearch-0, elasticsearch-1).
Be patient: Elasticsearch can take some time to initialize. During startup the PVC will bind to pv-elasticsearch, the init container will run and exit successfully, and then the main container will boot.
6 — Verify readiness
Check Elasticsearch from multiple angles:- Pods:
kubectl get pods -l app=elasticsearch— wait for the READY column to indicate readiness. - Endpoints:
kubectl get endpoints elasticsearch— the Service should show the IP ofelasticsearch-0. - HTTP API: from a node, curl the NodePort:
Summary of created objects
At this point Elasticsearch is running, reachable via the Service NodePort, and its data directory is persisted on the host. The index data will remain across pod restarts and reschedules. The cluster is healthy but still empty until your application starts writing documents.
Links and references
- Kubernetes: Services
- Kubernetes: StatefulSets
- Kubernetes: PersistentVolumes and PersistentVolumeClaims
- Elasticsearch: Configuration