Tutorial showing how to create an Ansible playbook to install and configure Apache on RHEL, deploy a template index page, and manage the service with handlers.
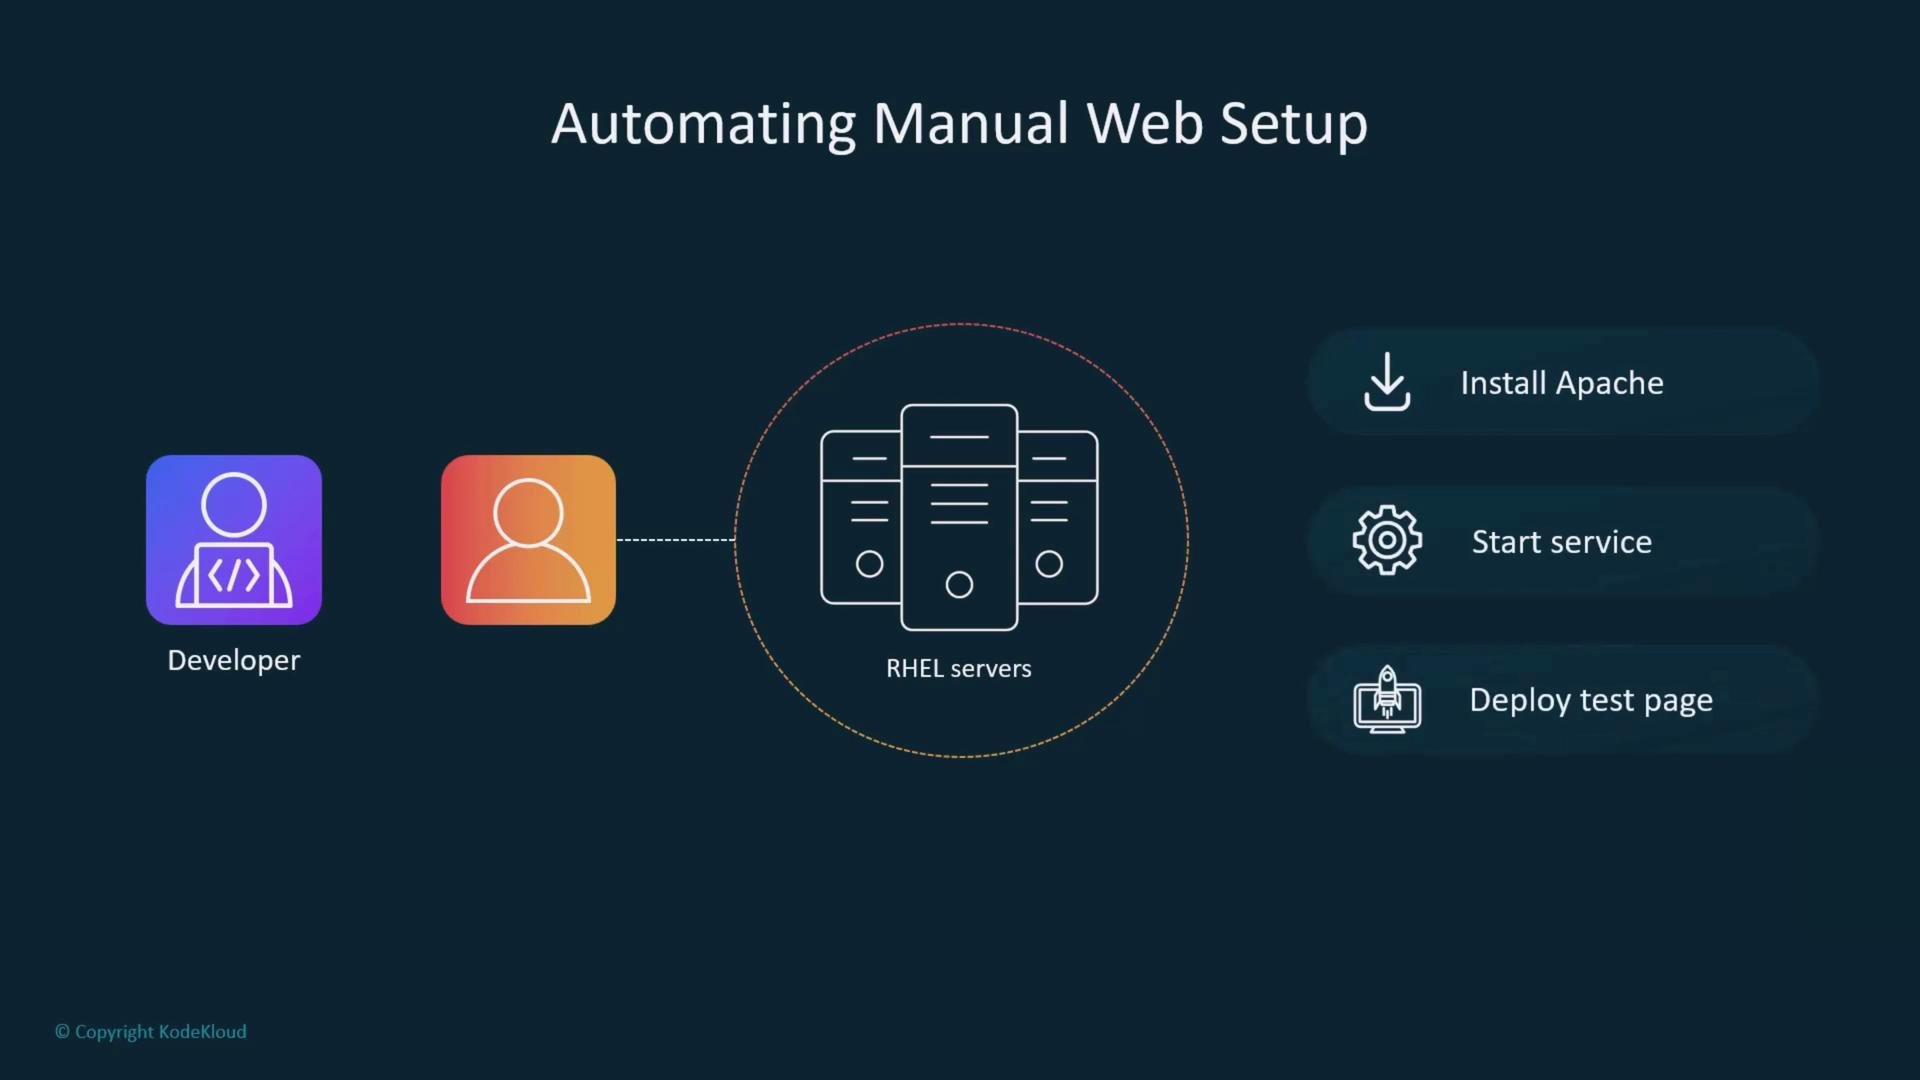
Now that you understand what an Ansible playbook is and how its structure works, let’s build one from a real-world scenario. This tutorial converts a repetitive manual process into automation so you can deploy a basic web test environment consistently across RHEL hosts.Imagine a small fleet of RHEL servers where developers often need a disposable web test site. Currently someone manually installs Apache (httpd), enables and starts the service, and drops a test page. We’ll automate those steps with a single Ansible playbook.
What you’ll build
A small Ansible project that installs httpd, deploys a template-based index.html, ensures the service is running, and restarts httpd when content changes.
The playbook demonstrates inventory, ansible.cfg defaults, variables, tasks, templates, and handlers—the core building blocks of Ansible automation.
Workflow
Create a project folder and basic files.
Define an inventory that targets the managed host(s).
Add a minimal ansible.cfg so you don’t need extra CLI flags.
Write a playbook with tasks and handlers.
Run the playbook and verify the result on the managed host.
Environment overview
Item
Details
Control host
Where Ansible runs (your workstation)
Managed host
servera (RHEL)
Authentication
SSH public-key authentication preconfigured
Remote user
student (passwordless sudo configured)
Privilege escalation
sudo via sudoers drop-in (no password)
Ensure the Ansible remote user can perform privileged tasks. In this lab the sudoers entry allows the student user to use sudo without a password:
student ALL=(ALL) NOPASSWD: ALL
Be careful granting NOPASSWD sudo in production. Use the minimum required privileges and restrict commands where possible.
Install Ansible Core (example)
Install Ansible on the control host. The example below uses dnf on RHEL; replace with your platform’s package manager if needed.
Project-local defaults (inventory, remote_user, become settings)
playbook.yml
The Ansible playbook with tasks and handlers
index.html.j2
Jinja2 template for the web page
Write the playbook
Create playbook.yml with the content below. The playbook installs the httpd package, deploys a simple index.html template, starts the httpd service, and notifies a handler to restart httpd when the template changes.
Create the template
Create the Jinja2 template index.html.j2 in the same project directory. This template uses an Ansible facts variable to include the host’s hostname in the page.
Verify the result on the managed host
SSH to the managed host (or use a remote check) and curl the local web server to confirm the template is served:
student@control:~/project$ ssh serverastudent@servera:~$ curl -s http://localhostHello from servera
This confirms the playbook installed httpd, deployed the index.html template, started the service, and the handler restarted httpd after the template changed.Conclusion
You’ve created a minimal, reusable Ansible project that automates installing and configuring an Apache-based test page on RHEL. This covers essential Ansible concepts—inventory, configuration, variables, tasks, templates, and handlers—that form the foundation for more advanced automation.Links and references