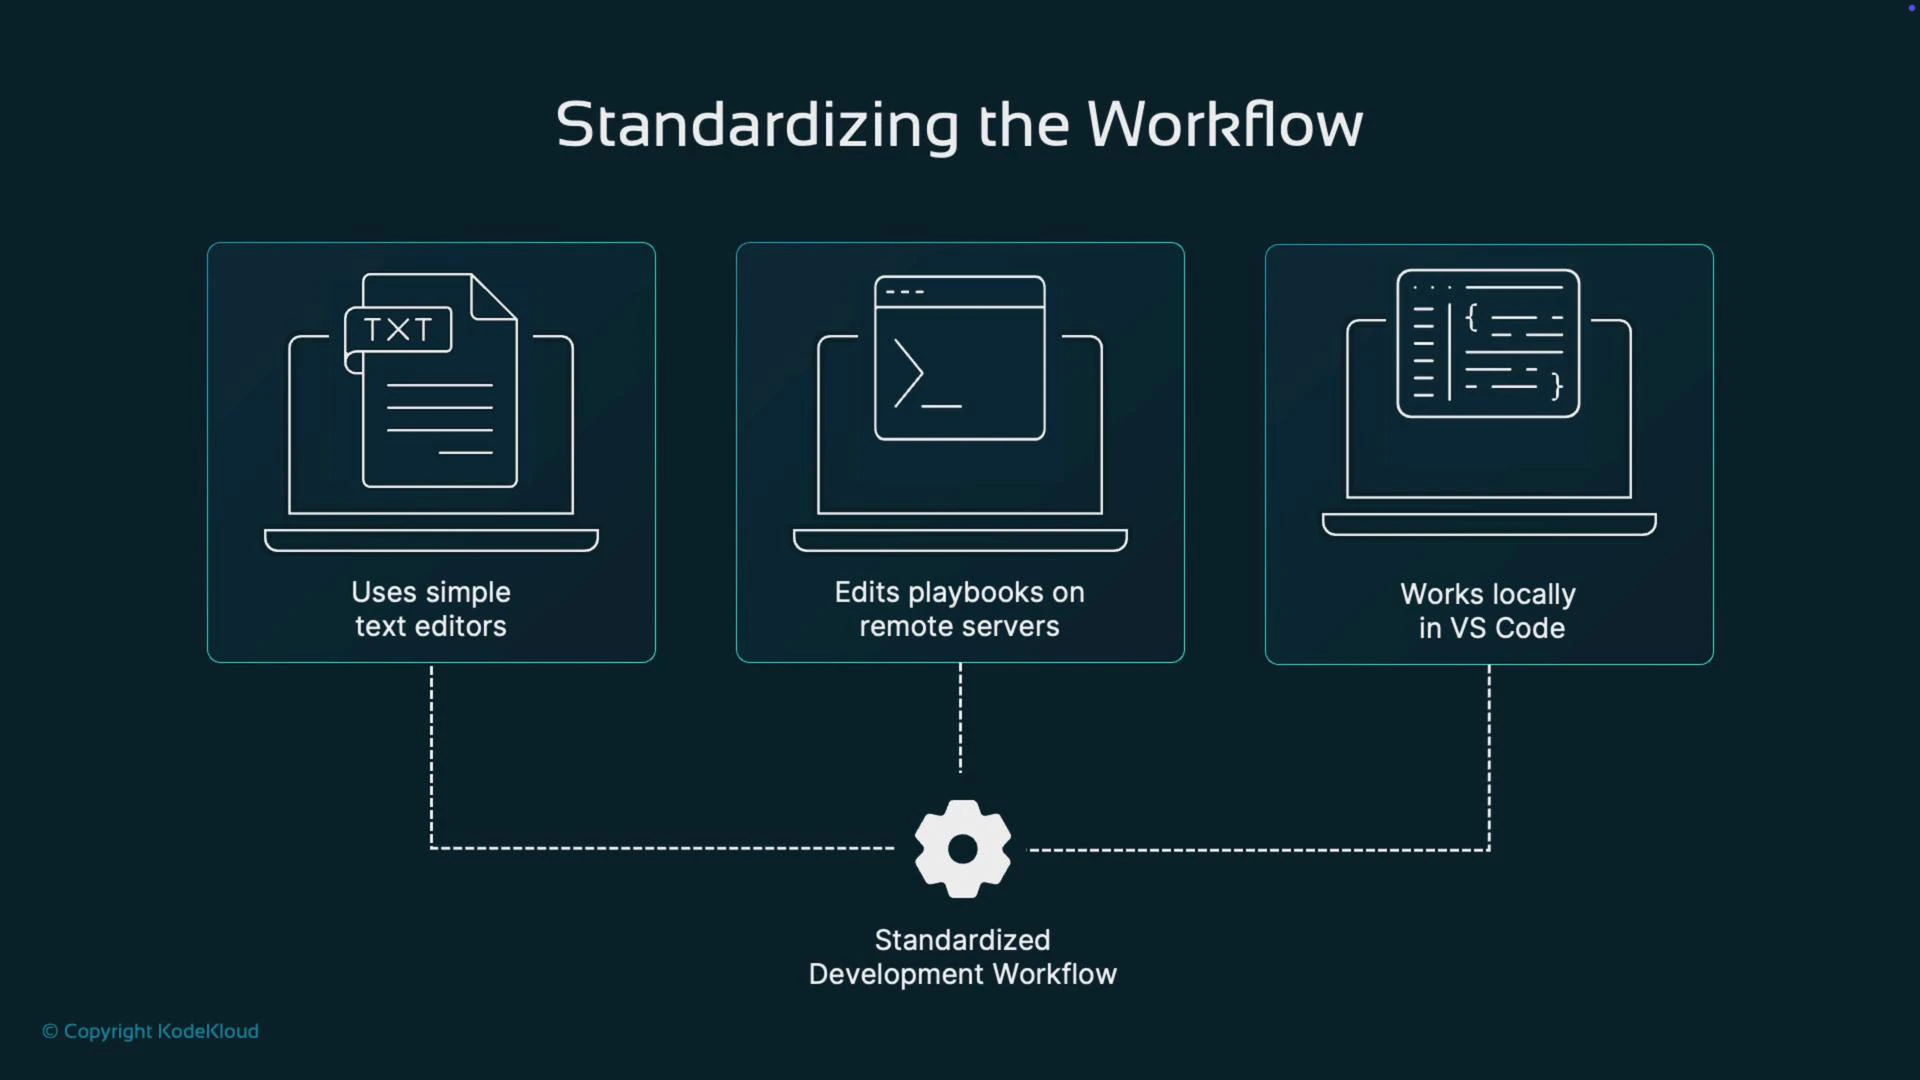
Overview — what we’ll do
- Ensure Python tooling (pip3) is present.
- Download and install Visual Studio Code (RPM for RHEL/Fedora).
- Install the Red Hat Ansible extension and YAML language support.
- Install optional Ansible development helpers via pip3 (ansible-core, ansible-lint, yamllint or ansible-devtools).
- Open your project in VS Code and validate extension features with a sample playbook.
| Resource | Purpose | Example / Link |
|---|---|---|
| Visual Studio Code | Editor with extension marketplace | https://code.visualstudio.com/ |
| Red Hat Ansible extension | Autocomplete, linting, playbook helpers | Marketplace: redhat.ansible |
| Python/pip3 | Install Ansible helper tools | sudo dnf install -y python3-pip |
| ansible-core, ansible-lint, yamllint | Linting and parsing support for the extension | pip3 install —user ansible-core ansible-lint yamllint |
1. Prepare the system: confirm pip3 is available
On a minimal RHEL 10 image pip may not be present. Check with:2. Download and install Visual Studio Code (RPM)
Visit the Visual Studio Code download page and choose the RPM for Red Hat / Fedora (suitable for RHEL 10). You can install the downloaded RPM via the GUI package installer or from the terminal: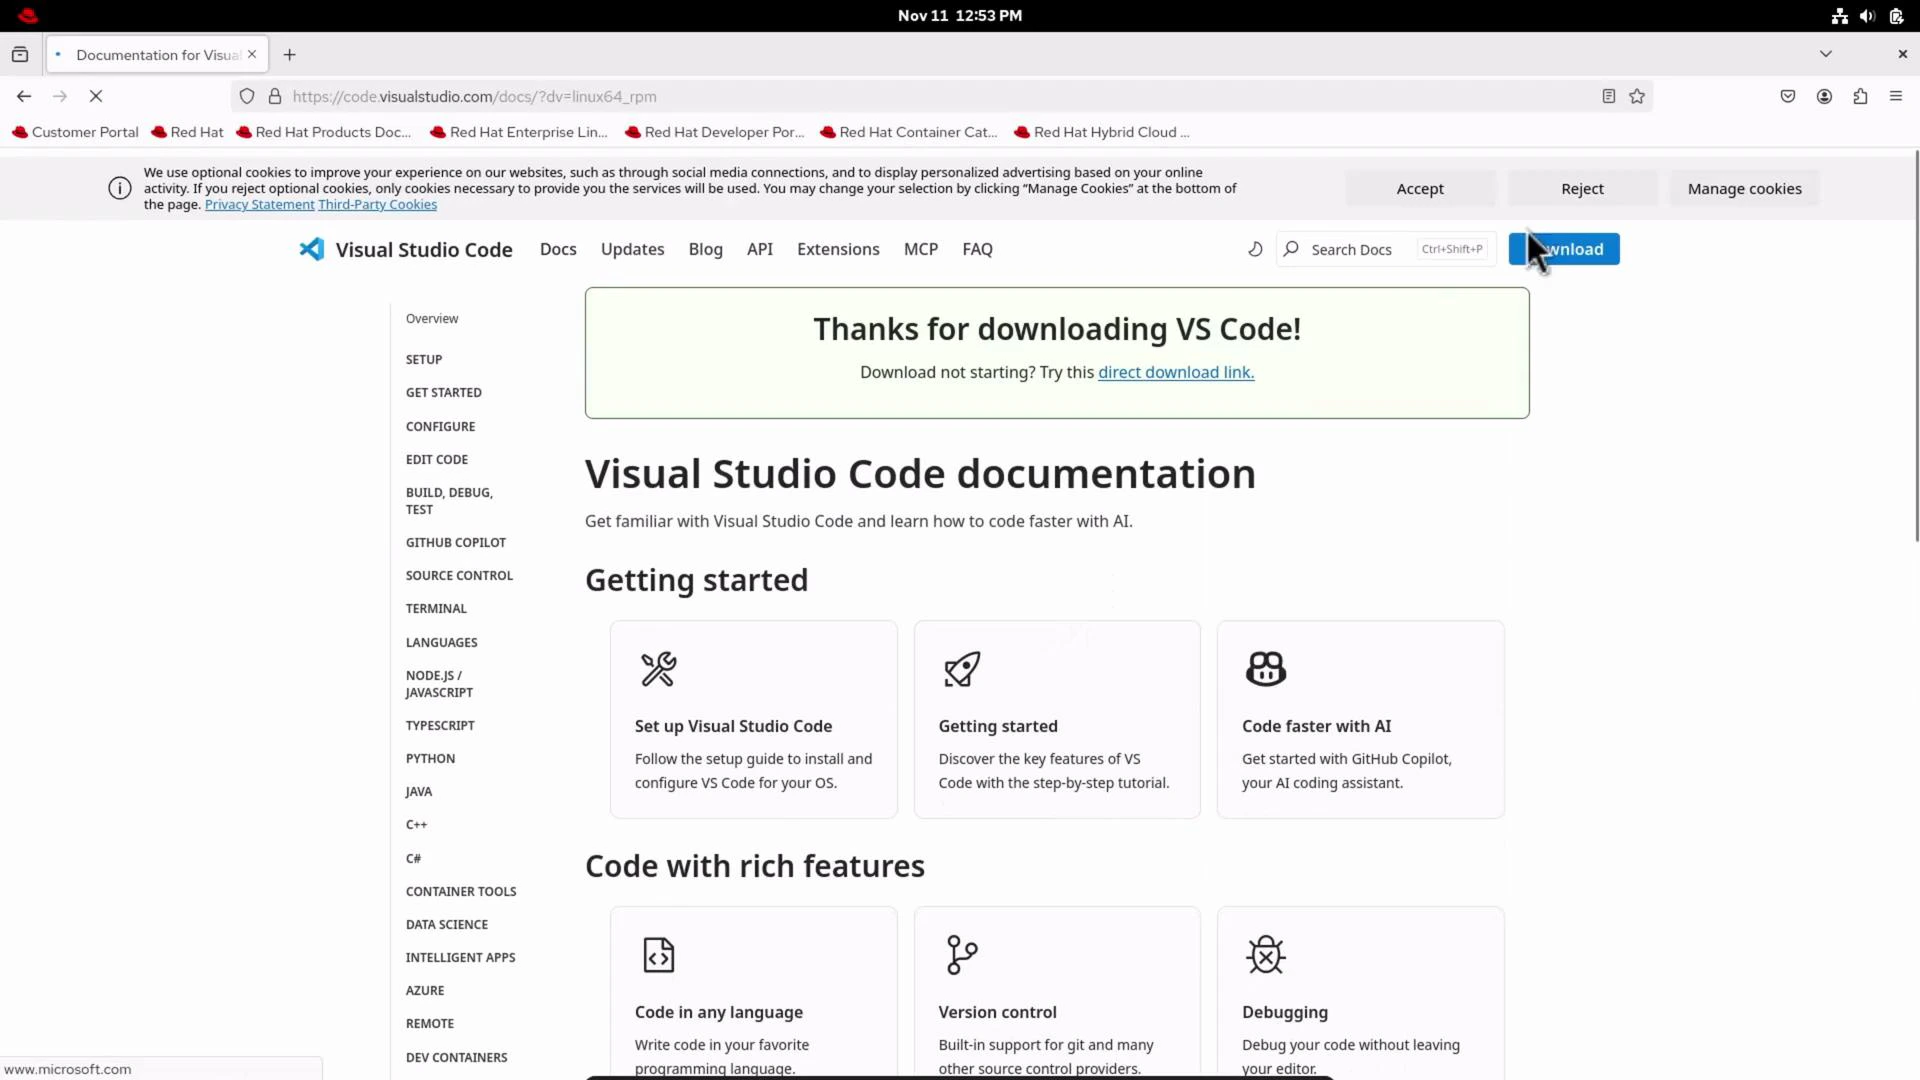
3. Install the Red Hat Ansible extension (and YAML support)
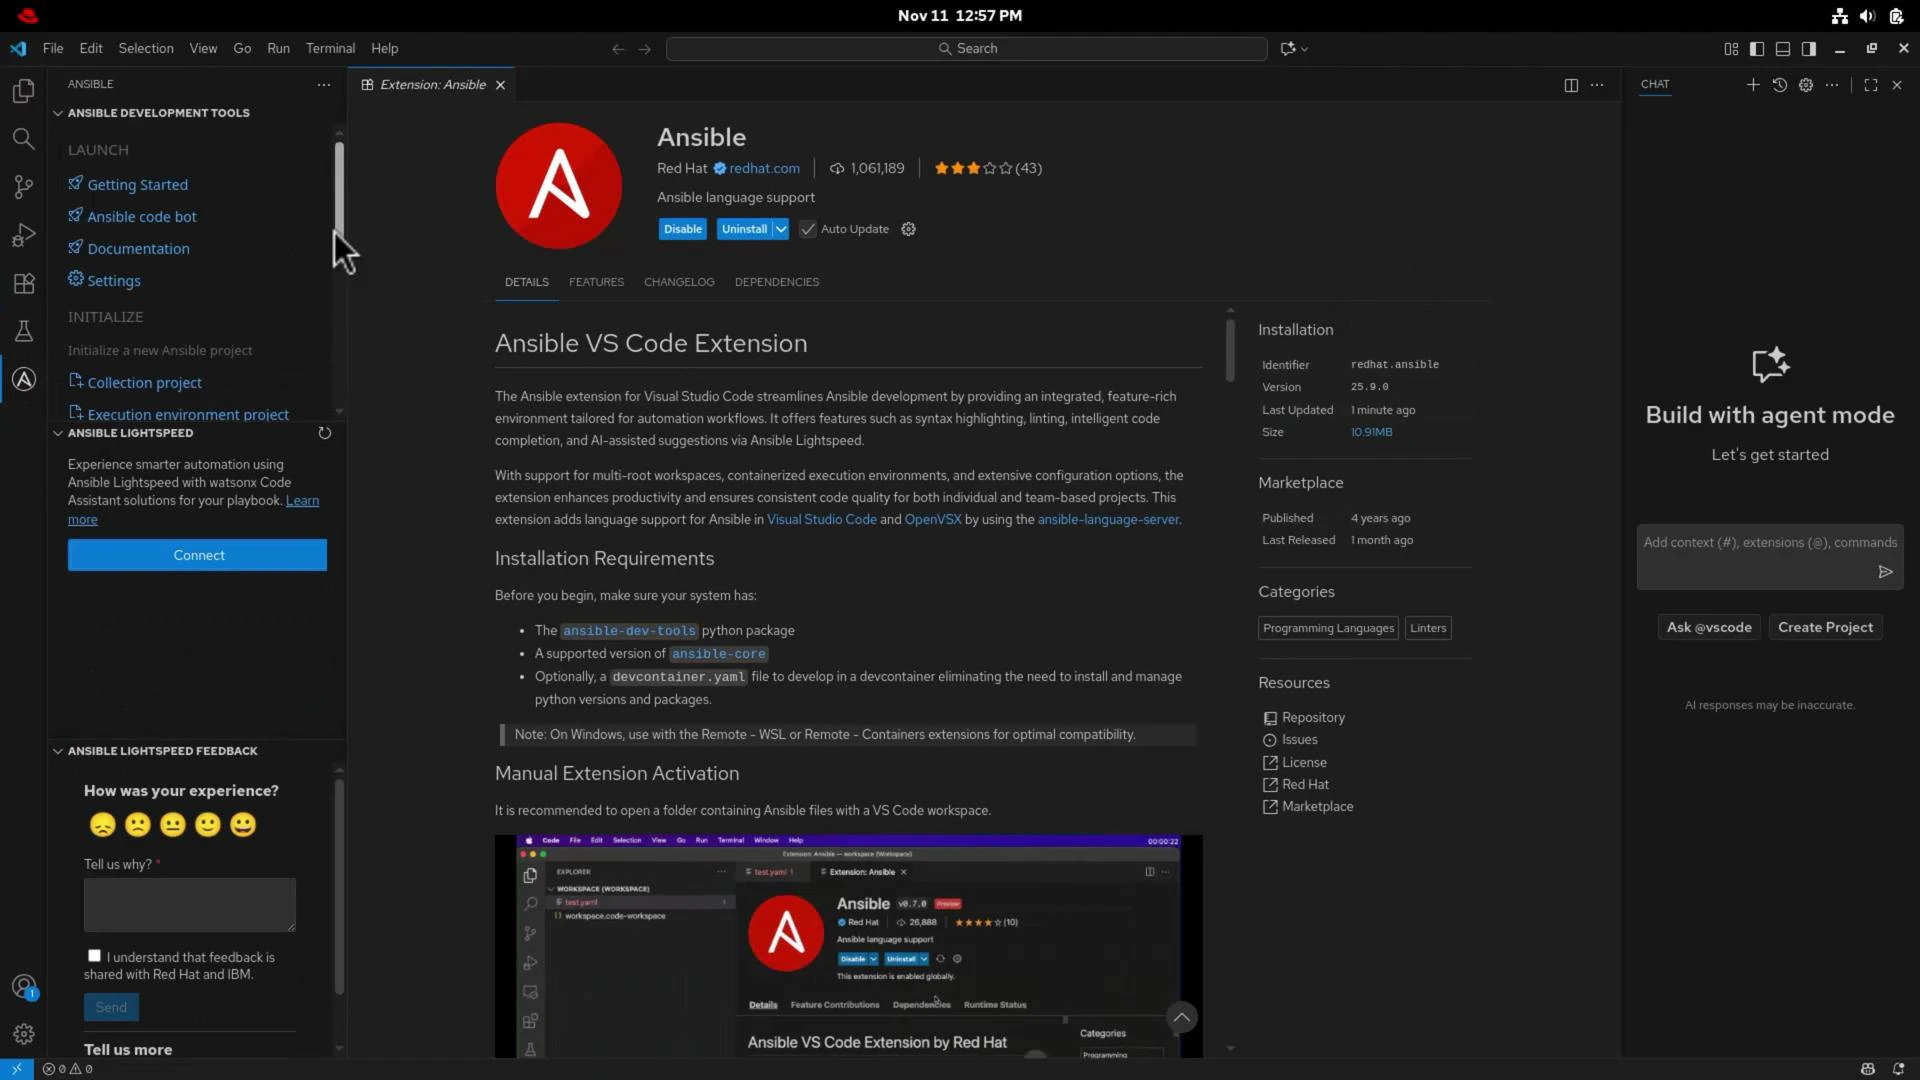
Open the Extensions view (Ctrl+Shift+X), search for “Ansible”, and install the Red Hat Ansible extension (redhat.ansible). If you do not already have YAML language support, install the Red Hat YAML extension (redhat.vscode-yaml) — the Ansible extension relies on robust YAML parsing for many features.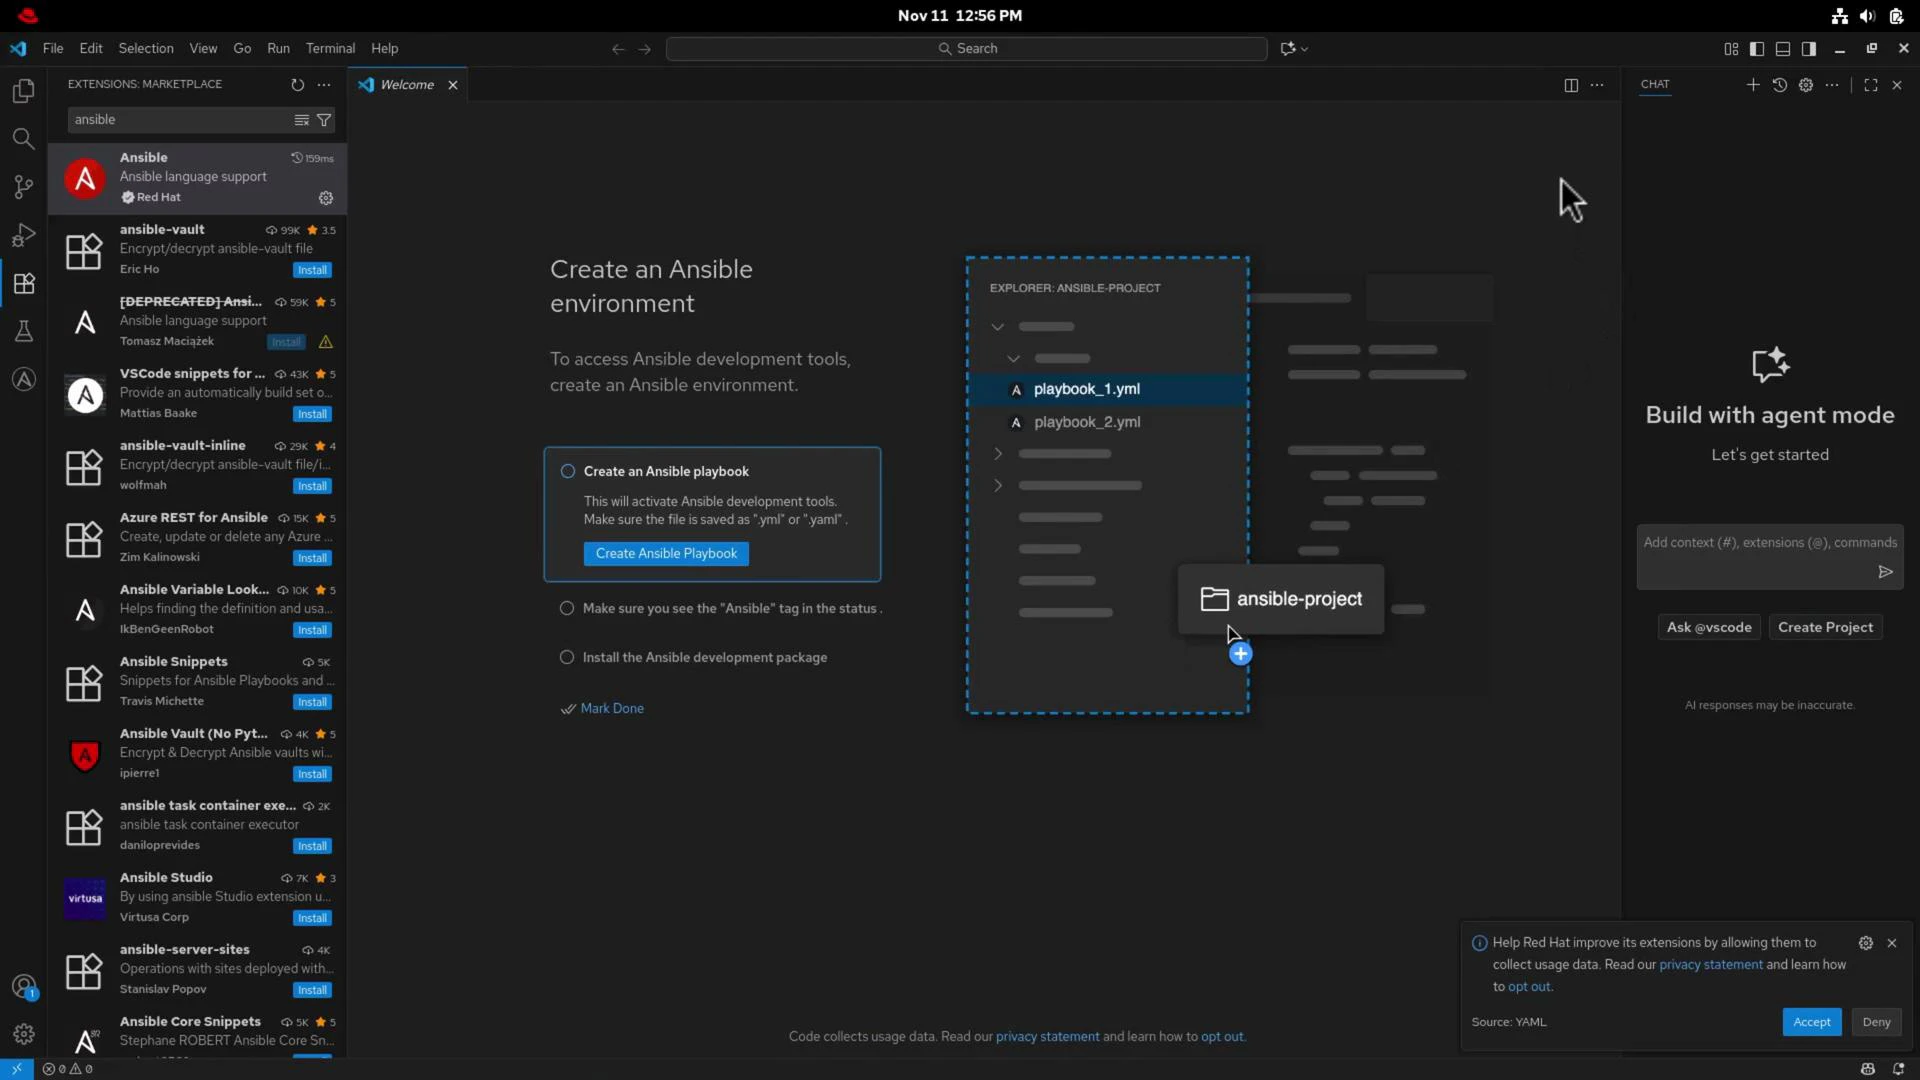
4. Install Ansible development helpers (optional but recommended)
The Ansible extension delegates linting and parsing to helper tools such as ansible-core, ansible-lint, and yamllint. Install them individually with pip3:5. What the Ansible extension provides
After installation, the Red Hat extension exposes features like:- Autocompletion for modules and parameters (with FQCN support).
- Linting annotations (ansible-lint, yamllint integration).
- Quick actions for running or debugging playbooks.
- Playbook and inventory detection in the workspace.
6. Open your Ansible project folder
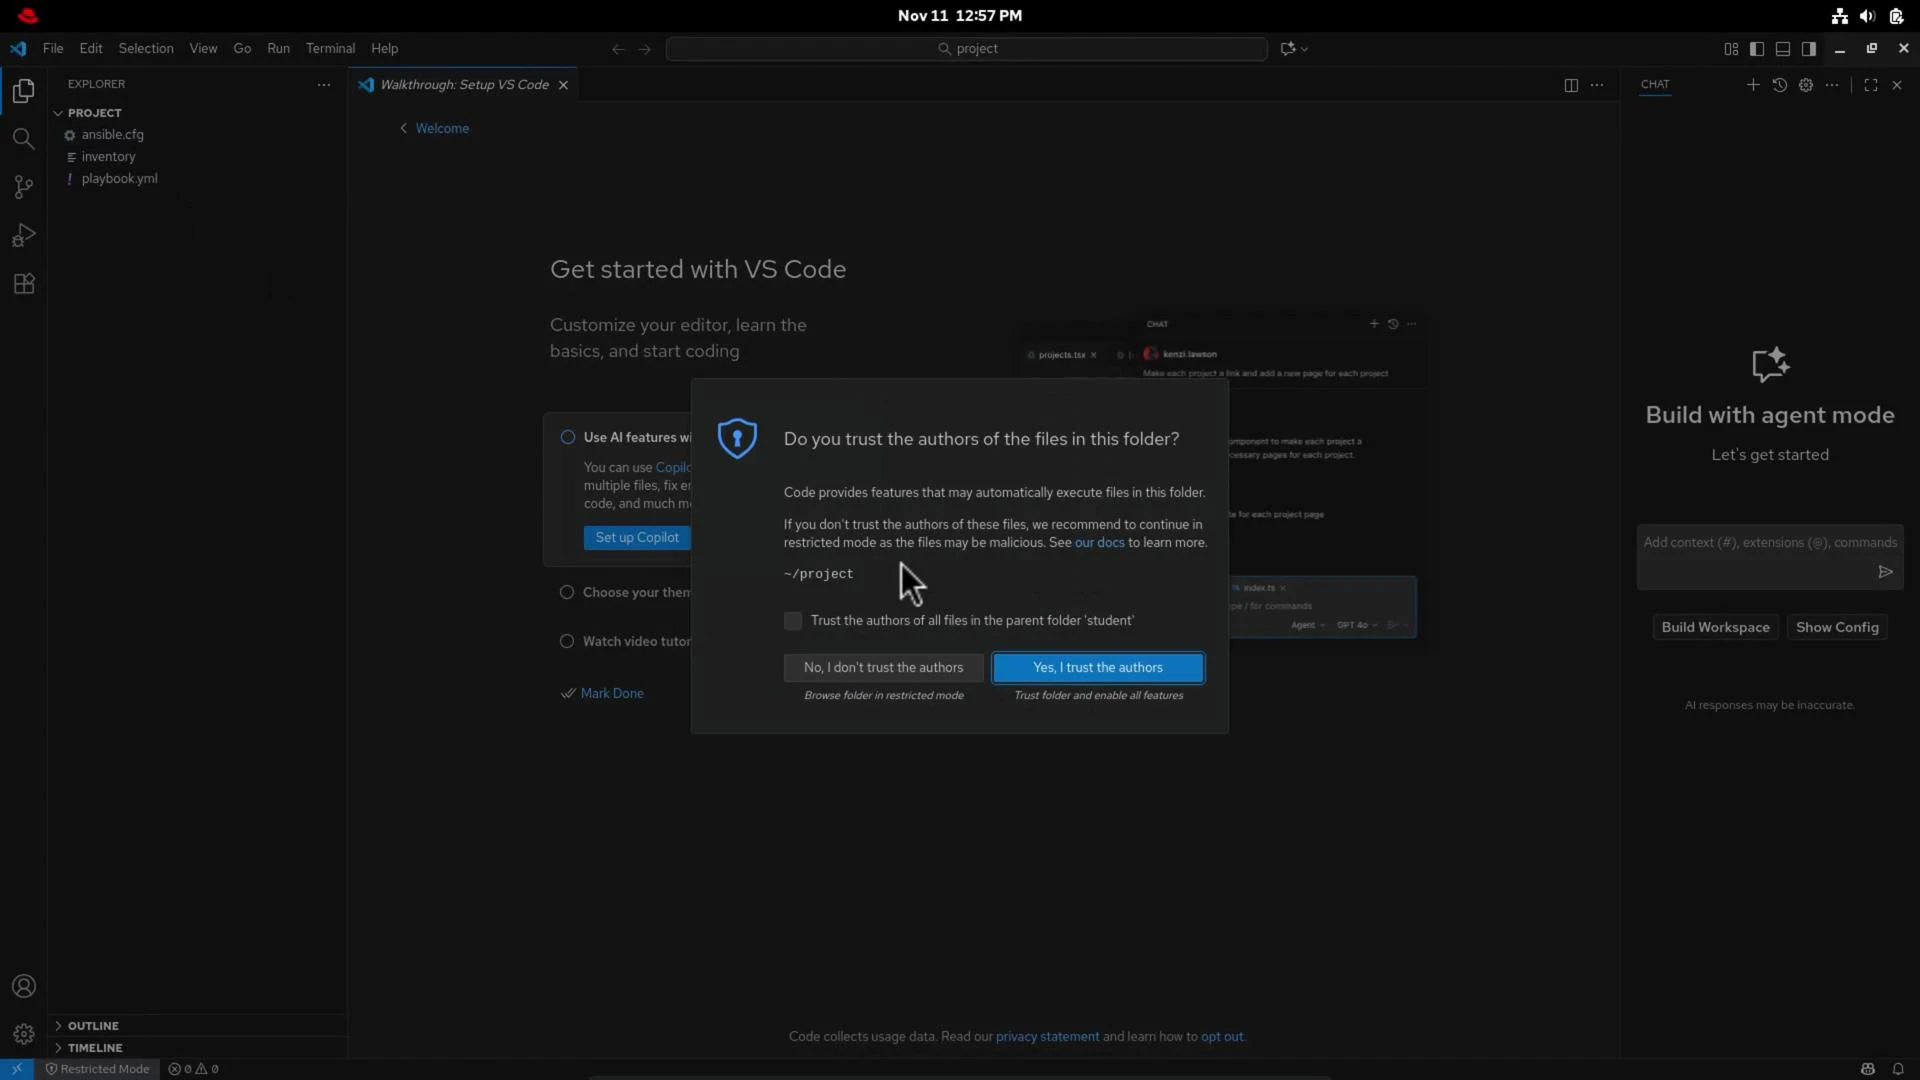
Open the folder that contains ansible.cfg, inventory, and playbooks. VS Code will prompt whether you trust the workspace authors — decide according to your security policy.When prompted “Do you trust the authors of the files in this folder?”, follow your organization’s security guidance. Opening untrusted workspaces can restrict some extension features until you mark the workspace as trusted.
7. Validate the extension with a sample playbook
Create or open a minimal playbook (playbook.yml) to see autocompletion and linting in action. Example:- Autocomplete suggestions appear for modules and parameters.
- ansible-lint/yamllint (if installed) will surface warnings or rule violations.
- The extension recommends using fully-qualified collection names (FQCN), e.g., ansible.builtin.debug.
Using fully-qualified module names (for example
ansible.builtin.debug) makes playbooks unambiguous about which collection provides a module. Short names (like debug) still work but can trigger linter warnings depending on your ruleset.8. Run the playbook
Run the playbook from VS Code’s integrated terminal or use quick run actions from the extension. A standard command:Troubleshooting — common issues
- No hosts matched / host unreachable:
- Verify inventory group names and host entries.
- Ensure SSH connectivity and correct credentials.
- Linter warnings you disagree with:
- Configure ansible-lint rules via a .ansible-lint or configuration file in your project, or disable specific checks.
- Extension not recognizing playbooks:
- Confirm the workspace contains typical Ansible files (ansible.cfg, inventory, playbook.yml) and that workspace trust is enabled if necessary.
- Confirm the host exists in the inventory and is assigned to the correct group (e.g., webservers).
- Verify network connectivity, SSH keys, and user settings.
Links and references
- Visual Studio Code: https://code.visualstudio.com/
- Red Hat Ansible extension (VS Code Marketplace): https://marketplace.visualstudio.com/items?itemName=redhat.ansible
- Red Hat YAML extension (VS Code Marketplace): https://marketplace.visualstudio.com/items?itemName=redhat.vscode-yaml
- Ansible core & community tools (PyPI): https://pypi.org/project/ansible-core/ and https://pypi.org/project/ansible-lint/
- ansible-devtools meta-package: https://pypi.org/project/ansible-devtools/