Demo guiding DevOps engineers to install and authenticate Claude Code CLI, generate and validate Ansible ad-hoc commands and playbooks from the terminal.
In this lesson you’ll add Claude Code to an Ansible workflow so you can generate ad-hoc commands and playbooks directly from the terminal. Claude Code is a lightweight CLI client for Anthropic’s Claude models that connects to the Claude API and helps developers author scripts, playbooks, and commands without leaving their shell.
Target audience: systems engineers and DevOps practitioners managing Linux servers across multiple environments who want to pilot AI-assisted automation to speed up routine tasks.
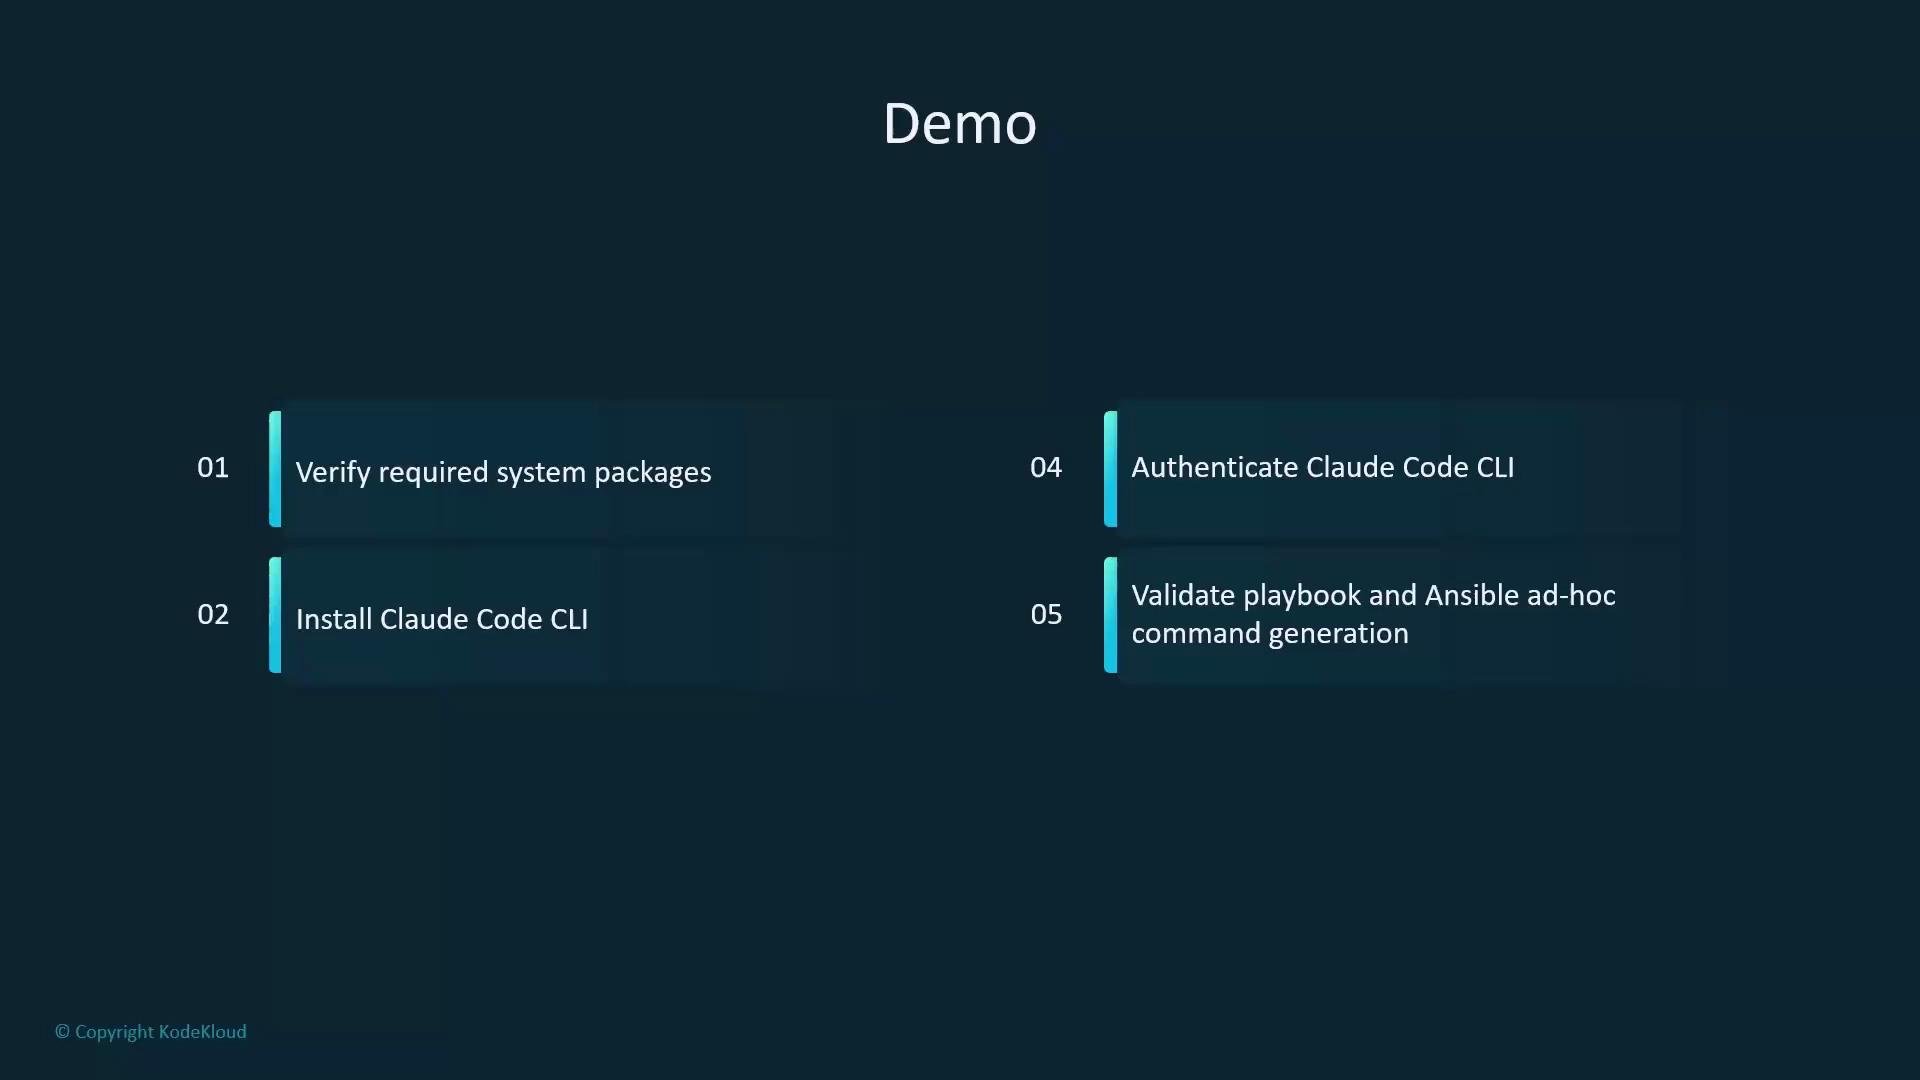
What you will do in this demo:
Verify required system packages and environment
Install the Claude Code CLI
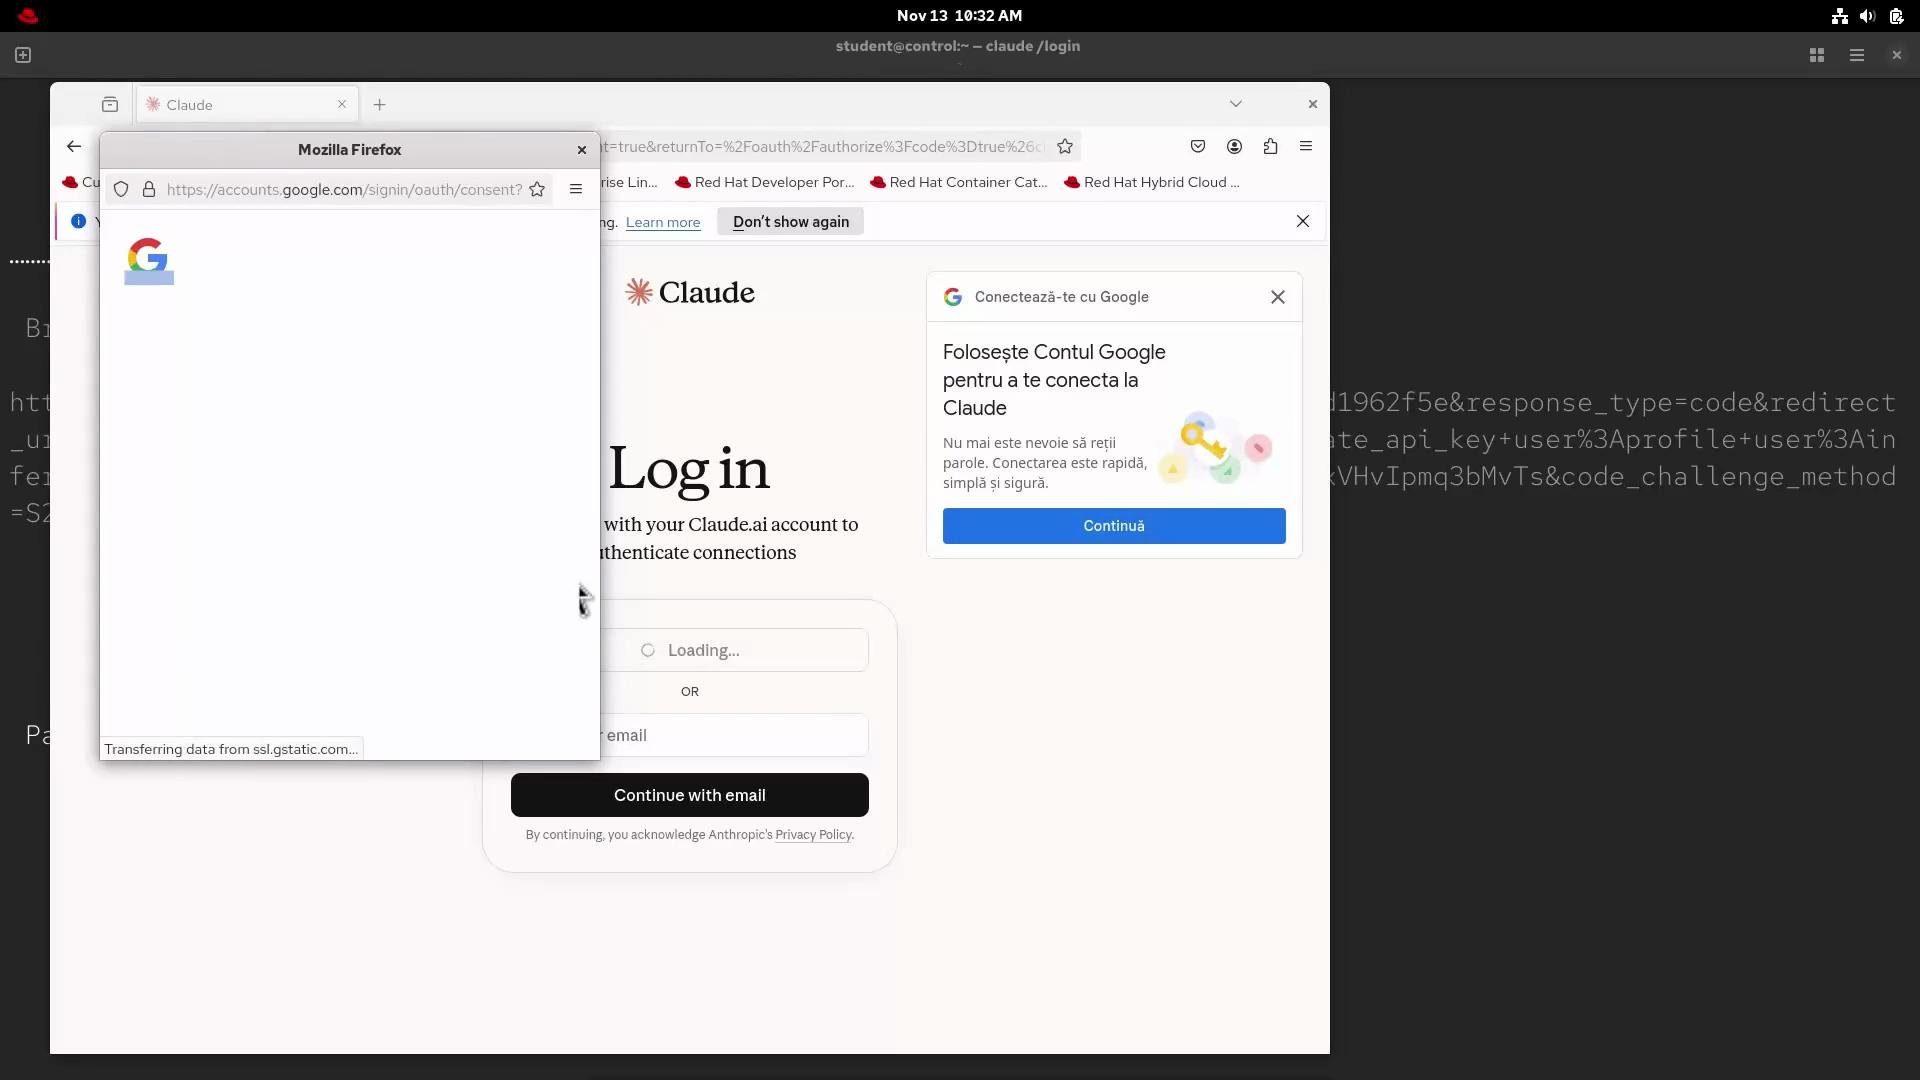
Authenticate the CLI (interactive browser flow)
Validate Claude-generated Ansible ad-hoc commands and playbooks
Setting up Claude Code...✔ Claude Code successfully installed!Version: 2.0.37Location: ~/.local/bin/claudeNext: Run claude --help to get started✅ Installation complete!student@control:~$
Claude Code can be used with your Claude subscription or billed based on API usage through your Console account.Select login method:› 1. Claude account with subscription · Pro, Max, Team, or Enterprise 2. Anthropic Console account · API usage billing
Choose the appropriate method. In this demo the user selects a Claude account and authenticates via Google; a browser window opens for the OAuth flow.
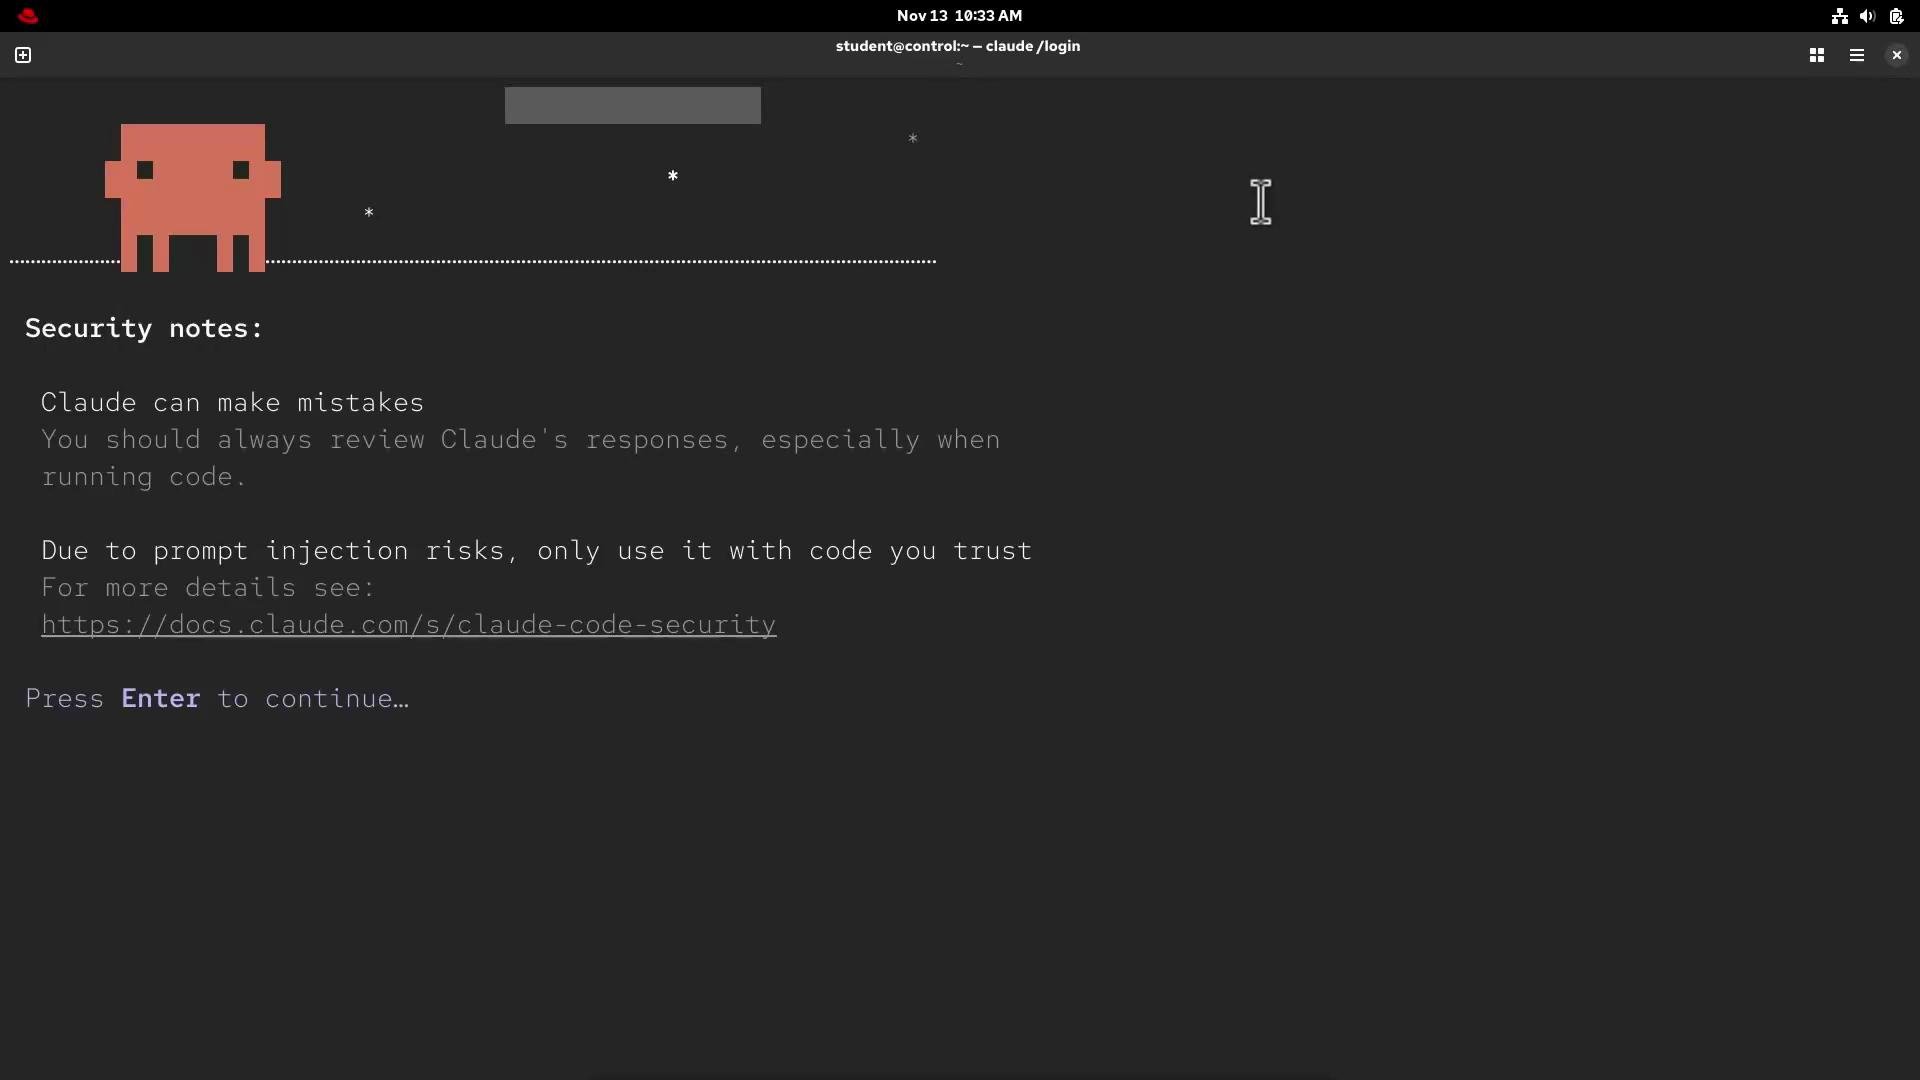
After completing the browser-based login, the CLI displays security notes describing model limitations and guidance.
Claude models can make mistakes and prompts might include unsafe instructions. Be cautious when executing generated code or granting filesystem access.
Allow the CLI the requested workspace permissions, complete the flow, and return to the shell. If the process is interrupted you may see:
4. Quick verification: ask Claude for Ansible ad-hoc commands
Try a simple prompt to generate an Ansible ad-hoc ping command for your inventory:
student@control:~$ claude -p "Ansible ad-hoc command to ping all hosts within inventory"
Claude typically returns several valid variations. Common examples include:
Use case
Command
Ping all hosts (default inventory)
ansible all -m ping
Ping all hosts using become (sudo)
ansible all -m ping —become
Ping a specific group (webservers)
ansible webservers -m ping
Ping as a specific user
ansible all -m ping -u username
Ping with verbose output
ansible all -m ping -v
Prompt for SSH password
ansible all -m ping —ask-pass
Prompt for become password
ansible all -m ping —become —ask-become-pass
Note on the Ansible ping module:
The ping module does not send ICMP packets; it executes a small Python task on the remote and returns “pong” on success. It verifies:
SSH connectivity
SSH authentication
Python availability on the remote host
If your inventory doesn’t match Claude’s suggested pattern, Ansible will warn that the host pattern couldn’t be matched:
student@control:~$ ansible webservers -m ping[WARNING]: provided hosts list is empty, only localhost is available. Note that the implicit localhost does not match 'all'[WARNING]: Could not match supplied host pattern, ignoring: webservers
Inspect your workspace inventory to confirm host groups:
student@control:~$ cd claude/student@control:~/claude$ lsansible.cfg inventory site.ymlstudent@control:~/claude$ ansible webservers -m ping# (runs against hosts defined in inventory)
5. Interactive mode: compose playbooks with natural language
Run claude without flags to enter interactive mode. Use plain language or slash commands to control behavior and persist prompts:
Claude Code v2.0.37Welcome back andrei!Sonnet 4.5 · Claude Pro/home/student/claudeTips for getting startedRun /init to create a CLAUDE.md file with instructions for ClaudeRun /install-github-app to tag @claude right from your Github issues and PRsRecent activityNo recent activity> Try "fix lint errors"? for shortcuts Thinking on (tab to toggle)
Ask Claude to generate a small Ansible playbook. Example prompt:
> As a DevOps engineer, generate a small Ansible playbook which creates the user test within the group webservers
Claude may produce a draft like this:
- name: Create test user in webservers group
  hosts: all
  become: yes
  tasks:
    - name: Ensure webservers group exists
      ansible.builtin.group:
        name: webservers
        state: present

    - name: Create test user and add to webservers group
      ansible.builtin.user:
        name: test
        group: webservers
        state: present
        create_home: yes
        shell: /bin/bash
If you intended to target the webservers host group (not create a system group), update the playbook to set hosts: webservers and remove the group-creation task. Corrected example:
- name: Create test user on webservers
  hosts: webservers
  become: yes
  tasks:
    - name: Create test user and add to webservers group
      ansible.builtin.user:
        name: test
        group: webservers
        state: present
        create_home: yes
        shell: /bin/bash
Save the playbook (for example, create_user.yml) and run it against your inventory:
This concludes the demo. You have installed and authenticated the Claude Code CLI, used it to generate Ansible ad-hoc commands and a playbook, and learned how to refine and run the output in your environment.Congratulations!