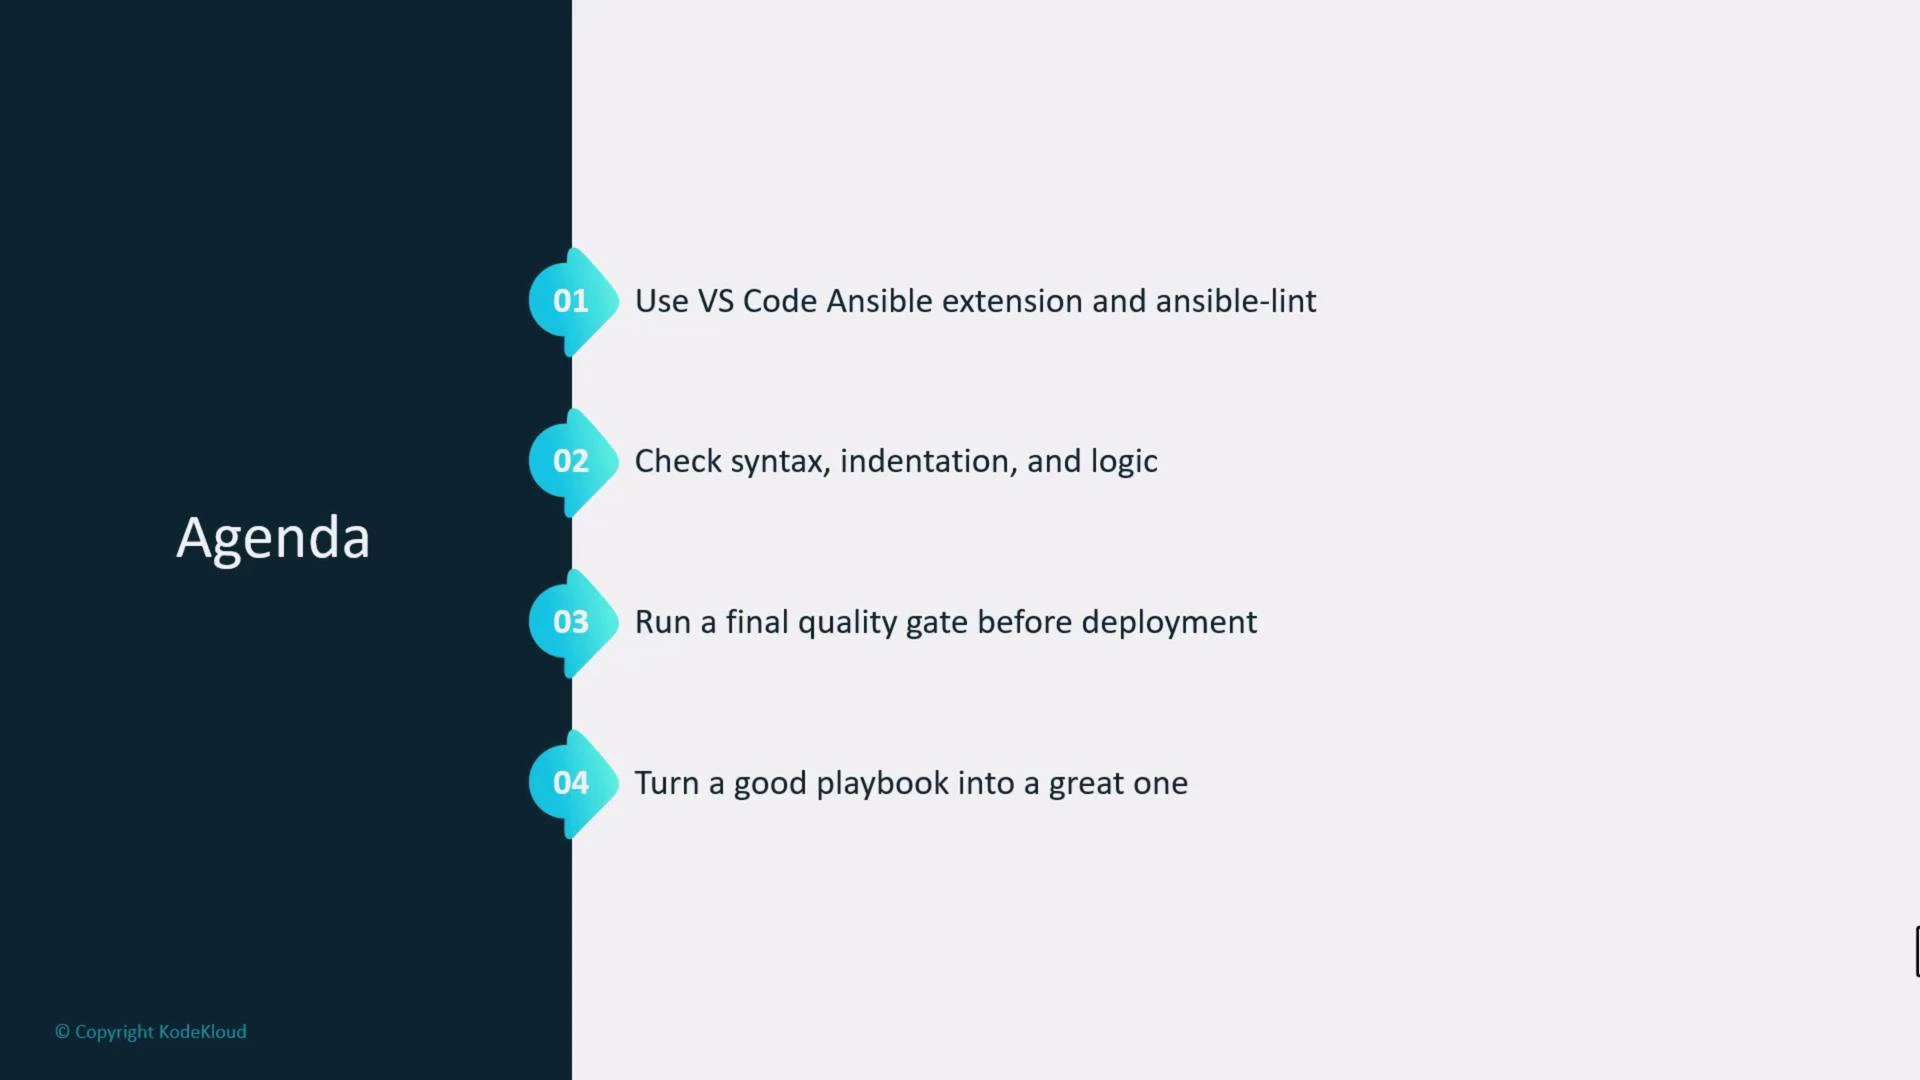
- How the VS Code Ansible extension provides real-time diagnostics and autocompletion.
- How ansible-lint enforces best practices (FQCNs, naming, etc.).
- A typical edit → lint → fix → run cycle for a small playbook.
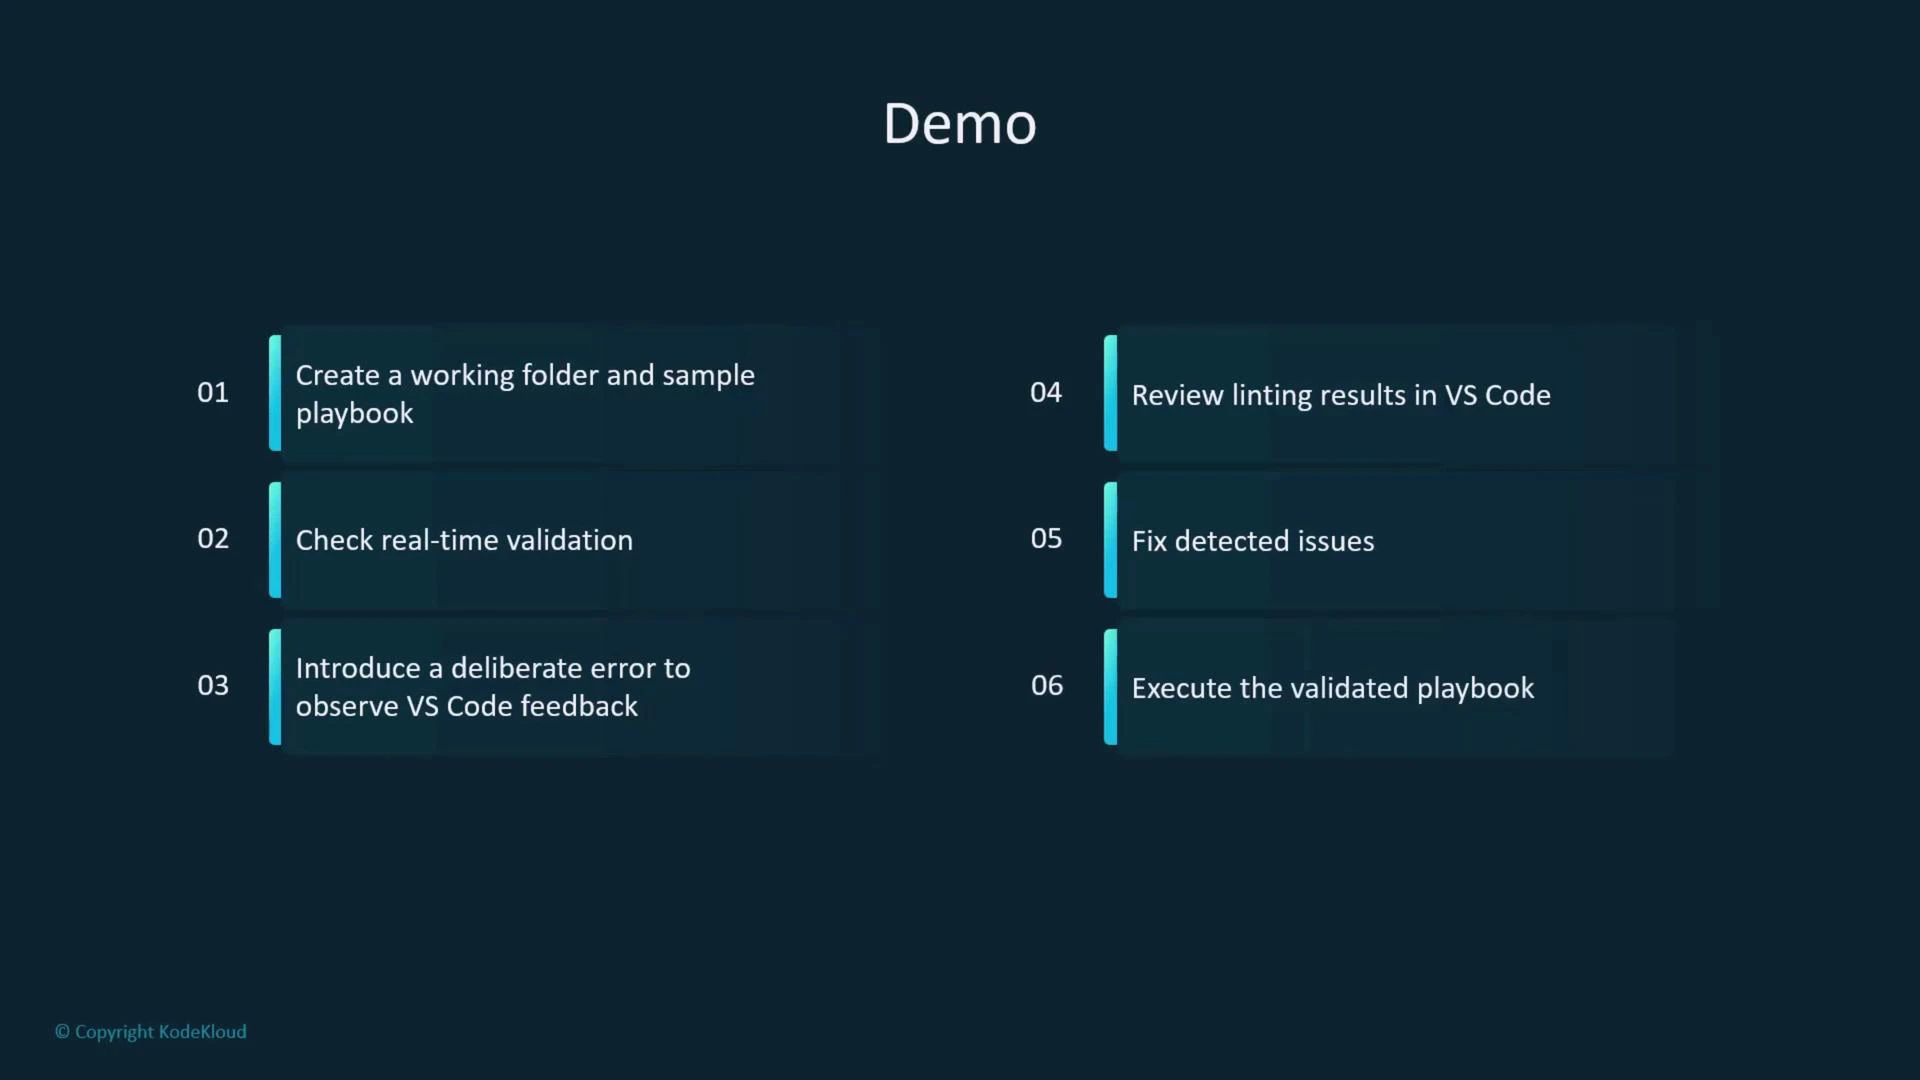
- Create a working folder and a sample inventory/playbook.
- Observe real-time validation in VS Code.
- Introduce an intentional error to see diagnostic feedback.
- Run ansible-lint and apply its suggestions.
- Execute the validated playbook.
servera):
ansible.cfg to use the local inventory and enable privilege escalation:
validation folder in VS Code and create playbook.yml.
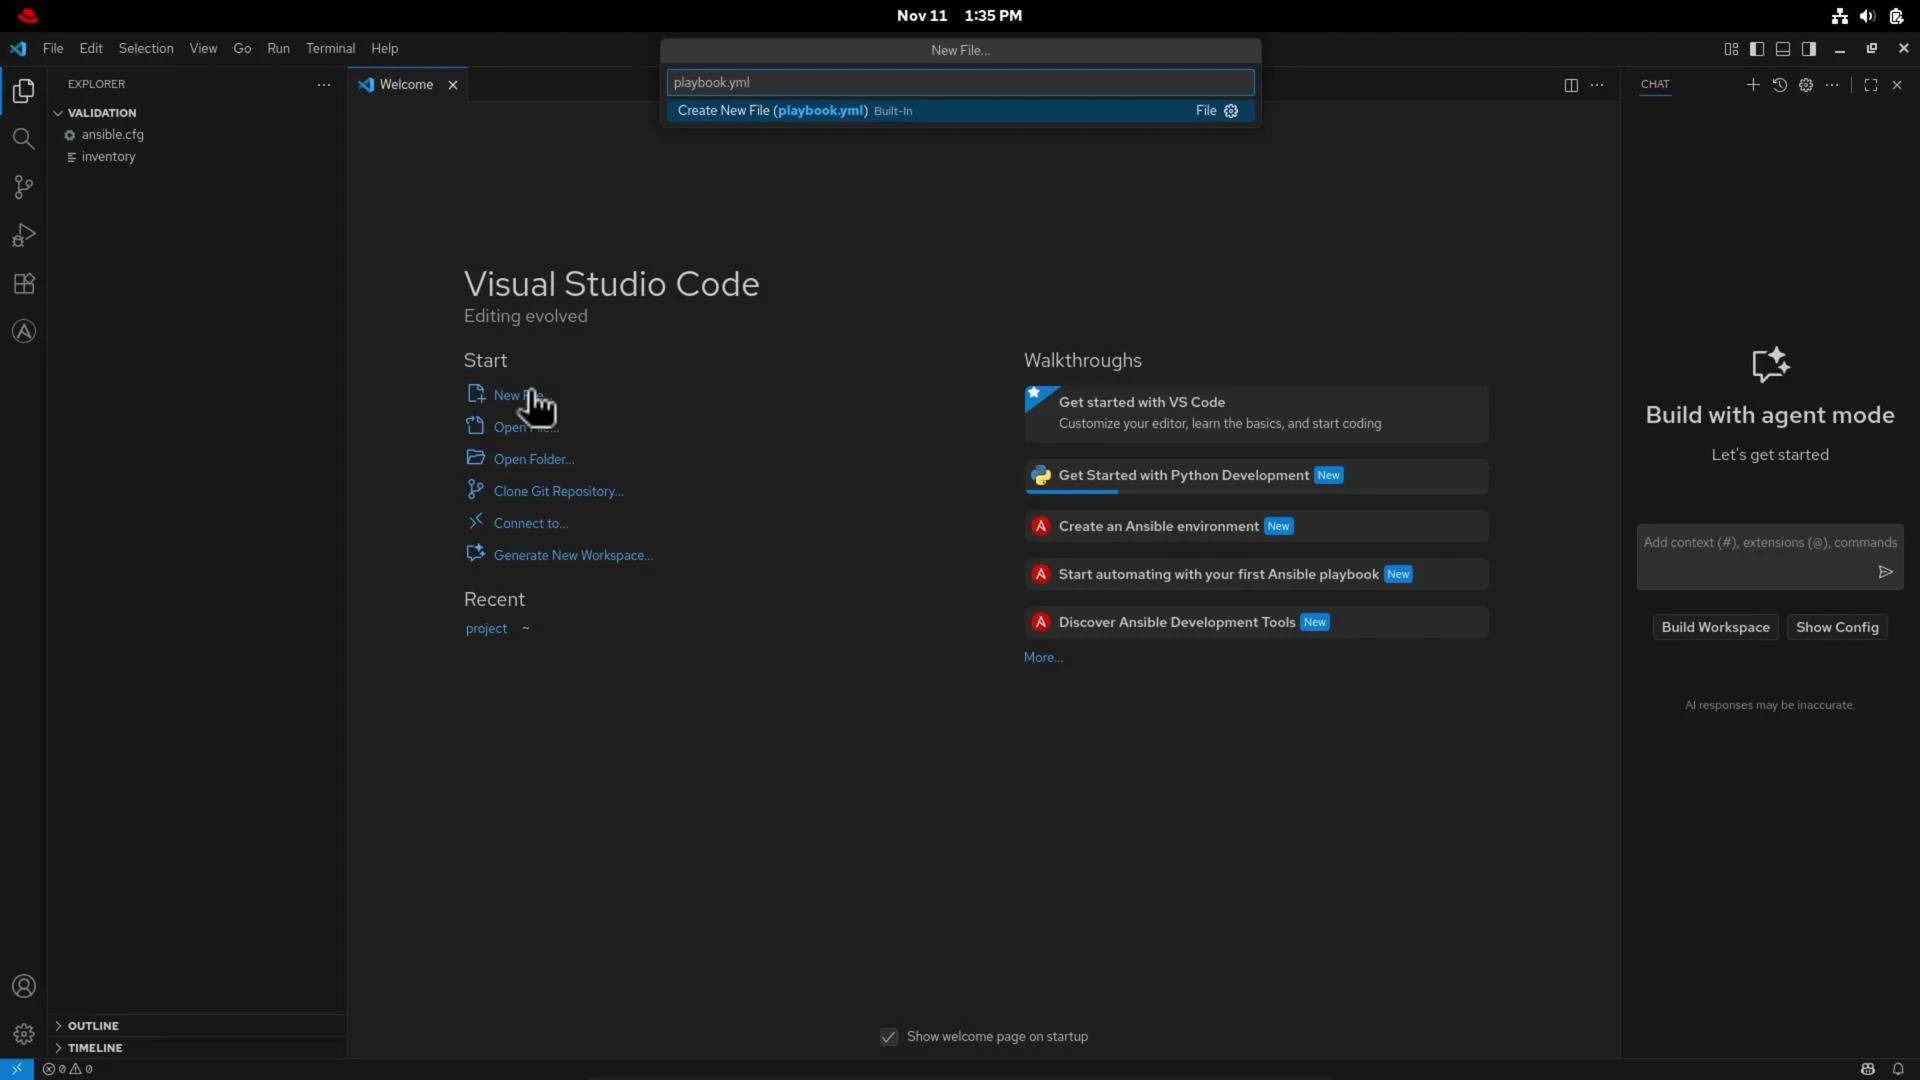
debug task to trigger diagnostics.
- The editor will highlight the incorrect
debug: dsadausage and show a diagnostic explaining that the module call and parameter structure are invalid. - Hovering the module name or using Peek Definition shows inline module docs and expected parameters.
dnff is not a known module—this usually indicates a misspelling or a missing collection. Correct it back to ansible.builtin.dnf.
Final lint-clean playbook
After applying corrections and following lint suggestions (task names, FQCNs, newline at EOF), your playbook should be clean and readable:
| Lint Recommendation | Why it matters | Example fix |
|---|---|---|
| Use FQCN (ansible.builtin.module) | Avoids ambiguity when multiple collections provide modules | Change dnf: to ansible.builtin.dnf: |
| Consistent task naming | Improves readability in logs and reports | Use Install httpd instead of mixed styles |
| Avoid unused vars or misleading messages | Prevents confusion and accidental errors | Ensure debug: uses msg: correctly |
| Ensure YAML structure is correct | Prevents runtime errors and invalid playbooks | Use proper indentation and module parameter blocks |
Use the extension to jump to module documentation or use “Peek Definition” in VS Code—this gives immediate access to module options and examples without leaving the editor.
- Click module names in VS Code to open module docs or press Peek Definition for inline summaries.
- Hover over parameters to read short descriptions and expected types.
- If you run ansible-lint locally, ensure it’s installed in the environment that VS Code uses (e.g., same Python interpreter or virtualenv).
- VS Code — Ansible extension (Marketplace)
- ansible-lint documentation
- Ansible collections & builtin modules