Practical guide to TLS X.509 certificates and OpenSSL on Linux, covering CSRs, self-signed certificates, key generation, inspection, and common commands
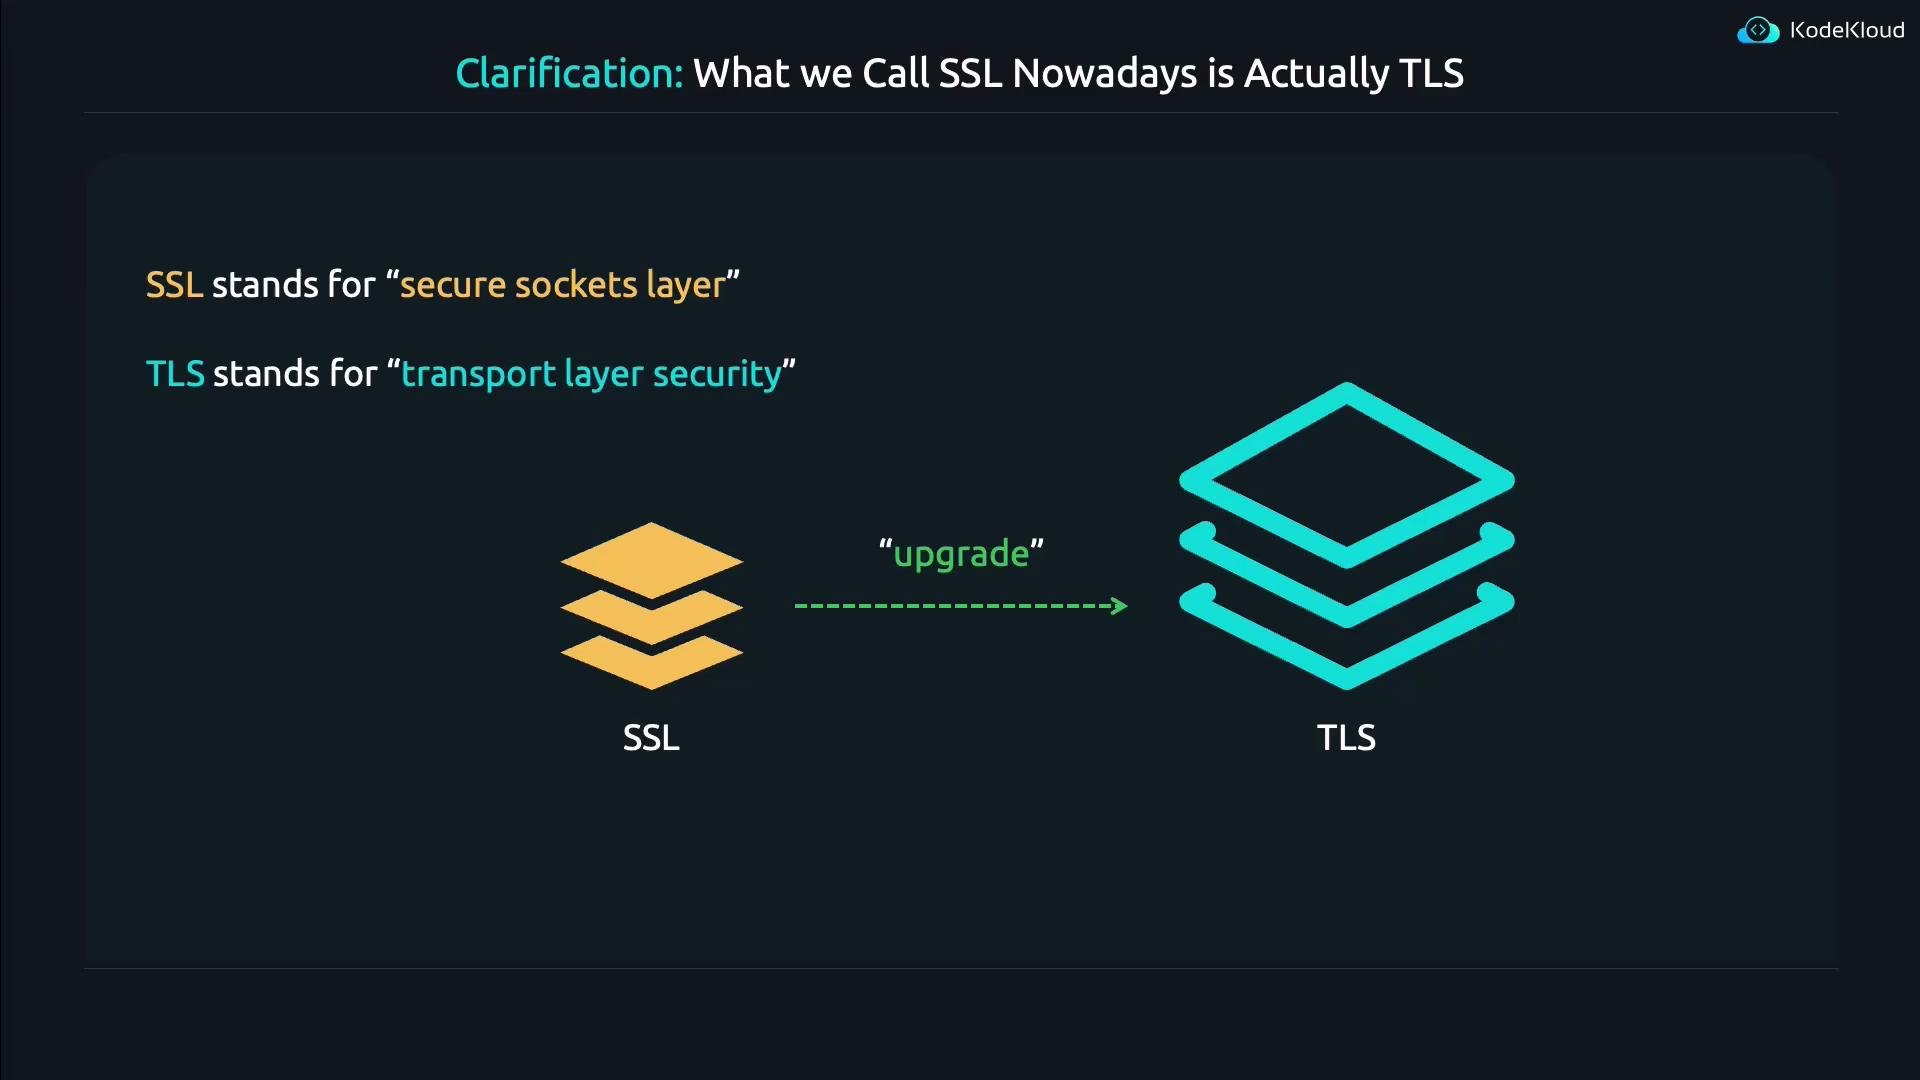
This lesson explains what SSL/TLS certificates do, how they’re used, and how to create and inspect them on Linux using OpenSSL. It preserves the original sequence of diagrams and examples while improving readability and SEO relevance for terms like TLS, X.509, CSR, OpenSSL, and self-signed certificates.First, a clarification: what people historically called “SSL” is today actually TLS. The old name stuck in many tools and documentation, but TLS is the modern, secure protocol that replaced SSL.
SSL (Secure Sockets Layer) is the historical name. TLS (Transport Layer Security) is the modern protocol that fixes many of SSL’s security problems. Many tools still use “SSL” in their names (for example, OpenSSL), but they work with TLS certificates and TLS connections.
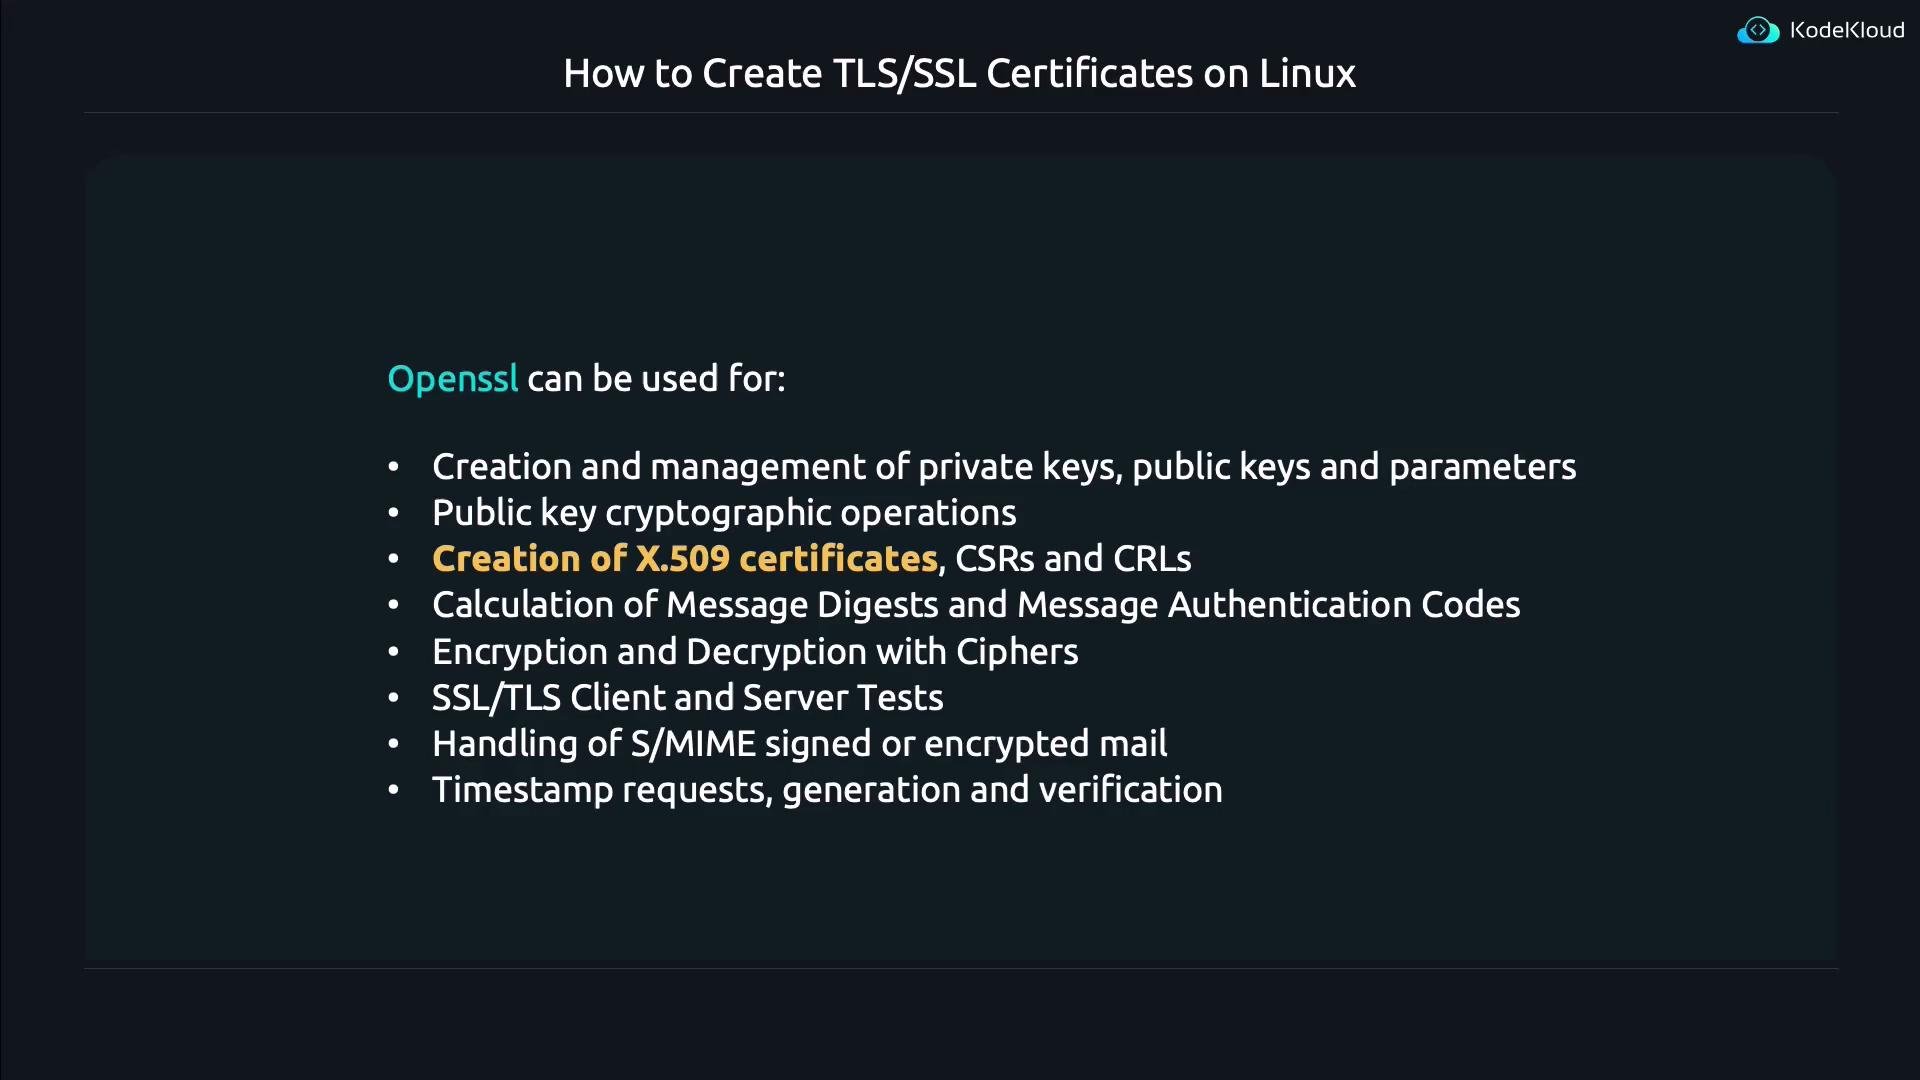
OpenSSL is the de facto cryptography toolkit used on Linux for generating and inspecting TLS/X.509 certificates, private keys, and certificate signing requests (CSRs). Despite its name referencing “SSL”, OpenSSL fully supports modern TLS and X.509 certificates.
To see OpenSSL’s top-level help:
openssl
OpenSSL organizes functionality into subcommands such as req (request, for CSRs), x509 (for certificates), rsa, genpkey, pkcs12, and many more. For subcommand-specific help, read the corresponding man page:
man openssl-reqman openssl-x509
You can also run openssl <subcommand> -help for quick usage information.
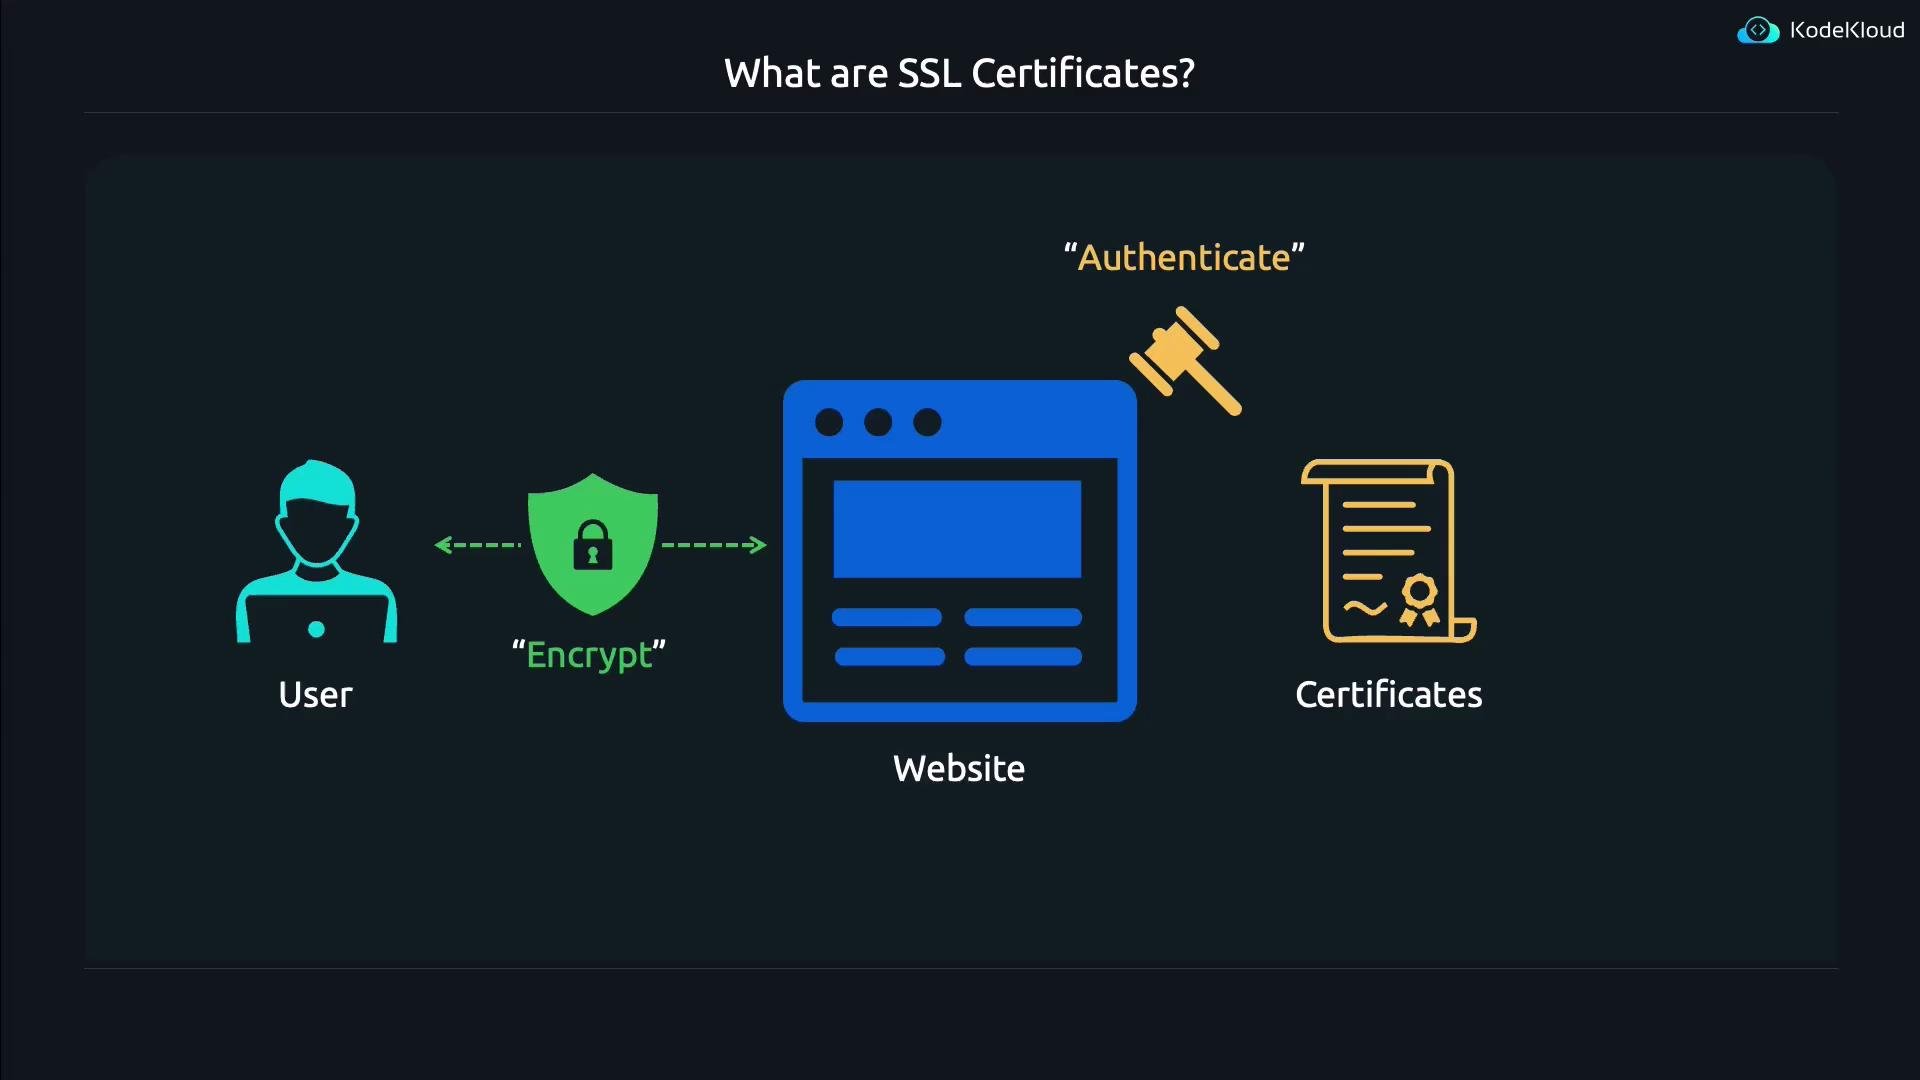
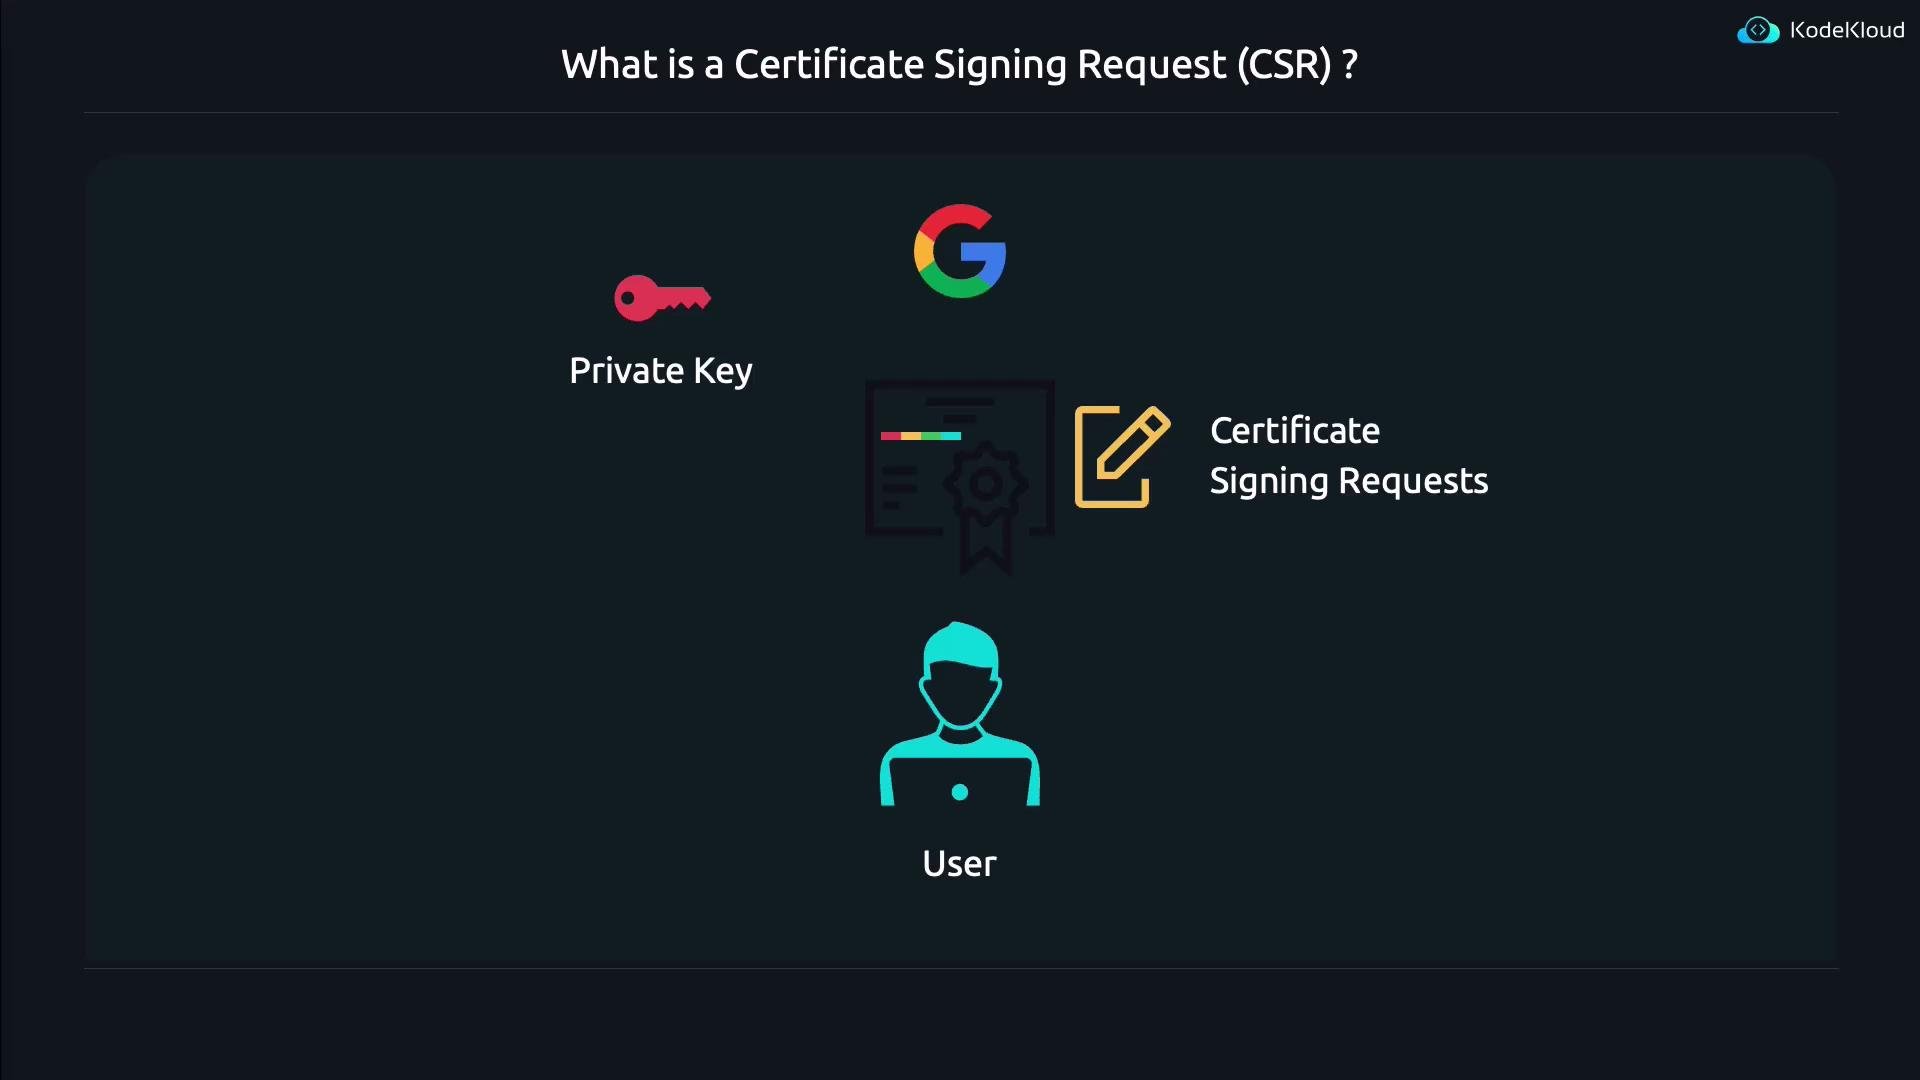
CSR (Certificate Signing Request): generate a key + CSR and submit the CSR to a Certificate Authority (CA) to obtain a publicly trusted certificate.
Self-signed certificate: create and sign the certificate yourself. Useful for development, testing, or closed environments where you control client trust stores.
When you want a publicly trusted certificate, you generate a CSR and send it to a CA. The CA validates your identity and signs the CSR, producing a certificate that browsers will trust.
-newkey rsa:2048 — create a new RSA key (2048 bits) and a CSR.
-keyout key.pem — save the private key to key.pem.
-out req.pem — save the CSR to req.pem.
By default OpenSSL will prompt for a passphrase to encrypt the private key (omit encryption with -nodes) and then prompt for Distinguished Name (DN) fields (Country, State, Locality, Organization, Common Name, etc.). Historically the Common Name (CN) indicated the hostname, but modern clients rely on the Subject Alternative Name (SAN) extension for hostname verification. Ensure the website hostname appears in SAN (and/or CN for compatibility), e.g., www.kodekloud.com.A CSR file (PEM format) looks like this:
-x509 — create a self-signed X.509 certificate instead of a CSR.
-newkey rsa:4096 — generate a new RSA key with 4096 bits.
-nodes — do not encrypt the private key (no passphrase).
-days 365 — certificate validity length in days.
-keyout / -out — file names for the private key and certificate.
When executed, OpenSSL prompts for DN fields. You can accept defaults or enter custom values. Example DN prompts:
Country Name (2 letter code) [AU]:USState or Province Name (full name) [Some-State]:OregonLocality Name (eg, city) []:GastonOrganization Name (eg, company) [Internet Widgits Pty Ltd]:KodeKloudOrganizational Unit Name (eg, section) []:Common Name (e.g. server FQDN or YOUR name) []:www.kodekloud.comEmail Address []:
Certificates in PEM form are base64 with header/footer and are not human-friendly to read directly. Use openssl x509 to view certificate details:
openssl x509 -in mycertificate.crt -text -noout
Sample (truncated) output:
Certificate: Data: Version: 3 (0x2) Serial Number: 43:f0:d9:9b:fe:36:34:3d:f2:3d:64:ef:91:c2:30:3a:fe:d8:f9:cb Signature Algorithm: sha256WithRSAEncryption Issuer: C = US, ST = Oregon, L = Gaston, O = KodeKloud, CN = www.kodekloud.com Validity Not Before: Jun 13 02:38:25 2024 GMT Not After : Jun 13 02:38:25 2025 GMT Subject: C = US, ST = Oregon, L = Gaston, O = KodeKloud, CN = www.kodekloud.com Subject Public Key Info: Public Key Algorithm: rsaEncryption Public-Key: (4096 bit)
Useful openssl x509 printing options:
Option
Purpose
-text
Print certificate in human-readable text form
-subject
Print subject Distinguished Name (DN)
-issuer
Print issuer DN
-dates
Print certificate validity period (notBefore/notAfter)
-fingerprint
Print certificate fingerprint (hash)
-pubkey
Print public key in PEM format
-in <file>
Specify PEM-formatted certificate file to read
(See openssl x509 -help for complete option list.)
If you need certificates trusted by public browsers, generate a CSR (openssl req -new ...) and submit it to a Certificate Authority. For internal/testing scenarios you can self-sign (openssl req -x509 ...) and add that certificate to your clients’ trust stores.
Let’s Encrypt — free CA that issues publicly trusted TLS certificates
We hope this guide helps you generate and inspect TLS (formerly “SSL”) certificates using OpenSSL. Use the man pages (man openssl-req, man openssl-x509) and the -help flag for each subcommand to explore additional options and examples.