

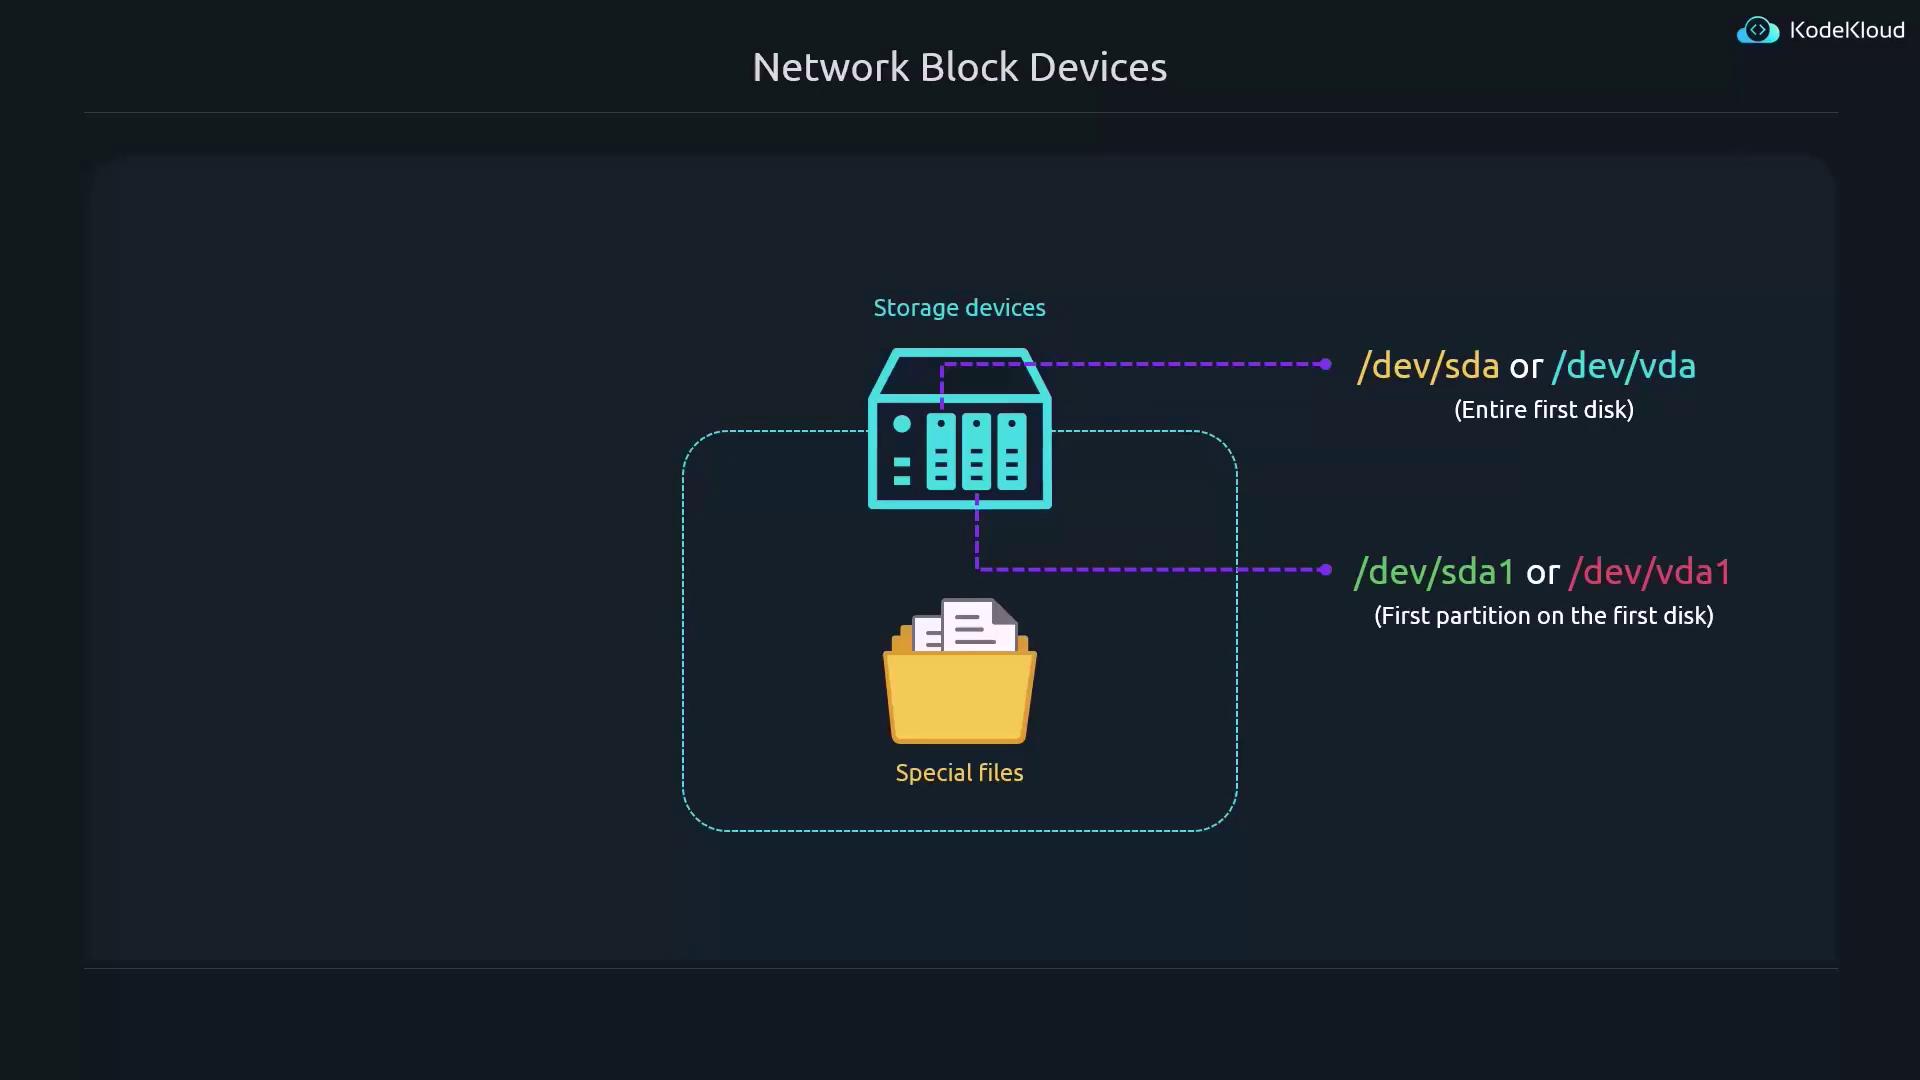
/dev/sda or /dev/vda represents the entire first storage device, while /dev/sda1 or /dev/vda1 refers to a specific partition on that disk.
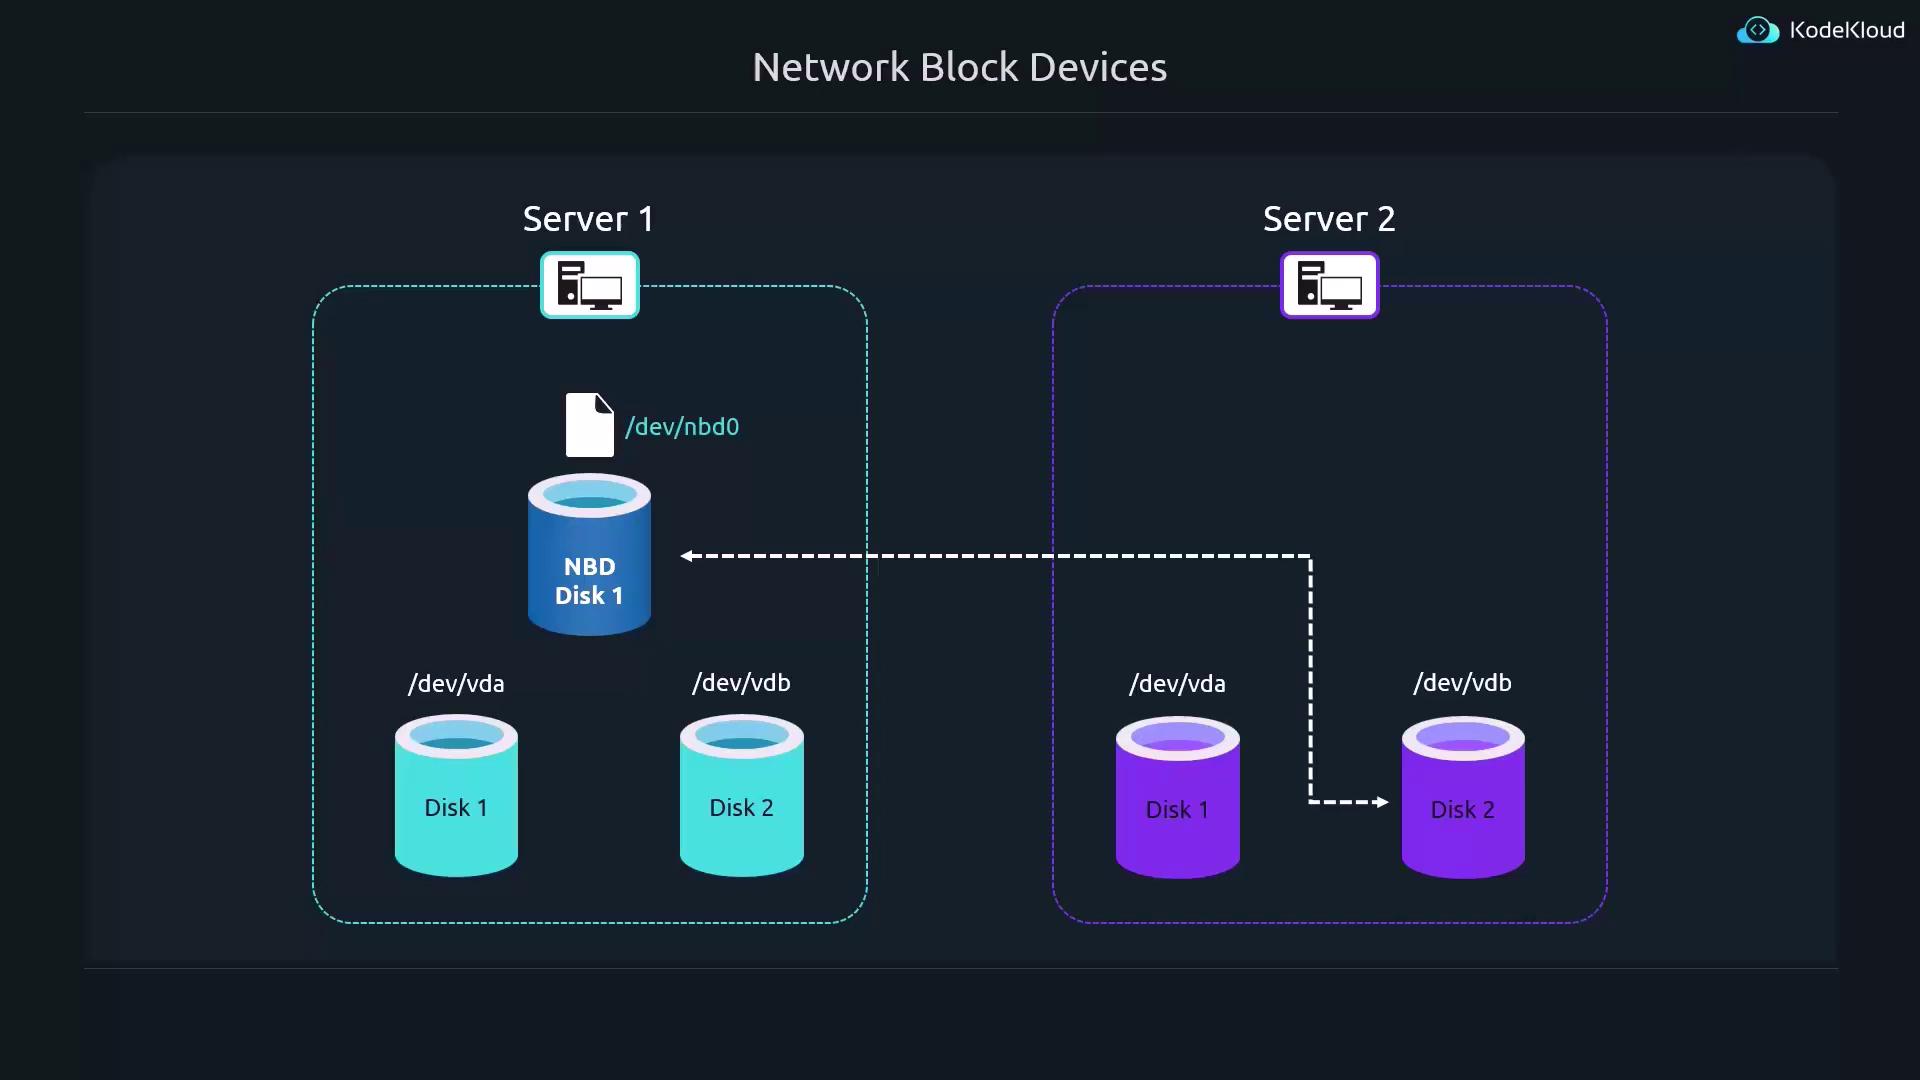
- Server 1 has two storage devices:
/dev/vdaand/dev/vdb. - Server 2 also provides two storage devices with similar identifiers.
/dev/nbd0), which applications treat as a standard block device, while all read and write operations on /dev/nbd0 are transparently forwarded to the actual block device (e.g., /dev/vdb) on Server 2.
Configuring the NBD Server
Follow these steps on the server that will export the block device:-
Use the package manager to install the NBD server:
Use the package manager to install the NBD server:A sample output could be similar to:
-
Open the configuration file using your preferred text editor:
Open the configuration file using your preferred text editor:By default, the NBD daemon runs as the user In this example, the export definition under
nbd, which might not have access to block devices like /dev/sda. The configuration contains comments guiding you to run the daemon as root if necessary. You can either explicitly set the user and group as root or comment out these lines entirely. For instance:[partition2] specifies that /dev/sda1 will be shared. Make sure the device path matches your intended configuration.- Save your changes and restart the NBD server to apply the new configuration: …
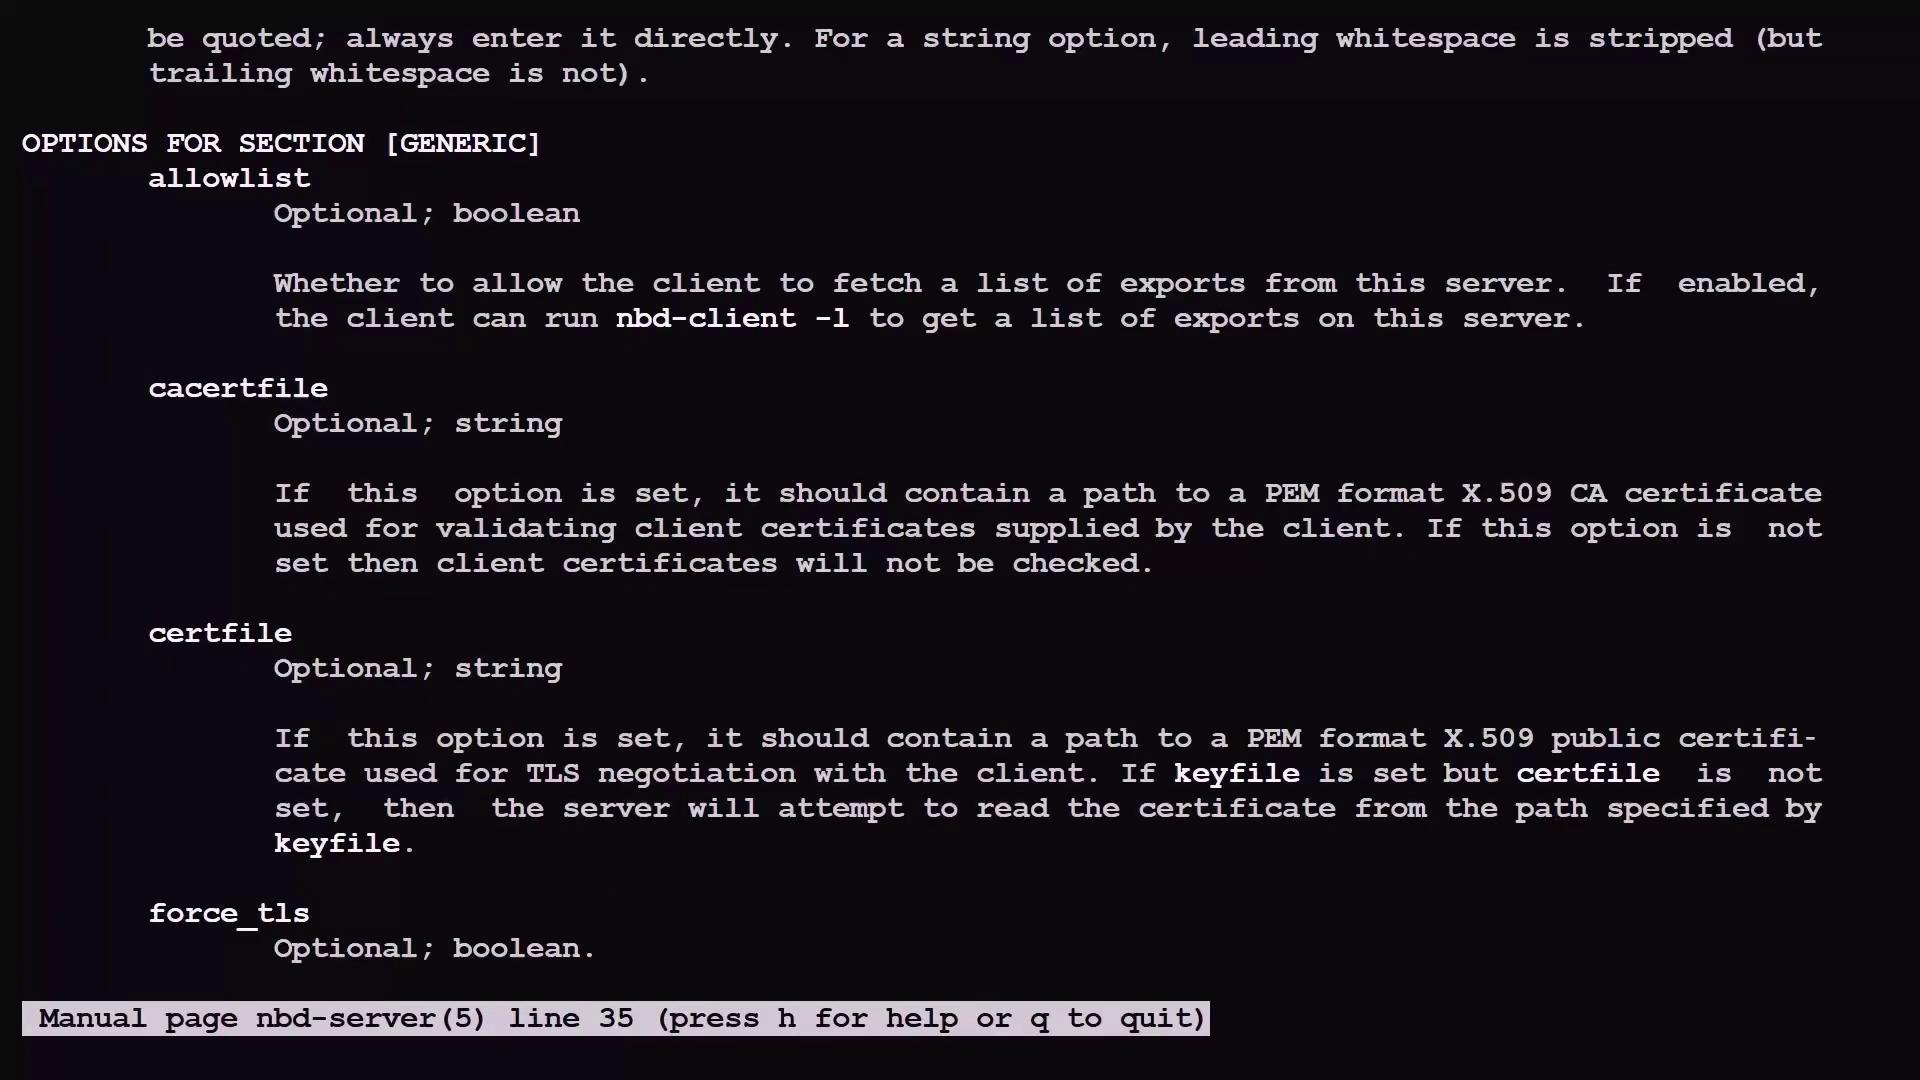
Save your changes and restart the NBD server to apply the new configuration:For more configuration options, consult the manual:This manual details generic and export-specific settings.
Configuring the NBD Client
On the client machine where you want to access the remote block device, complete the following steps:-
Install the NBD client utilities:
Install the NBD client utilities:Sample output might look like:
-
To support remote block devices, load the necessary kernel module:
To support remote block devices, load the necessary kernel module:This module will load for the current session only. To load it automatically at boot, add it to the modules configuration:Then insert the following line:Save and exit the file.
- Establish an NBD connection by specifying the server’s IP and the export name…
Establish an NBD connection by specifying the server’s IP and the export name with the The expected output might look as follows:The special file
-N option (for example, partition2):/dev/nbd0 now represents the remote block device. Every operation on /dev/nbd0 is forwarded to the designated block device on the server.- Treat the remote block device like any local one
Treat the remote block device like any local one. For instance, mount it to the A sample listing might display the files on the mounted block device:
/mnt directory:-
When it’s time to disconnect the remote device, follow these steps:
- **U…
When it’s time to disconnect the remote device, follow these steps:
-
Unmount the file system:
-
Verify block device status:
The output should show
/dev/nbd0with a non-zero size. -
Detach the NBD connection:
lsblk again should indicate that /dev/nbd0 now has a zero-byte size, confirming successful detachment.An example session might be:-
To view all available exports on the NBD server, use the
-loption:
To view all available exports on the NBD server, use the Example output:This capability is enabled by the
-l option:allowlist = true setting in the generic section of the NBD server configuration.Summary
In this lesson, you learned how to export a local block device using an NBD server and connect to it remotely via an NBD client. Here’s a quick reference table summarizing the process:
This completes the core concepts of using Network Block Devices. Armed with these instructions, you can now export local block devices from one server and mount them remotely on another.
Let’s move on to our next lesson.