

Setting Up Virtual Disks
For this lesson, we will attach three virtual disks to a virtual machine, each with a capacity of 5 GB. The diagram below shows a virtual machine connected to three virtual disks to support our exercises: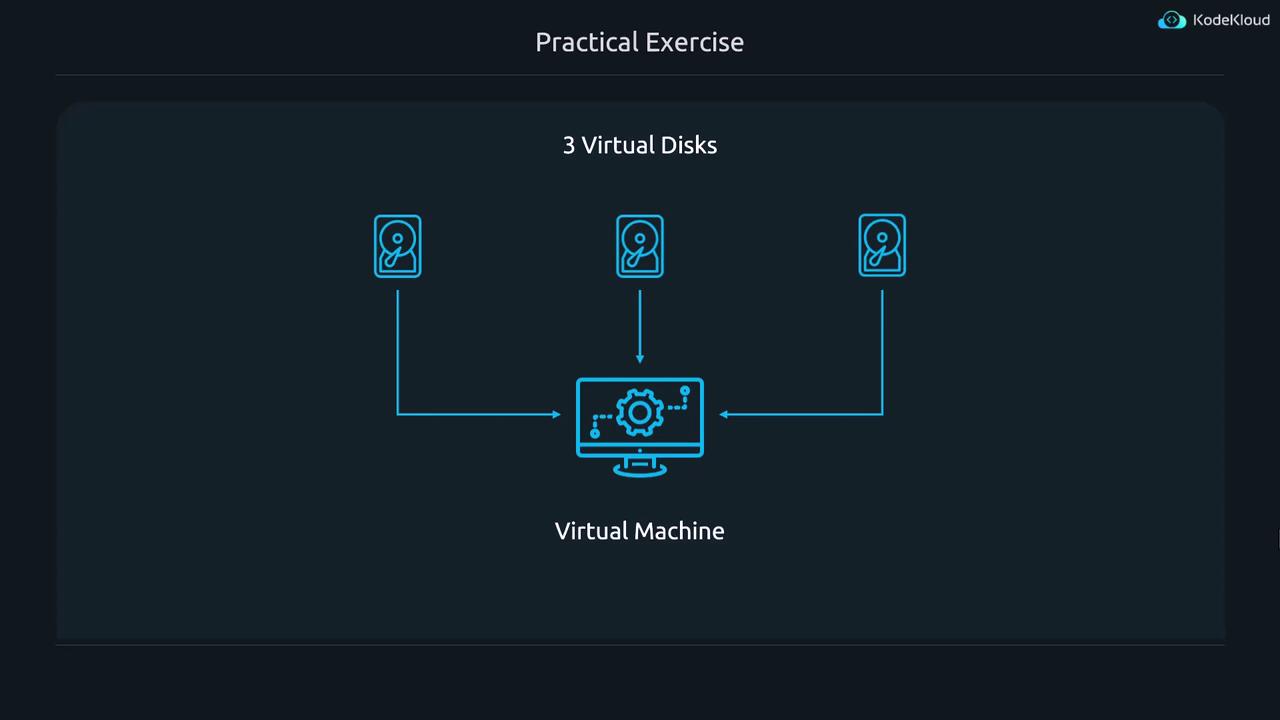
Key LVM Concepts: PV, VG, LV, and PE
LVM uses specific terms to describe its components:- PV (Physical Volume): The actual storage device (disk, SSD, or partition).
- VG (Volume Group): A pool of storage created by grouping one or more PVs.
- LV (Logical Volume): A virtual partition carved out within a VG.
- PE (Physical Extent): The smallest allocation unit on a PV.
Examining Physical Volumes (PVs)
Physical Volumes are the underlying devices that LVM manages. To list available disks and partitions—including those already used for LVM—run:/dev/sda3 is already used as a PV by Ubuntu. For our lesson, we will focus on using the new disks. Create two PVs on your new disks with:
Creating and Extending a Volume Group (VG)
After setting up your PVs, the next step is to combine them into a Volume Group (VG). Think of a VG as a single virtual disk composed of multiple PVs. For example, to create a VG named “my_volume” using the two 5 GB PVs, run:-
Create a PV on the new disk:
-
Extend the VG:
Creating Logical Volumes (LVs)
Logical Volumes act like partitions but are more flexible than traditional ones. With your VG established, you can create LVs within it.-
Create a logical volume named “partition1” of 2 GB within “my_volume”:
- Verify your Volume Group status to see that “partition1” is allocated and free space remains.
-
Next, create a second logical volume named “partition2” with a size of 6 GB:
-
To view all logical volumes, use:
Resizing Logical Volumes
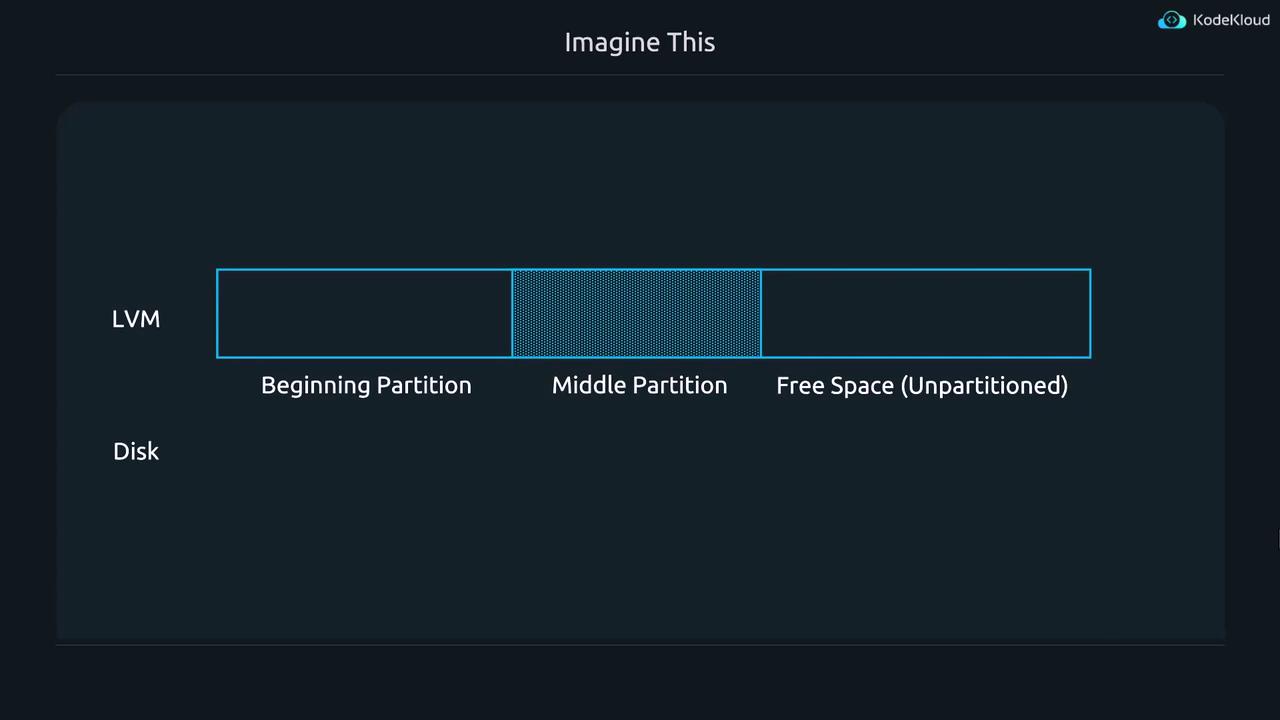
One of LVM’s key features is the ability to resize LVs without impacting their logical appearance. Data is stored in units called physical extents (PEs). Although an LV may span non-contiguous physical extents, the system sees it as a continuous disk. To extend an LV to use all available free space in a VG, use the —extents option with 100%VG. For example, resizing “partition1” is done by:Shrinking a logical volume that contains data is risky. Always ensure your data is backed up before resizing volumes.
Handling Filesystems on Logical Volumes
An empty logical volume has no filesystem, so it cannot store files until you create one. LVs are typically made available using paths formatted as: /dev/<volume_group>/<logical_volume> For example, an LV in “ubuntu-vg” might appear as/dev/ubuntu-vg/ubuntu-lv. To inspect detailed information about LVs, run:
After formatting an LV, ensure that the filesystem is managed carefully. Resizing the logical volume without adjusting the filesystem can result in the filesystem not utilizing the extra space.
Conclusion
This lesson has covered the fundamentals of managing and configuring LVM storage—from creating physical volumes, forming volume groups, setting up logical volumes, and resizing them along with their filesystems. By abstracting physical storage into flexible, dynamically adjustable volumes, LVM alleviates many limitations found in traditional partitioning schemes, reducing downtime and simplifying storage management. For further reference, consult the LVM manual by runningman lvm or use terminal tab completion for hints. Happy managing!