Learn to use Git branches and remote repositories for version management, tracking changes, merging, and team collaboration.
In this lesson, you will learn how to leverage Git branches and remote repositories to manage different versions of your code, track modifications, merge changes, and effectively collaborate with your team.──────────────────────────────
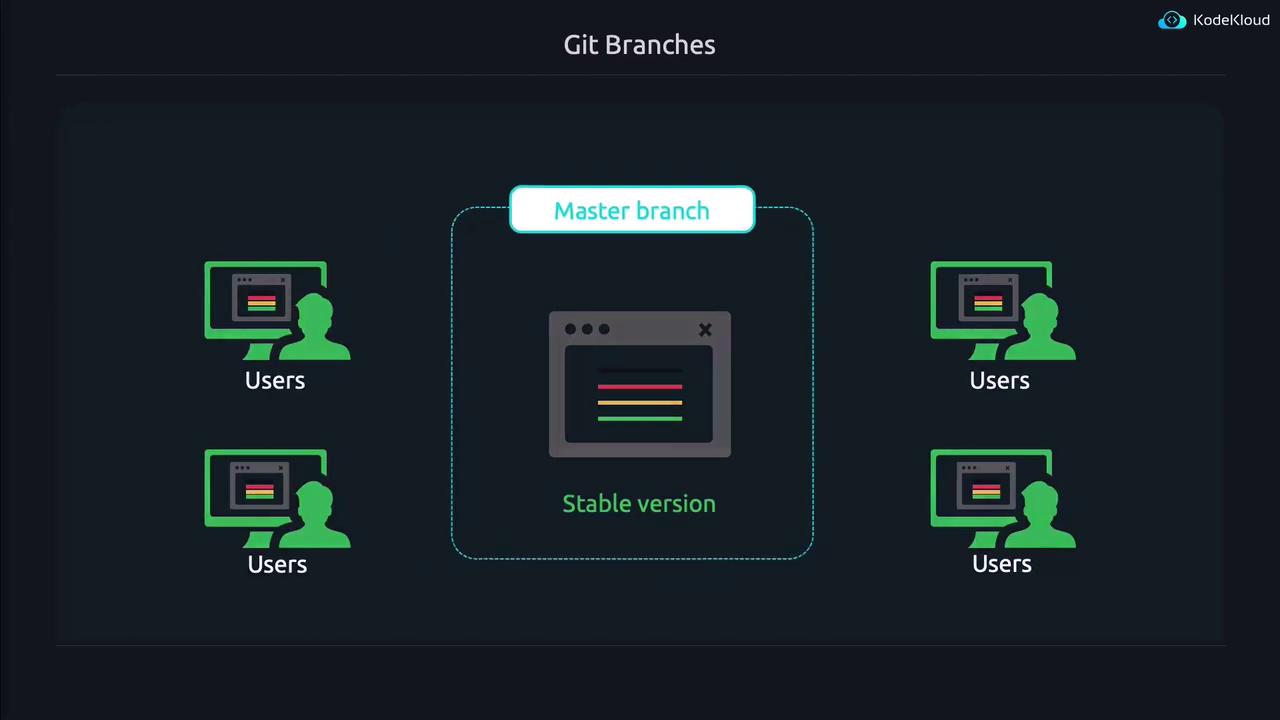
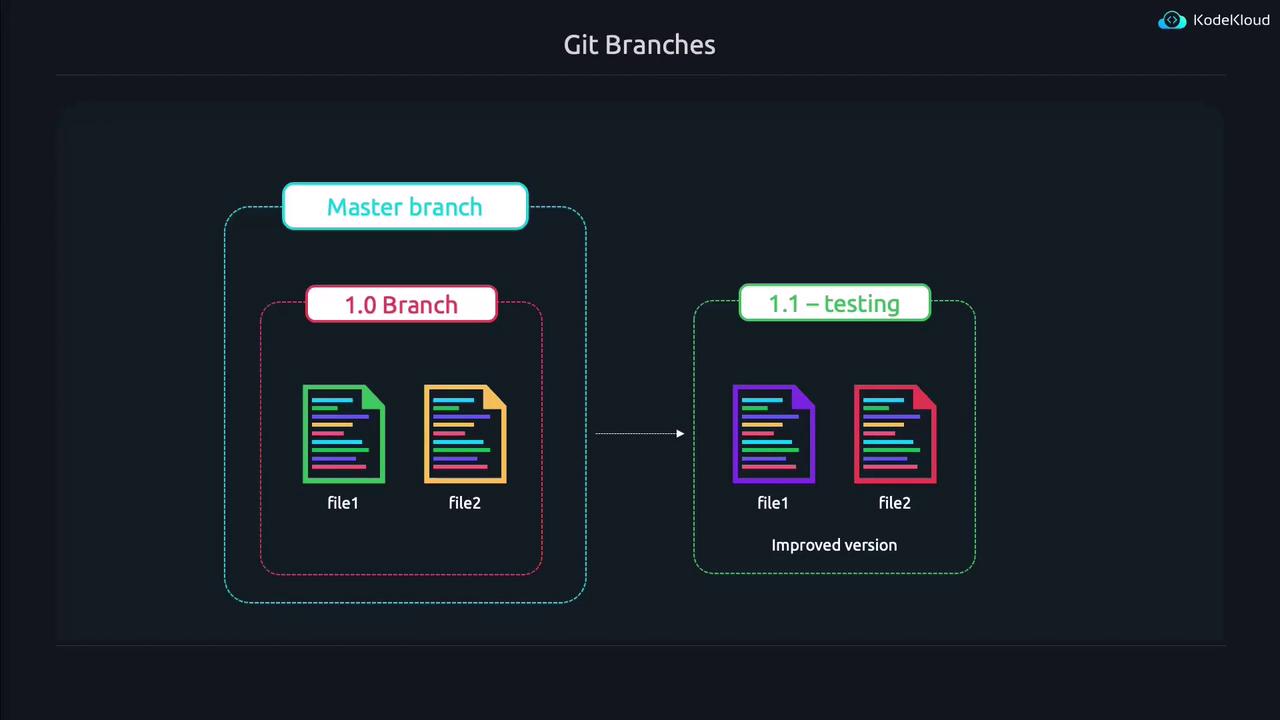
Git branches allow you to develop different versions of your project simultaneously. For example, if version 1.0 is already in production and requires bug fixes while new features are developed for version 1.1, you can create separate branches for each. The master branch is the default branch that typically holds your stable, released version.Imagine your master branch is currently at version 1.0 with file1 and file2. The diagram below illustrates this concept by presenting the “Master branch” as the stable codebase accessed by users.
To experiment or develop new features without affecting the master branch, create a new branch. In this case, the branch is named “1.1-testing” to indicate that it is under development.
Now that you are on the 1.1-testing branch, open “file2” in your preferred editor and make your modifications (for example, update a line to “This is the IMPROVED line of code in file2”). Then, run “git status” to see that your changes have been detected:
jeremy@kodekloud:~/project$ vim file2jeremy@kodekloud:~/project$ git statusOn branch 1.1-testingChanges not staged for commit: (use "git add <file>..." to update what will be committed) (use "git restore <file>..." to discard changes in working directory) modified: file2no changes added to commit (use "git add" and/or "git commit -a")
Before committing, always add your changes to the staging area using “git add” to ensure that only the intended modifications are committed.
To review the history of your Git commits, use the Git log. Executing the following command provides detailed commit entries:
jeremy@kodekloud:~/project$ git log --raw
In the log output, symbols indicate file actions: A for added, D for deleted, and M for modified files. Each commit is identified by a unique hash value. To inspect the changes in a specific commit, use the “git show” command along with part of the commit hash. For example, a diff might resemble:
+++ b/file2@@ -1 +1 @@-This is the ORIGINAL line of code in file2+This is the IMPROVED line of code in file2
If you switch back to the master branch, you’ll notice that it remains one commit behind. For example:
jeremy@kodekloud:~/project$ git checkout masterSwitched to branch 'master'jeremy@kodekloud:~/project$ cat file2This is the ORIGINAL line of code in file2
This demonstrates that the HEAD pointer reflects the state of the current branch.──────────────────────────────
Once you have verified the improvements on the 1.1-testing branch, you can merge these changes back into the master branch. First, switch to the master branch:
jeremy@kodekloud:~/project$ git checkout masterAlready on 'master'
Up until now, you have been working with your local repository. In collaborative environments, it’s vital to synchronize your changes with a remote repository hosted on platforms like GitHub or GitLab.
Pushing your local commits to a remote repository ensures that your collaborators can access the latest version of your project. Start by checking the current remote configuration:
jeremy@kodekloud:~/project$ git remote -v
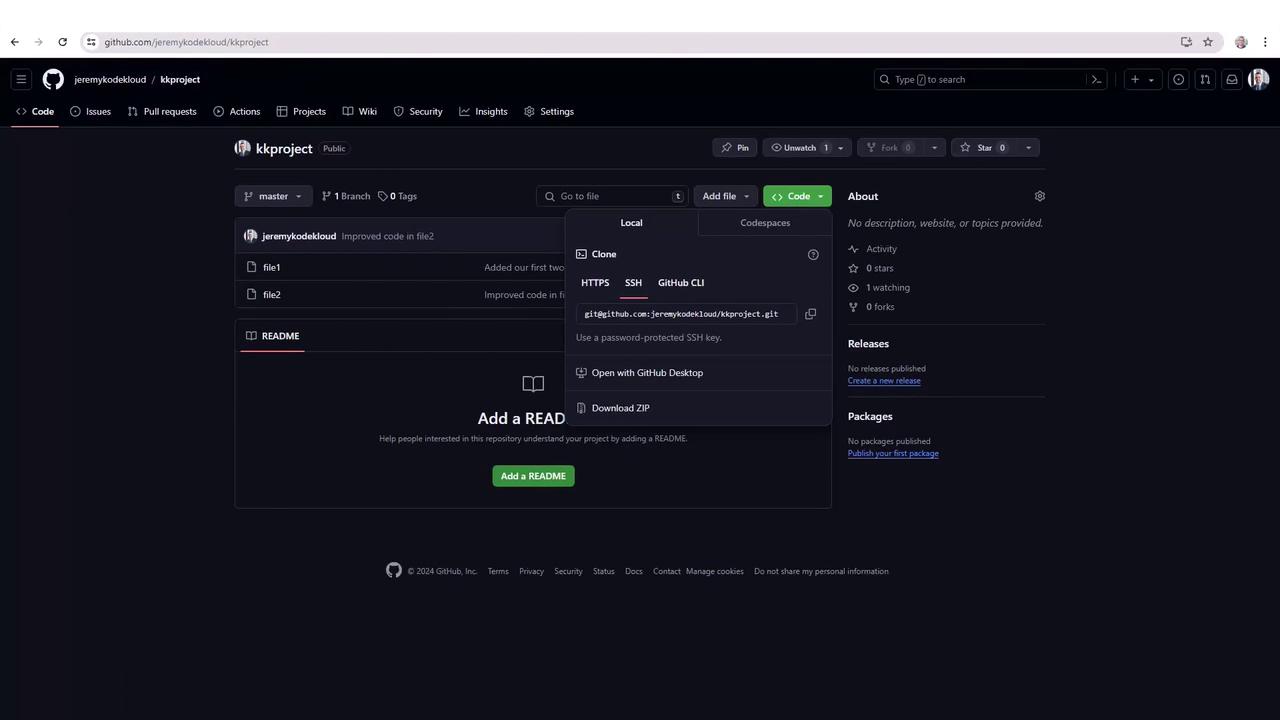
If there’s no remote configured, add one using the connection string provided by your hosting platform:
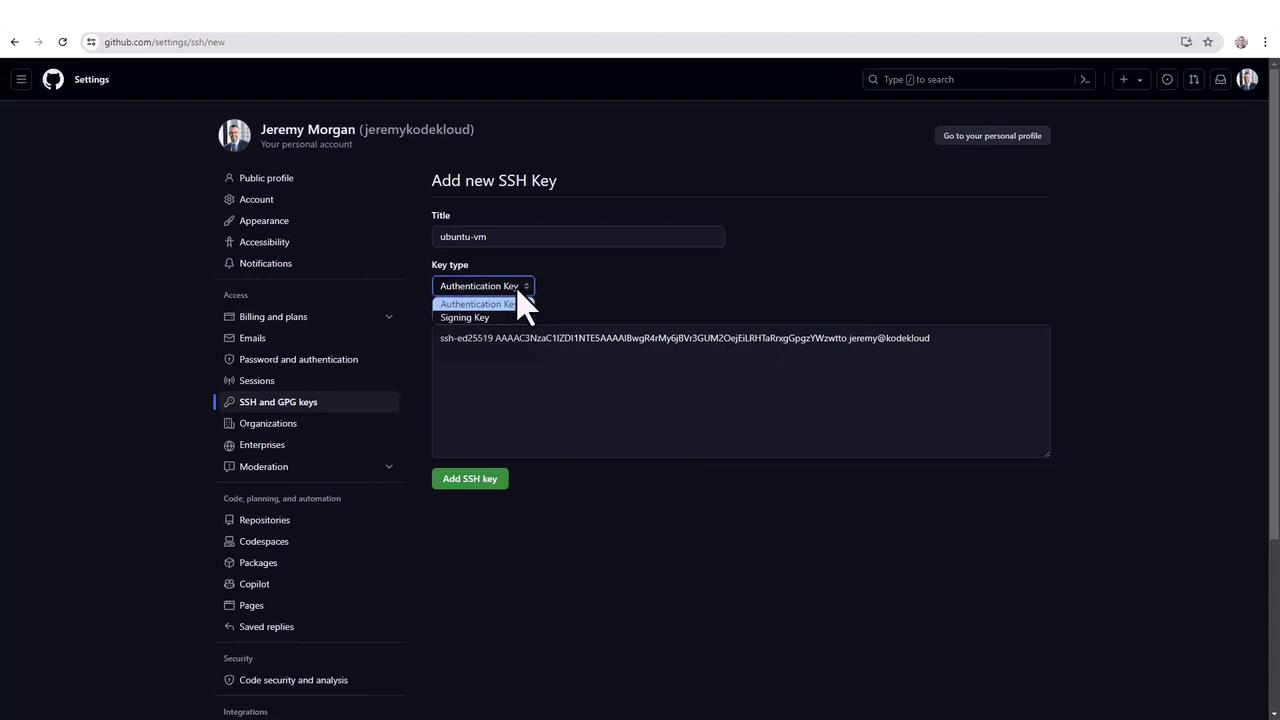
For secure communication with Git remote repositories, it’s recommended to use SSH keys. To generate an SSH key pair, run:
jeremy@kodekloud:~/project$ ssh-keygenGenerating public/private ed25519 key pair.Enter file in which to save the key (/home/jeremy/.ssh/id_ed25519):Enter passphrase (empty for no passphrase):
Once your keys have been generated, view your public key:
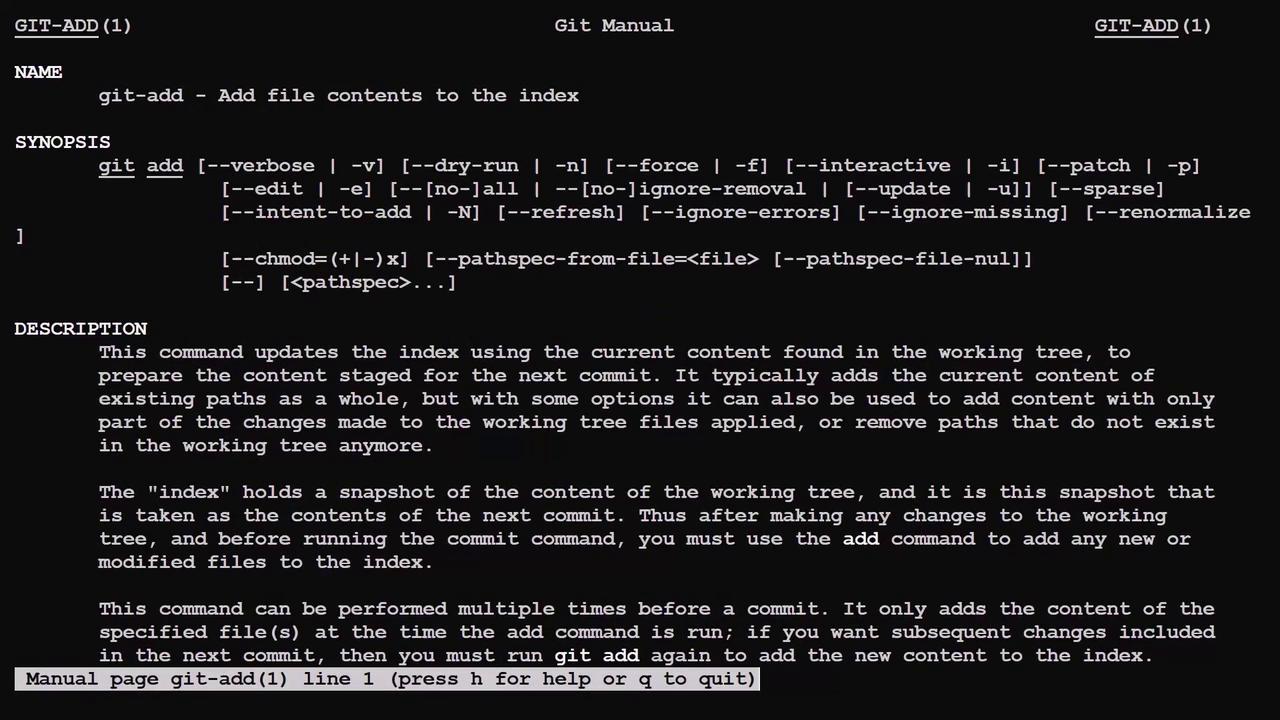
Git is a powerful tool with a wide range of features. If you ever need assistance or a reminder of a command’s options, simply type “git” and press the tab key twice to see a list of commands. For in-depth information on any command, you can consult the manual pages:
man git-add
A sample Git log entry may look like this:
commit 136b3a701d98fcc5c5e17ec3bc92272e4a810beAuthor: jeremy <jeremy@kodekloud.com>Date: Thu Jun 13 20:52:23 2024 +0000removed buggy featurecommit e354e75b4bc7e97bfdaadc45243693218eab83d0eAuthor: jeremy <jeremy@kodekloud.com>Date: Thu Jun 13 20:47:33 2024 +0000Added new featureAdded our first two files to get the project started
──────────────────────────────
This lesson has covered the fundamental techniques for working with Git branches and remote repositories. Continue with our next lesson to further enhance your Git skills.