

/etc/mysql directory, create databases, configure users, assign privileges, and manage log files. When it comes time to migrate this multi-component setup to a cloud server, the scattered pieces across various directories can make the process cumbersome.
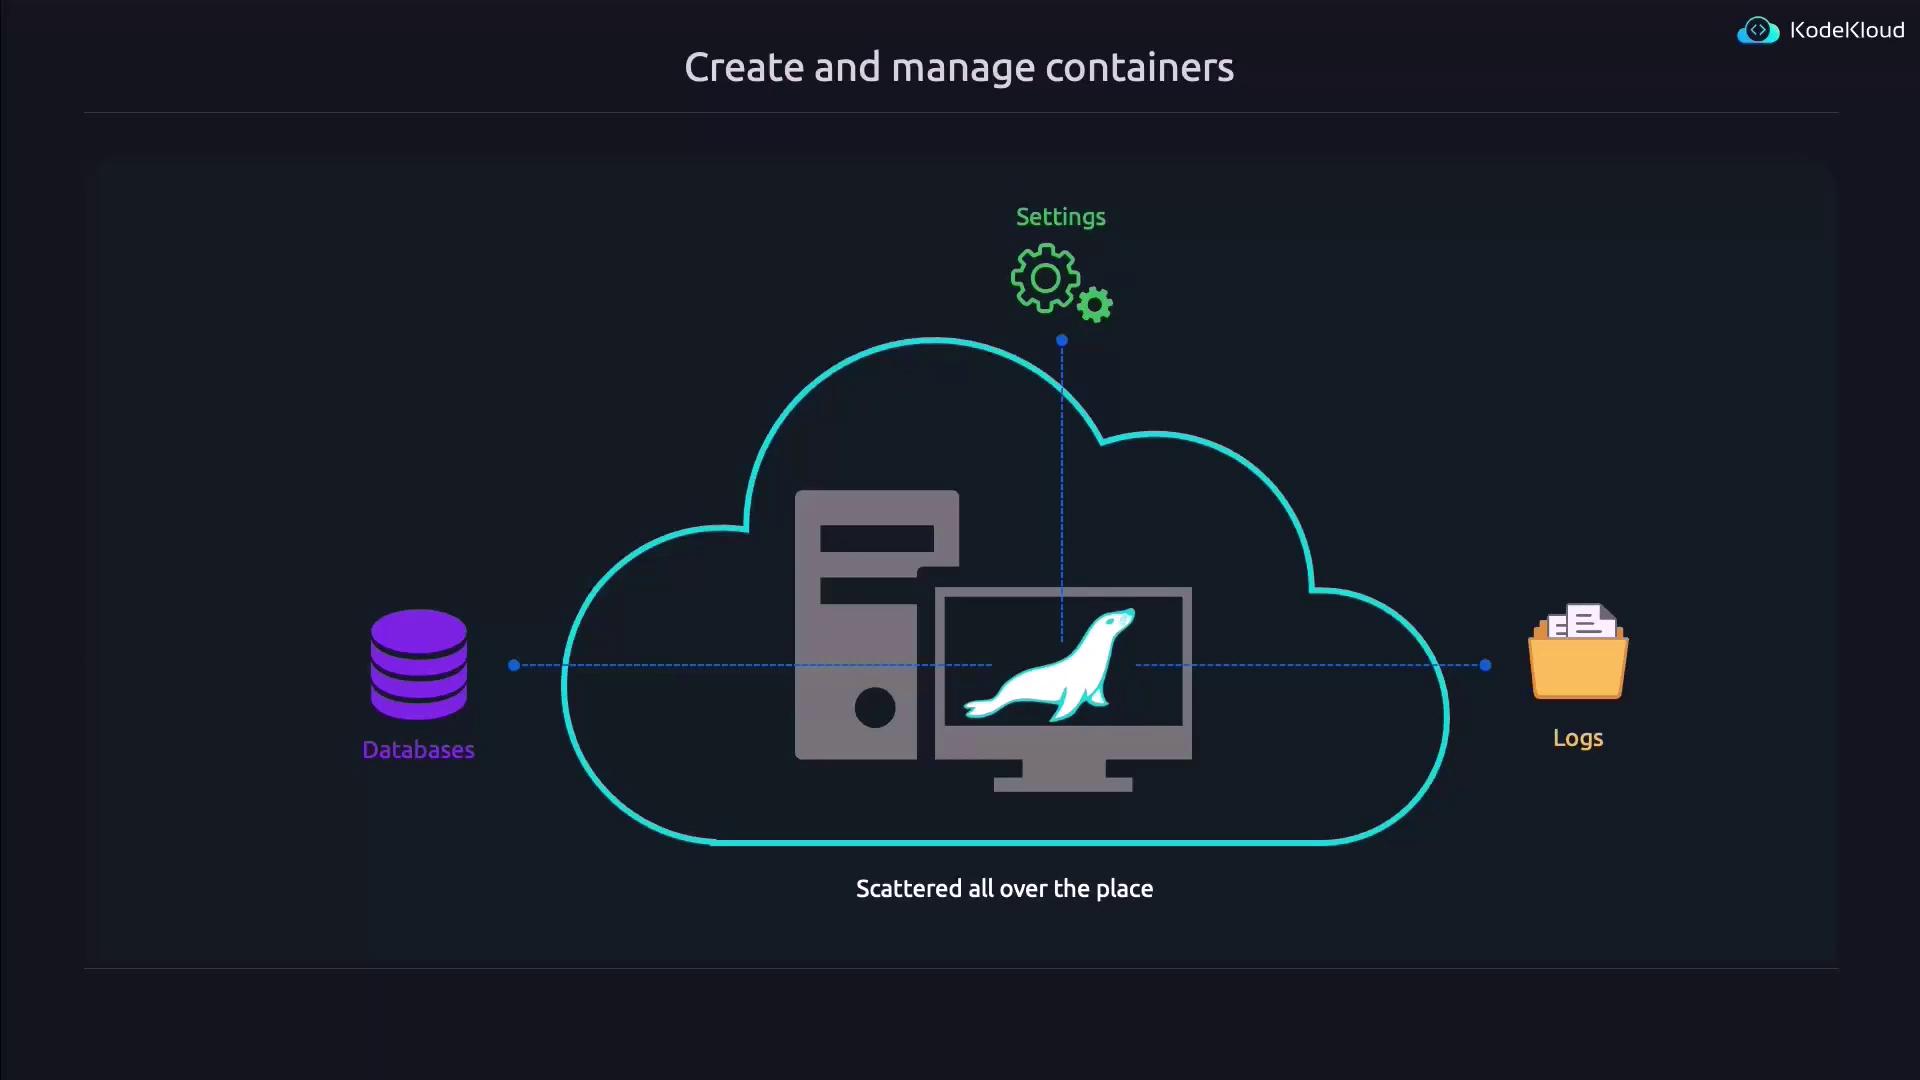
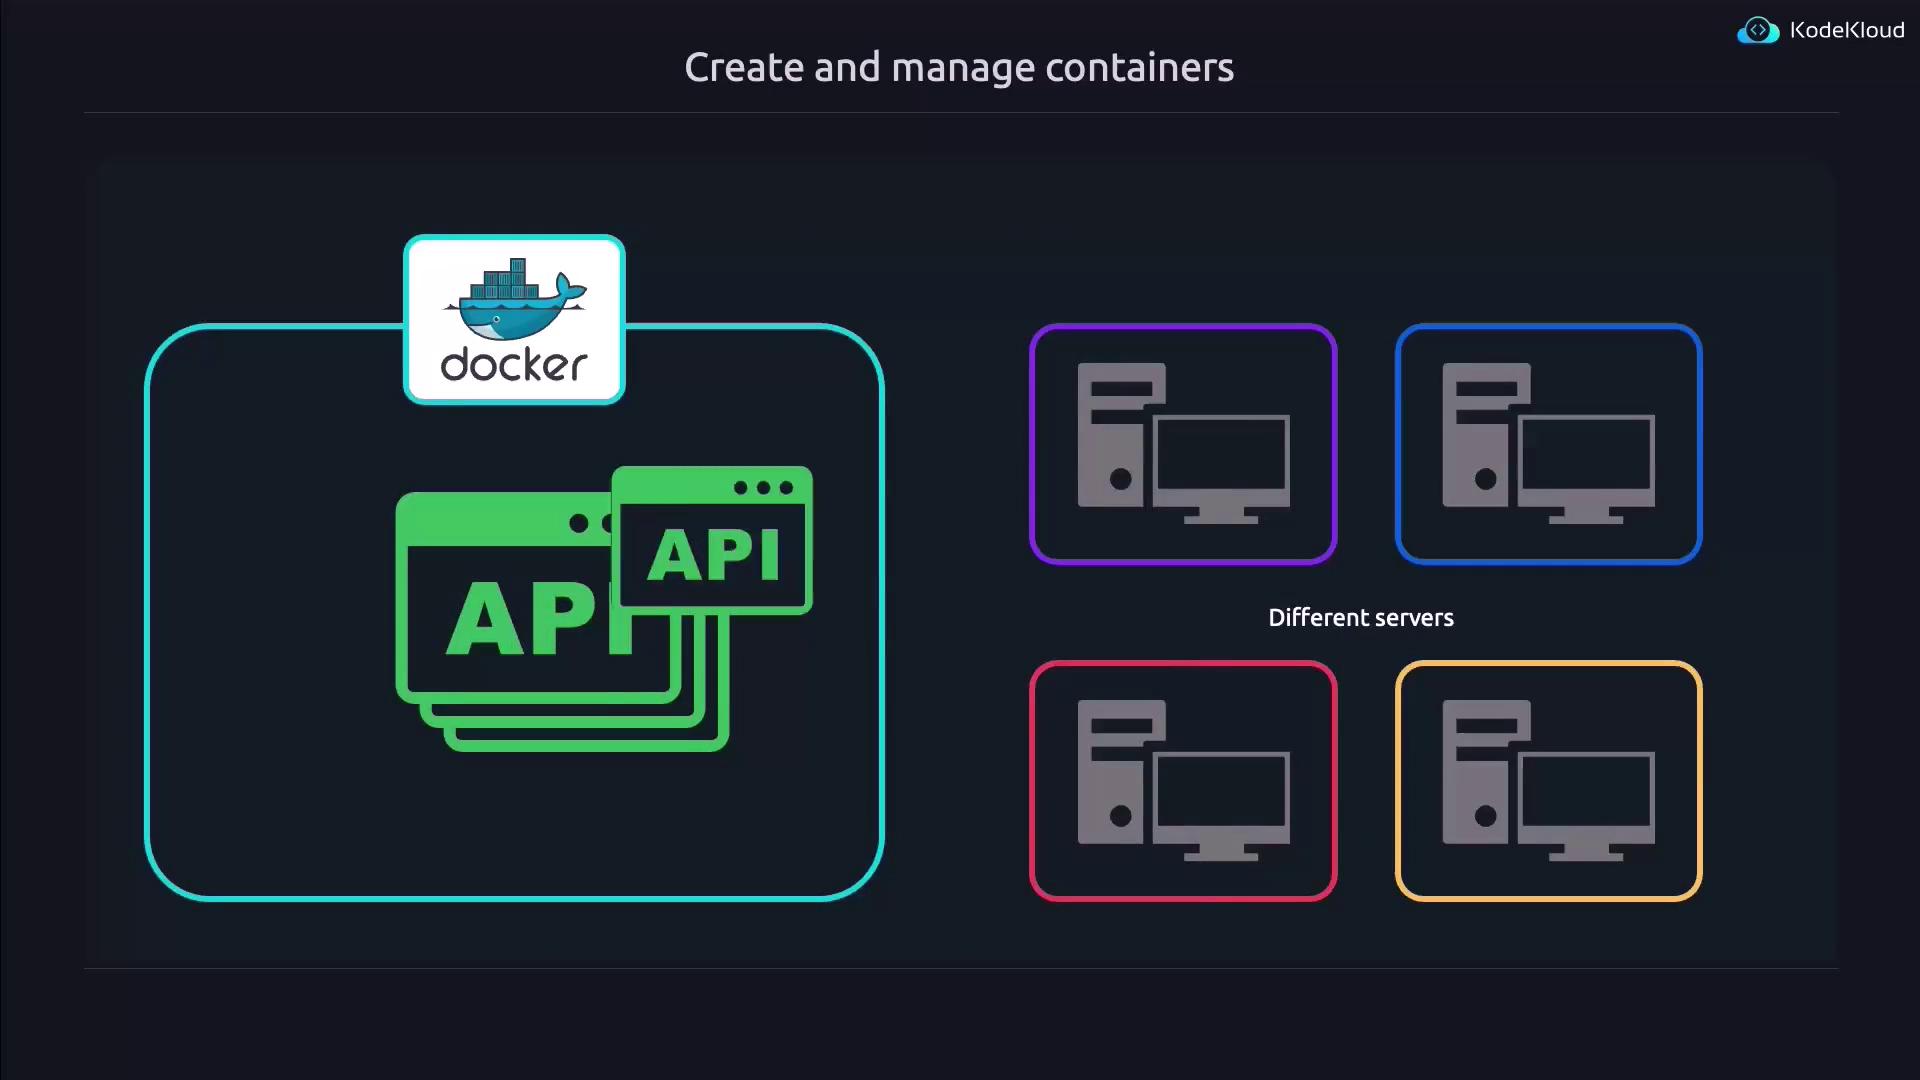
By containerizing your application, such as setting up your MariaDB inside a Docker container, every component—including the daemon, configuration files, logs, and databases—resides within a single container. This makes migration as simple as copying one file.

Using Docker Commands
Before diving into running containers, note that you can often execute Docker commands withoutsudo if your Linux user is added to the docker group. If you encounter permission errors, you can either prepend sudo to your commands or add your user to the Docker group and then log out and back in.
For example, you might see an error like this:
sudo, the command runs successfully:
Exploring Docker Commands
If you’re new to Docker, you can display all available commands by running:search which allows you to find images like Nginx:
latest at the end of the image name is known as the image tag—it functions similarly to a version label. For instance, latest corresponds to the newest version, while a tag like 1.24.0 indicates a specific version. To pull an older version, run:
Managing Docker Images
After pulling images, it’s a good practice to remove any that are no longer needed. To list available images, run:nginx:1.22.1 image, use the rmi command. When multiple images share the same repository name, remember to specify the tag:
Running Containers
Running a container is as easy as issuing thedocker run command. For instance, to run an Nginx container:
--detach: Runs the container in the background.--publish 8080:80: Maps port 8080 on the host to port 80 in the container.--name mywebserver: Assigns the name “mywebserver” to the container.
Remember that
docker ps only shows running containers. Use docker ps --all to list both active and stopped containers.Testing the Published Port
After running your container with port mapping, it’s important to verify that it’s accessible. You can do this by connecting to the published port on your host using a tool like netcat (nc):
Understanding Docker Run vs. Docker Start
It’s essential to understand the difference betweendocker run and docker start:
- docker run: Creates a new container from an image and starts it.
- docker start: Simply starts an existing, previously created container.
docker run when the container does not already exist and docker start to resume a stopped container.
Removing Containers and Images
Managing system resources involves cleaning up unused containers and images. To list all containers, run:determined_perlman), execute:
Remember: the
docker rm command removes containers, while docker rmi is used to remove images.Using Restart Policies
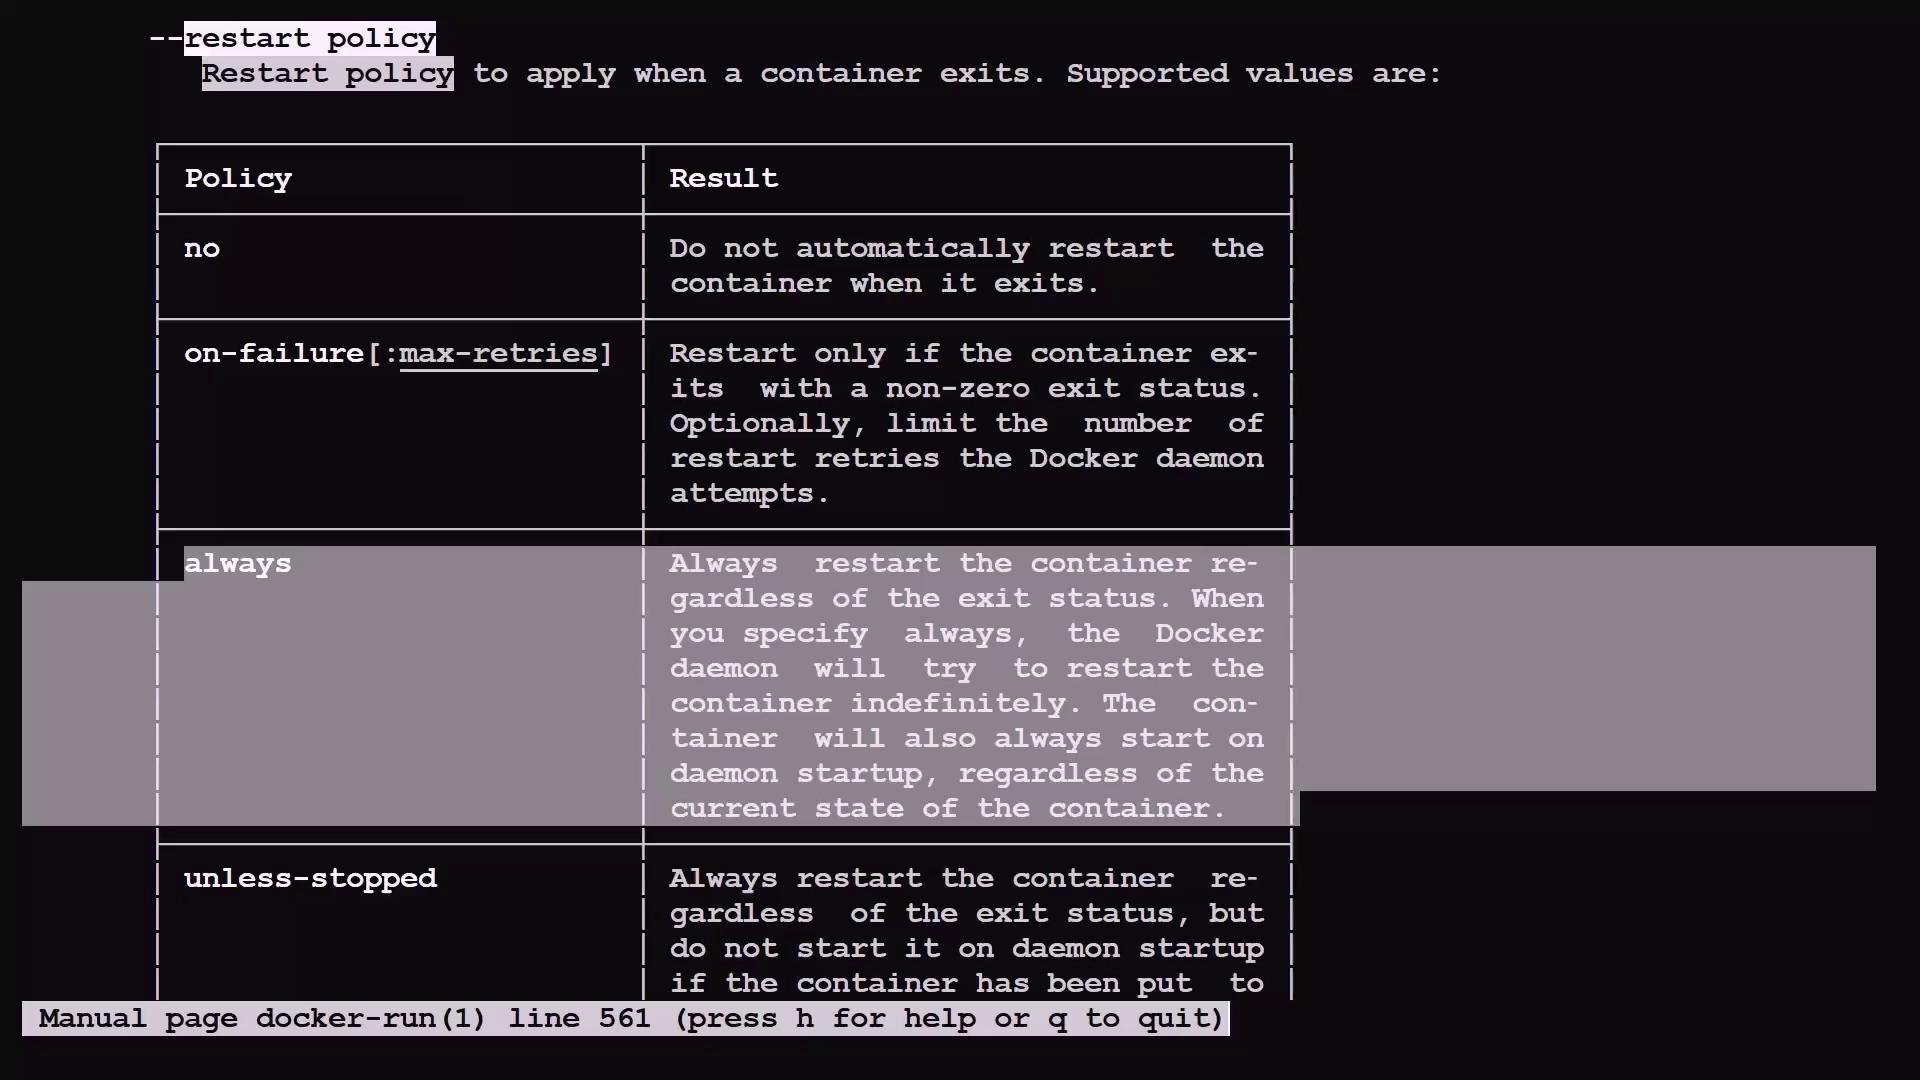
For scenarios where you need your Nginx container to restart automatically after errors or system reboots, you can add a restart policy. The basic command:--restart always option to ensure continuous operation:
Building Custom Docker Images
Sometimes, public images may not meet your exact needs, prompting you to build a custom image. Here’s how you can create your own image based on the Nginx image:-
Create a directory for your project and navigate into it:
-
Create a simple
index.htmlfile to serve as your custom HTML content:(Insert a line of text as a placeholder for your custom HTML content.) -
Create a
Dockerfile(note the capital D), which provides instructions for building your image:Add the following content to theDockerfile:This tells Docker to use the official Nginx image as the base and copy your custom HTML file into the appropriate directory inside the container.
- RUN: Executes commands during the image build (e.g., installing additional utilities).
- CMD: Specifies the default command to run when the container starts (which can be overridden).
- ENTRYPOINT: Ensures a command is always executed upon container initialization (and is less easily overridden).
-
Build your custom image using the following command (replace “jeremy” with your Docker Hub username if applicable):
You should see output similar to: