Downloading a Disk Image
The first step is to download a disk image. Ubuntu provides pre-configured cloud images that are ideally suited for virtual machines. Although similar images power services like Google Cloud, we will download the minimal cloud image usingwget.
Before you proceed, note that you may have encountered alternative commands similar to:
wget:
Verifying the Integrity of the Image
To ensure that the downloaded image is authentic and uncorrupted, verify its checksum using the SHA-256 checksum provided on the Ubuntu page. Two files are released:SHA256SUMS (which contains checksums for all images) and SHA256SUMS.gpg (which is used to verify the checksum file itself). First, download the checksum file:
Inspecting and Resizing the Disk Image
Next, inspect the image using QEMU’s tool to examine file format, virtual size, and allocated disk space:Creating a Storage Pool and Copying the Disk Image
Virtualization tools typically use storage pools to store virtual disk images, snapshots, and other data. By default, the storage pool is located at/var/lib/libvirt. To confirm, check the directory contents:
images subdirectory:
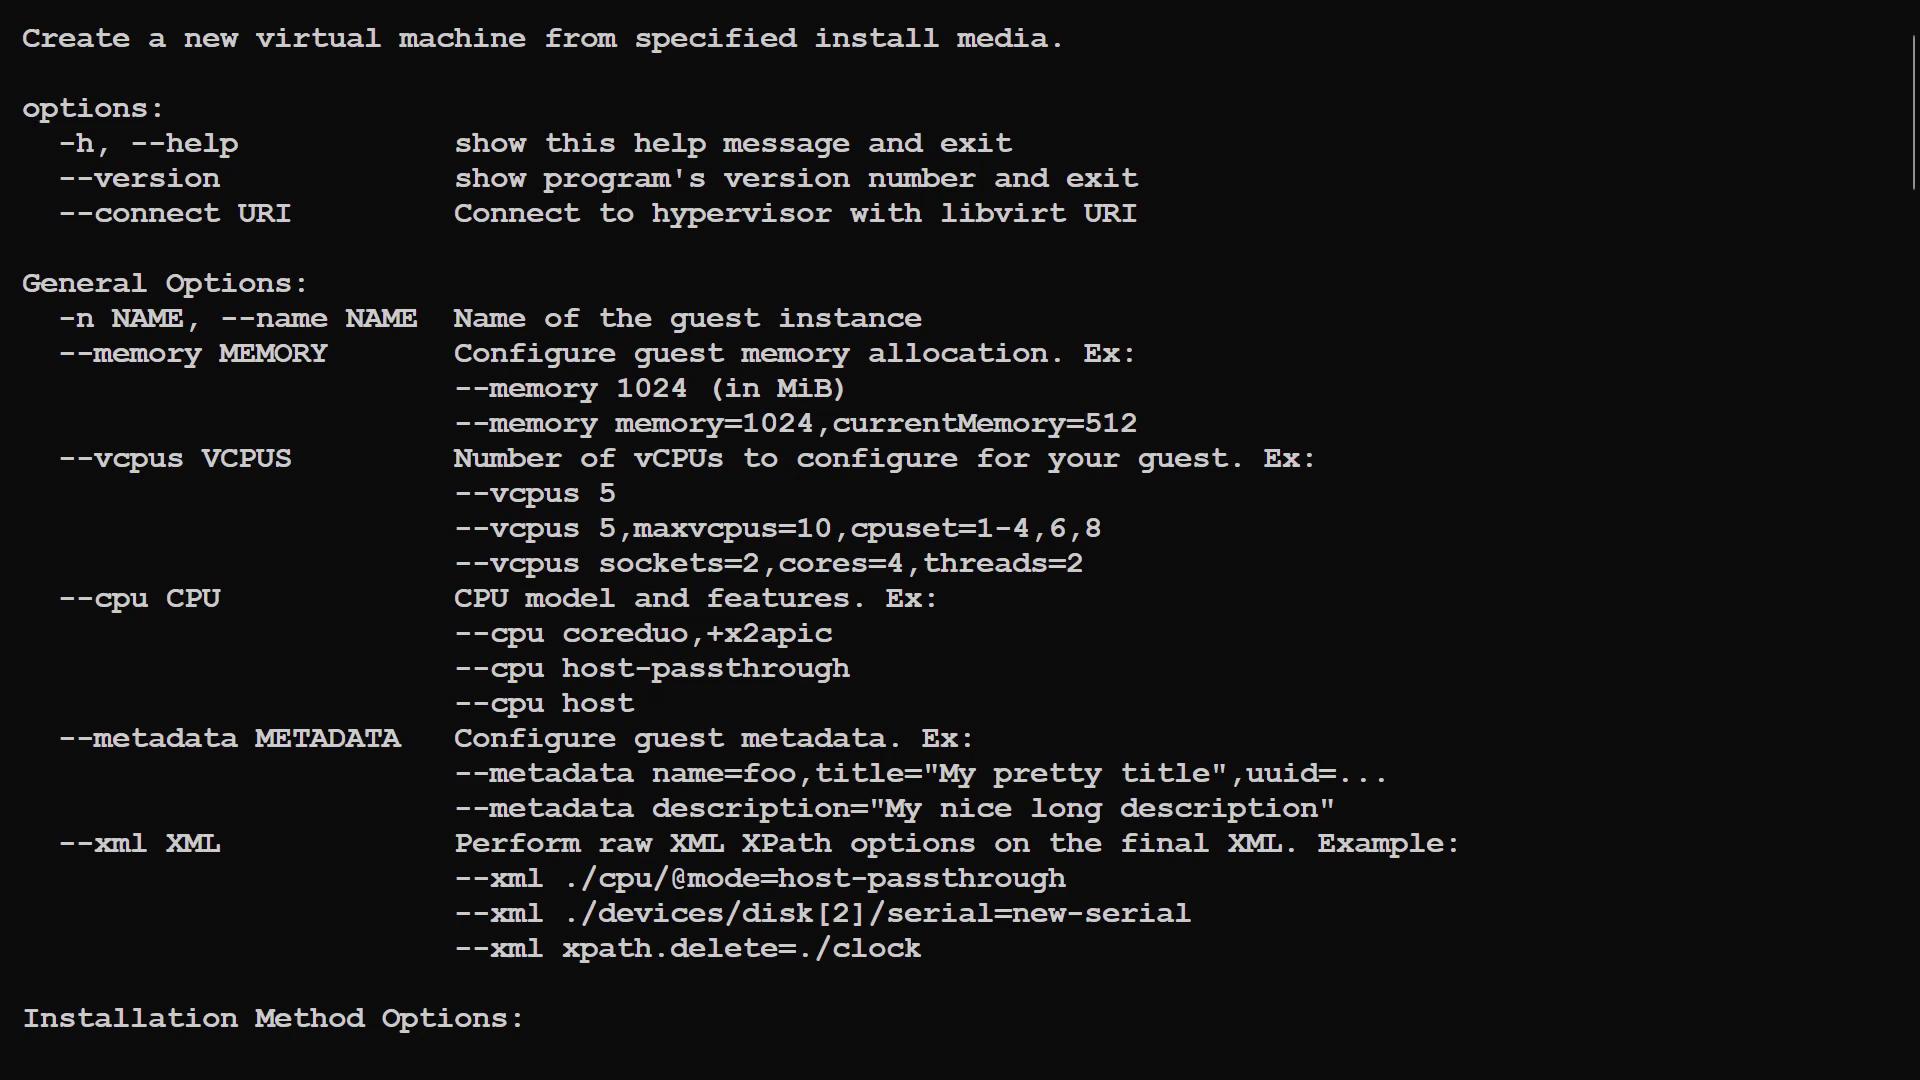
Creating a Virtual Machine with virt‑install
Now comes the more advanced step: creating a virtual machine and specifying the image file as the virtual disk. Thevirt-install utility makes this straightforward. If parameters are missing, an error will appear indicating that required options (such as the operating system name) must be provided.
For example, running:
ubuntu24.04).
Examining the Manual
For additional command-line options, consult the manual: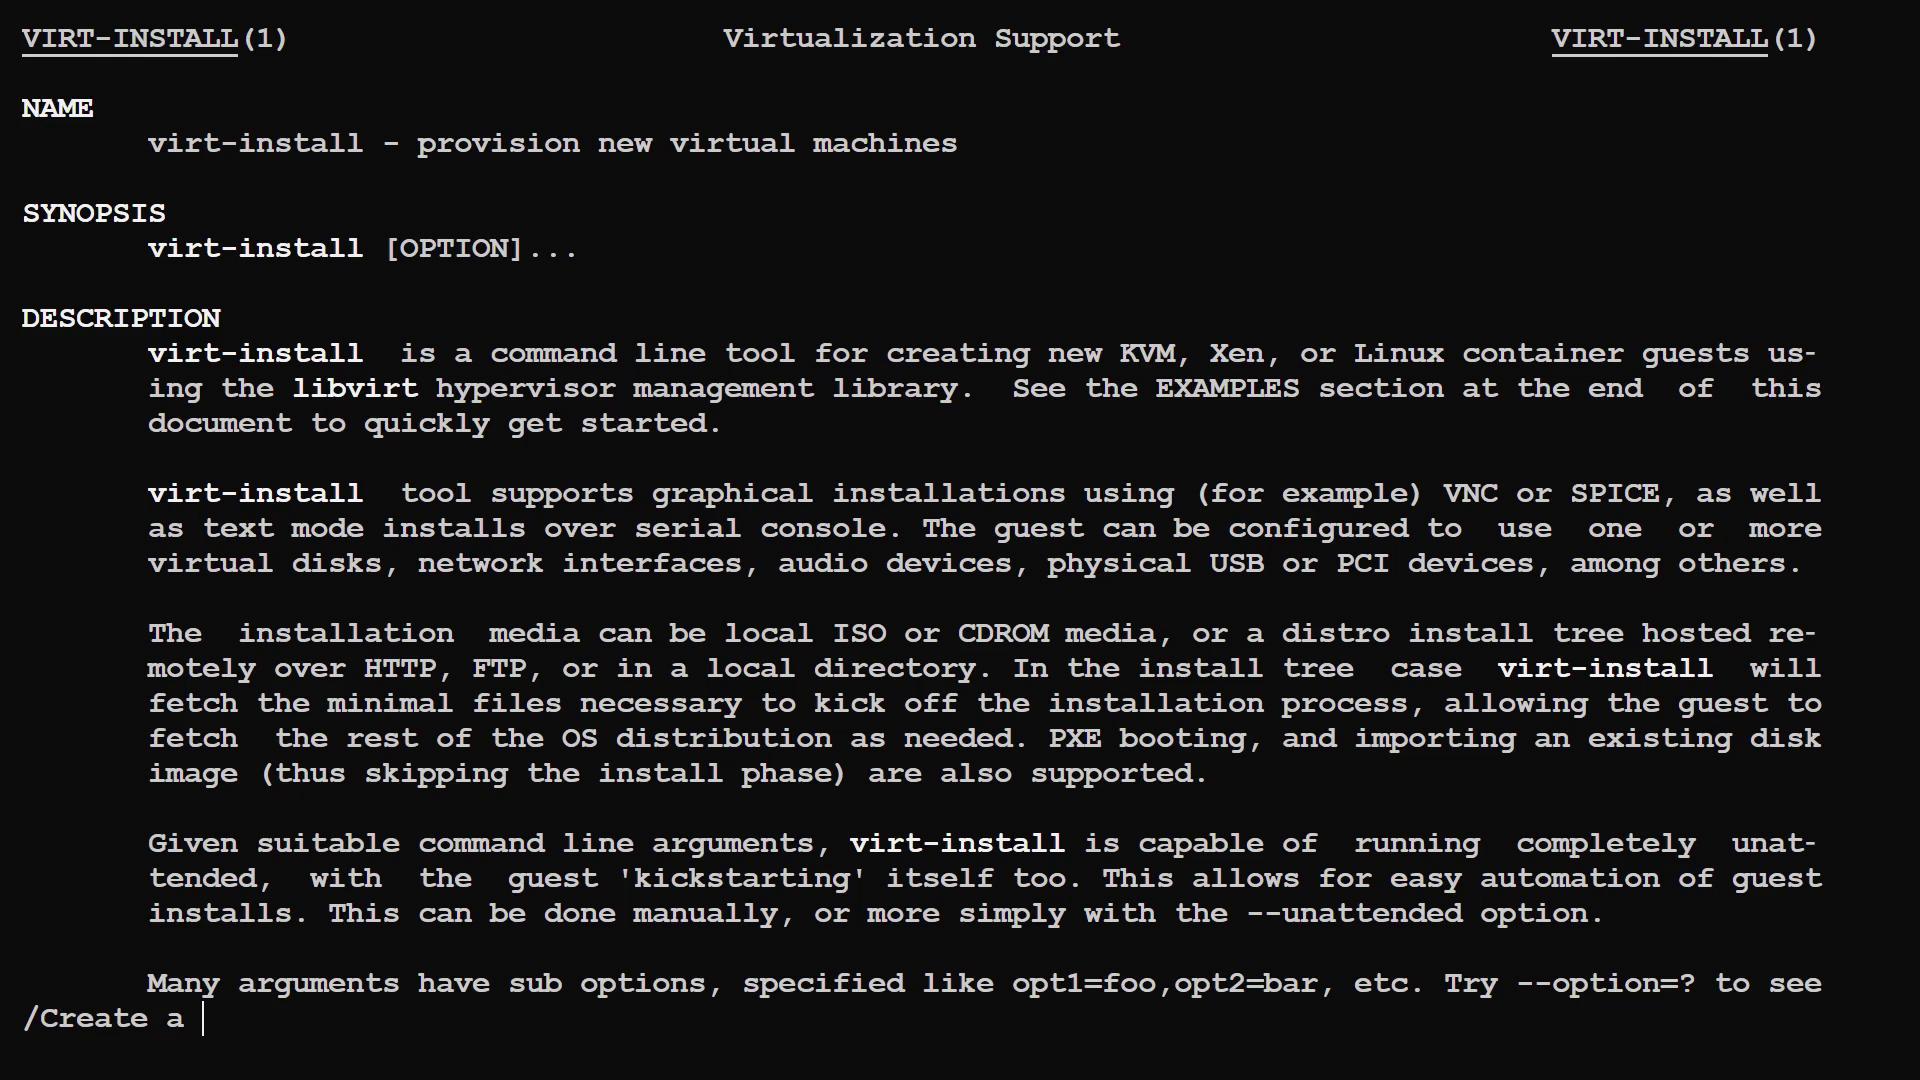
--import option to bypass a new OS installation because the disk image already contains an operating system:
- With
--import, the first device specified via--diskor--filesystemserves as the boot device. - By default,
virt-installwould perform a full installation.
Reviewing Available Options
Run the following command to view all available options:- Name, Memory, and vCPUs: Assign a name to the VM, allocate memory (in megabytes), and set the number of virtual CPUs.
-
Disk: Specify the path to the existing disk image. For example:
-
Graphics: Use
--graphics noneto disable a graphical interface and run the VM solely via a text console.
Building and Running the Virtual Machine
Use the following complete command to create a VM running Ubuntu 24.04 with 1024 MiB memory, 1 vCPU, and the pre-copied cloud image while disabling graphical output:Recreating the Virtual Machine Using Cloud-Init
The Ubuntu cloud image includes cloud-init automation scripts that allow you to set a root password automatically. To recreate the VM with cloud-init that generates a random root password, append the--cloud-init root-password-generate=on option.
Handling OS Variants with virt‑install
Sometimes the operating system inside a virtual disk image may be a newer or unlisted variant in the virt-install OS database. Here are some options to handle such cases:- Use
--osinfo detect=onto let virt-install automatically determine the OS type
Use
--osinfo detect=on to let virt-install automatically determine the OS type.Example:-
Specify a Generic OS Variant:
If you are sure the distribution is modern, you might use a generic identifier: -
Disable Strict OS Requirement:
Use--osinfo detect=on,require=offor set the environment variable:
Wrapping Up
In this guide, we covered the following steps:- Downloading and verifying an Ubuntu cloud image
- Inspecting and resizing the virtual disk using QEMU
- Setting up a storage pool by copying the image to
/var/lib/libvirt/images/ - Creating a virtual machine with
virt-install, including essential options such as name, memory, vCPUs, disk, and graphics - Utilizing the
--importoption to deploy a guest from an existing disk image - Incorporating cloud-init to automatically generate a root password
- Connecting to and managing the VM console using
virsh