This article explains how to manage and configure virtual machines using the virsh command-line tool in Linux environments.
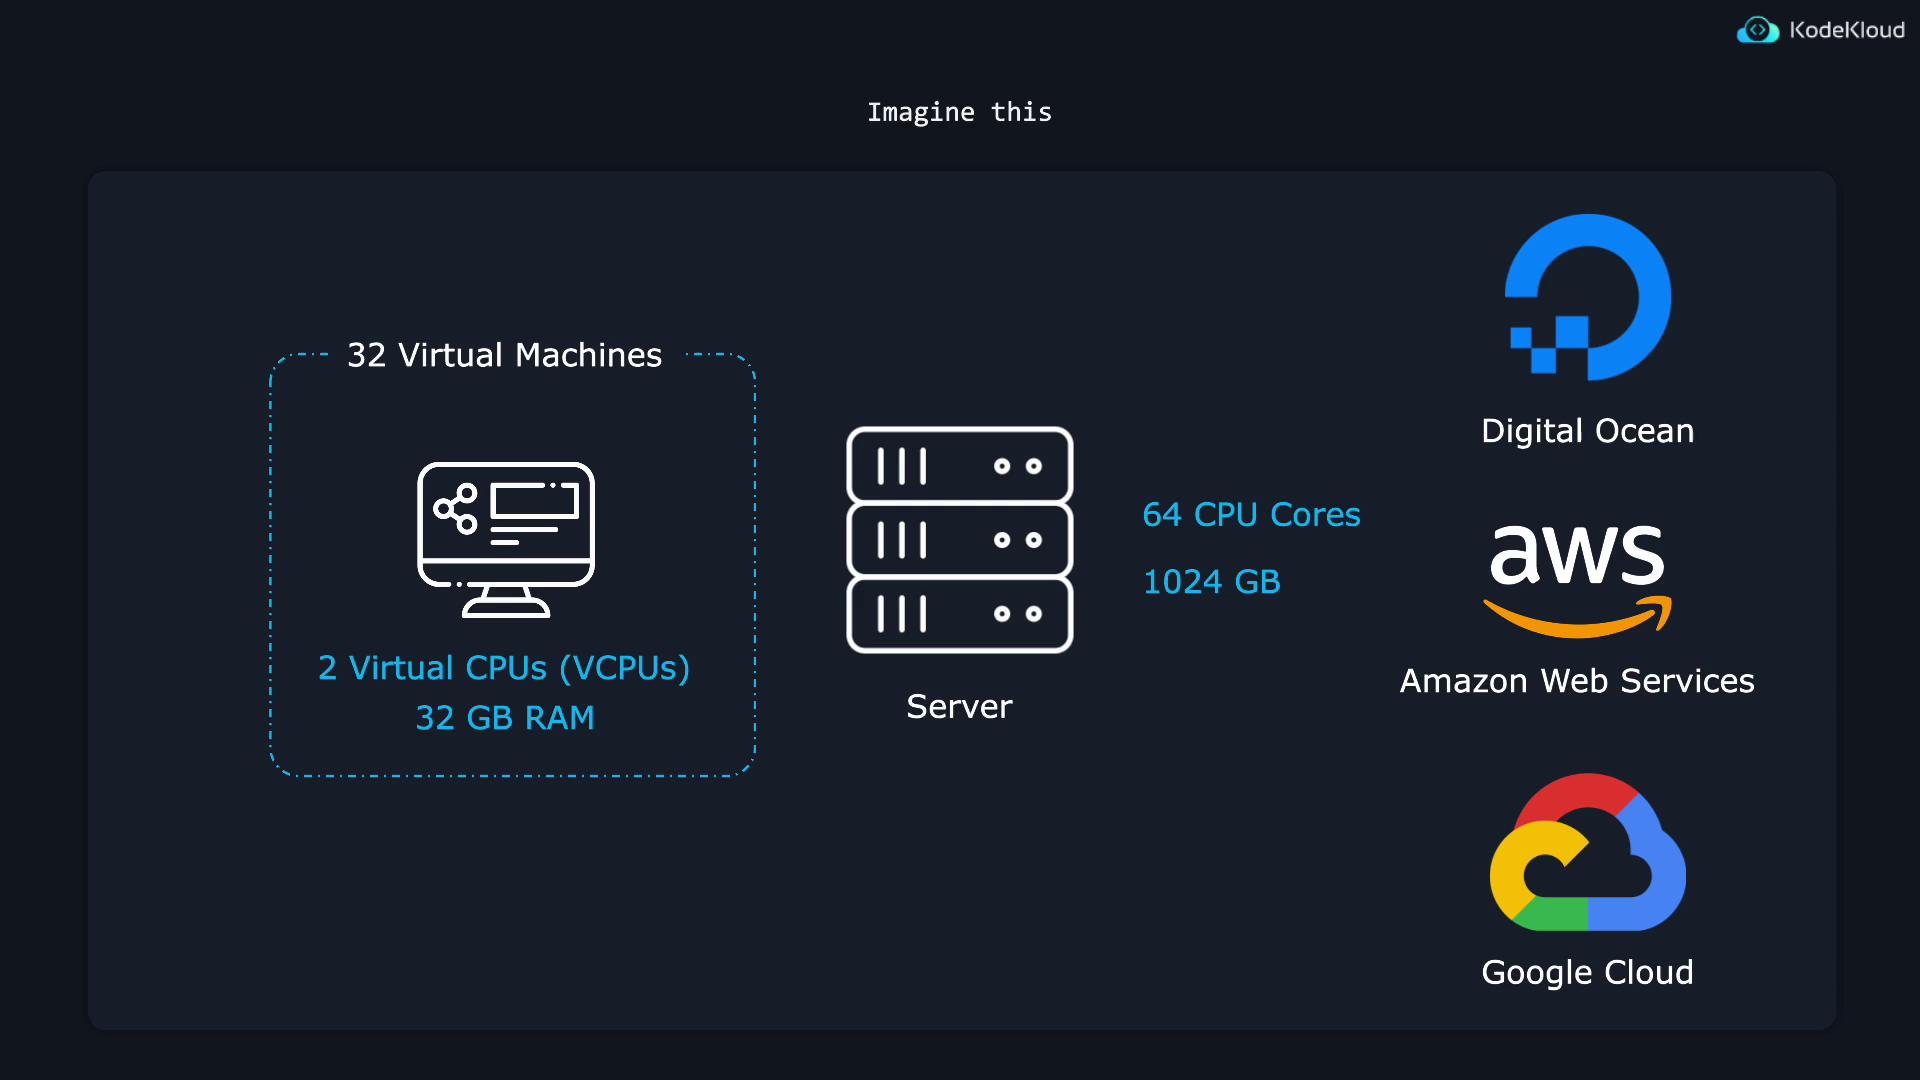
In modern software, virtualization allows you to create a virtual computer—or virtual machine (VM)—within your actual computer. This capability is particularly valuable in server environments because it lets a single physical machine serve multiple clients simultaneously.For instance, imagine a powerful server equipped with 64 CPU cores and 1024 GB of RAM. By creating 32 virtual machines, each VM can be allocated 2 virtual CPUs (vCPUs) and 32 GB of RAM. Rather than renting out one enormous server to a single client, you can offer 32 smaller virtual servers. This is the foundation of cloud compute services provided by DigitalOcean, Amazon Web Services, and Google Cloud.
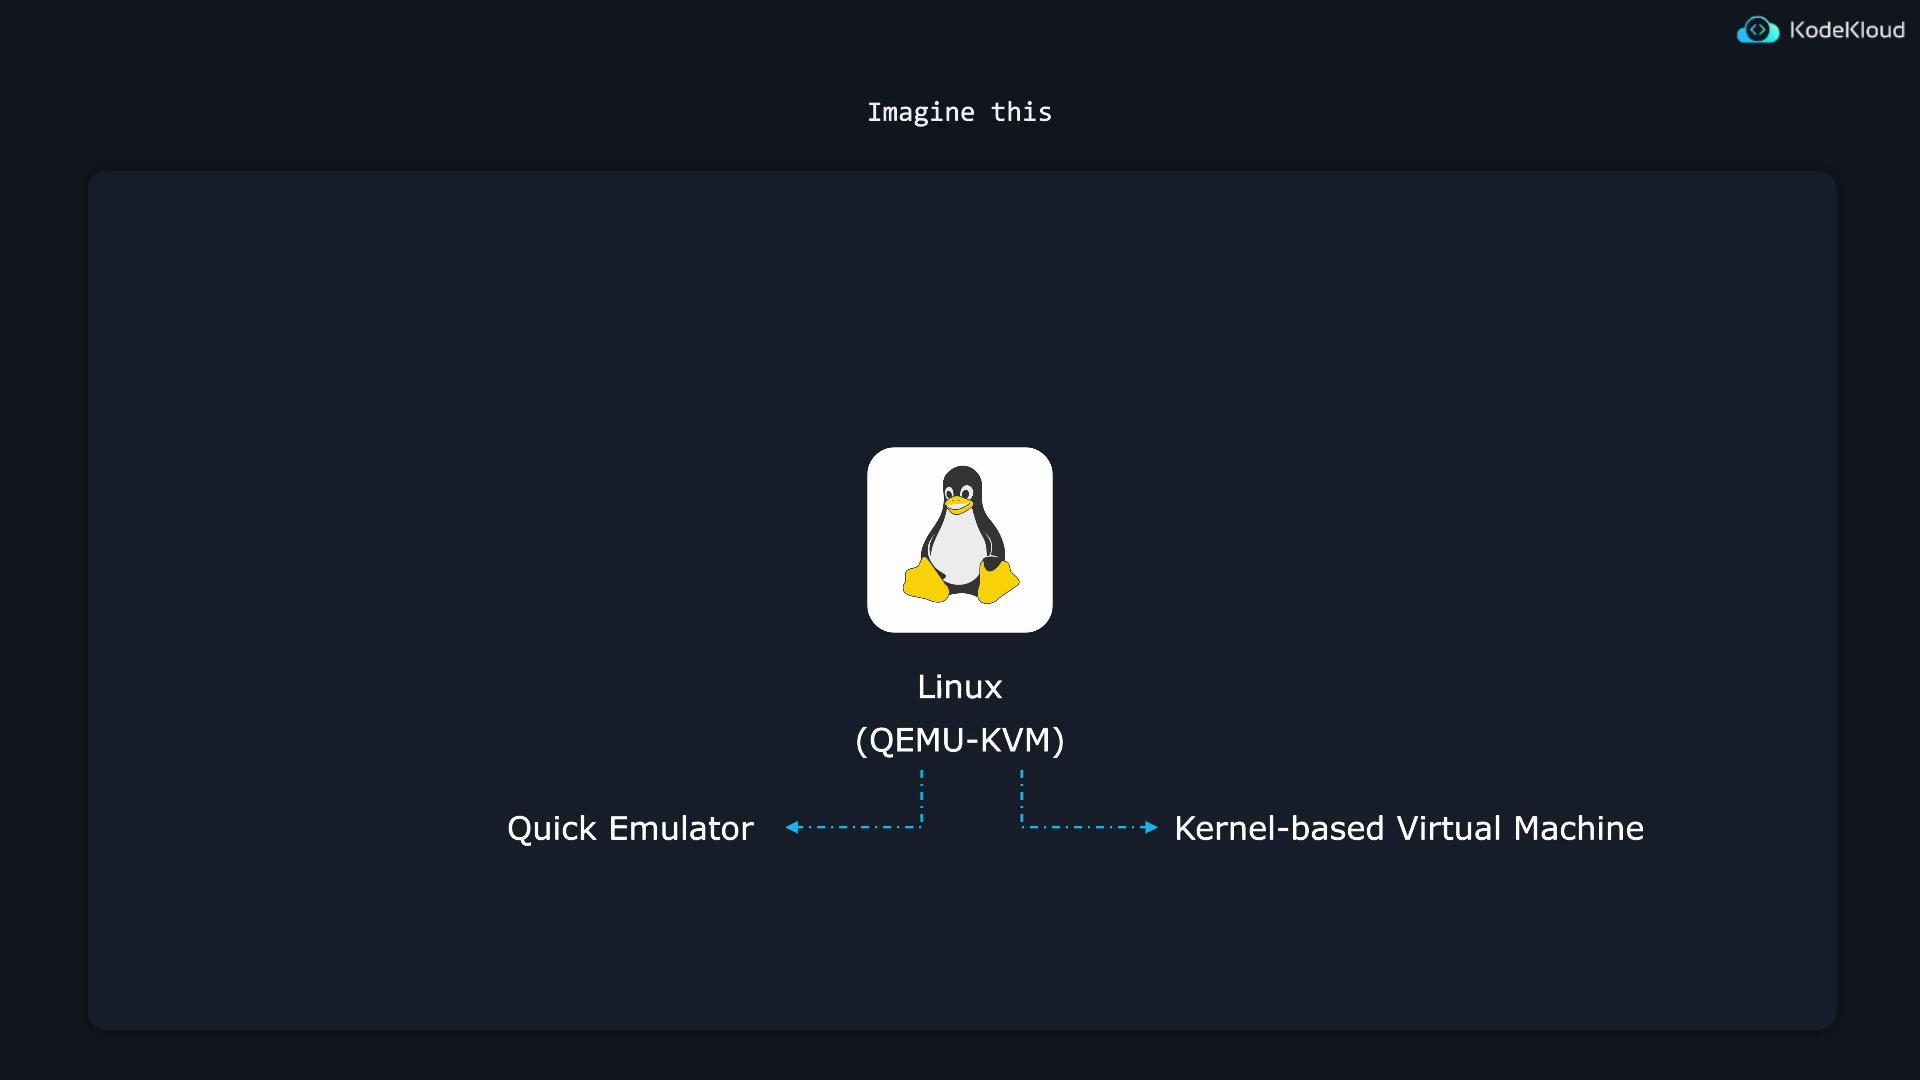
Among many available tools for virtualization on Linux, QEMU-KVM has become the most popular. QEMU (Quick Emulator) emulates virtual computers, while KVM (Kernel-based Virtual Machine) integrates into the Linux kernel to leverage hardware acceleration for enhanced performance.In this guide, we focus on using a command-line tool called virsh (or VIRSH) to manage virtual machines. If you’ve used VirtualBox before, you might recall its graphical interface for VM creation, configuration, and management. Virsh, however, uses terminal commands to achieve similar tasks, making it a powerful choice for administrators.
To quickly begin, install the virt-manager package. Although virt-manager is designed for systems with a GUI, installing it will bring in many useful dependencies for headless or text-based environments.Run the following command:
sudo apt install virt-manager
When installing virt-manager, your package manager will fetch several dependency packages. The output may look similar to this:
Even though you may not use the virt-manager graphical interface, its installation provides several utilities essential for virtual machine management.Below is a snippet of further installation output:
Get:251 http://us.archive.ubuntu.com/ubuntu noble/main amd64 ovmf all 2024.02-2 [4,571 kB]Fetched 130 MB in 10s (13.2 MB/s)Extracting templates from packages: 100%Selecting previously unselected package acl.(Read database ... 83,334 files and directories currently installed.)Preparing to unpack .../000-acl_2.3.2-1build1_amd64.deb ...Unpacking acl (2.3.2-1build1) ...Selecting previously unselected package libgdk-pixbuf2.0-common.Preparing to unpack .../001-libgdk-pixbuf2.0-common_2.42.10+dfsg-3ubuntu3_all.deb ...Unpacking libgdk-pixbuf2.0-common (2.42.10+dfsg-3ubuntu3) ...Selecting previously unselected package libgdk-pixbuf-2.0-0:amd64.Preparing to unpack .../002-libgdk-pixbuf-2.0-0_2.42.10+dfsg-3ubuntu3_amd64.deb ...Unpacking libgdk-pixbuf-2.0-0:amd64 (2.42.10+dfsg-3ubuntu3) ...Selecting previously unselected package gtk-update-icon-cache.Preparing to unpack .../003-gtk-update-icon-cache_3.24.41-4ubuntu1_amd64.deb ...Unpacking gtk-update-icon-cache (3.24.41-4ubuntu1) ...Selecting previously unselected package hicolor-icon-theme.Preparing to unpack .../004-hicolor-icon-theme_0.17-2_all.deb ...Unpacking hicolor-icon-theme (0.17-2) ...Selecting previously unselected package humanity-icon-theme.Preparing to unpack .../005-humanity-icon-theme_0.6.16_all.deb ...Unpacking humanity-icon-theme (0.6.16) ...
Let’s proceed with creating a configuration file for a virtual machine. Begin by creating a directory to store your VM definitions and then create an XML file using your preferred text editor:
jeremy@kodekloud:~$ mkdir machinesjeremy@kodekloud:~$ cd machines/jeremy@kodekloud:~/machines$ vim testmachine.xml
The XML file below defines a virtual machine named “TestMachine” running under QEMU. It allocates 1 GiB of RAM, 1 vCPU, and uses a 64-bit (x86_64) architecture with hardware-assisted virtualization (HVM):
In a production setting, a complete VM configuration will include additional parameters such as storage, network interfaces, and the operating system. For demonstration purposes, this basic setup is sufficient.Define the virtual machine using the following command:
virsh define testmachine.xml
You should see an output similar to:
jeremy@kodekloud:~/machines$ virsh define testmachine.xmlDomain 'TestMachine' defined from testmachine.xmljeremy@kodekloud:~/machines$
If your VM name includes spaces, enclose it in double quotes. Once started, verify its state with:
virsh list
To reboot the virtual machine gracefully – allowing software applications to exit properly – run:
virsh reboot TestMachine
If the machine becomes unresponsive, you can force a reset, which is analogous to pressing a hardware reset button:
jeremy@kodekloud:~/machines$ virsh list Id Name State-------------------------------- 1 TestMachine runningjeremy@kodekloud:~/machines$ virsh reset TestMachineDomain 'TestMachine' was resetjeremy@kodekloud:~/machines$
To shut down the virtual machine gracefully (if the guest OS is present and active), use:
virsh shutdown TestMachine
For instance:
jeremy@kodekloud:~/machines$ virsh shutdown TestMachineDomain 'TestMachine' is being shutdown
Since this test VM may not have an operating system installed, the shutdown command might not work as expected. However, in real scenarios, it allows applications to close properly.If the VM is unresponsive, you can force a hard power off (equivalent to unplugging the machine) as follows:
virsh destroy TestMachine
Sample workflow:
jeremy@kodekloud:~/machines$ virsh list Id Name State---------------------------------- 1 TestMachine runningjeremy@kodekloud:~/machines$ virsh reset TestMachineDomain 'TestMachine' was resetjeremy@kodekloud:~/machines$ virsh shutdown TestMachineDomain 'TestMachine' is being shutdownjeremy@kodekloud:~/machines$ virsh list Id Name State---------------------------------- 1 TestMachine runningjeremy@kodekloud:~/machines$ virsh destroy TestMachineDomain 'TestMachine' destroyedjeremy@kodekloud:~/machines$
The destroy command only powers off the VM abruptly—it does not remove the VM’s definition. To completely remove the VM, you must undefine it.
To remove the VM’s configuration, execute:
virsh undefine TestMachine
If you also want to remove any associated storage files, use:
virsh undefine --remove-all-storage TestMachine
After undefining, verify removal with:
virsh list --all
If needed, you can recreate the VM by redefining the XML file:
jeremy@kodekloud:~/machines$ virsh define testmachine.xmlDomain 'TestMachine' defined from testmachine.xmljeremy@kodekloud:~/machines$
Suppose you wish to increase the number of vCPUs from one to two. First, check the current allocation:
virsh dominfo TestMachine
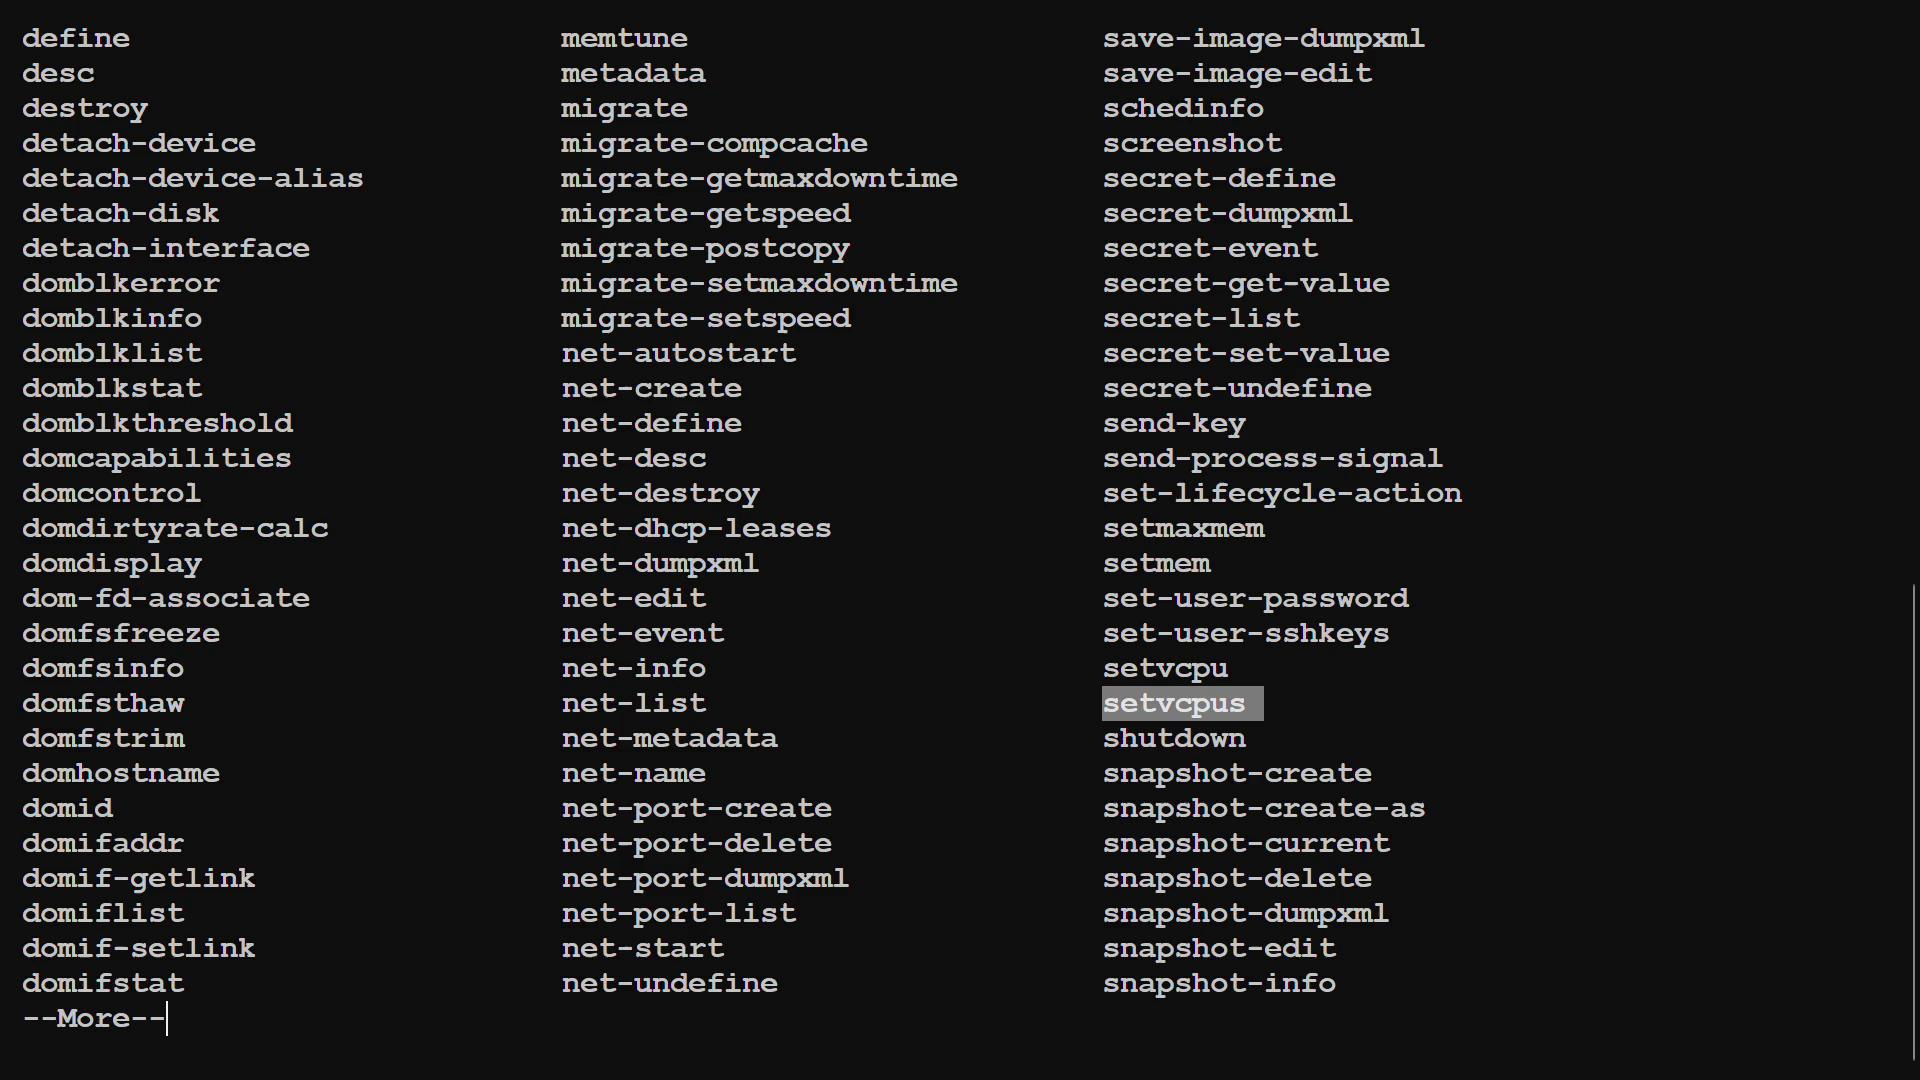
Use the setvcpus command to change the configuration. You can see command options by viewing:
virsh help setvcpus
The help output shows the syntax and options:
NAME setvcpus - change number of virtual CPUsSYNOPSIS setvcpus <domain> <count> [--maximum] [--config] [--live] [--current] [--guest] [--hotpluggable]DESCRIPTION Change the number of virtual CPUs in the guest domain.OPTIONS [--domain] <string> domain name, id or uuid [--count] <number> number of virtual CPUs --maximum set maximum limit on next boot --config affect next boot --live affect running domain --current affect current domain --guest modify cpu state in the guest --hotpluggable make added vcpus hot(un)pluggable
To permanently change the vCPU count (affecting the next boot), run:
This guide walked you through creating and managing virtual machines using virsh. By following these steps, you can leverage virtualization to efficiently allocate server resources and adapt configurations to meet your specific needs.For further details, consider exploring additional Kubernetes Documentation or the Terraform Registry for advanced deployment scenarios.