Guide to installing, configuring, authenticating, and using the Claude Code CLI with Node.js and VS Code, plus a CSV reading example and security reminders.
This guide covers the prerequisites and first-run setup for Claude Code (the Anthropic CLI and developer experience). It explains what you need, how to install the CLI, authenticate, run a quick example that reads a CSV file, and how Claude Code integrates with Visual Studio Code.Claude Code is distributed via NPM. If you’re familiar with NPM, installation is straightforward; otherwise the main requirement is Node.js 18 or newer.
Make sure Node.js 18+ is installed. On macOS use Homebrew (brew install node); on Linux use your distro package manager or the official installer; on Windows use the installer from nodejs.org.
Install the CLI globally so you can run the cloud command from any folder:
npm install -g @anthropic-ai/claude-code
Example local output on macOS:
jeremy@MACSTUDIO demos % npm install -g @anthropic-ai/claude-codeadded 12 packages in 1s11 packages are looking for funding run `npm fund` for detailsjeremy@MACSTUDIO demos %
Why use -g? The global flag installs a system-wide executable so you can run cloud from any working directory. Without -g, the package installs into the current project’s node_modules folder and is not globally available.If you prefer to install Node.js with Homebrew on macOS:
On first run the CLI walks you through a small interactive setup—theme selection (terminal color scheme) and authentication method.You will be offered two authentication/billing choices:
Option
Use case
Claude subscription (Pro/Max)
Predictable subscription billing (Pro starts at 20/mo,Maxat100/mo)
Anthropic Console account
API usage billed via your Console account
Example CLI prompt:
Claude Code can now be used with your Claude subscription or billed based on API usage through your Console account.Select login method:> 1. Claude account with subscription Starting at $20/mo for Pro, $100/mo for Max – Best value, predictable pricing 2. Anthropic Console account API usage billing
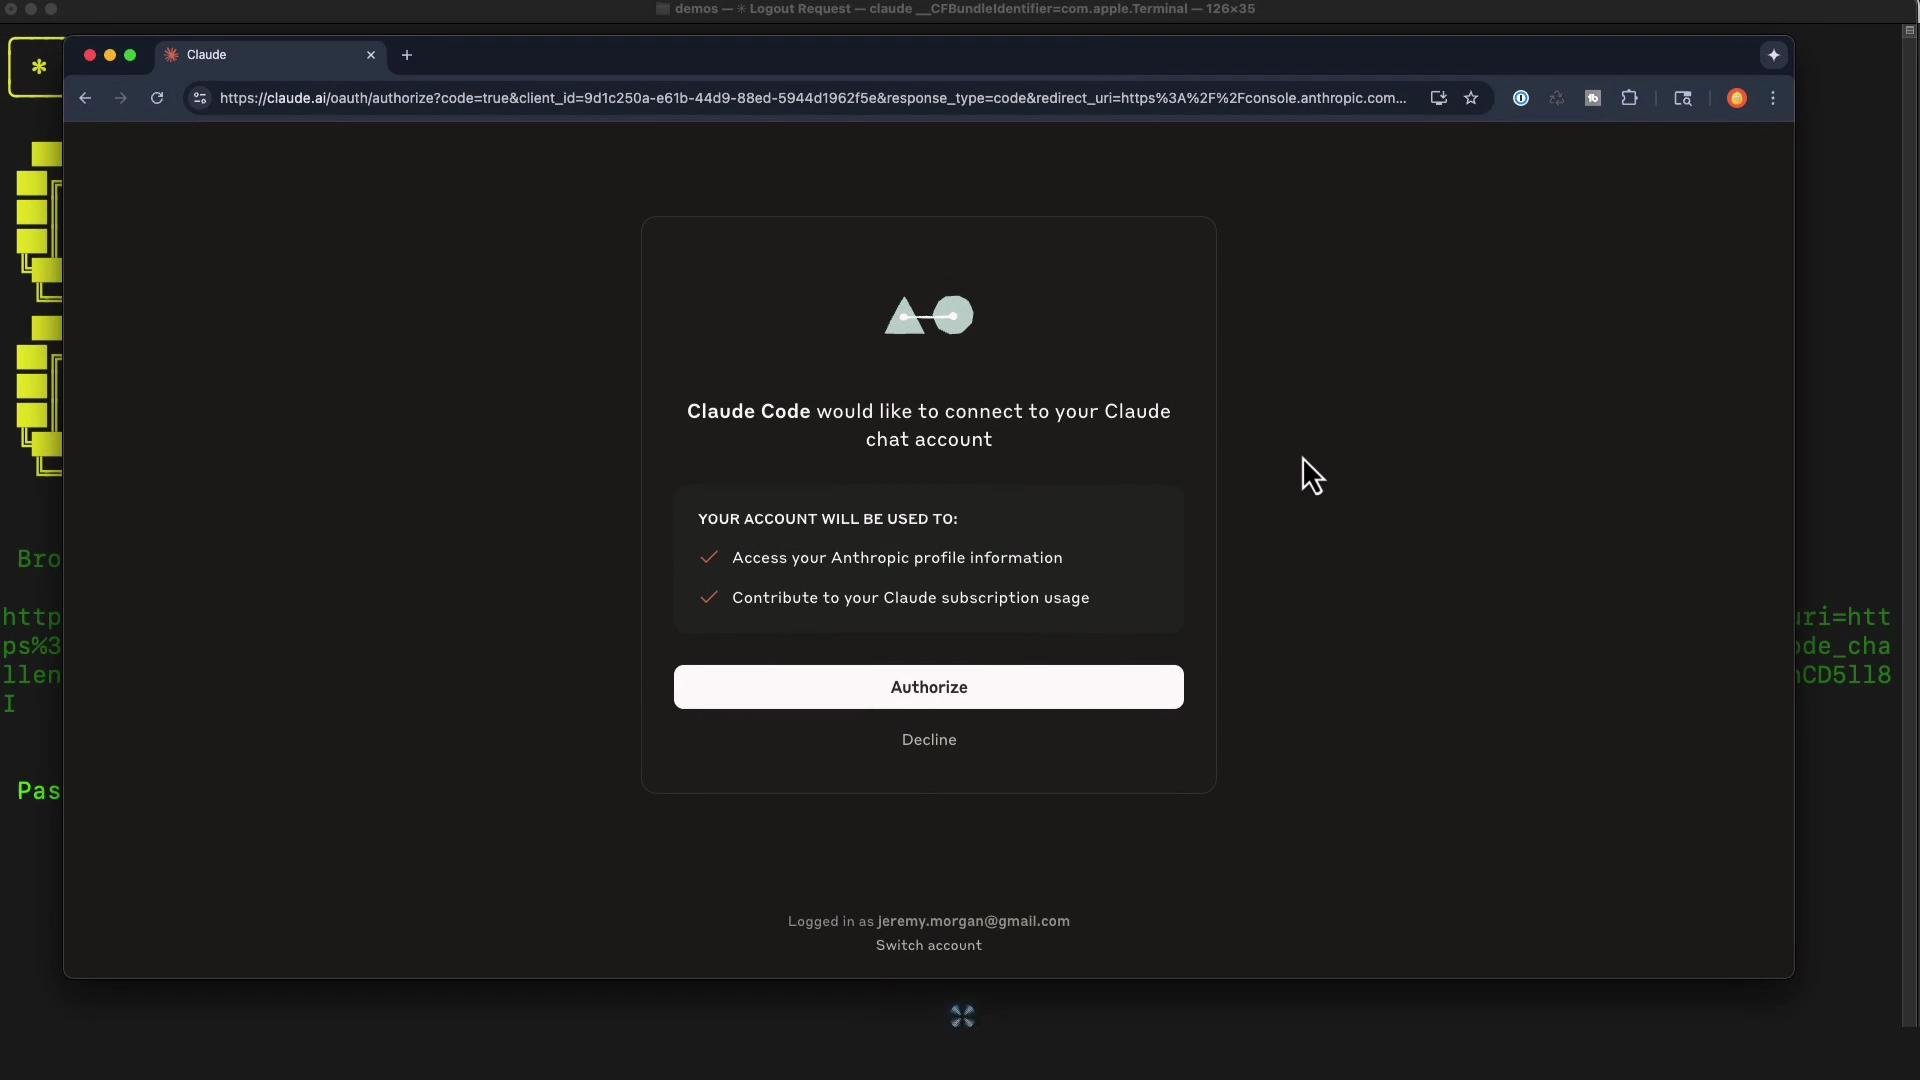
If the CLI cannot open a browser (common on WSL or SSH-only servers), it prints a URL you can open manually. Copy that URL into a browser to sign in and authorize the CLI; you will be given a short code to paste back into the terminal.
Browser didn't open? Use the url below to sign in:https://claude.ai/oauth/authorize?... (truncated for brevity)Paste code here if prompted >
When you sign in, the CLI prints a short security reminder. Always review any generated code before running it.
Security notes:1. Claude can make mistakes You should always review Claude's responses, especially when running code.2. Due to prompt injection risks, only use it with code you trust For more details see: https://docs.anthropic.com/s/claude-code-securityPress Enter to continue…
Important: Never run code you don’t trust. Prompt injection and code-generation mistakes are real risks—review outputs and use version control for auditing changes.
Quick example: generate test data and ask Claude Code to create a script
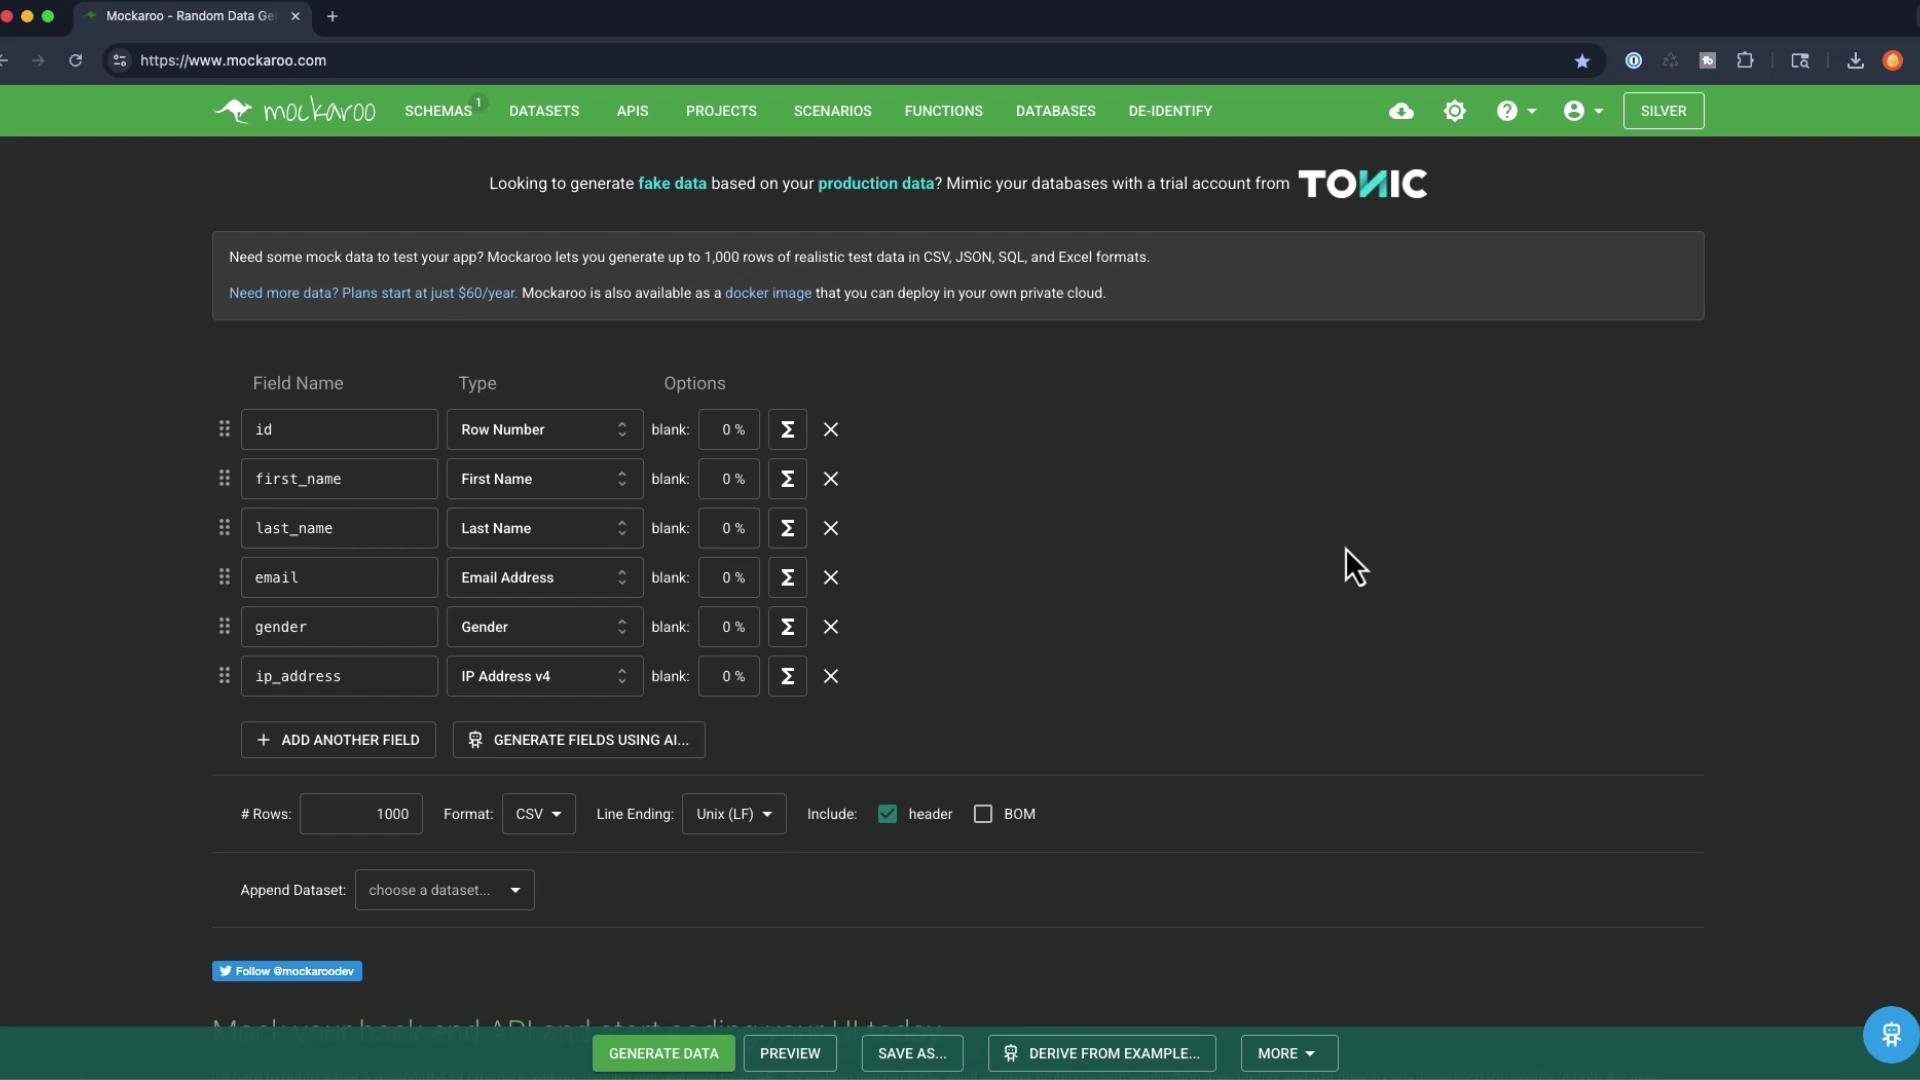
As a quick real-world test, generate fake data using Mockaroo (CSV export) and save it as members.csv. For example, include fields such as id, first_name, last_name, email, gender, ip_address.
Back in the Claude Code CLI you can ask it to generate a Python file that reads members.csv and prints first and last names. The CLI inspects your current working directory and can propose or create files.Example interactive session:
* Welcome to Claude Code!/help for help, /status for your current setupcwd: /Users/jeremy/demos※ Tip: Use /theme to change the color theme> create a python file that reads members.csv and displays first and last names.● I'll create a Python file to read members.csv and display first and last names.● Update Todos+ Ideating… (3s · ✖ 57 tokens · esc to interrupt)
Claude Code generated a file named read_members.py. Here is the final generated code (robust to common CSV header variants):
import csvdef read_members(): try: with open('members.csv', 'r', newline='') as file: reader = csv.DictReader(file) for row in reader: first_name = row.get('first_name', row.get('First Name', '')) last_name = row.get('last_name', row.get('Last Name', '')) print(f"{first_name} {last_name}") except FileNotFoundError: print("Error: members.csv file not found") except Exception as e: print(f"Error reading file: {e}")if __name__ == "__main__": read_members()
This example uses Python’s built-in csv module for a lightweight solution. For heavier data processing, consider pandas, but csv is fine for quick tasks.
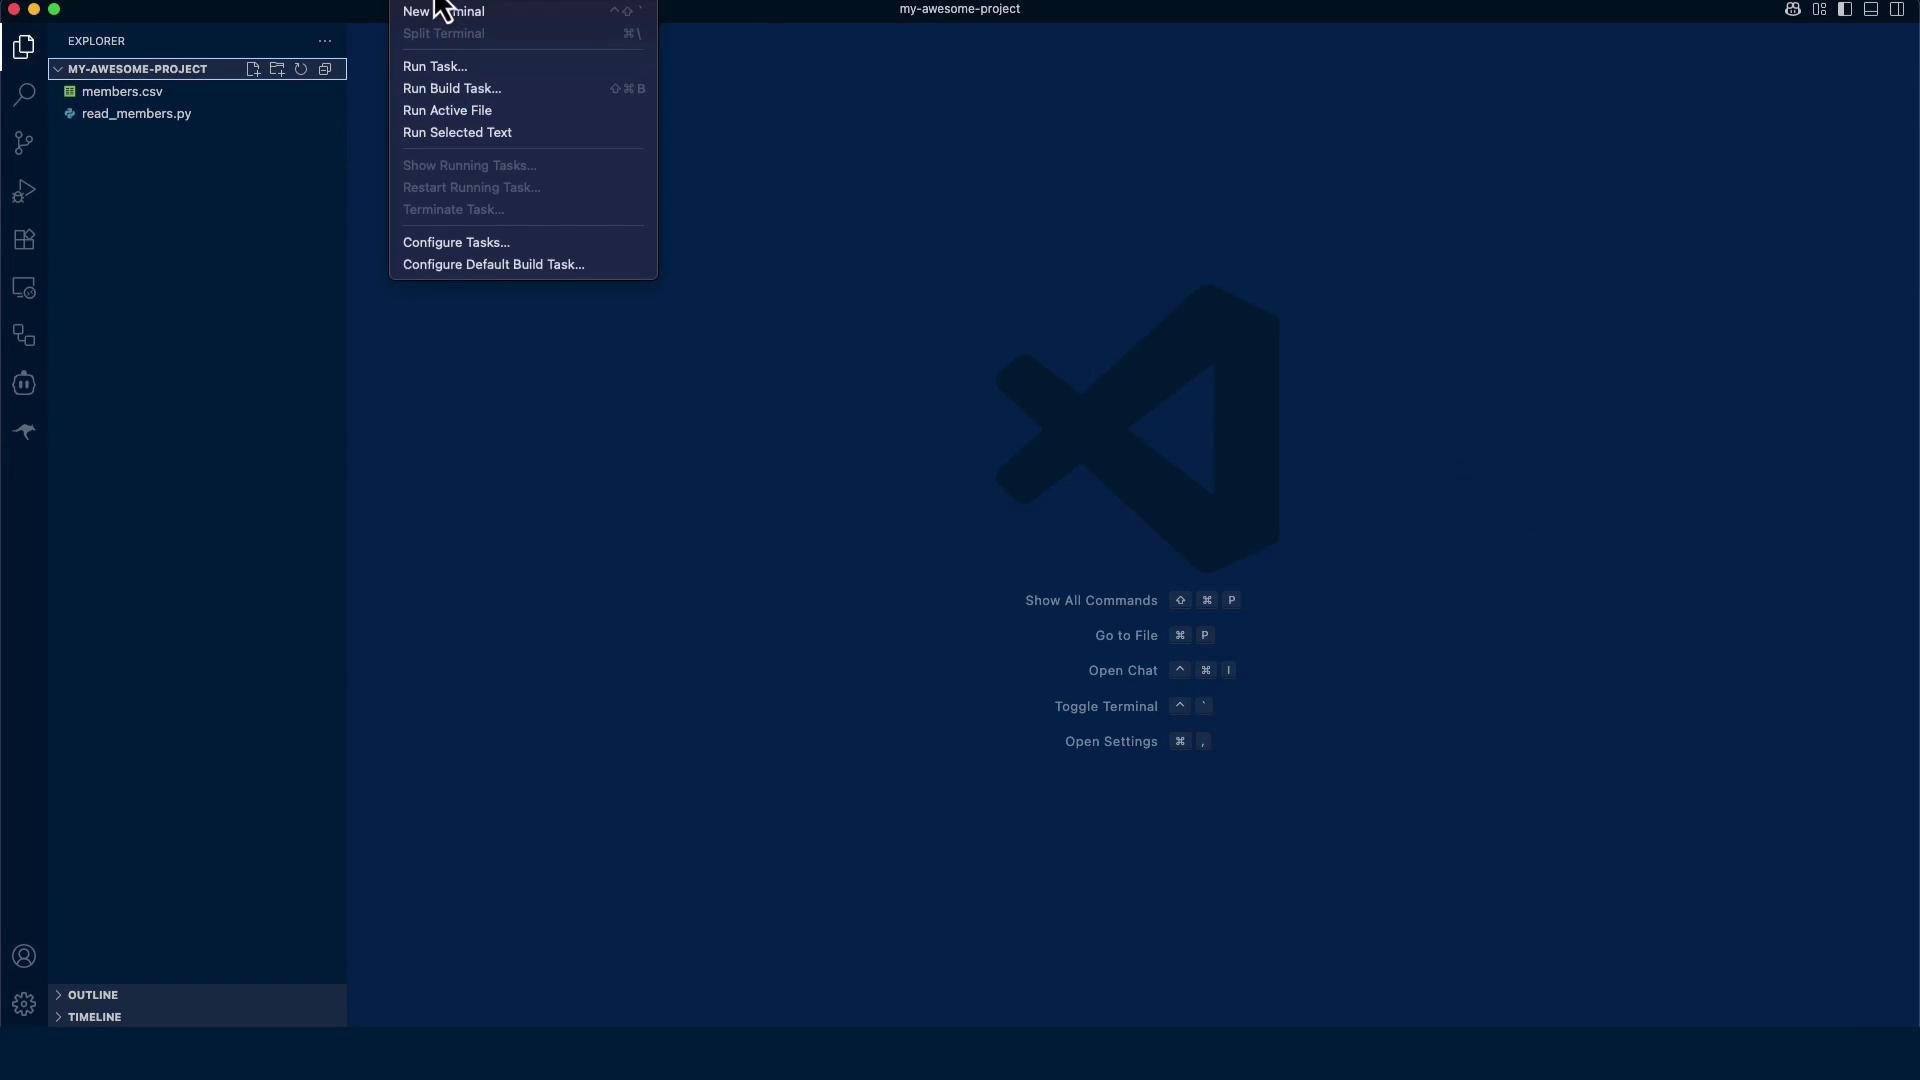
Open your project in Visual Studio Code (or another editor). Claude Code integrates with VS Code and provides in-IDE shortcuts and context-awareness.
When the VS Code extension is present, the CLI displays integration details and available keybindings:
* Welcome to Claude Code for VS Codeinstalled extension v1.0.65• Claude has context of ⧉ open files and ⧉ selected lines• Review Claude Code's changes +11 -22 in the comfort of your IDE• Cmd+Esc for Quick Launch• Cmd+Option+K to reference files or lines in your inputPress Enter to continue
Useful commands and actions:
Run /terminal-setup to enable helpful terminal keybindings (e.g., Shift+Enter for a new line).
Use the cloud CLI inside the project terminal to ask Claude Code to inspect files, generate code, suggest edits, or craft bash/git commands.
Use Quick Launch (Cmd+Esc on macOS) to jump into Claude Code workflows inside the editor.
Now that your environment is set up, try asking Claude Code to inspect files, refactor code, generate tests, or create shell commands to streamline your workflow.