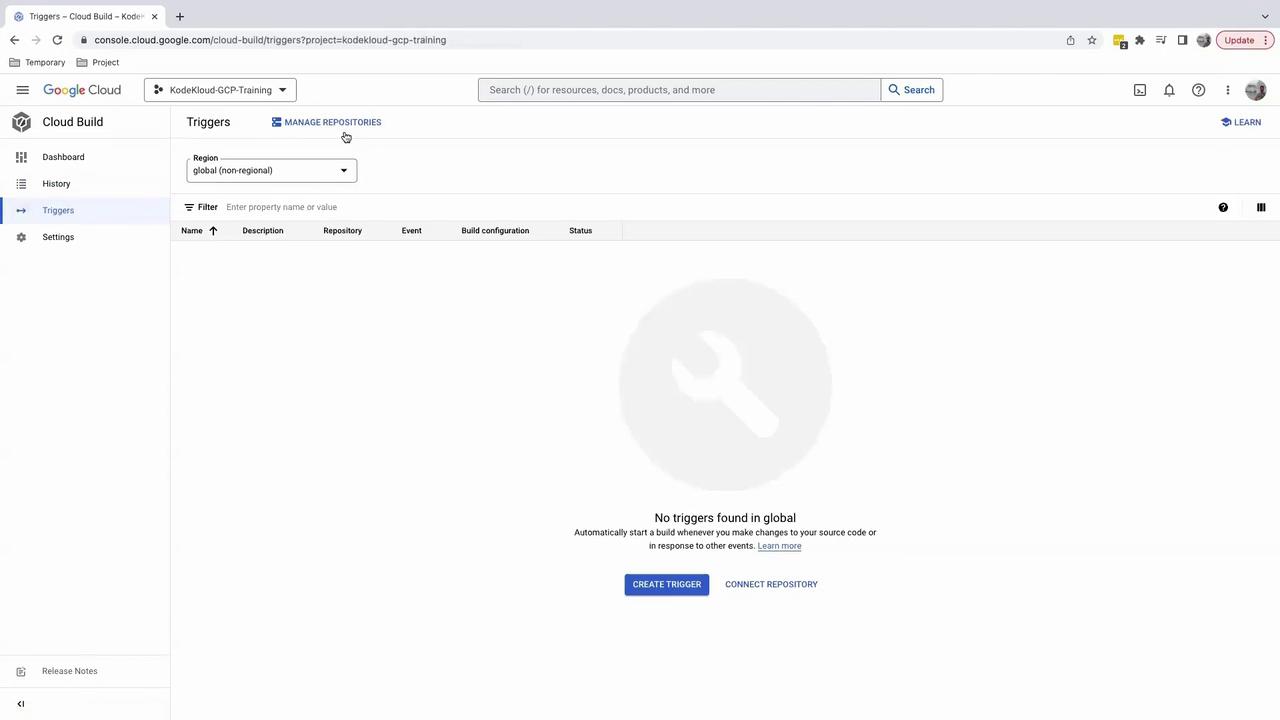
1. Verify Your Repository Connection
- Open the Google Cloud Console.
- Navigate to Build > Triggers > Manage repositories.
2. Understand Trigger Events
Cloud Build can start builds automatically based on various events. The most common trigger is a push or merge to a specific branch: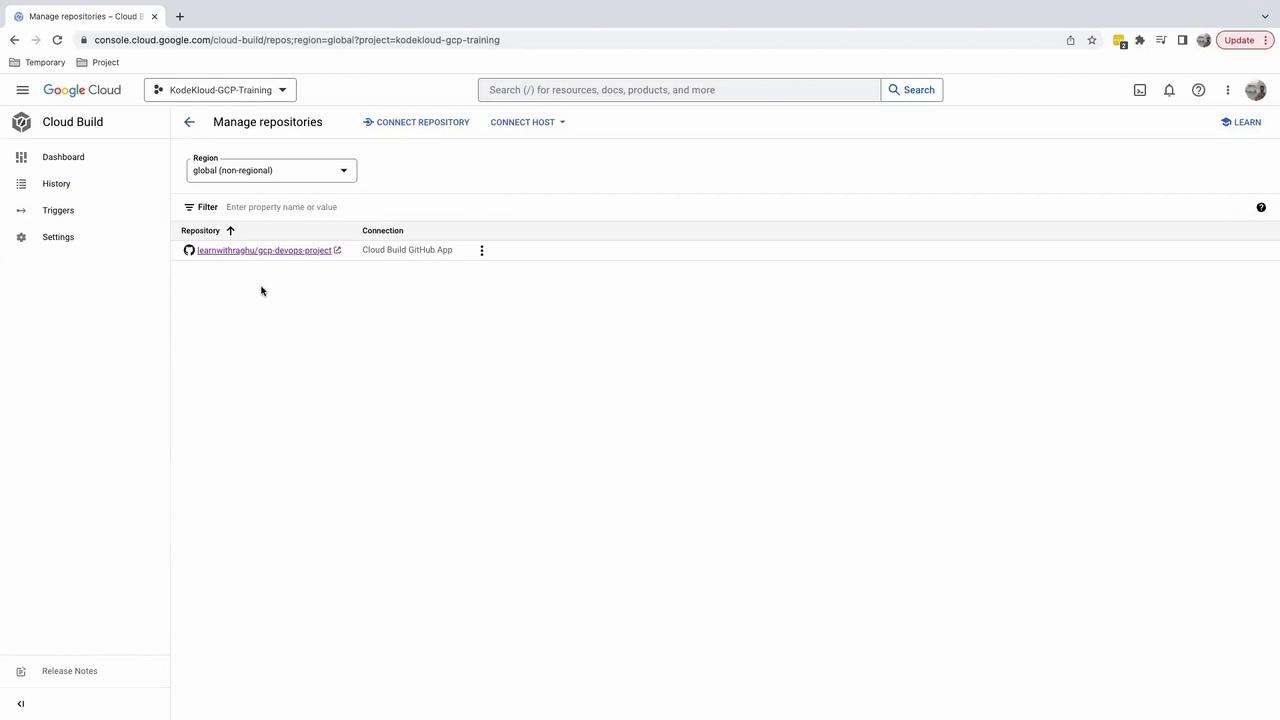
3. Create a Build Trigger
- On the Manage repositories page, click the ••• menu next to your repo and select Add trigger.
- Configure the trigger settings:
| Field | Description |
|---|---|
| Trigger name | Friendly name, e.g., GCP DevOps Project |
| Event | Select Push to a branch |
| Repository | Choose your GitHub repository |
| Branch (regex) | Define which branches activate the trigger (see regex note) |
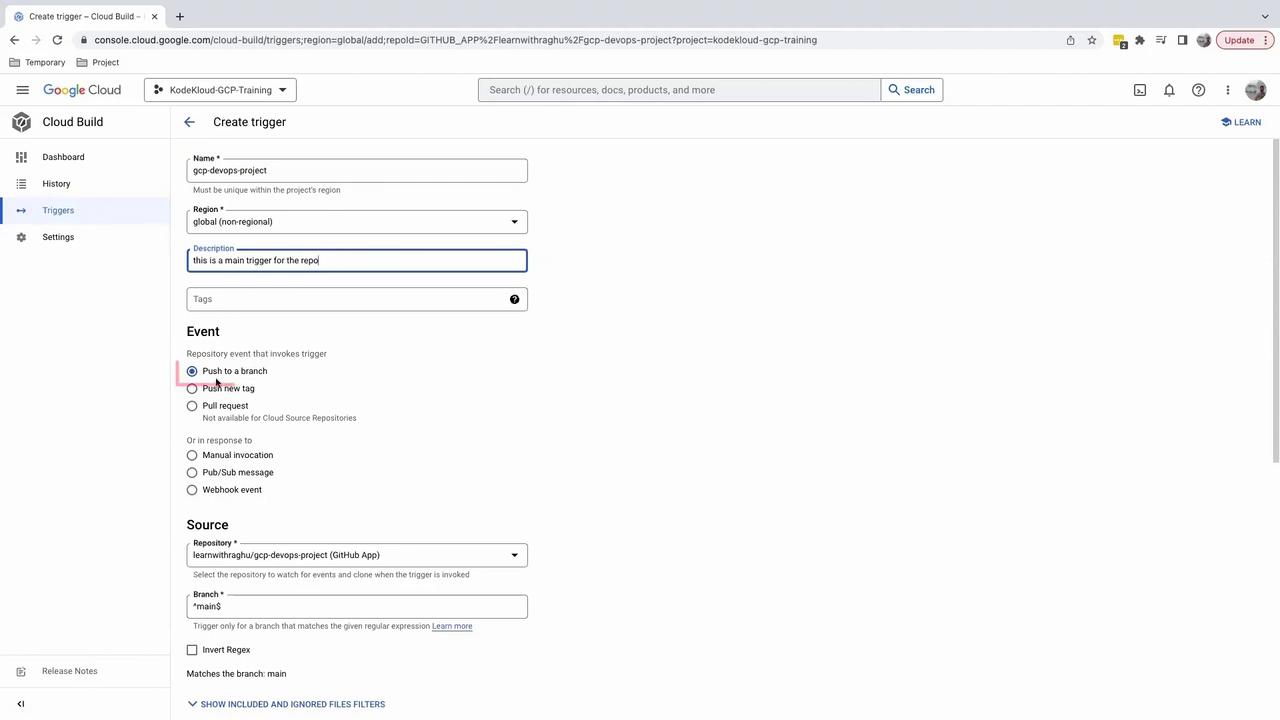
To restrict the trigger to exactly main or master, use:This prevents branches like
feature/main-update from starting a build.4. Configure Build Settings
Choose how Cloud Build finds your build instructions:- Autodetect: Automatically detects a
cloudbuild.yamlorDockerfileat the repo root. - Cloud Build configuration file: Manually specify the path to your
cloudbuild.yaml.
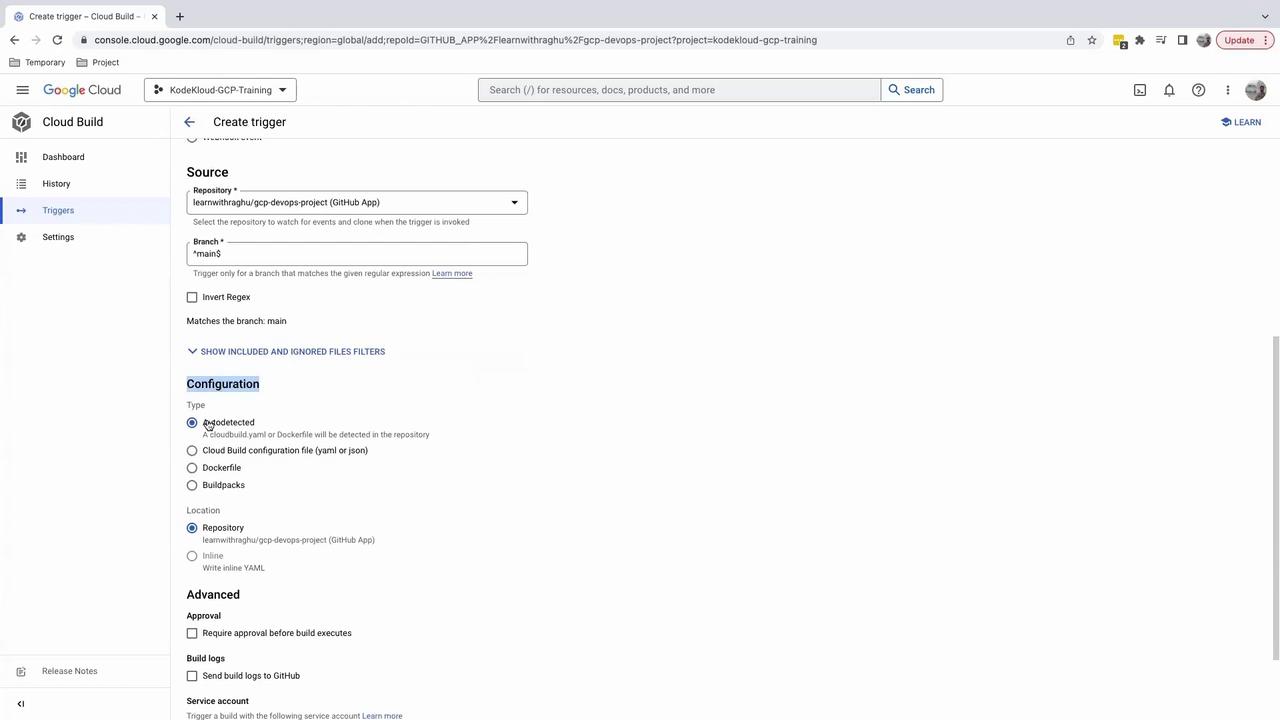
If your repository doesn’t include a
cloudbuild.yaml, the trigger will fail at runtime.5. Test the Trigger
Click Run trigger to verify your setup. Without acloudbuild.yaml, you’ll see an error:
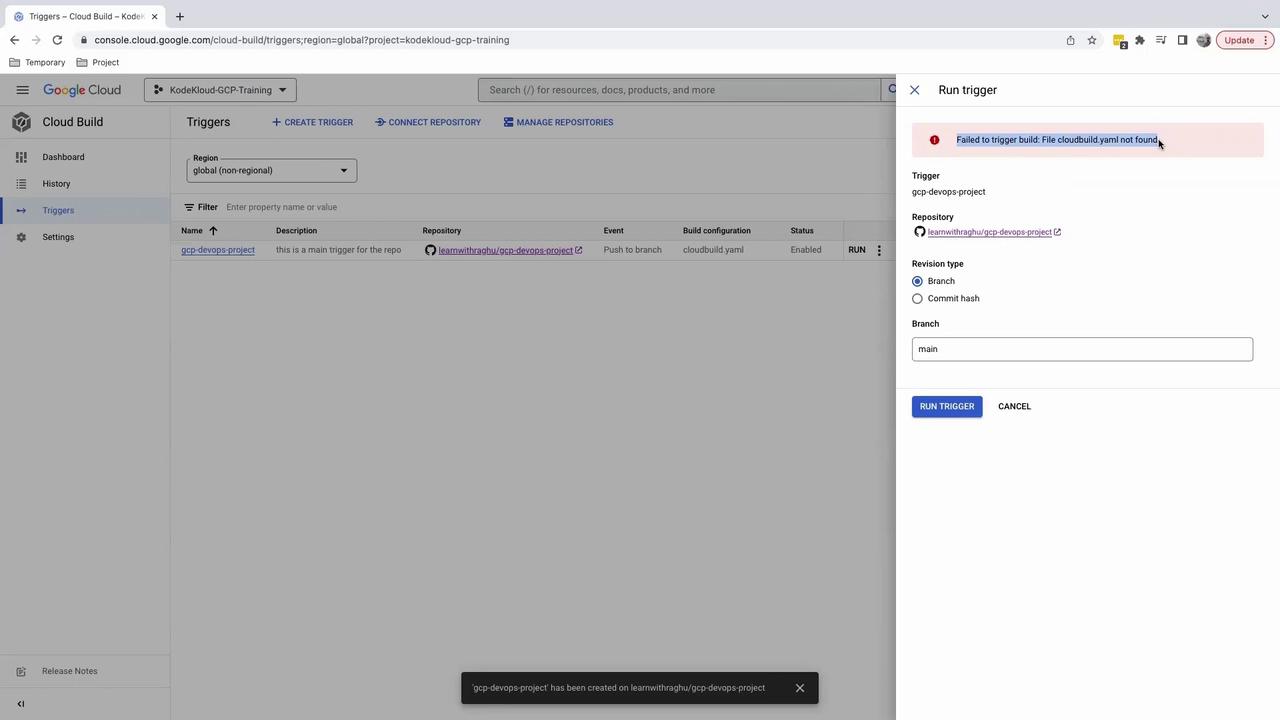
6. Next Steps: Add cloudbuild.yaml
To resolve the error, add a cloudbuild.yaml at your repository’s root. Here’s an example CI/CD pipeline: