Overview
In this guide, you’ll learn how to scale your GKE Deployment from 1 to 3 replicas using a GitOps-based workflow. Instead of applying changes directly to production, we will:- Update the
developmentbranch via the GitHub UI - Trigger a Cloud Build pipeline
- Verify changes in the dev environment
- Promote to the
mainbranch for production rollout
Prerequisites
- A Google Cloud project with GKE cluster deployed
- A Cloud Build trigger configured to deploy the
developmentbranch - Permissions to modify GitHub repositories and view Cloud Build logs
Step 1: Update the Deployment via GitHub UI
Hotfixes via the GitHub UI can be useful for quick changes, but in production environments it’s recommended to use pull requests and code reviews.
- Switch to the
developmentbranch in your GitHub repo. - Navigate to
gke.yaml. - Change the
replicasfield from1to3:
- Commit and push your changes. This action triggers the Cloud Build pipeline.
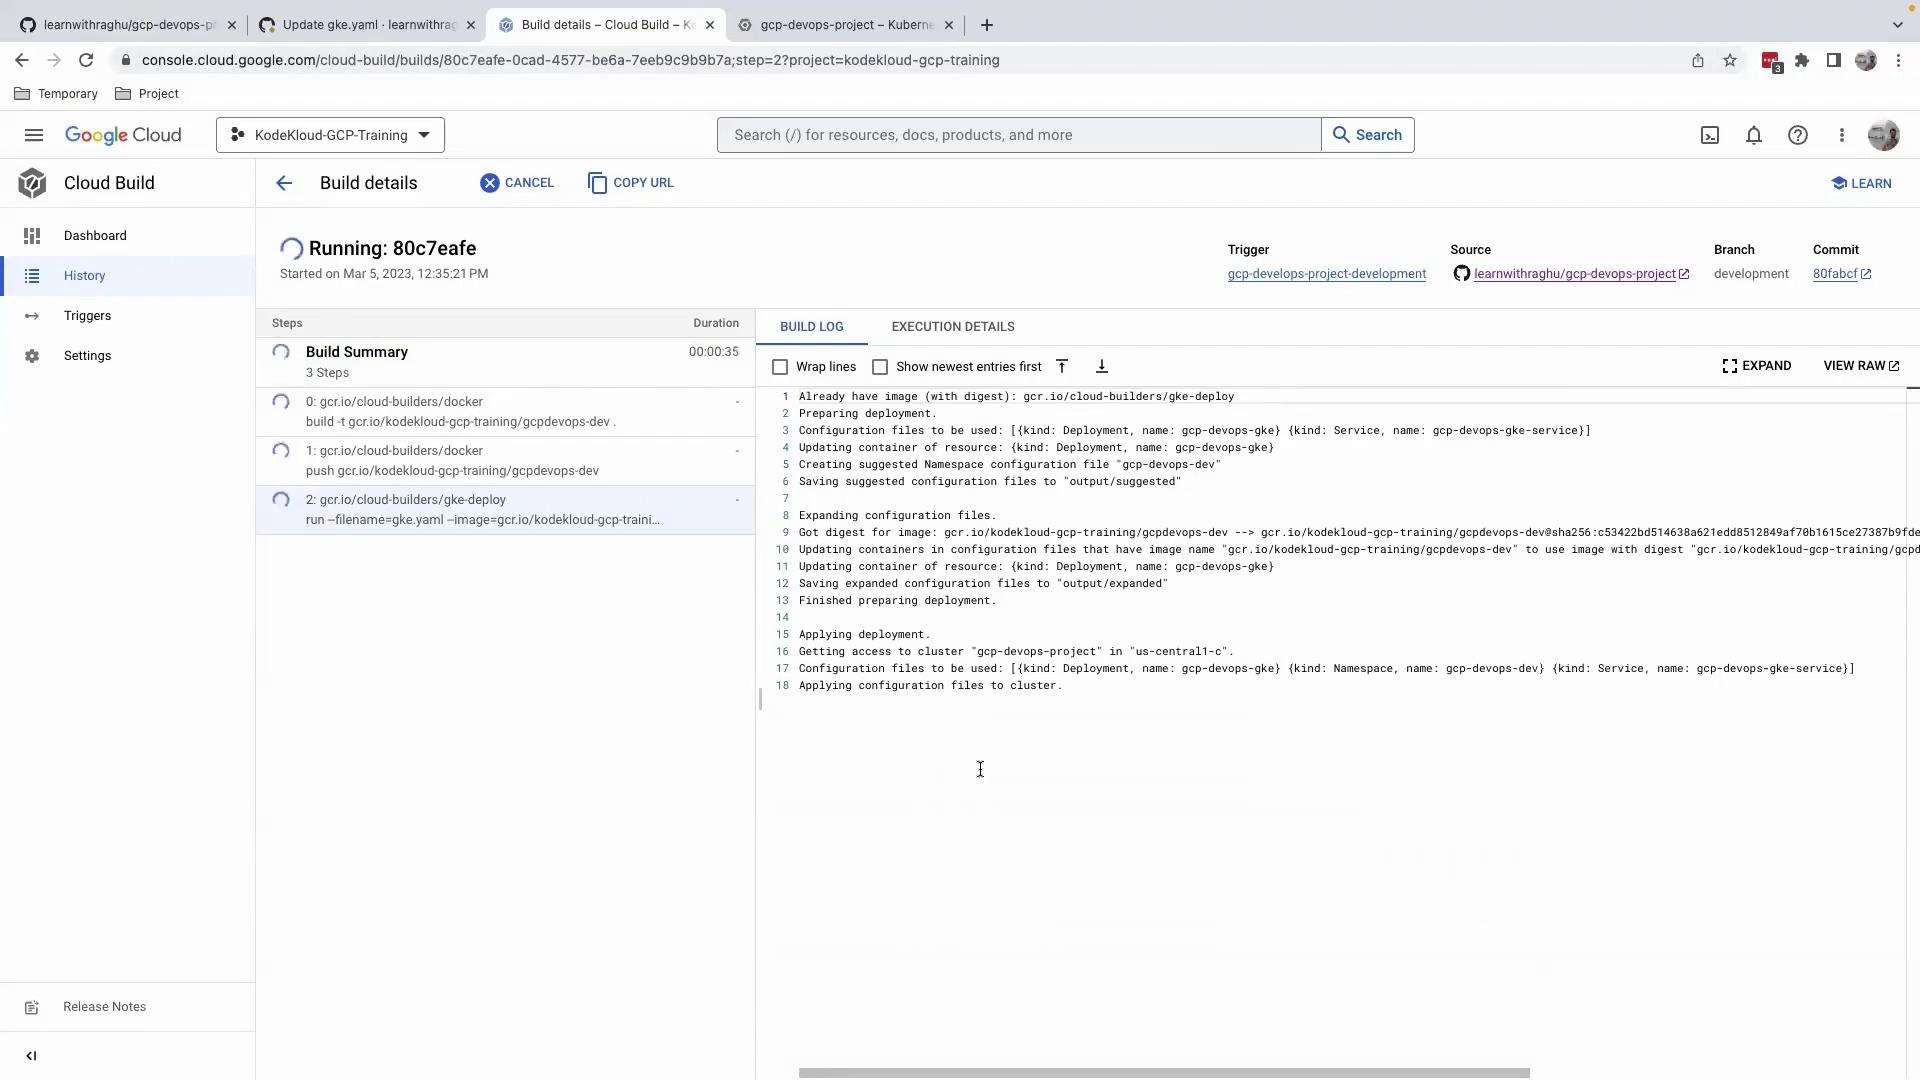
Step 2: Monitor the Cloud Build Pipeline
After pushing the commit, navigate to the Cloud Build Console to follow the build steps. The pipeline typically includes:| Step | Description |
|---|---|
| Fetch Source | Clone the development branch |
| Build Image | Build and push Docker image to GCR |
| Deploy to GKE | Apply updated manifests to GKE |
Ensure your Cloud Build service account has the required IAM roles for deploying to GKE.
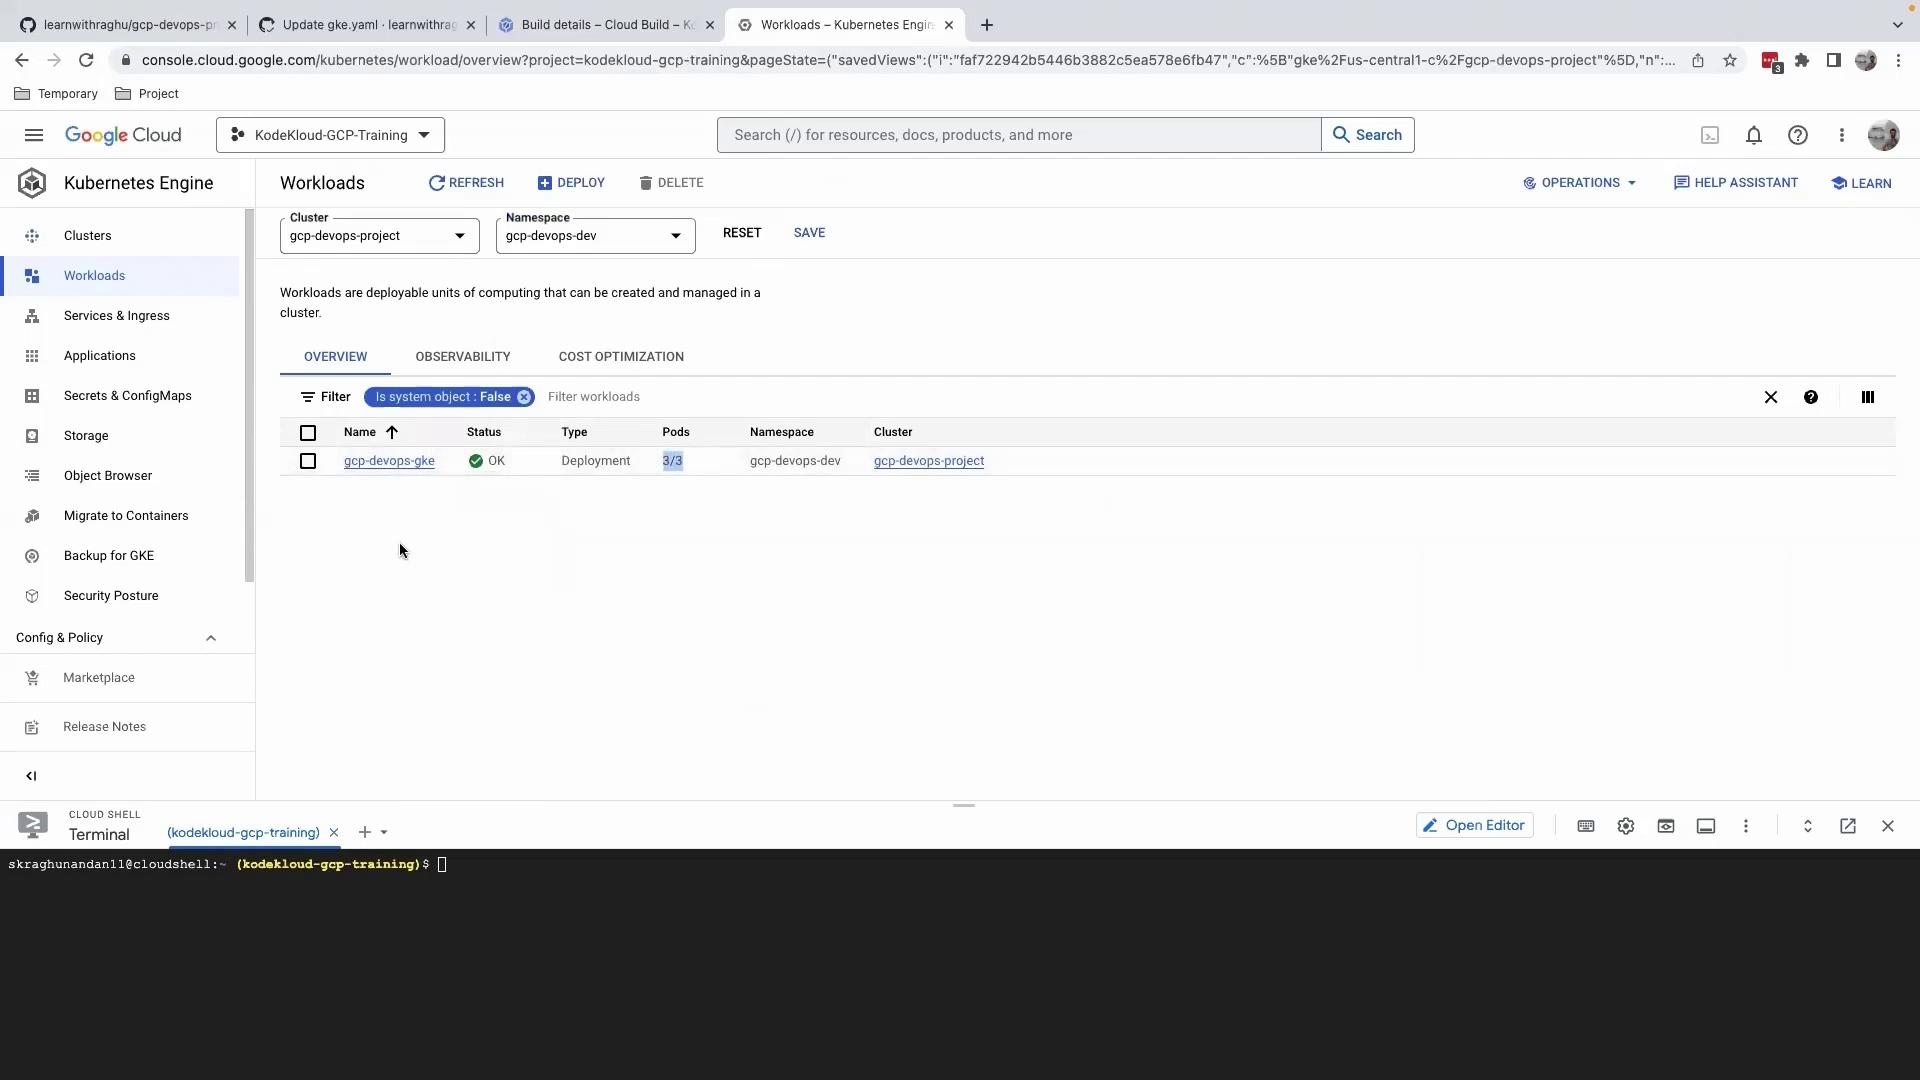
Step 3: Verify the Deployment in Dev Environment
- Open the Google Cloud Console.
- Navigate to Kubernetes Engine > Workloads.
- Select the
gcp-devops-gkeworkload in thegcp-devops-devnamespace.
Step 4: Promote Changes to Production
Once the dev environment tests pass:- Switch to the
main(orproduction) branch. - Repeat the replica count update in
gke.yaml. - Commit and push to trigger the production build and deployment.