This guide explains how to configure authentication and use the Jenkins CLI via cURL.
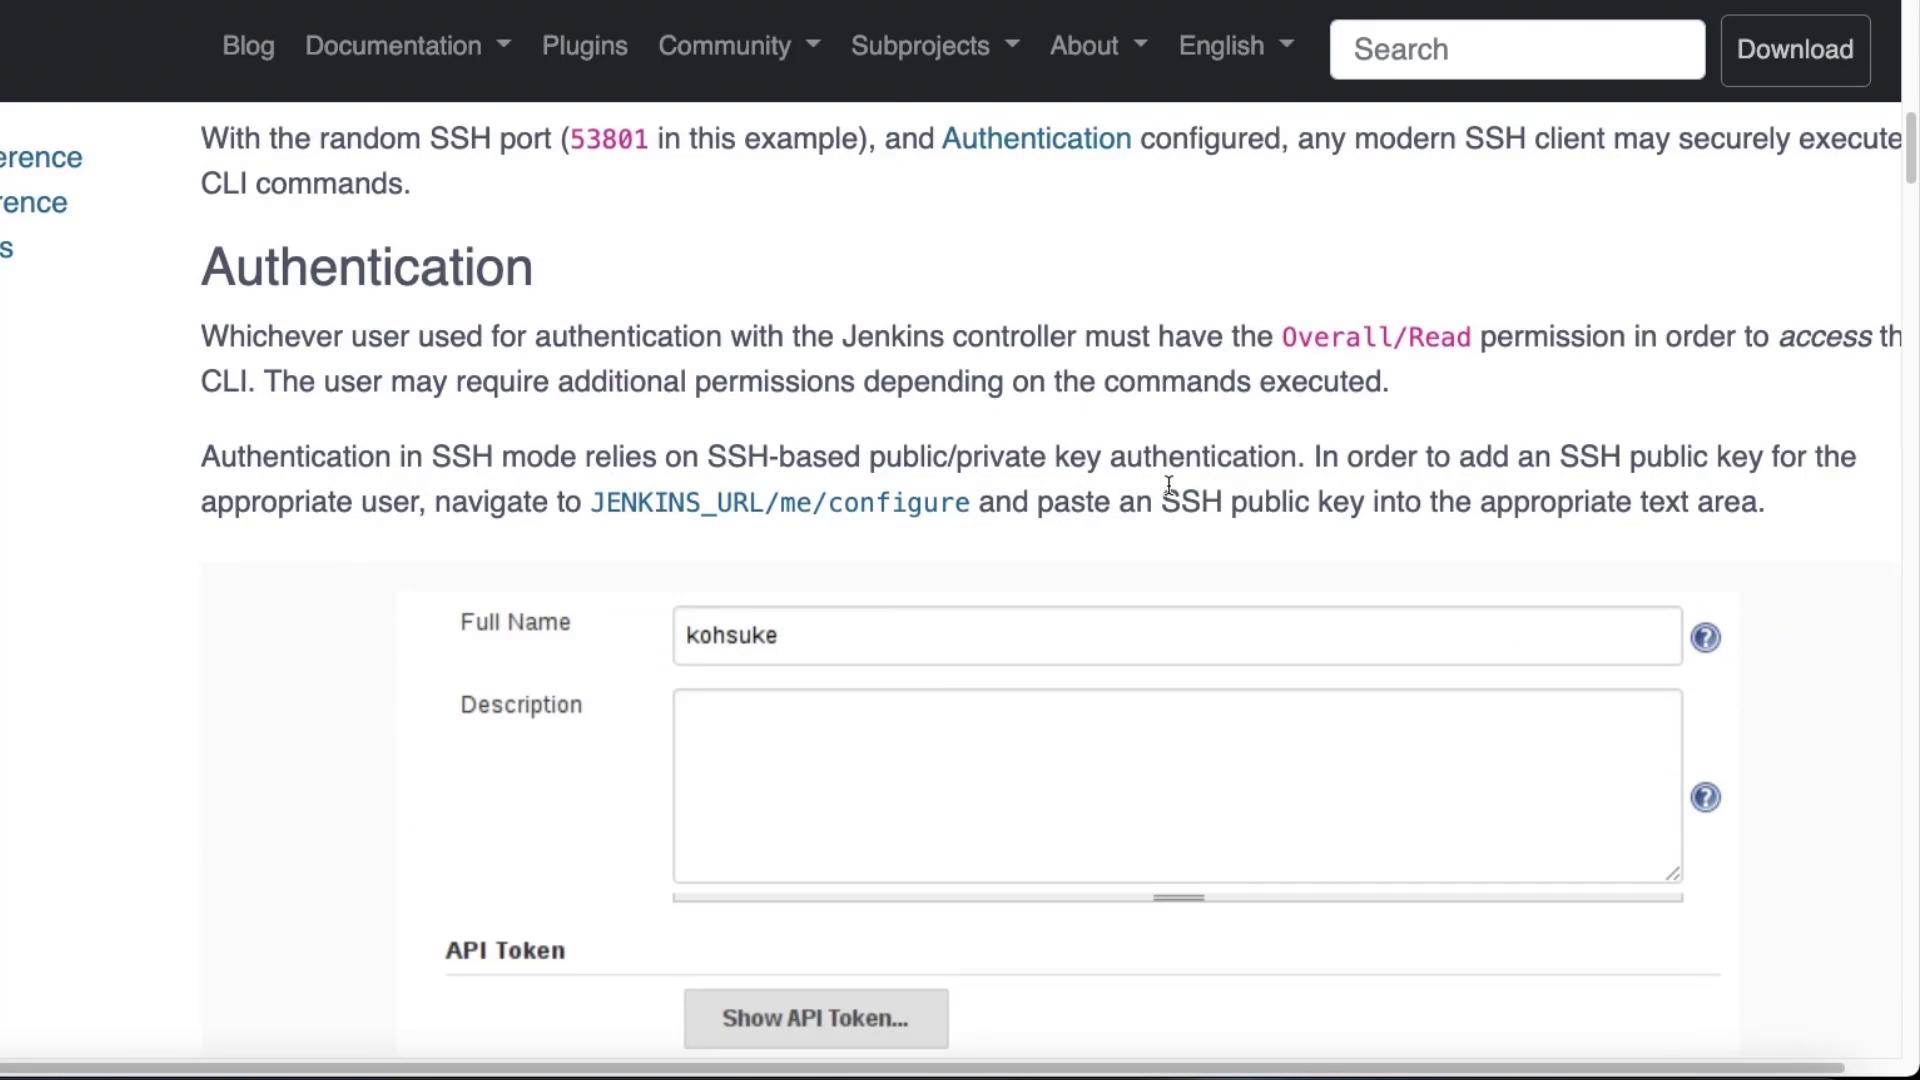
When you install Jenkins, you immediately encounter a streamlined UI for various tasks. However, Jenkins also offers a built-in Command Line Interface (CLI) for those who favor terminal-based interactions. This guide explains how to configure authentication and use the Jenkins CLI via cURL.At the bottom of your user configuration page, you will find several authentication methods. For example, Jenkins supports SSH authentication. The diagram below shows a segment of the Jenkins documentation, detailing SSH authentication, user permissions, and a configuration form for entering a full name and description.
To configure SSH authentication, follow these steps:
Click your name in the Jenkins portal.
Select “Configure.”
Scroll down to locate the fields for API tokens, credentials, email, and SSH keys.
Add your public SSH key to enable terminal access.
For example, to display your public SSH key on a Mac, open your terminal and run:
cat id_rsa.pub
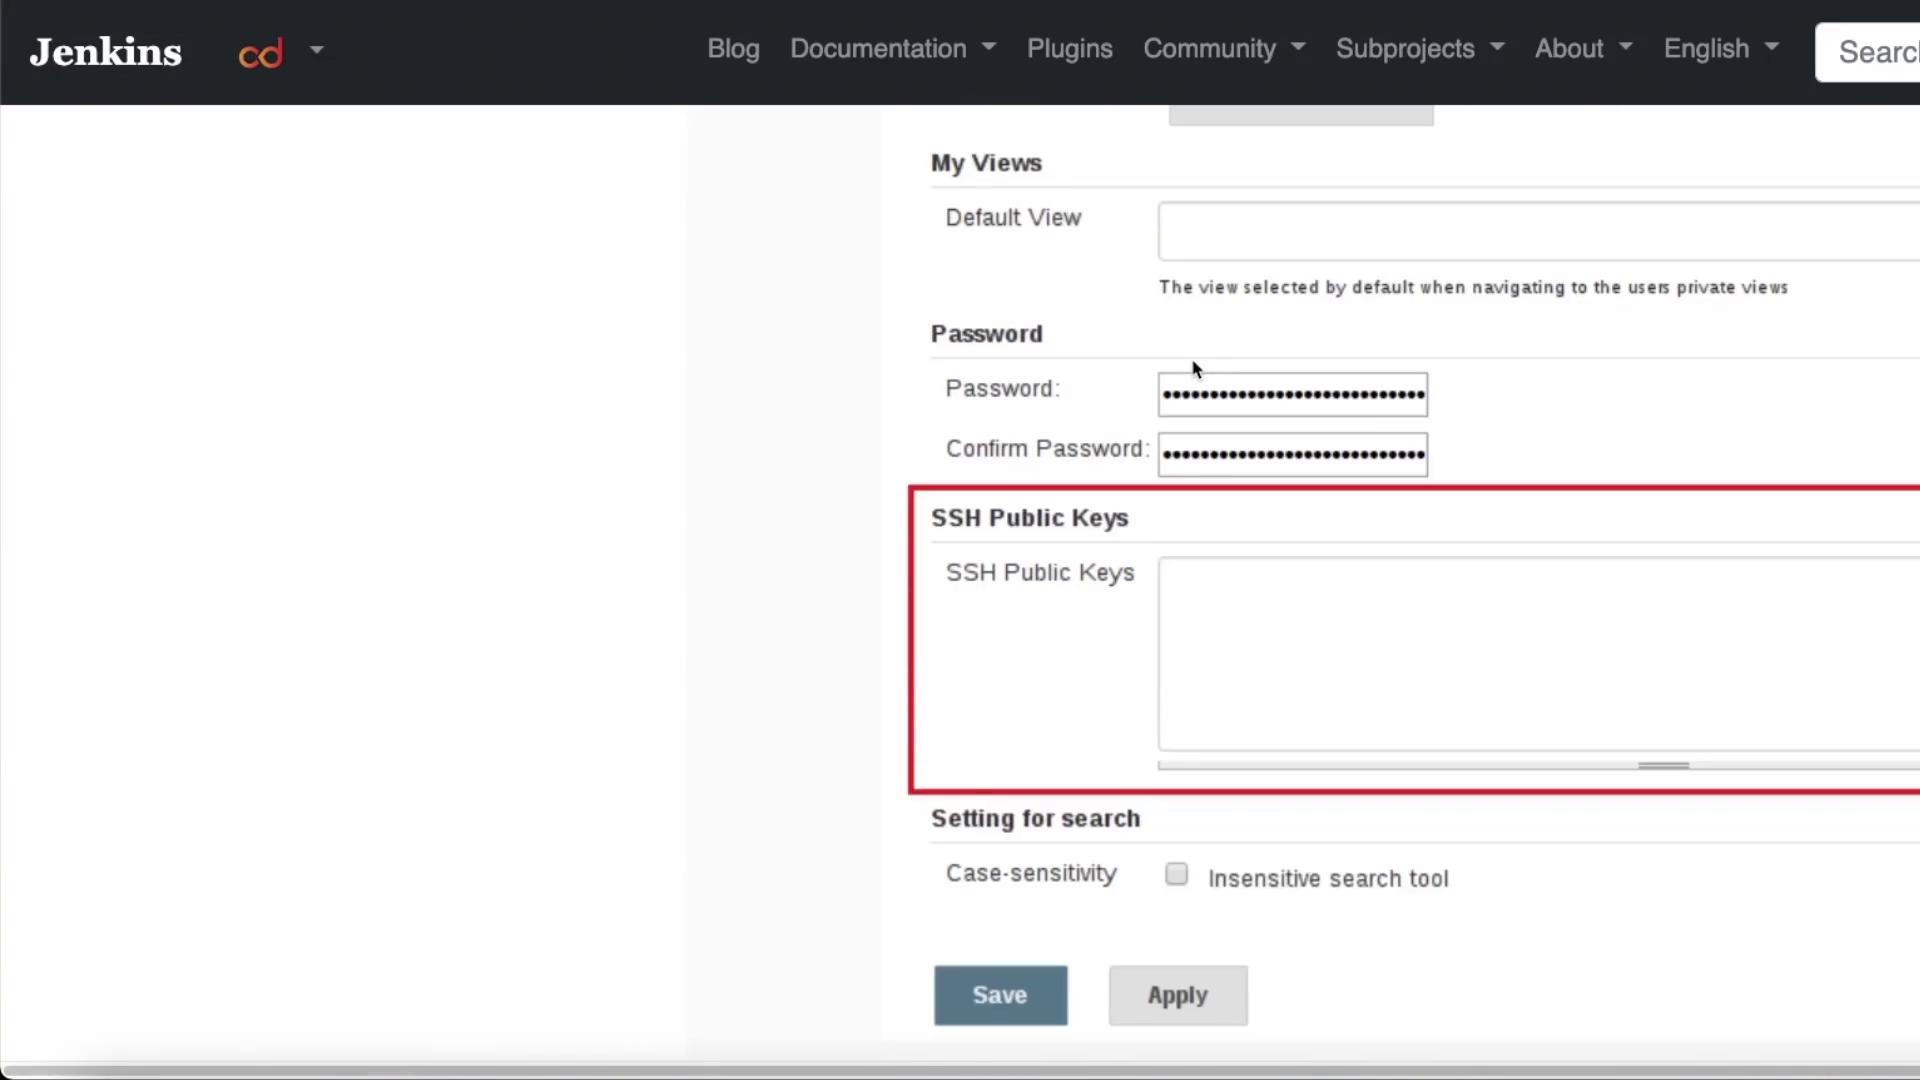
Copy the displayed SSH key and paste it into the SSH keys section of your Jenkins configuration. Once saved, your public SSH key will be linked to your user account (for example, user “Mike”), granting you terminal access via the CLI.
After adding your SSH key, you can start utilizing the Jenkins CLI. Although most interactions with Jenkins occur through the UI, the CLI offers a robust alternative for executing various tasks. The following diagram illustrates the Jenkins user settings page with fields for password, SSH public keys, and search settings, along with the “Save” and “Apply” buttons.
Once authenticated, you can run various CLI commands. To display the available commands and view the help documentation, execute:
ssh -l kohsuke -p 53801 localhost help
This command provides a list of commands along with detailed usage information, making it easier for you to work efficiently with Jenkins via the CLI.
In the next lesson, we will delve deeper into additional features and commands available within Jenkins to enhance your automation and continuous integration workflows.