This guide explains how to restore a Jenkins server from a backup using the Thin Backup plugin.
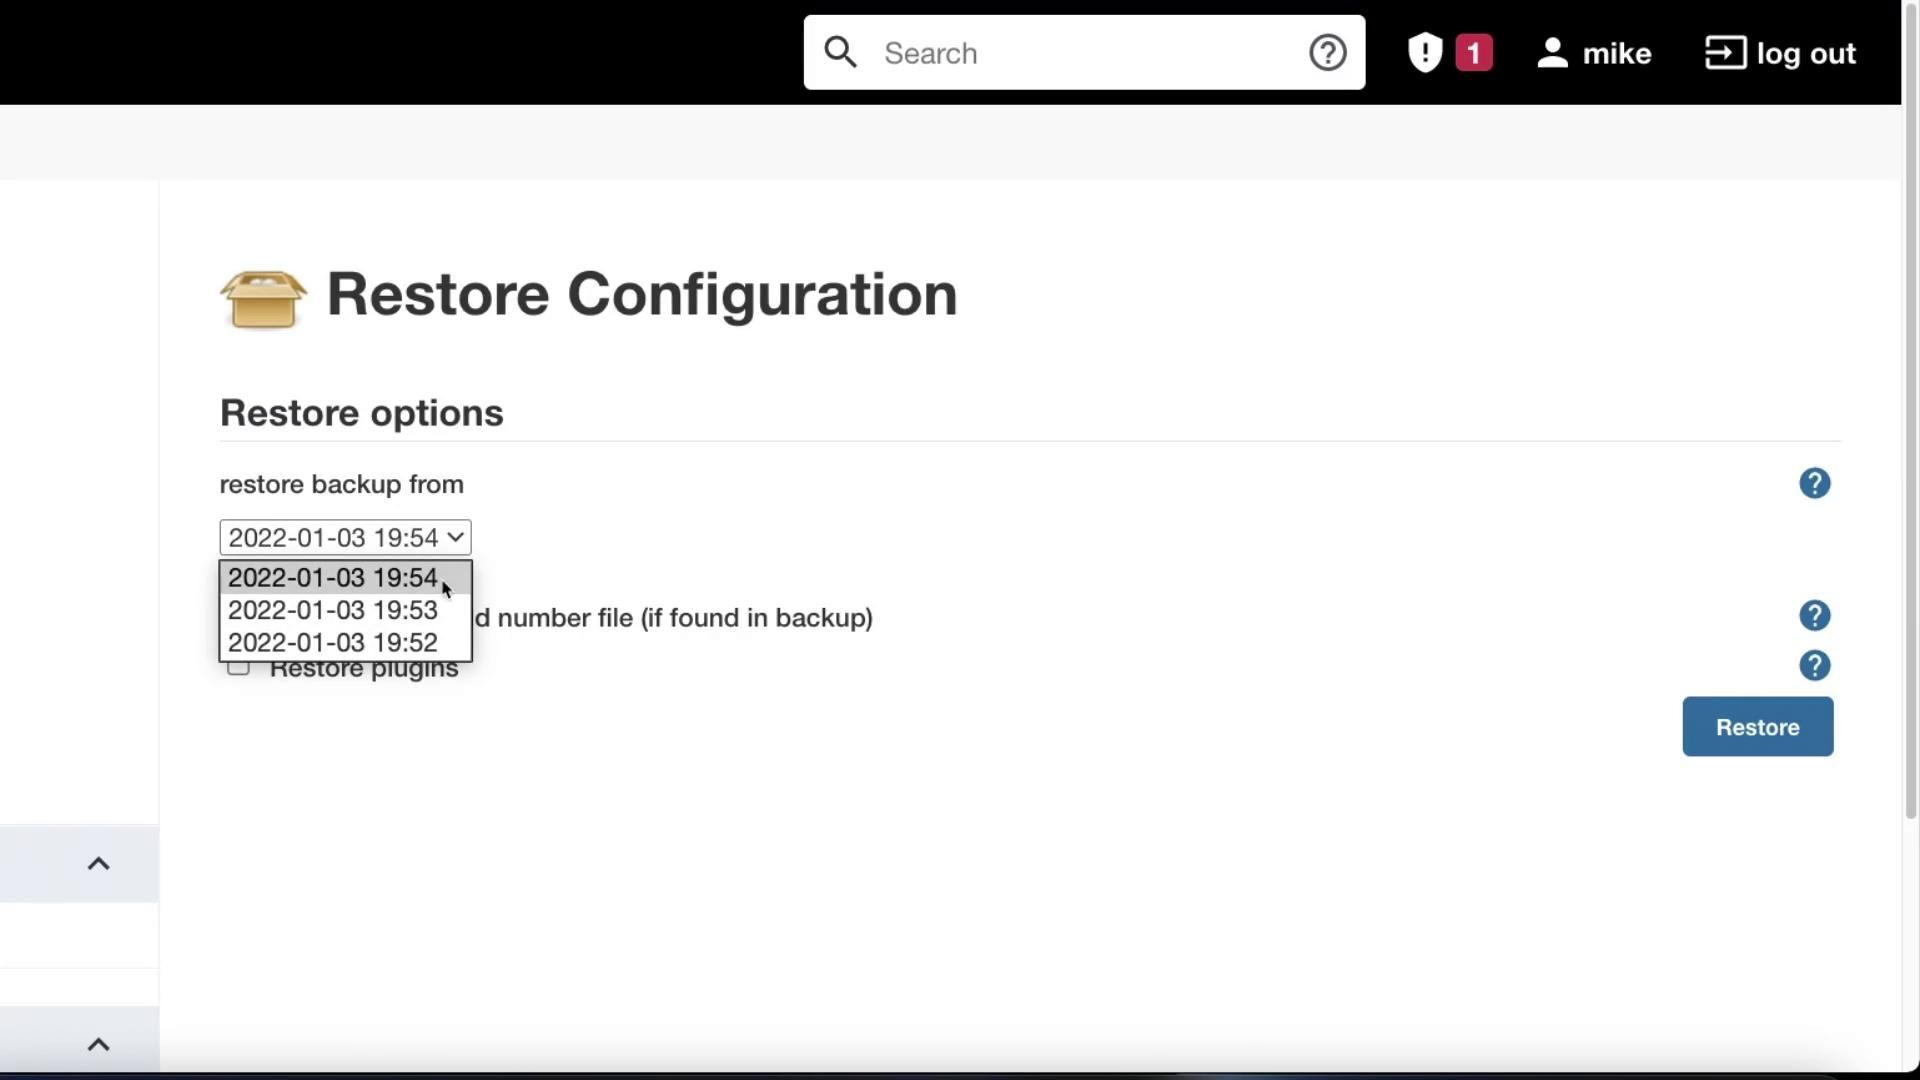
After creating a backup of your Jenkins server, you may need to restore it from a previous backup. In this guide, we will walk you through the restoration process using the Thin Backup plugin.
Congratulations! You have successfully restored your Jenkins server. This guide demonstrated how to verify your backup, create an additional backup as a precaution, and restore Jenkins using the Thin Backup plugin.We hope this step-by-step guide helps ease your Jenkins maintenance routines. Look out for our next article covering more advanced Jenkins topics.