Learn how to leverage the Jenkins CLI to manage your Jenkins instance step by step. This guide covers downloading the CLI, authenticating using an API token, listing jobs, and building a job.

Getting Started with Jenkins CLI

To begin, log into your Jenkins portal and navigate to Manage Jenkins. Scroll down to the Tools and Actions section and click on Jenkins CLI.
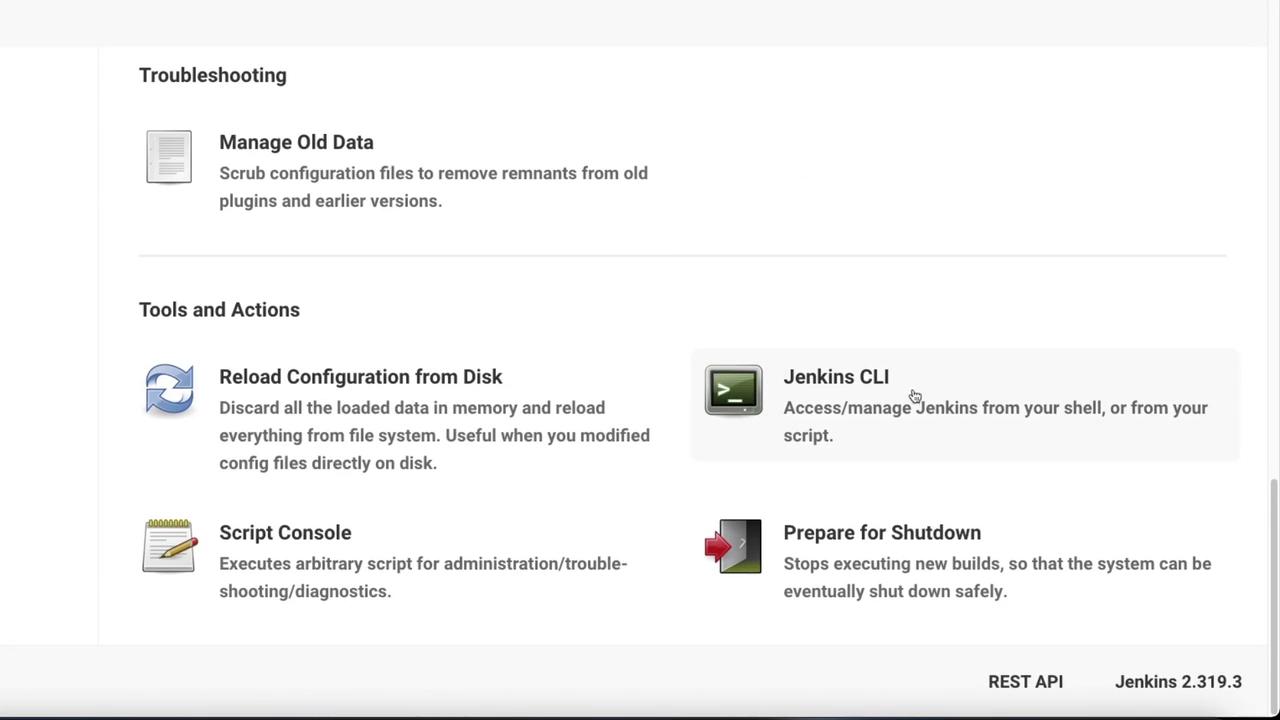
The image shows a Jenkins interface with options for troubleshooting, tools, and actions, including managing old data, reloading configuration, using Jenkins CLI, and preparing for shutdown.
The displayed page includes documentation for getting started. Next, we will focus on the authentication process.

Displaying CLI Help

Use the following command to display the Jenkins CLI help information:

Installing the Jenkins CLI

On your Jenkins host, open a terminal and download the Jenkins CLI JAR with the command below:
Even though you are operating directly on the Jenkins host, authentication is still required for CLI operations.

Authenticating with Jenkins

To authenticate via the CLI, follow these steps:
  1. Log in to your Jenkins portal.
  2. Click on your username and select Configure.
  3. Scroll down to API Tokens.
  4. If you do not have an API token, click Add New Token to generate one.
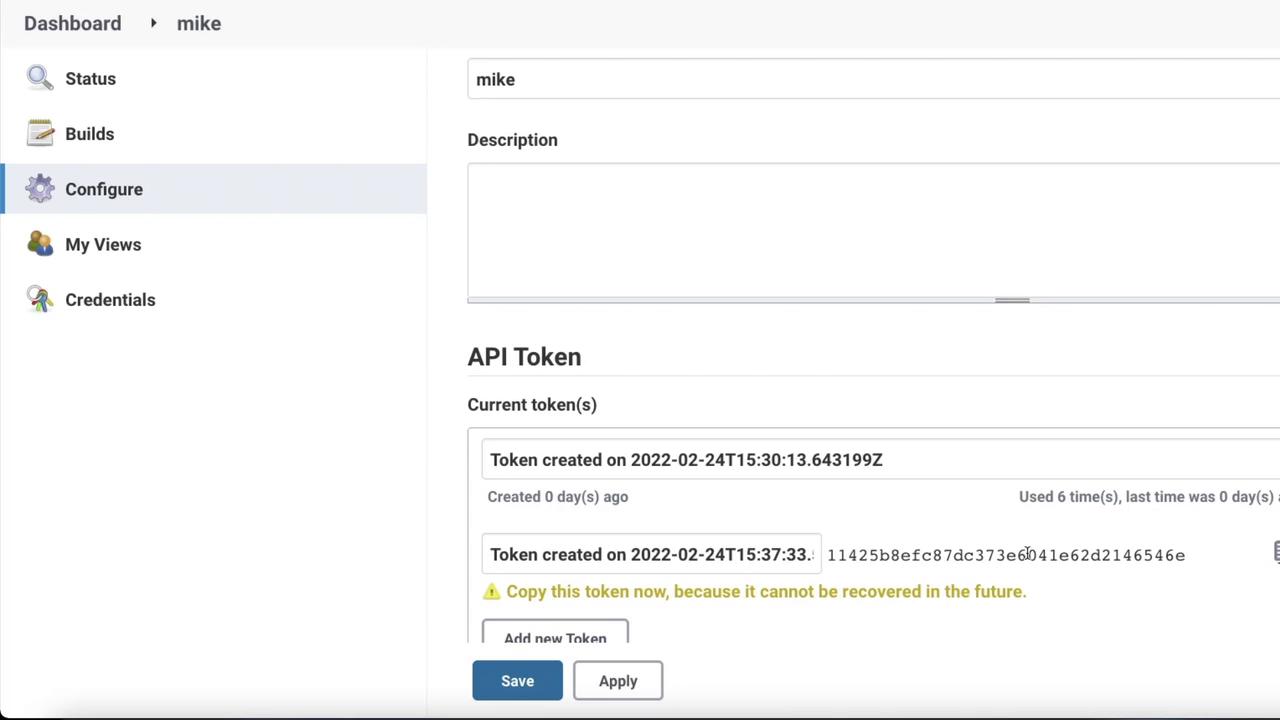
The image shows a dashboard interface for managing API tokens, with options to configure settings and view credentials.
Once you have your API token, authenticate with the CLI by executing:
Successful authentication will display a list of available commands.

Working with Jobs Using the CLI

Listing Jobs

To see the available jobs, run:
At this stage, you might see a single job, such as test1. To further explore, let’s create a new job.

Creating a New Job

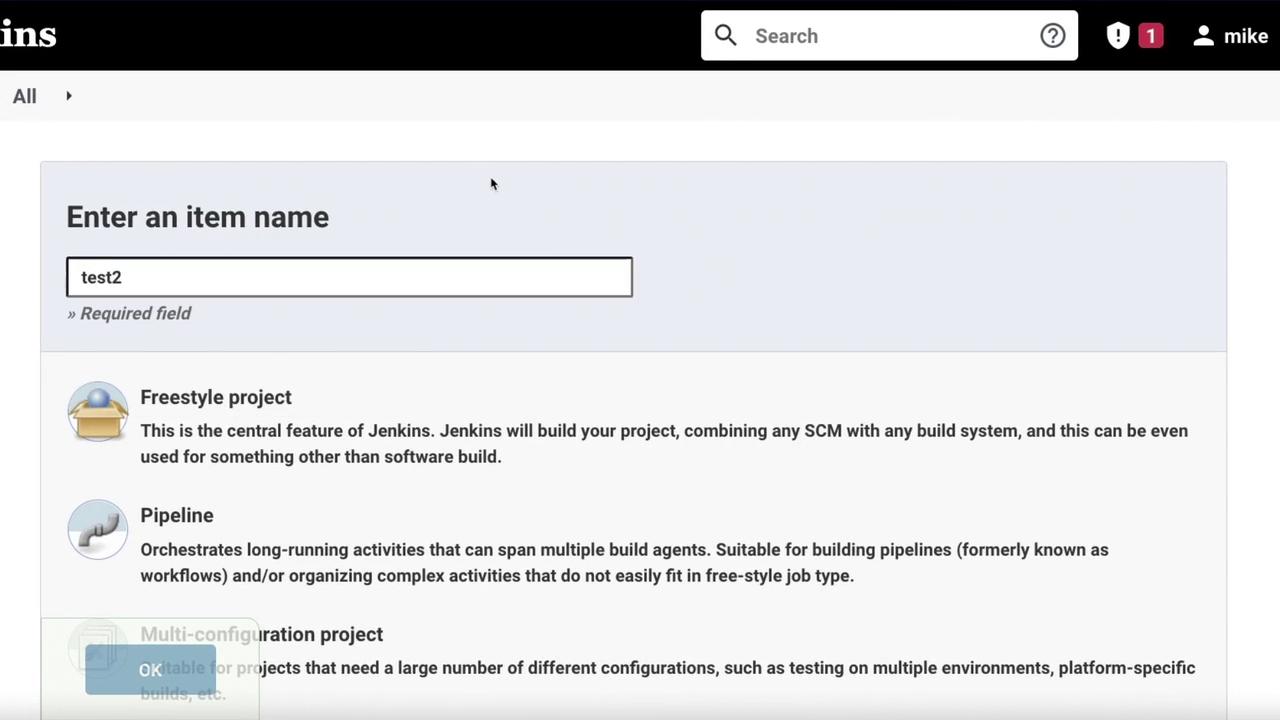
  1. In the Jenkins portal, create a new CI/CD pipeline job. For example, name it Test2.
  2. Select the Pipeline option and click OK.
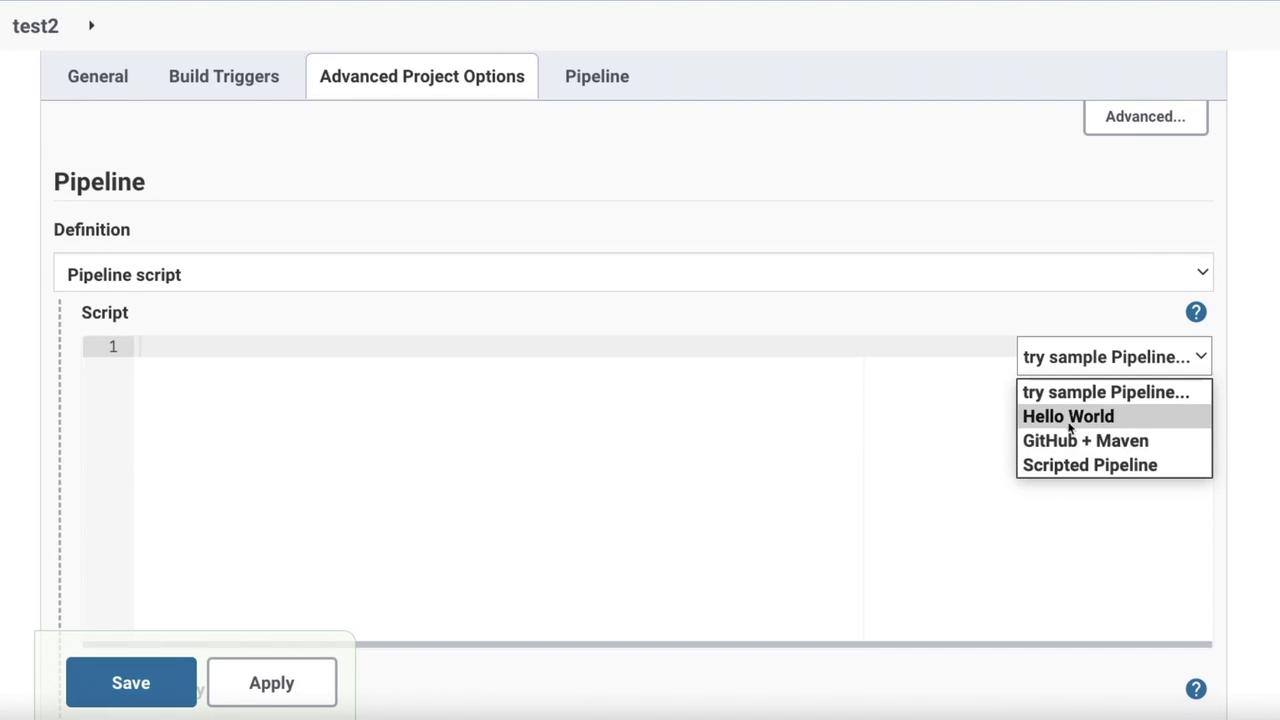
  3. In the job configuration, scroll down and click Try Sample Pipeline, then choose Hello World.
  4. Click Save to finalize the setup.
The image shows a Jenkins interface for creating a new project, with options like Freestyle project and Pipeline, and an item name field filled with "test2".
The image shows a software interface for configuring a pipeline script, with options like "Hello World" and "GitHub + Maven" in a dropdown menu.
Return to your terminal, clear the screen as needed, and run the list-jobs command once more:

Building a Job

Now, build the newly created job using:
After executing the build command, verify in the Jenkins portal that the job has been built successfully.
Ensure that you monitor the Jenkins job status in the portal to troubleshoot any issues with job execution.

Summary

This guide demonstrated how to:
  • Download and install the Jenkins CLI.
  • Authenticate to Jenkins using an API token.
  • List available jobs and build a specific job using CLI commands.
By practicing these commands, you will gain proficiency in Jenkins automation tasks and streamline your CI/CD workflows. Happy automating!

Additional Resources

Watch Video

Practice Lab