In this guide, you’ll learn how to create a Flask API by building the application structure, configuring settings, defining routes, and running the application. We also provide troubleshooting tips for common issues. This setup forms the foundation to later integrate additional functionalities, such as a React frontend or image processing with OpenCV.

Application Initialization

Start by creating your application package with an init.py file. In this file, define a factory function, create_app(), that initializes the Flask application, loads configurations, and registers the routes:
from flask import Flask

def create_app():
    app = Flask(__name__, instance_relative_config=True)
    app.config.from_mapping(
        SECRET_KEY='dev',  # Change this in production!
    )

    # Load the instance config, if it exists, when not testing
    try:
        app.config.from_pyfile('config.py', silent=True)
    except FileNotFoundError:
        pass

    with app.app_context():
        from . import routes  # Import routes

    return app
This snippet sets up Flask with a default secret key and attempts to load extra configuration from a config.py file in the instance directory. The routes module is imported within the app context to ensure proper registration.

Defining Routes

Next, create a routes.py file inside your application package. This file defines the URL endpoints. Below is an example that includes a basic homepage route:
from flask import render_template
from . import create_app

app = create_app()

@app.route('/')
def home():
    return render_template('base.html')
You can extend the routes by adding more endpoints. In the following example, an About page and a helper route to display all registered endpoints are added:
from flask import render_template
from . import create_app

app = create_app()

@app.route('/')
def home():
    return render_template('base.html')

@app.route('/about')
def about():
    return "About Page"

@app.route('/routes')
def show_routes():
    output = []
    for rule in app.url_map.iter_rules():
        output.append(f"{rule.endpoint}: {rule.rule}")
    return "<br>".join(output)
The /routes endpoint is a useful tool for debugging, as it dynamically lists all the registered routes.

Frontend Template Considerations

Though the primary focus is on building the API, a basic HTML template is included for testing purposes. Create a file named base.html (typically located in the app/templates folder):
<!doctype html>
<html lang="en">
<head>
    <meta charset="utf-8">
    <meta name="viewport" content="width=device-width, initial-scale=1">
    <title>My Flask App</title>
</head>
<body>
    <h1>Welcome to My Flask App</h1>
    
    
</body>
</html>
This template provides a placeholder for your homepage and ensures that your Flask app has a front-facing component, which can later be replaced or enhanced with a React frontend.

Configuration File

For future development, you can include additional settings in an instance configuration file (config.py). This file allows you to add environment-specific keys and settings as needed.
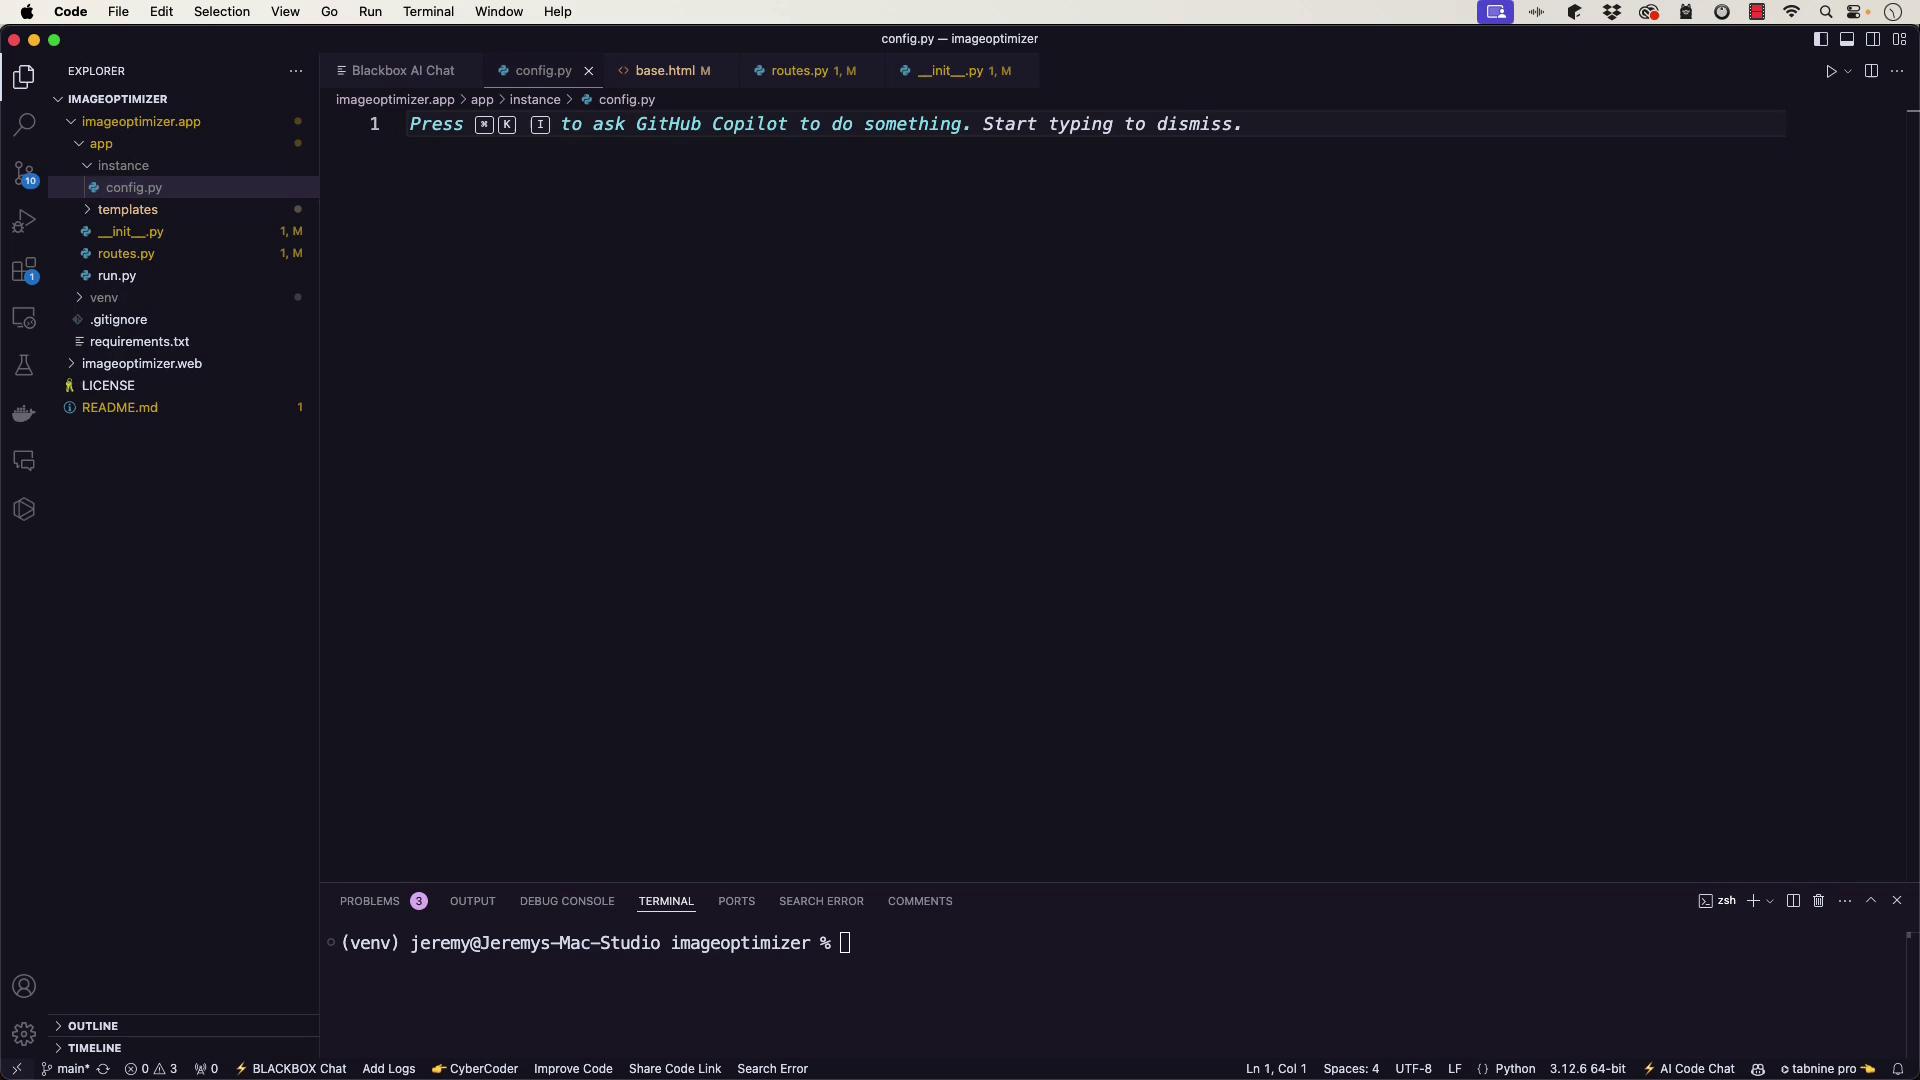
The image shows a Visual Studio Code interface with a Python file open, displaying a message about using GitHub Copilot. The file structure on the left includes folders and files related to an "imageoptimizer" project.
Note:
Remember to update the SECRET_KEY before deploying to production.

Running the Application

To start your Flask application, create a run.py file in the project’s base directory:
from app import create_app
app = create_app()

if __name__ == '__main__':
    app.run(debug=True)
After creating the file, run the application using the following shell commands:
export FLASK_APP=run.py
flask run
Once the development server starts, open your browser and navigate to http://127.0.0.1:5000 to view your application.

Troubleshooting

If you run into issues, review the following troubleshooting tips:
  • Error: Could not import ‘run’
    Ensure that the run.py file is in the base directory and the FLASK_APP environment variable is set to run.py.
  • 404 Not Found on ”/” or “/routes”
    Double-check that:
    • The routes.py file correctly defines the routes.
    • The base.html template exists in the correct templates directory.
    • Routes are correctly imported within the application context in your init.py file.
Sometimes, development tools like GitHub Copilot or Tabnine might clutter your code editor. Consider temporarily disabling them if distractions occur. For additional debugging, insert temporary print statements within your route functions. For example:
@app.route('/')
def home():
    print("Home route accessed")
    return render_template('base.html')
You can also verify registered routes by visiting the /routes endpoint.

Verifying the Setup

After launching the server, access the homepage and the /routes endpoint:
  • The homepage should display the welcome message from base.html.
  • The /routes endpoint should list all registered endpoints, confirming your Flask app’s configuration.
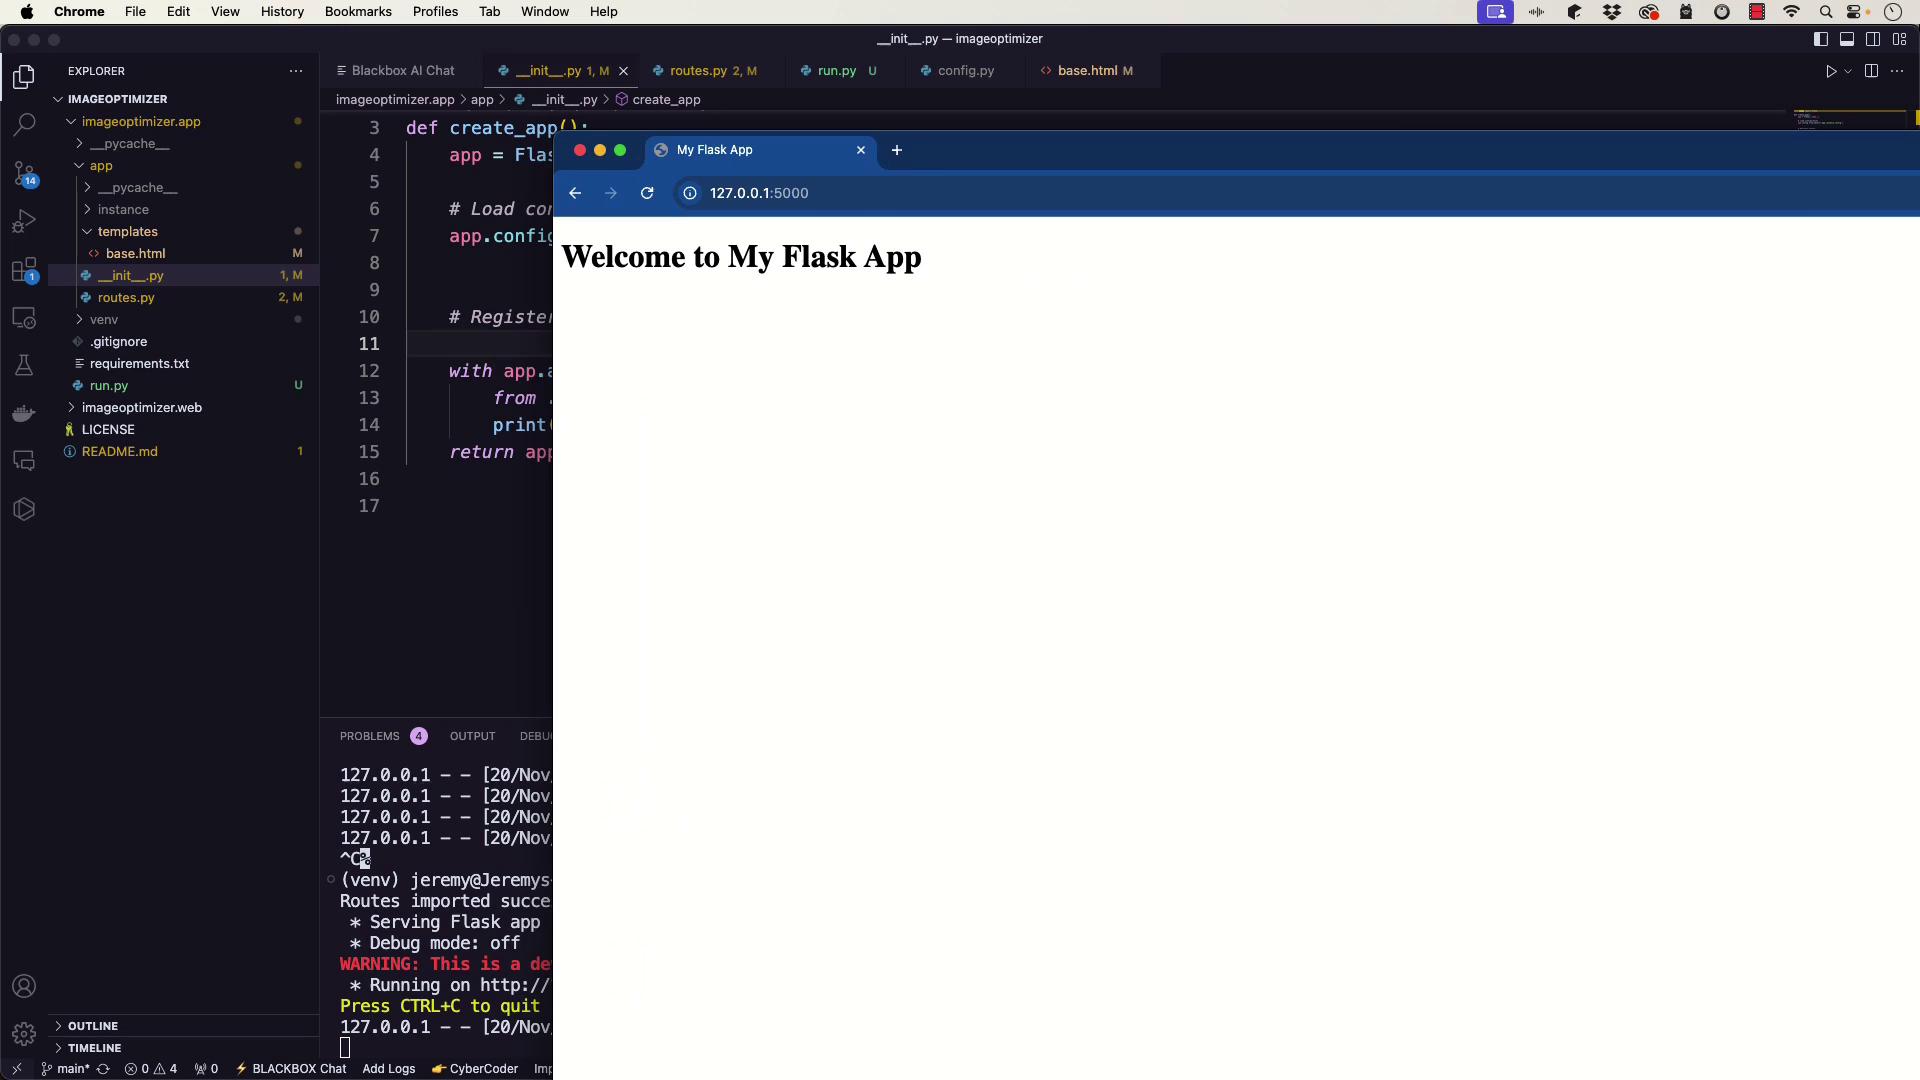
The image shows a split screen with a code editor on the left displaying Python code for a Flask application, and a web browser on the right showing the message "Welcome to My Flask App."
Note:
Verifying the setup by checking these endpoints ensures that your application is running as expected.

Conclusion

This guide outlined the steps to set up a basic Flask API by initializing the app, configuring settings, defining routes, and launching a development server. If you face issues, refer to the troubleshooting tips provided. Future enhancements may include integrating image processing with OpenCV or connecting the API with a React frontend. Happy coding!