In this lesson, we will connect the React UI to the Flask backend API of our image optimizer application. With both the backend and frontend already developed, it’s now time to integrate them for a seamless user experience.

Activating the Backend

Begin by navigating to your image optimizer application directory and activating your virtual environment. After that, start your Flask application with the following commands:
For testing purposes, you can use Postman to verify that your API is running correctly.
With the backend active, it’s time to connect it with your React application.

Connecting the React Application

Within your React app, update the API endpoint so that it correctly points to your Flask backend. Below is the core functionality for image uploading through React:
A complete example of the component could look like this:
In this React component, the selected image is uploaded to the Flask backend. Upon a successful API response, the returned binary data is converted into an object URL for display. Both the original and optimized images are shown along with their respective file sizes for easy comparison.

Using Developer Tools

When testing your application, open your browser’s developer tools to monitor network activity and validate that the Flask server is accessible at 127.0.0.1:5000. For instance, after choosing an image like “coolgirl.jpeg” from your computer, you should see a preview similar to the one below:
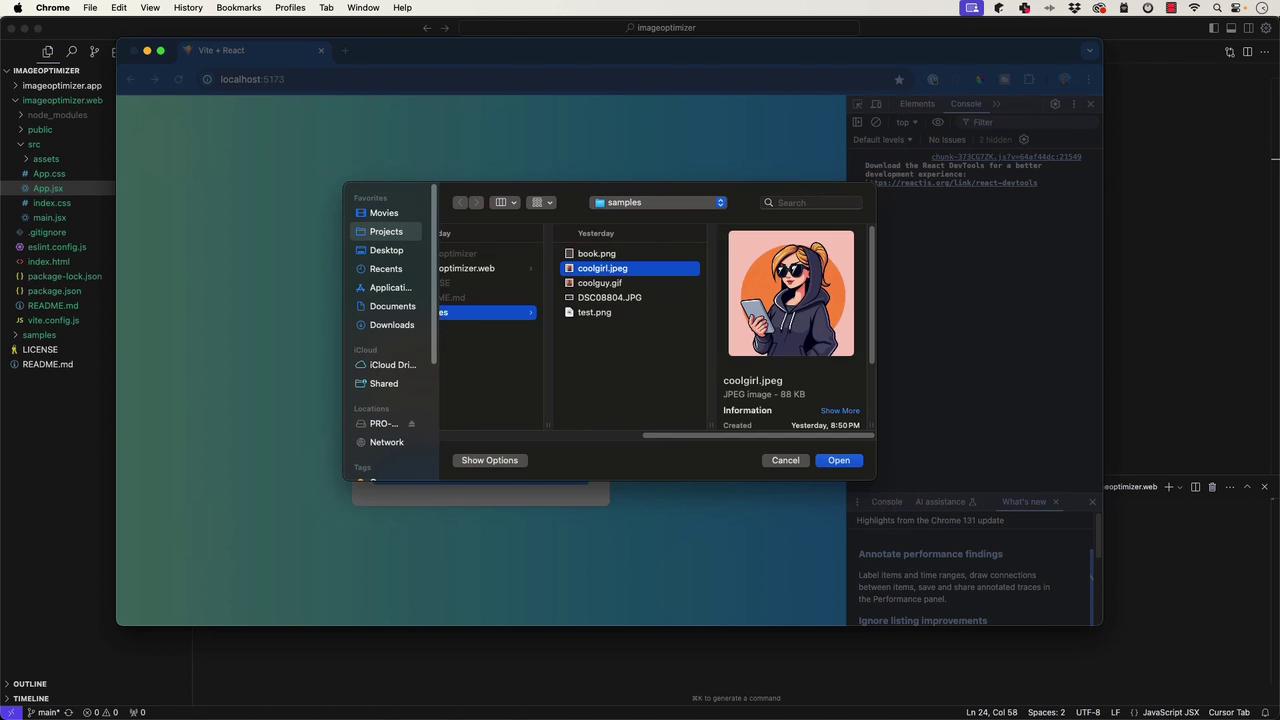
The image shows a computer screen with a file explorer window open, displaying a folder containing image files. The selected file is "coolgirl.jpeg," and a preview of the image is visible on the right side of the window.

Handling CORS in Flask

When running the React app and Flask API on separate ports, you might experience CORS errors. To resolve this, install Flask-Cors in your virtual environment:
Next, update your Flask application’s initialization file (commonly __init__.py) to enable CORS:
This configuration allows requests solely from the defined origin. Update these settings as needed when deploying to production.

Displaying Optimized Images and File Size Comparison

A major feature of this project is the display of both the original and optimized images, including their file sizes, for side-by-side comparison. Once you click the “Optimize Image” button, the React component processes the binary response from the Flask endpoint and displays the optimized image with its size information. For example:
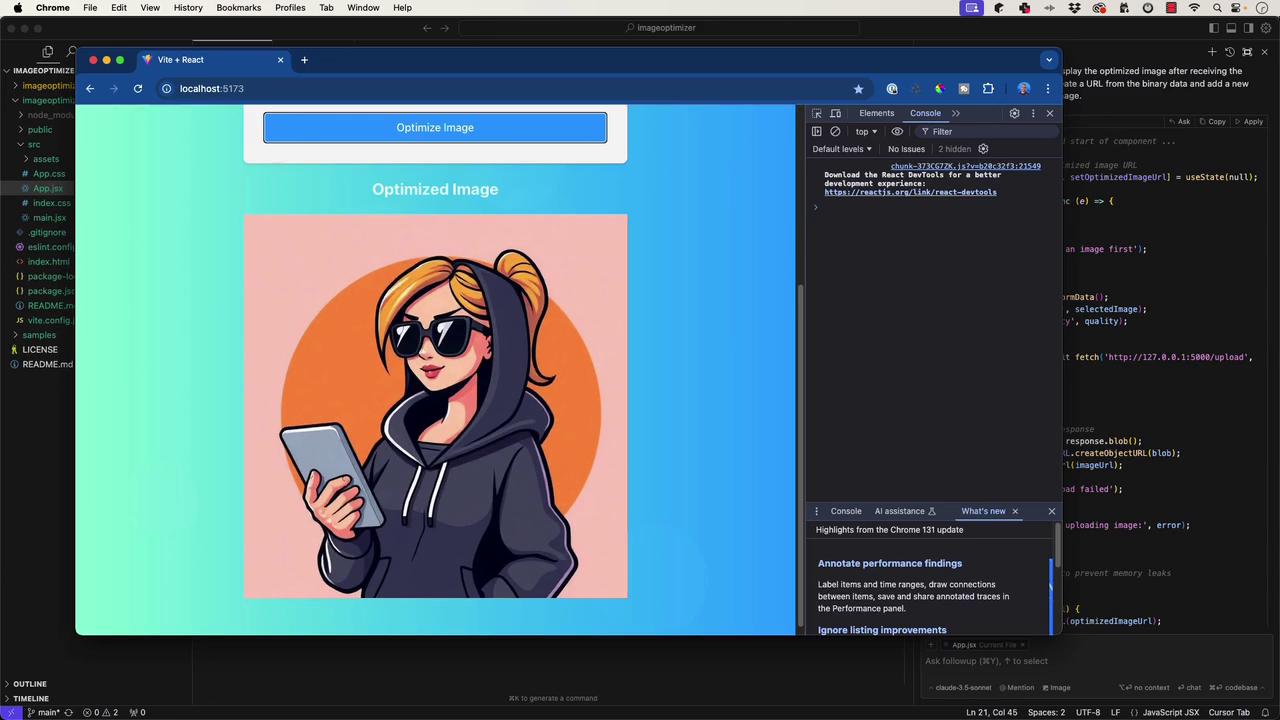
The image shows a computer screen with a web development environment open, displaying a cartoon character in a hoodie and sunglasses holding a phone. The browser window is running a local server with an "Optimize Image" button and developer tools open.
In some cases, an initial image (e.g., 85.95 kilobytes) might be optimized to 24.94 kilobytes, resulting in a 71% size reduction. Experiment with various quality settings to see how they affect the file size and visual quality.

Final Steps and Deployment Considerations

Before finalizing the frontend integration, consider these additional improvements:
  • Store the API endpoint URL as an environment variable to enhance flexibility across different deployment environments.
  • Add comprehensive inline documentation in the code.
  • Prepare the repository for public release by following best practices on GitHub.
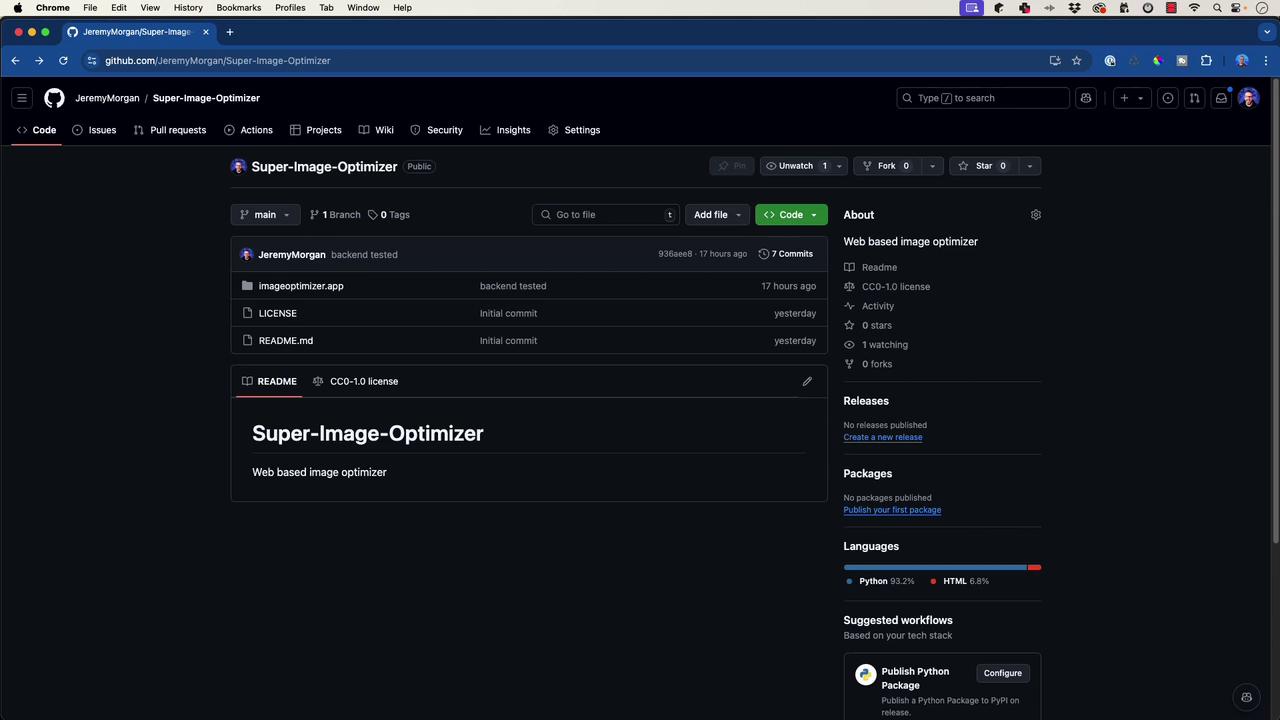
You can find the complete source code for both the Flask backend and the React frontend in the following repository: Super-Image Optimizer on GitHub
The image shows a GitHub repository page for a project called "Super-Image-Optimizer." It includes details like files, commits, and a brief description of the project as a web-based image optimizer.
Thank you for following along. With the project now fully integrated, we’re ready to explore further enhancements and refinements to our application.

Watch Video