Introduction to AWS Identity and Access Management
Demo Resource Based Policy
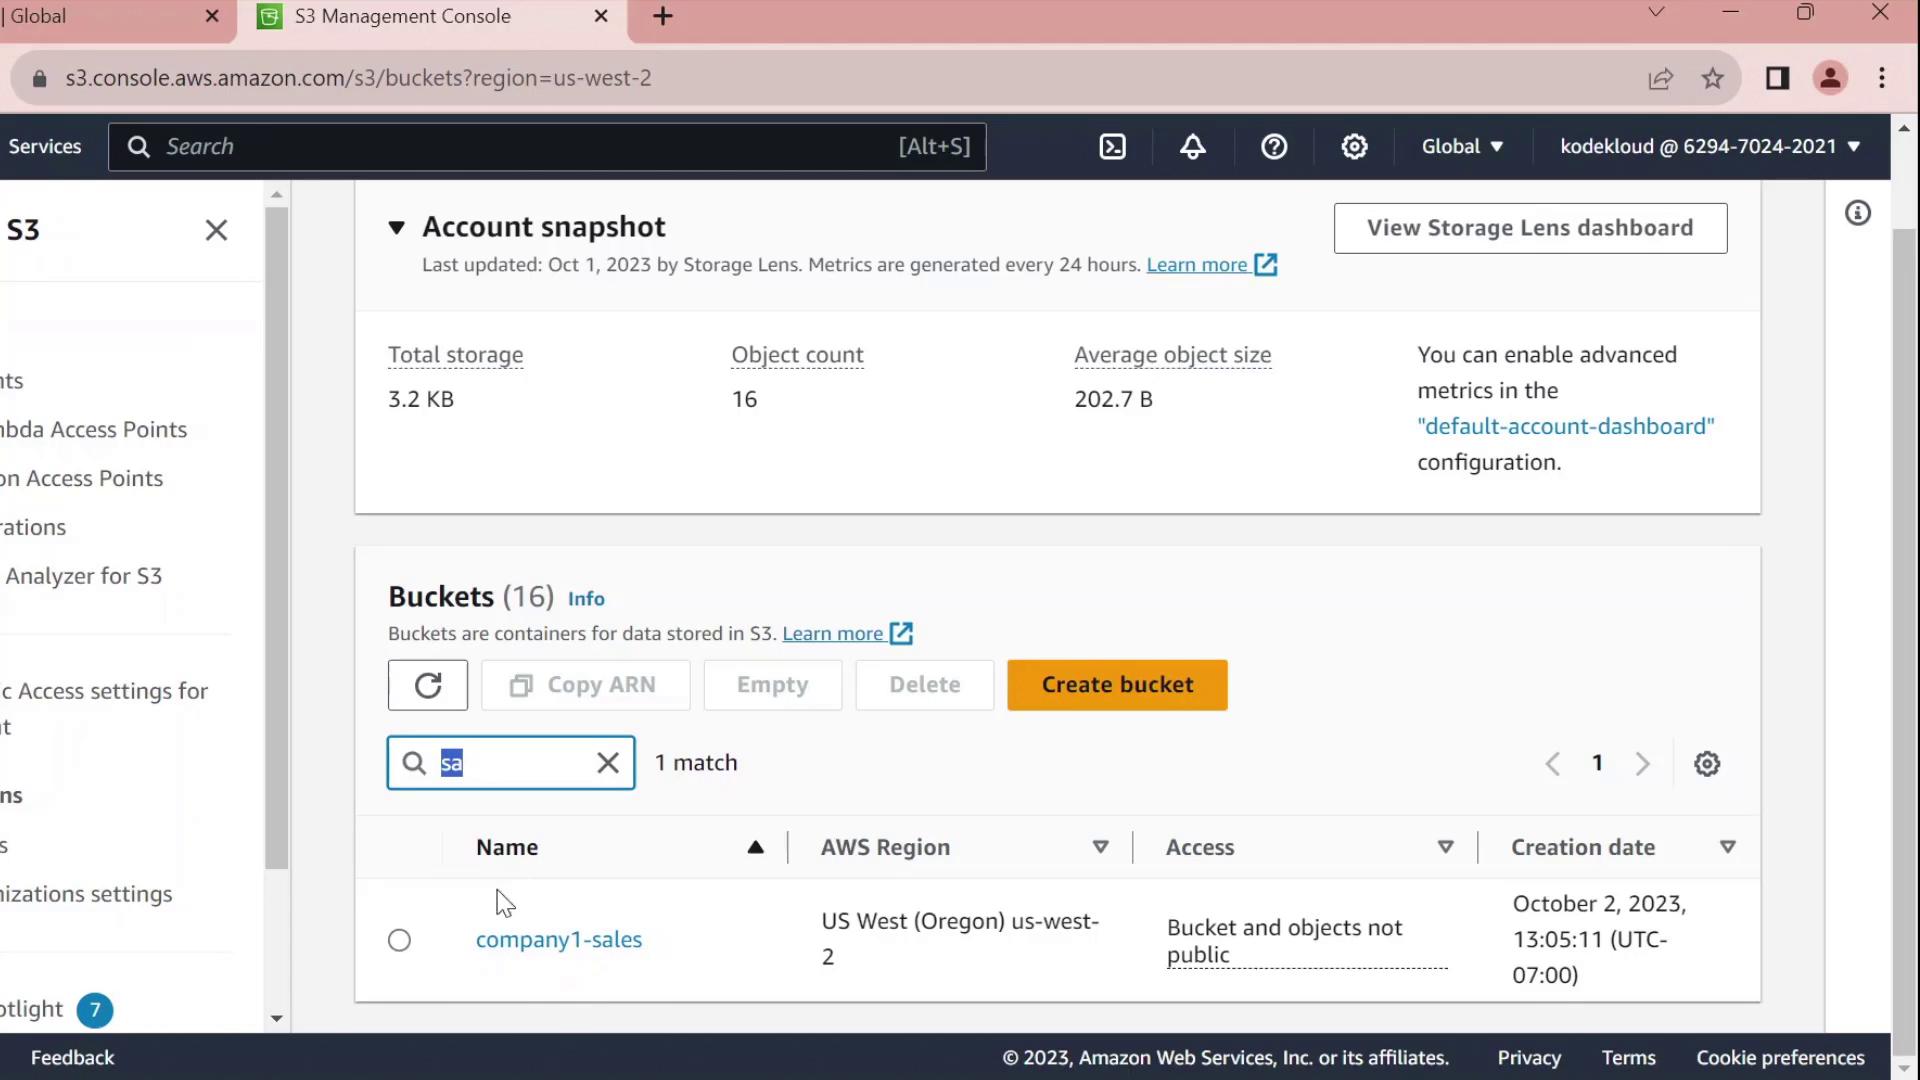
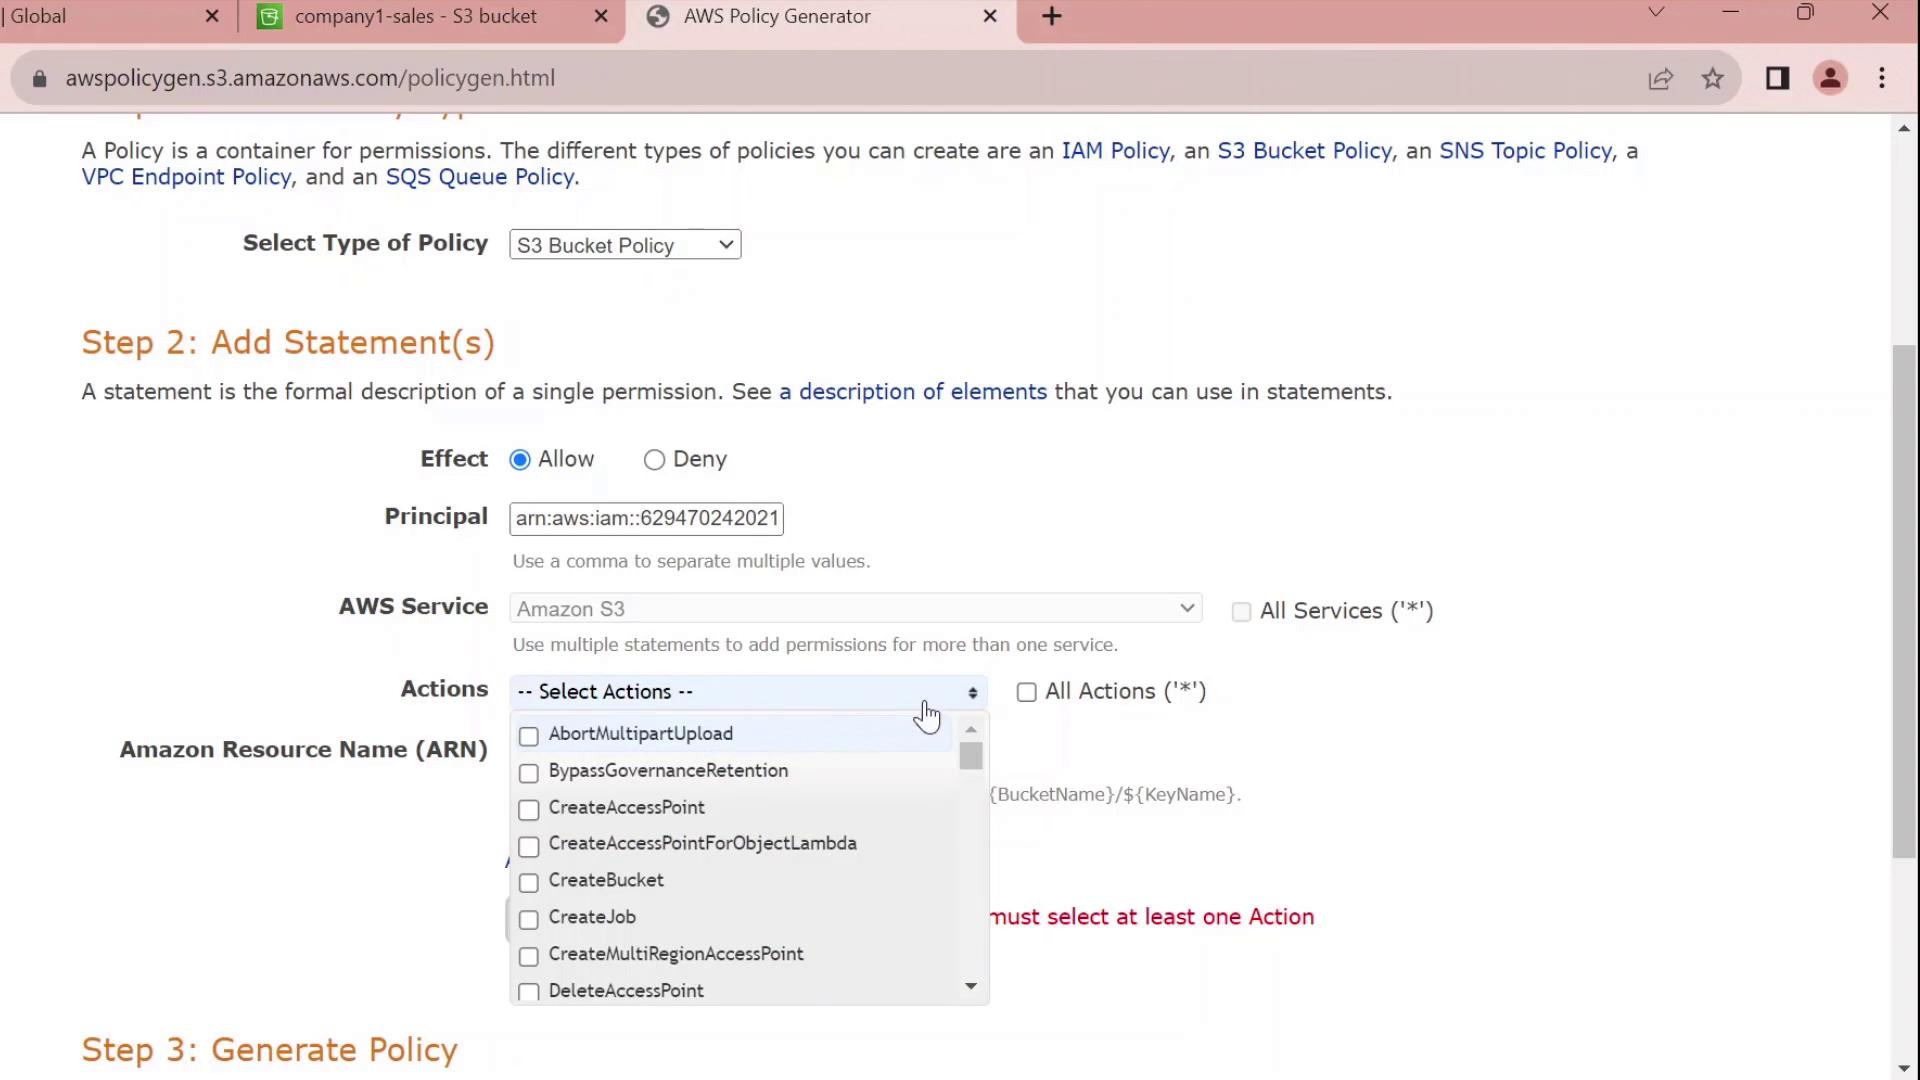
This tutorial explains how to attach a resource-based policy to an S3 bucket using the Policy Generator in AWS.
In this tutorial, we’ll walk through attaching a resource-based policy to an existing S3 bucket in your AWS account. You’ll learn how to use the Policy Generator, customize the JSON, and apply it to grant fine-grained access.
By default, this policy grants permissions only on the bucket itself. To allow object-level actions (e.g., GetObject, PutObject), add the ARN arn:aws:s3:::company1-sales/* to the Resource array.