

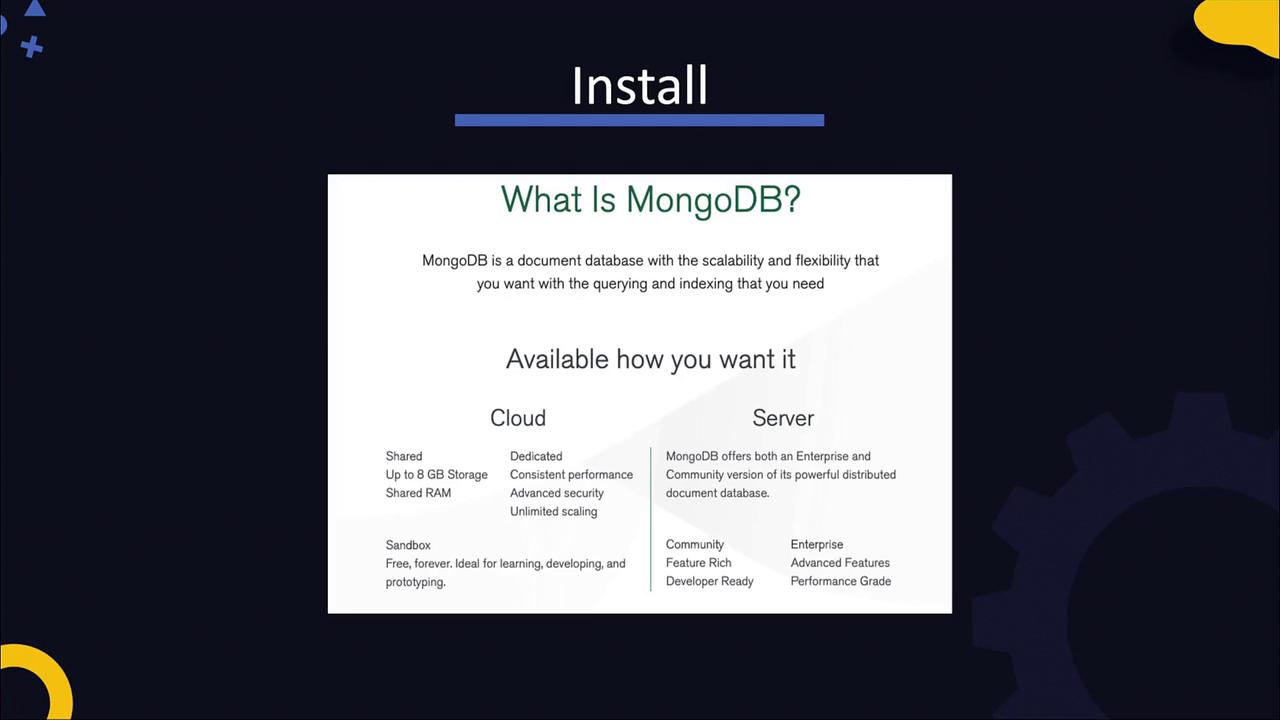
The Community Edition is free and widely used for development and prototyping. The Enterprise Edition offers additional features and support for commercial deployments.
Installing MongoDB
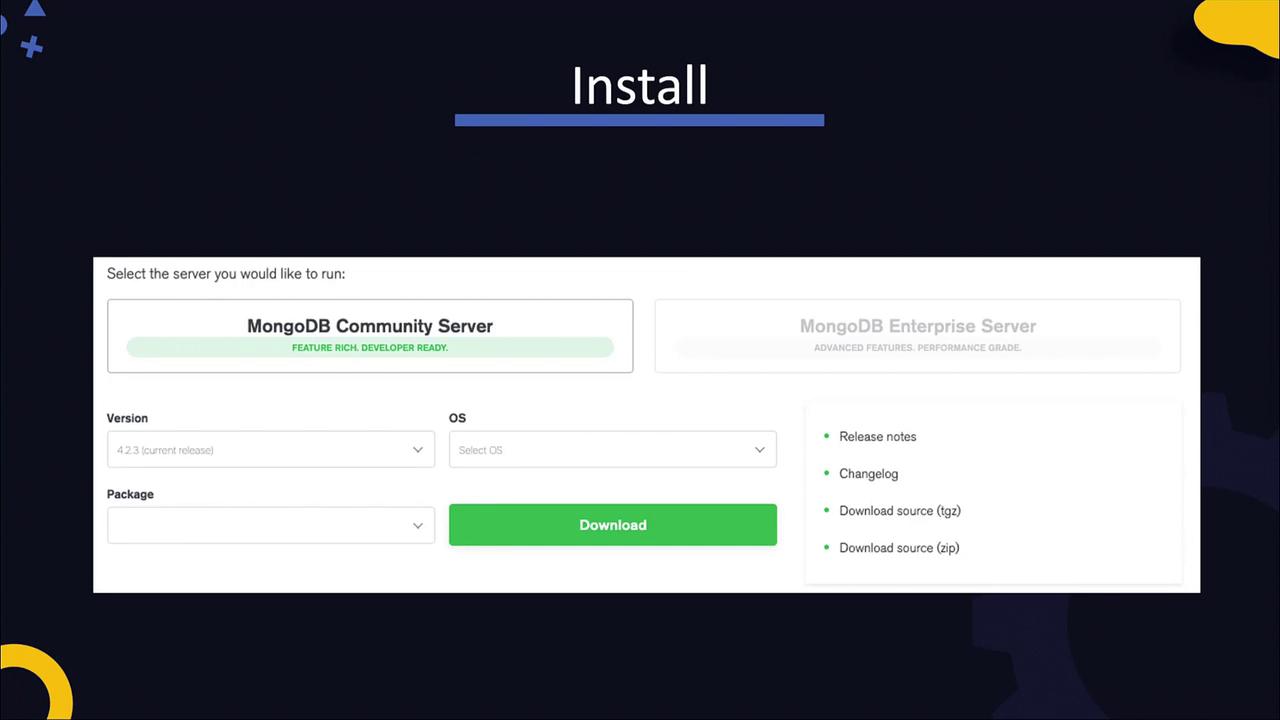
The first step is configuring your package management system with the MongoDB repository and installing themongodb-org package. Although best practices for user creation and security are available in the official documentation, this guide uses a simplified approach.
For instance, on a system using yum, install MongoDB with:
/etc/yum.repos.d/mongodb-org-4.2.repo) with the content below to configure the MongoDB repository:
Starting the MongoDB Service
After installation, start the MongoDB system service namedmongod and verify its status. The main log file is located at /var/log/mongodb/mongod.log.
Start MongoDB using:
/var/log/mongodb/mongod.log provides details about the server startup, including the MongoDB version, and indicates that it is listening on port 27017 of the loopback IP address (127.0.0.1). This default setting permits connections only from the local system—a secure default for development that should be adjusted for production environments.
A sample log snippet is shown below:
MongoDB Configuration
The MongoDB configuration file (/etc/mongod.conf) allows you to modify settings such as port number, storage location, and network bind addresses. Here’s an example configuration:
By default, MongoDB’s access control is not enabled. For production environments, ensure you enable authentication and implement proper security measures.
Interacting with MongoDB Using the mongo Shell
To interact with your MongoDB server, use the mongo shell, which provides a JavaScript interface. Launch the shell with:-
List all databases:
-
Create or switch to a database:
-
Confirm the current database:
-
Create a new collection:
-
Insert a document into the collection:
-
Retrieve data from the collection:
-
Filter documents using query parameters: