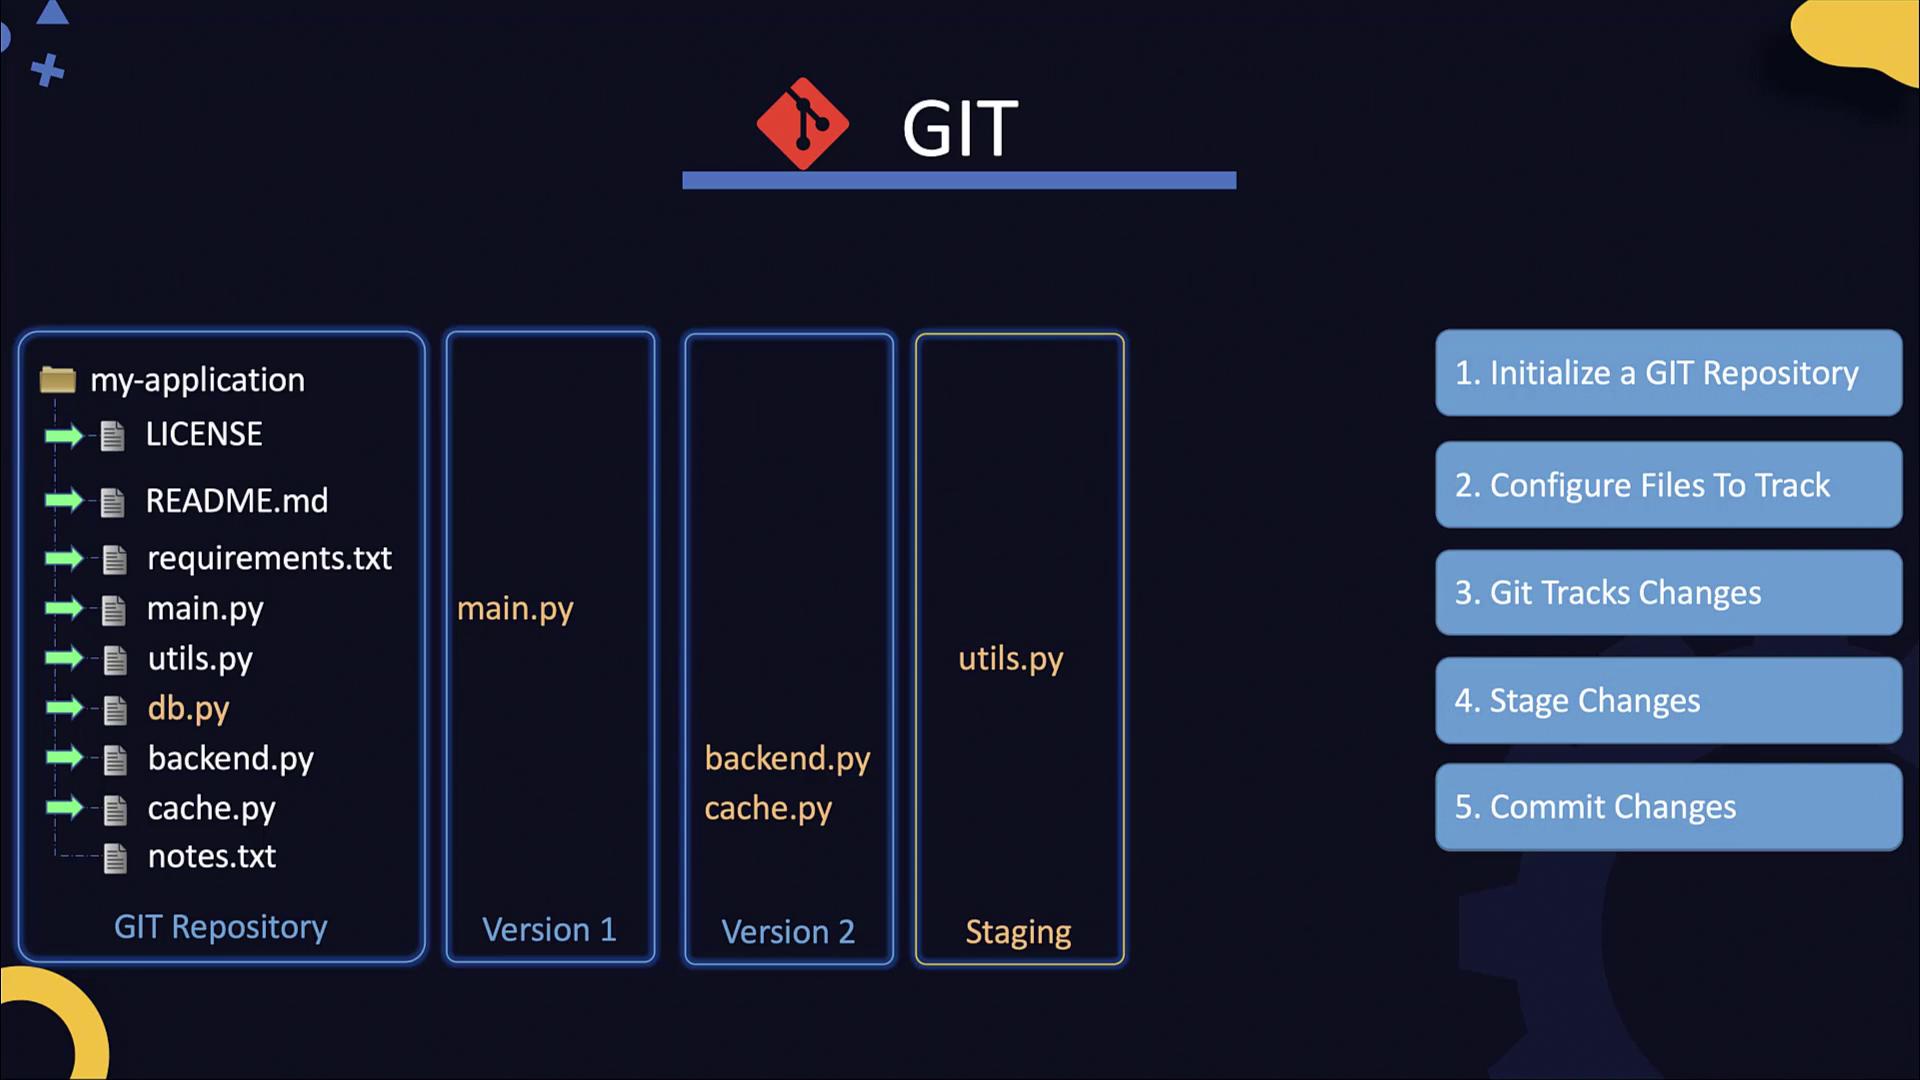
This guide explores Git fundamentals, including installation, repository management, and tracking changes in a Python web application.
In today’s DevOps and Cloud environments, Git is an essential tool for developers, system administrators, customer support professionals, and project managers alike. This guide explores Git fundamentals, including installing, initializing, and managing Git repositories. You’ll learn how to clone remote repositories, make modifications to your code, and use commits to track those changes over time.We illustrate these concepts using a simple Python web application built with Flask. The application includes a LICENSE file, a README file, a requirements.txt file, and the primary Python file.
Below is the code from the main Python file (main.py):
from flask import Flask, escapeapp = Flask(__name__)app_color = 'Blue'@app.route('/')def hello(): return 'Hello, World!'@app.route('/user/<username>')def show_user_profile(username): return 'User %s' % escape(username)@app.route('/post/<int:post_id>')def show_post(post_id): return 'Post %d' % post_id@app.route('/path/<path:subpath>')def show_subpath(subpath): # Show the subpath after /path/ return 'Subpath %s' % escape(subpath)
Initially, the code is straightforward. However, changes might be made – for example, modifying the welcome message in the root route. Consider the following update as an example:
from flask import Flask, escapeapp = Flask(__name__)app_color = 'Blue'@app.route('/')def hello(): return 'Welcome to the community!'@app.route('/user/<username>')def show_user_profile(username): return 'User %s' % escape(username)@app.route('/post/<int:post_id>')def show_post(post_id): return 'Post %d' % post_id@app.route('/path/<path:subpath>')def show_subpath(subpath): # Show the subpath after /path/ return 'Subpath %s' % escape(subpath)
Tracking such modifications becomes critical as your application grows and more developers contribute simultaneously. This is where source control management (SCM) systems like Git come into play. Git excels at tracking changes, merging contributions from multiple developers, and maintaining a clear history of your application over time.Consider another version of the application with minor modifications:
from flask import Flask, escapeapp = Flask(__name__)app_color = 'Green'@app.route('/')def hello(): return 'Welcome to the community!'@app.route('/user/<username>')def show_user_profile(username): return 'User %s' % escape(username)@app.route('/post/<int:post_id>')def show_post(post_id): return 'Post Number %d' % post_id@app.route('/path/<path:subpath>')def show_subpath(subpath): # Show the subpath after /path return 'Subpath %s' % escape(subpath)
Git allows you to track such modifications and record who made changes and when, ultimately helping you maintain and manage a robust history of your project.
After running the above command, executing git status shows these files as staged for commit. Modifications to any file (e.g., main.py) will be marked as modified. Stage these changes with:
git add main.py
A typical git status output might look like this:
On branch masterNo commits yetChanges to be committed: new file: LICENSE new file: README.md new file: backend.py new file: cache.py new file: db.py new file: main.py new file: requirements.txt new file: utils.pyUntracked files: notes.txt
Each commit in Git captures a new version of your repository. Subsequent commits should be clear and descriptive to indicate the nature of the changes applied.
Committing: Capture and save the state of your project.
This workflow ensures that the evolution of your code is well-documented and that you can easily revert or analyze the changes over time.
While this guide presents the basic Git workflow, real-world projects may require additional configurations and best practices tailored to specific development environments.
That concludes the introduction to Git. In the next section, you’ll have the opportunity to reinforce these concepts with hands-on exercises and further exploration of Git commands and workflows.