This lesson covers deploying multiple VMs on VirtualBox and configuring networking, cloning VMs, and utilizing snapshot functionalities for backup and recovery.
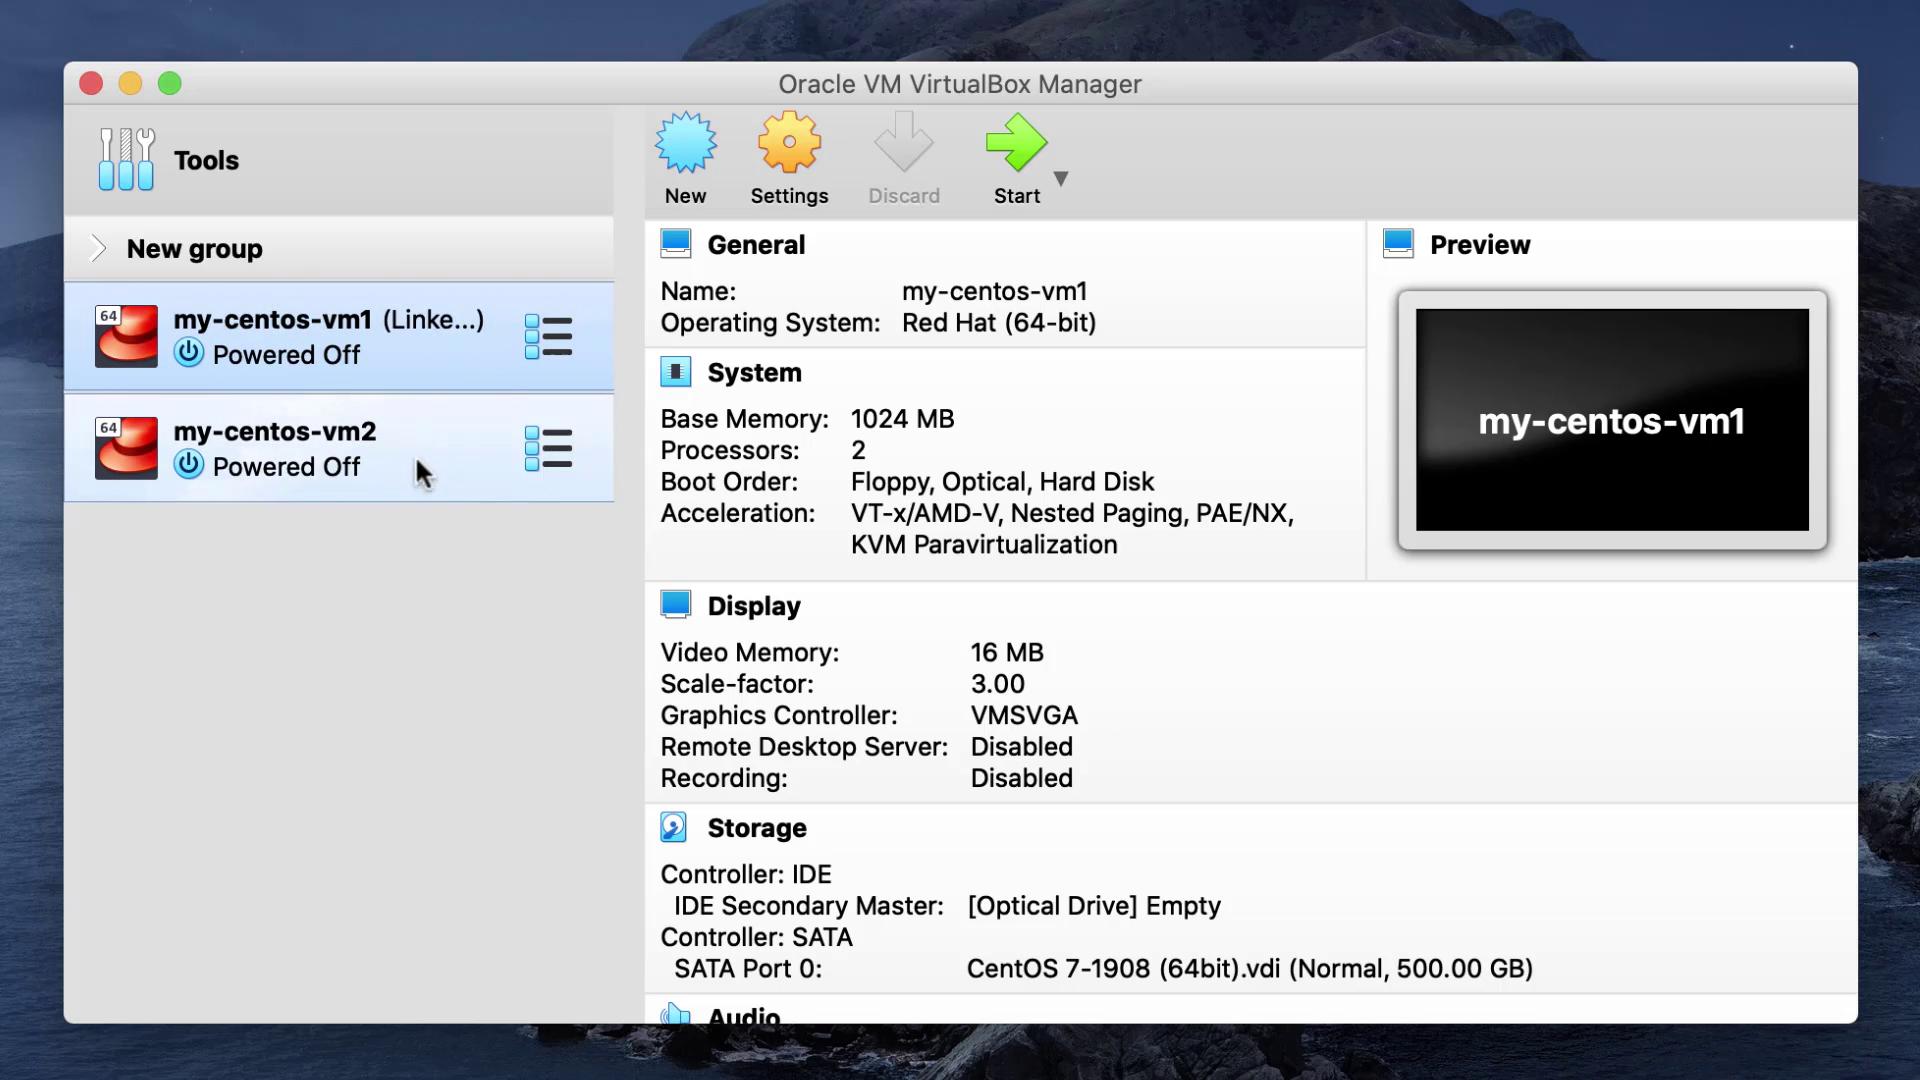
In this lesson, we will deploy multiple virtual machines (VMs) on VirtualBox and configure networking between them. We’ll demonstrate how to clone VMs and utilize snapshot functionalities for state backup and recovery. Creating a template VM is advisable so you can quickly produce multiple clones as needed.
Before cloning a VM, ensure that the VM is powered off. To clone a VM:
Right-click the VM and select the clone option.
Provide a new name (for example, “VM two”) and choose the appropriate clone type. There are two options:
Full clone: Creates a complete copy of the existing disk. This option consumes the same amount of disk space as the original.
Linked clone: References the original disk and only uses additional space for changes made.
Linked clones depend on the original VM’s disk. Moving or deleting the original VM can cause issues with the linked clone.
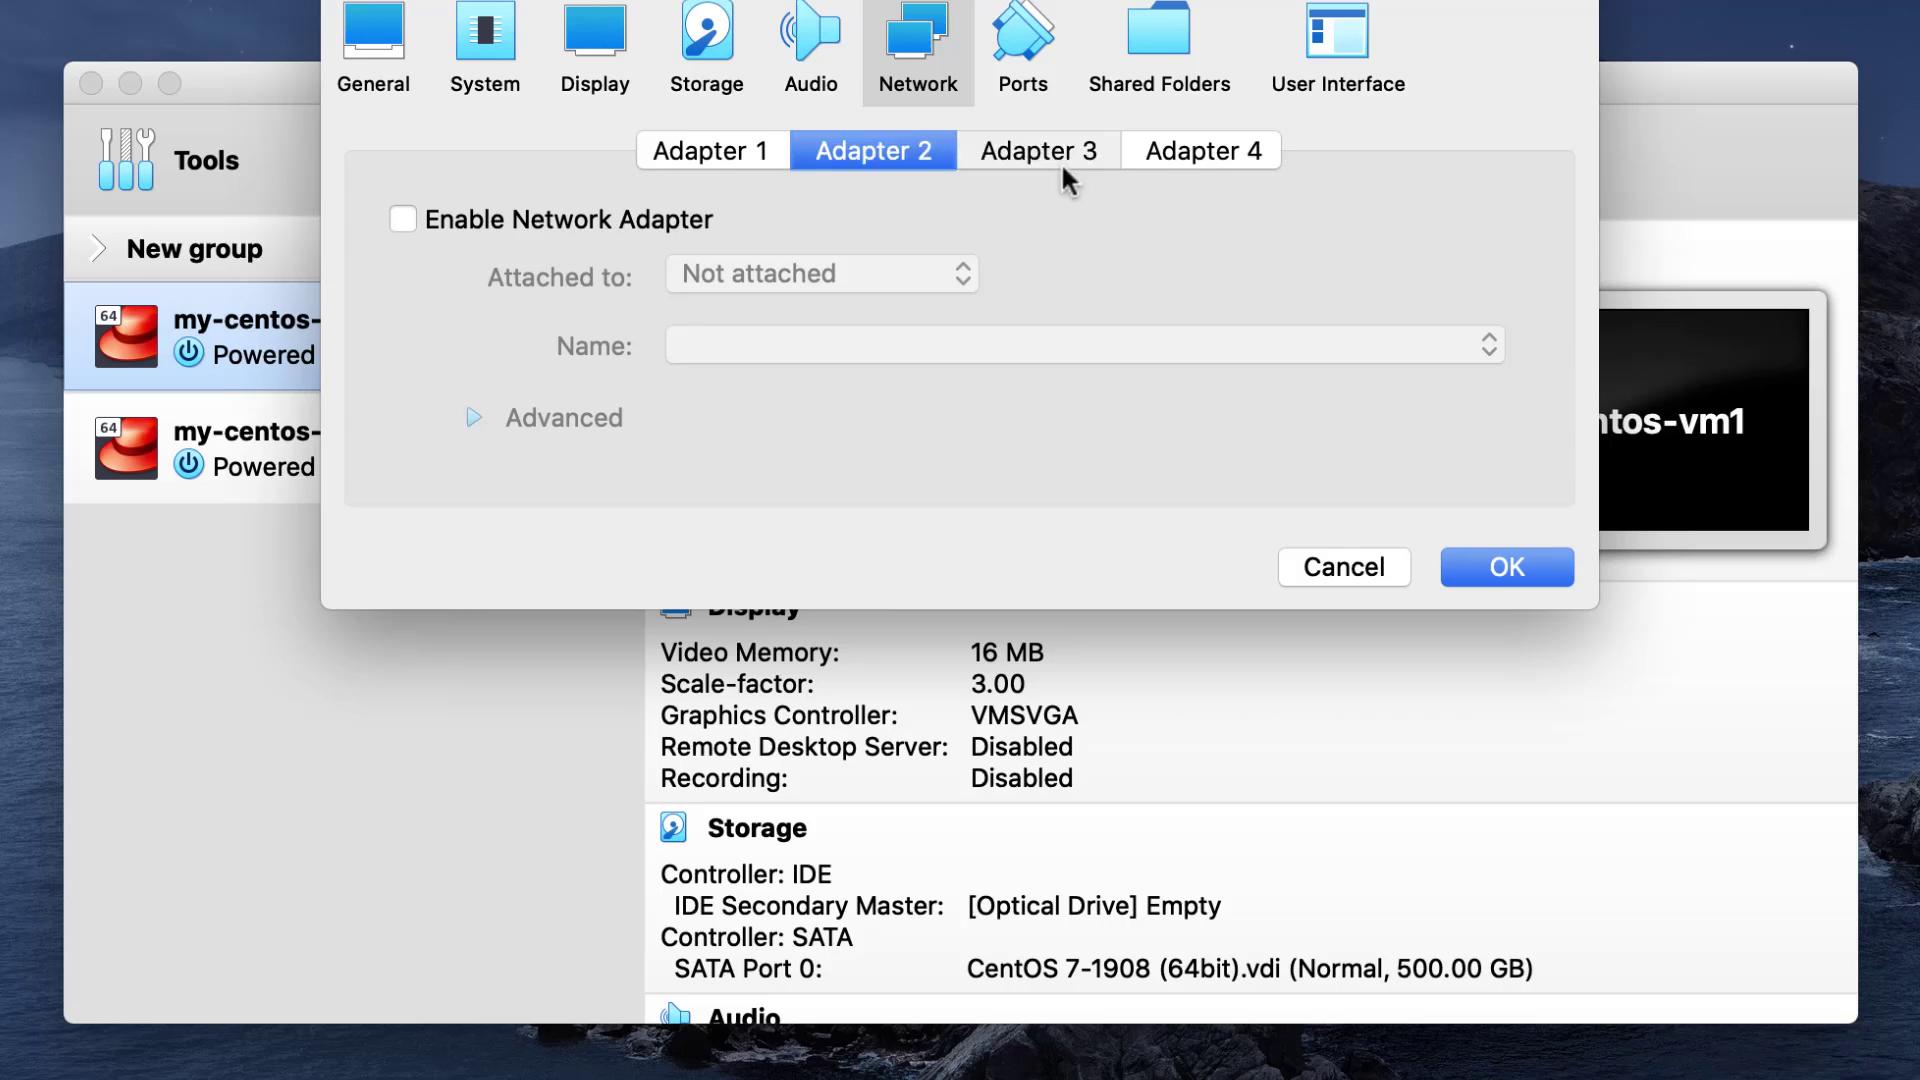
After selecting the linked clone option, the new VM is created. With two VMs now available, proceed to adjust the network settings to enable communication.
After configuring the network, power on both VMs. Log in using the OS account (for example, an account named “Matthew”). Since cloning copies the settings, the same account appears on both VMs.Open the terminal on one VM to check the IP addresses. A new interface, typically named enp0s8, will be assigned an IP address (e.g., 192.168.57.3):
2: enp0s3: <BROADCAST,MULTICAST,UP,LOWER_UP> mtu 1500 ... inet 10.0.2.15/24 ...3: enp0s8: <BROADCAST,MULTICAST,UP,LOWER_UP> mtu 1500 ... inet 192.168.57.3/24 ...
On the second VM, the host-only network interface should receive an IP such as 192.168.57.4. The host machine is also connected to this network with an IP of 192.168.57.1.
Since the first adapter remains configured with NAT, both VMs should have internet access. Test this by pinging an external site, such as Google:
[root@osboxes ~]# ping www.google.comPING www.google.com (74.125.68.147) 56(84) bytes of data.64 bytes from sc-in-f147.1e100.net (74.125.68.147): icmp_seq=1 ttl=118 time=3.34 ms64 bytes from sc-in-f147.1e100.net (74.125.68.147): icmp_seq=2 ttl=118 time=3.40 ms--- www.google.com ping statistics ---2 packets transmitted, 2 received, 0% packet loss, time 1002ms
To illustrate the impact of network configuration changes, alter Adapter 1 to use the host-only network rather than NAT. When this change is applied, the interface will acquire a new IP address and internet connectivity will be lost:
[root@osboxes ~]# ping www.google.comPING www.google.com (74.125.68.103): 56(84) bytes of data.64 bytes from 74.125.68.103: icmp_seq=1 ttl=120 time=13.4 ms64 bytes from 74.125.68.103: icmp_seq=2 ttl=120 time=13.3 ms--- www.google.com ping statistics ---3 packets transmitted, 3 received, 0% packet loss, time 1002ms
Checking the IP address on this interface will confirm that the VM no longer has internet access when solely configured with a host-only adapter.
Provides internet connectivity while isolating VMs from each other.
Host-only
Inter-VM Communication
Allows VMs to communicate with one another and with the host, no internet access.
NAT Network
Combined Connectivity
Enables VMs to communicate with each other while still providing internet access.
Bridged Adapter
External Networking
Makes VMs visible on the external network.
In this demo, we used a dual-adapter configuration: one adapter with NAT for internet and another with host-only networking for direct VM communication.
Snapshots let you capture a VM’s state at a particular moment, allowing for easy restoration if changes or errors occur. In this demo, we use the first VM to show how snapshots work.
Create a directory for your application and initialize a file with sample content:
[root@osboxes ~]# mkdir /opt/app[root@osboxes ~]# cd /opt/app[root@osboxes app]# ls[root@osboxes app]# echo "An example file" > example.txt[root@osboxes app]# cat example.txtAn example file
With the file in a good state, take a snapshot:
Open the snapshot window in VirtualBox.
Click the take snapshot button.
Name the snapshot (e.g., “good state”) and add a brief description.
Simulate a failure by overwriting the file with incorrect data:
Right-click the “good state” snapshot and select Restore. (Ensure the VM is shut down if necessary.)
Restart the VM and verify that /opt/app/example.txt has reverted to its previous content:
[root@osboxes ~]# cd /opt/app/[root@osboxes app]# lsexample.txt[root@osboxes app]# cat example.txtAn example file
Snapshots are especially useful for testing software updates or major configuration changes, as they allow you to revert back to a known, stable state. You can also clone a snapshot to create a new VM starting from the saved state.
This lesson illustrated how to deploy multiple VMs on VirtualBox with both internet connectivity and host-only networking. It also covered practical cloning and snapshot techniques for backup and recovery. These features are essential for testing software and configurations within isolated virtualized environments.See you in the next lesson!For more details, visit VirtualBox Documentation and other helpful resources.