In this lesson, we explain how to connect to a virtual machine (VM) created using Oracle VirtualBox. Whether you are setting up a local lab environment or running multiple VMs for DevOps, cloud, or automation tasks, understanding how to establish connectivity with your VM is crucial. This guide will cover methods for both console and command line (CLI) access, explain the differences between normal and headless mode, and provide troubleshooting tips.

Connecting to Your Virtual Machine

After installing Oracle VirtualBox on your host laptop (running macOS, Windows, or Linux) and creating a VM using a CentOS image, you have two primary options to start the VM:
  1. Normal Mode – Displays the VM console as if it were a physical machine.
  2. Headless Mode – Runs the VM without opening a console window, enabling remote access via SSH or remote desktop tools.

Normal Mode Explained

When you start your VM in normal mode, you see the console on your screen. For instance, if the VM image includes a Linux graphical interface, you can interact with its GUI directly. The following log snippet illustrates a VM booting in normal mode:
While this mode is useful for initial exploration or testing, it can become cumbersome for advanced tasks. Switching between the host UI and VM console is slow, and file transfers between the two are not straightforward. Therefore, using CLI access via SSH is generally recommended for routine management. Additionally, if you close the console window in normal mode, VirtualBox prompts you with options such as suspending the VM, sending a shutdown signal, or powering it off.

Headless Mode: A More Efficient Approach

Headless mode starts your VM without a console window. This allows you to access it remotely using SSH (for Linux VMs like CentOS) or remote desktop tools (for Windows VMs). The image below demonstrates the Oracle VM VirtualBox Manager displaying options to save, shut down, or power off a VM named “my-centos”:
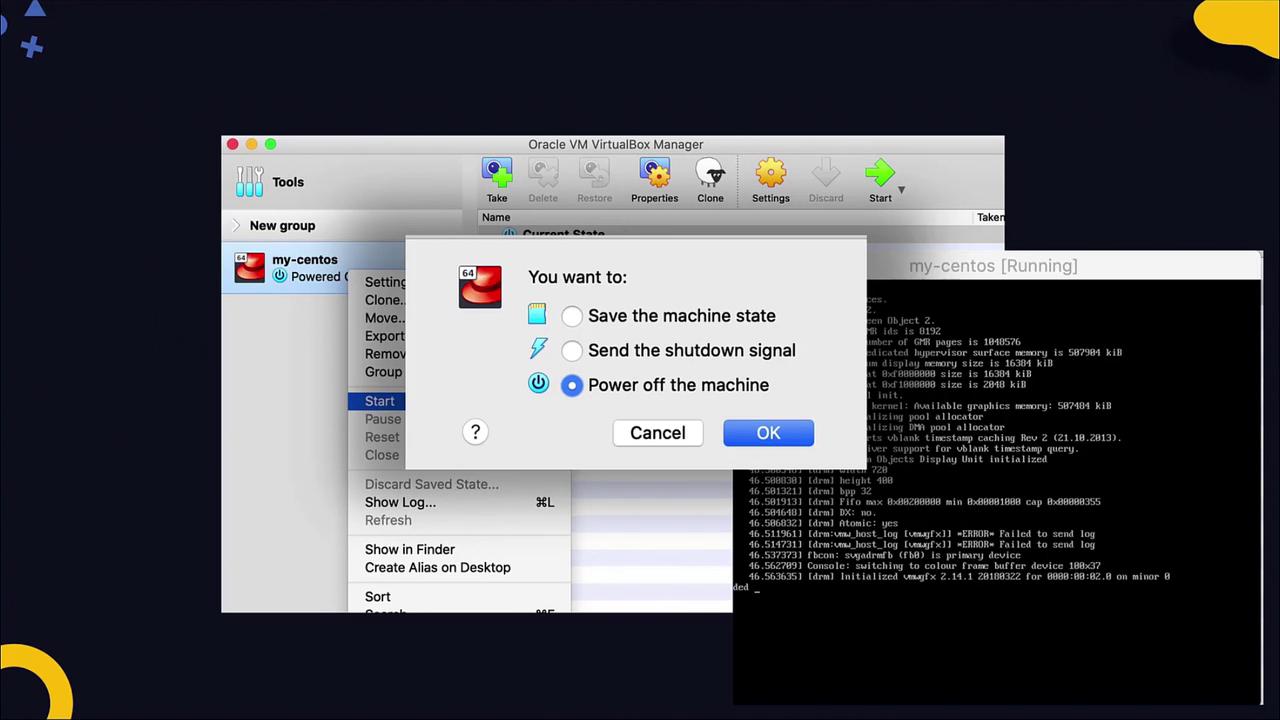
The image shows the Oracle VM VirtualBox Manager with a dialog box offering options to save, shut down, or power off a virtual machine named "my-centos."

Enabling and Verifying Remote Access

To treat your VM as a separate machine on a network, ensure the following:
  • Each VM has a configured IP address.
  • Essential services (e.g., the SSH server for Linux or Remote Desktop Service for Windows) are installed and running.
For a CentOS VM, first verify that the SSH server is active by running this command on the VM’s console:

Checking the VM’s IP Address

Before connecting via SSH, ensure that your VM is assigned a valid IP address. Use this command to list all network interfaces and their corresponding IP addresses:
In the example above, the loopback interface (lo) is assigned 127.0.0.1, and the primary network interface (eth0) holds the IP address 192.168.1.10. If no IP address is assigned to eth0, configure it accordingly based on your operating system.
Note: Starting SSH Service If the SSH service is not already running, start it with:
Once the VM has a valid IP address and the SSH daemon is running, you can easily connect from your host system by running:
This initial configuration is usually done via the VM’s console. Once SSH is enabled, you can manage the VM entirely through terminal sessions on your host system.

Remote Access: Multiple Platforms

The following image demonstrates a laptop running macOS hosting both CentOS and Windows virtual machines. These VMs can be accessed via Terminal (for CentOS), PuTTY (for Windows on non-macOS systems), and Remote Desktop:
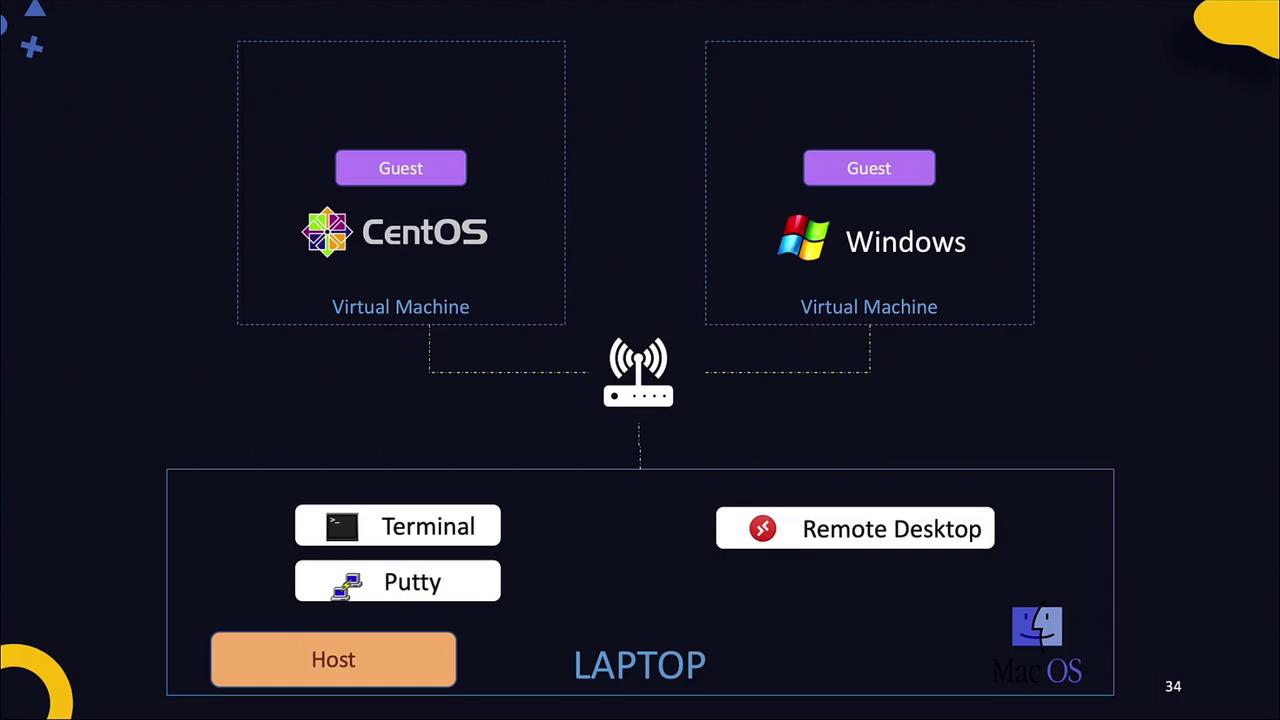
The image illustrates a laptop running macOS hosting CentOS and Windows virtual machines, accessed via Terminal, PuTTY, and Remote Desktop.

Conclusion

By following these guidelines, you can efficiently connect to and manage your VirtualBox VMs using either normal or headless mode. With SSH enabled and correctly configured IP addresses, remote management becomes streamlined and effective. In the next sections, we will delve deeper into networking concepts in VirtualBox and explore further configuration and troubleshooting techniques. For more detailed information on networking setups, visit our VirtualBox Documentation.

Watch Video