

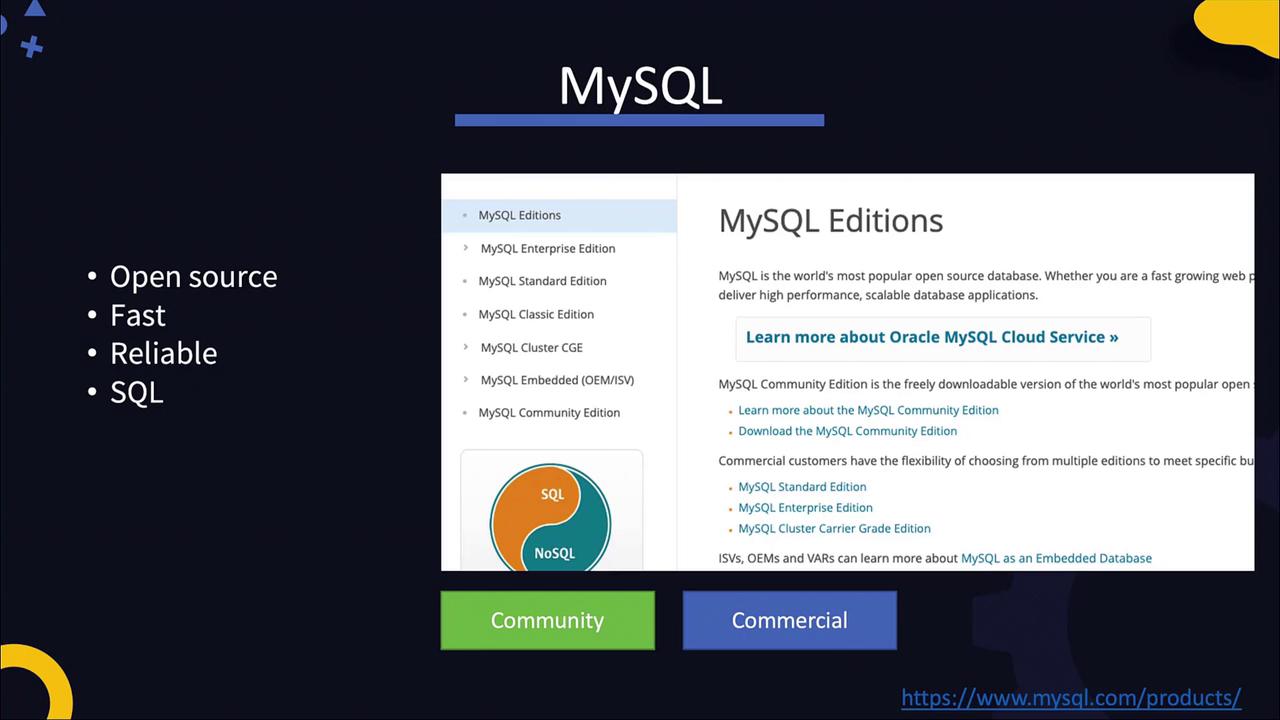
Installing MySQL
To install MySQL on your system, follow these steps:-
Download the RPM Package:
Retrieve the MySQL RPM package from the MySQL downloads page. -
Install the Repository:
Install the repository using the RPM command. Then, install the MySQL server using theyumpackage manager. -
Start the MySQL Service:
Once installed, MySQL is configured as a service. Start the server and check its status.
In production environments, ensure to create dedicated users and groups, and configure additional security settings. Always refer to the official documentation for advanced configurations.
Viewing MySQL Logs
MySQL logs, located at/var/log/mysqld.log, provide essential information about the server’s startup, version, and listening port (default is 3306). You can view the log by running:
Connecting to MySQL
After installation, MySQL automatically generates a temporary root password logged in/var/log/mysqld.log. Use this password to connect via the MySQL client. For example:
Using a password directly on the command line can be insecure. Proceed with caution and consider using alternative methods to secure your credentials.
Changing the Root Password
At the MySQL prompt, change the default root password by running:Basic Database Operations
Once you are authenticated, you can create and manage databases. Here are some common tasks:Displaying Databases
To list the internal databases installed by MySQL, use:Creating a New Database
Create a new database called “school”:Creating Tables
Create a table named “persons” with columns for name, age, and location:User Management and Authorization
For security and best practices in production, avoid using the root account for application access. Instead, create additional users with restricted privileges.Creating a New User
To create a user (e.g., “john”) who connects from localhost:% to allow connections from any system:
Granting Permissions
To authorize the user with appropriate privileges, use the GRANT command. For example, to allow user “john” to run SELECT queries on thepersons table in the “school” database:
persons table:
Granting all privileges should be done carefully. Use:only when absolutely necessary.
Summary
By following these steps, you have:- Installed and started the MySQL server.
- Connected to MySQL using the client utility.
- Changed the default root password.
- Created a new database and table.
- Inserted and queried data.
- Managed user creation and permissions.