This lesson covers building a code quality pipeline in Jenkins using a GitHub access token for authentication and managing branch sources.
In this lesson, we will build our pipelines starting with the code quality pipeline. Both the code quality and release pipelines require a GitHub access token. This token is essential for avoiding GitHub’s rate limits when accessing public repositories and is necessary for publishing tags and releases in the release pipeline.
Using an access token when accessing GitHub repositories via a public URL ensures that you avoid accidental rate limiting.
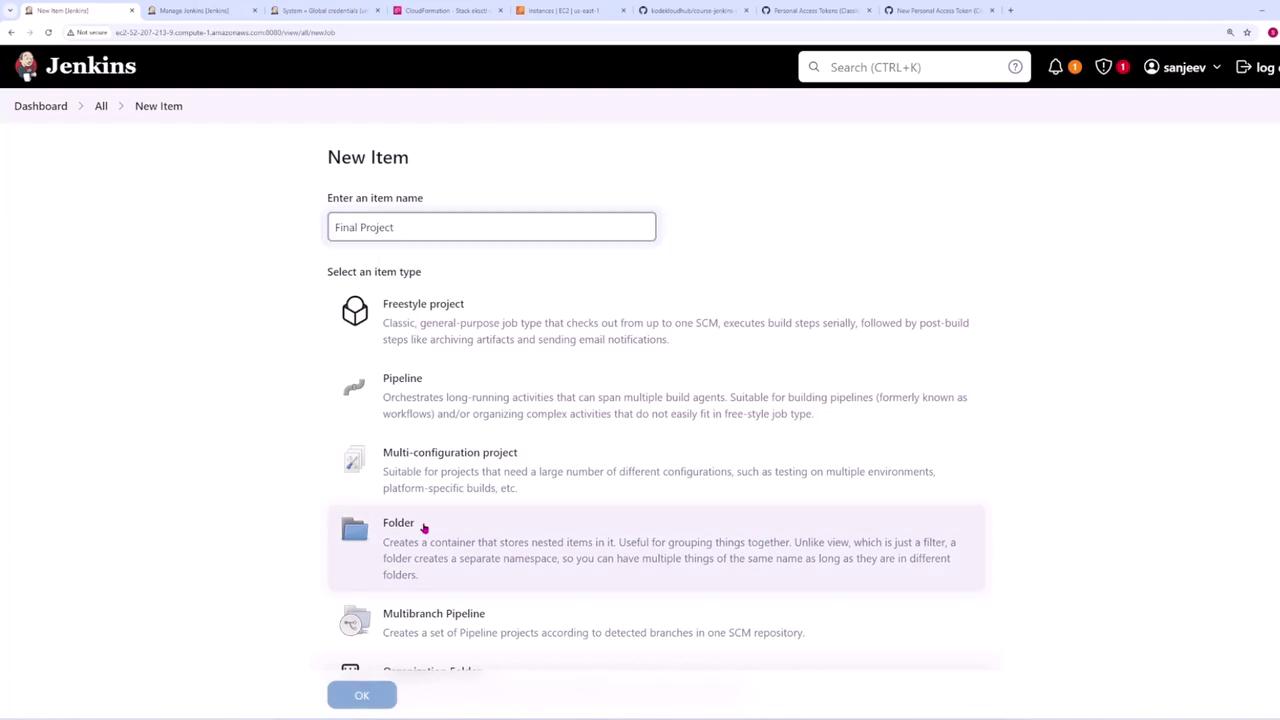
Name it “Final Project” and choose the Folder type.
Optionally assign a display name, then click Save.
Within the “Final Project” folder, create a new pipeline:
Name it “pipeline code-quality”.
Select Multibranch Pipeline as the project type. This option provides features such as running the pipeline on multiple branches and triggering builds for pull requests.
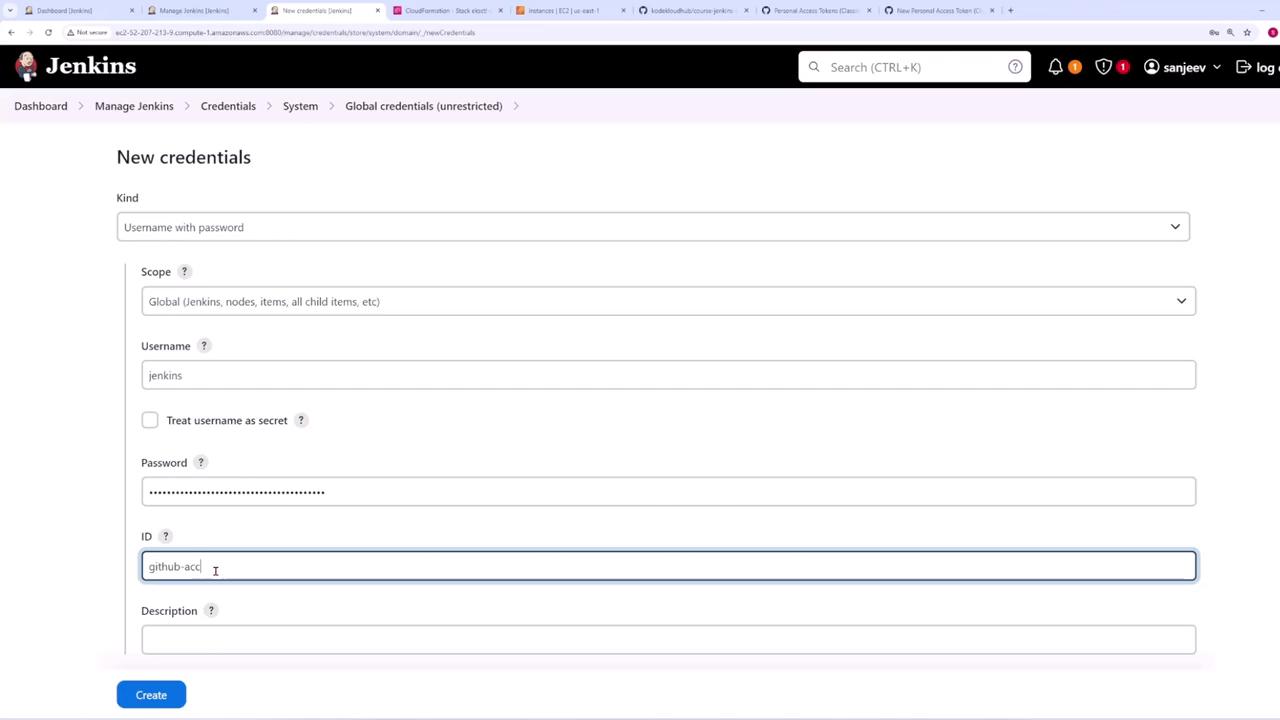
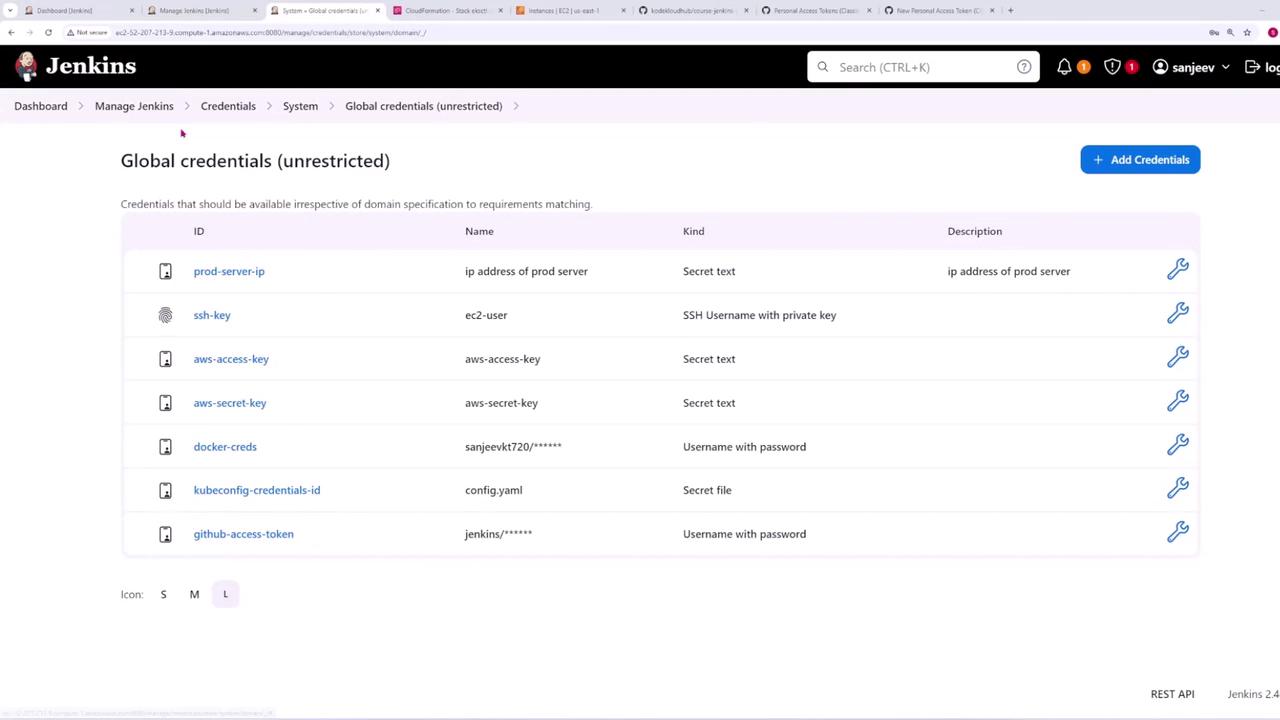
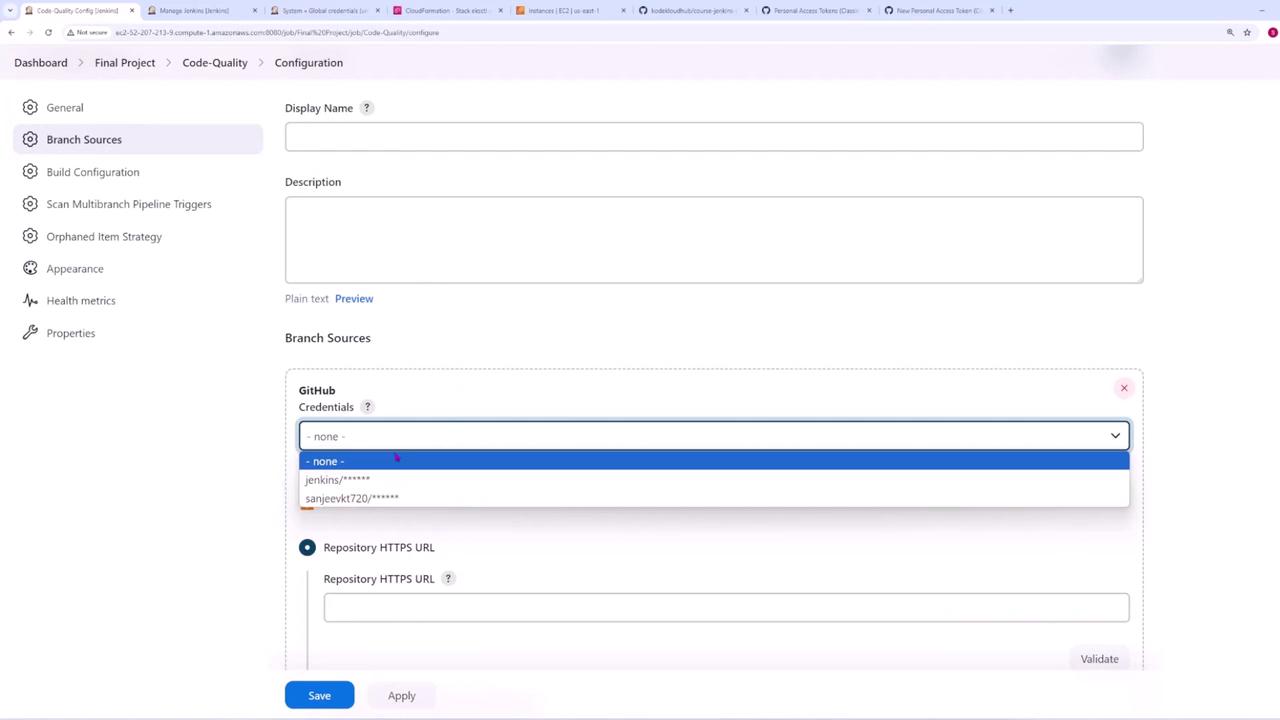
Choose the previously created credentials (GitHub-access-token). Even for public repositories, these credentials help avoid rate limits.
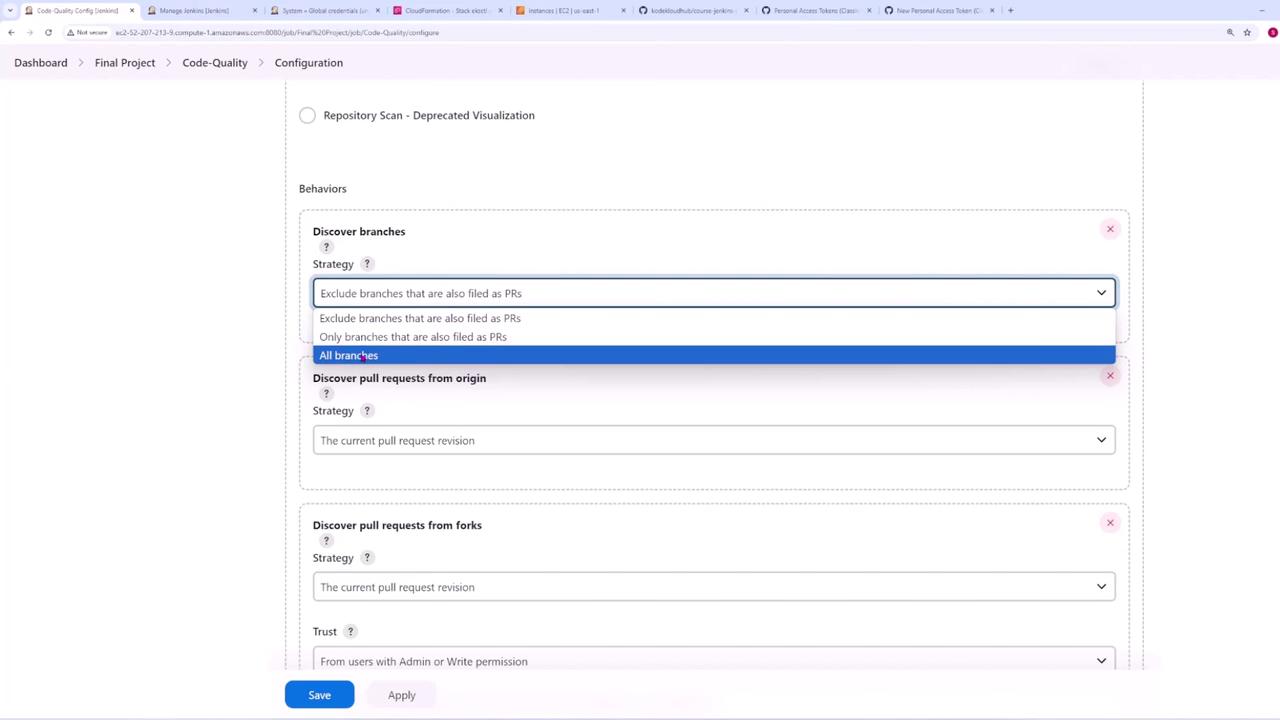
Paste the repository URL and adjust branch discovery settings. Here, exclude branches filed as pull requests.
For pull requests from the origin, select the option to merge the pull request with the target branch’s current revision. This ensures the pipeline tests the final merged code.
Set the script path to “Jenkinsfile - code quality”.
Choose a periodic scan interval (e.g., every two minutes for demonstration purposes) and save your configuration.
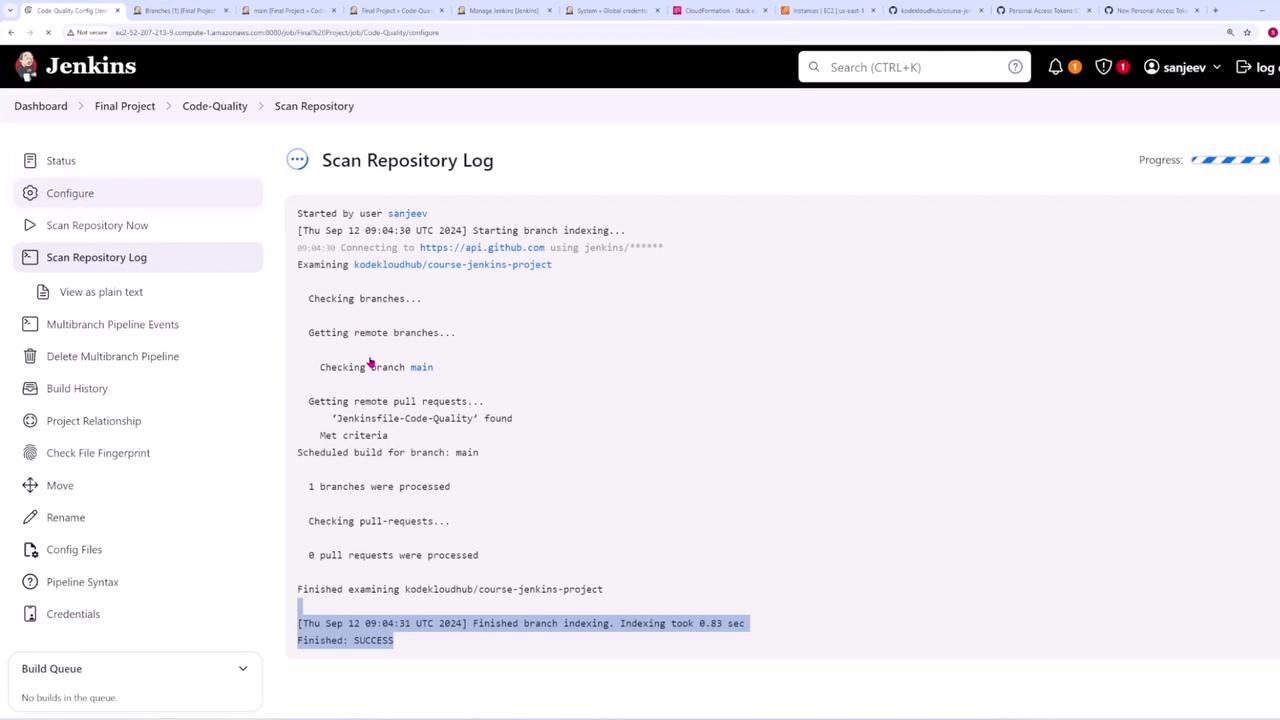
After saving, Jenkins will scan your repository. The scan log should indicate that the main branch has been processed. For example, you might see output resembling the following in the scan log:
Started by user sanjeev[Thu Sep 12 09:04:30 UTC 2024] Starting branch indexing...09:04:30 Connecting to https://api.github.com using jenkins/******Examining kodekloudhub/course-jenkins-projectChecking branches...Getting remote branches...Checking branch mainGetting remote pull requests...'Jenkinsfile-Code-Quality' foundMet criteriaScheduled build for branch: main1 branches were processedChecking pull-requests...0 pull requests were processedFinished examining kodekloudhub/course-jenkins-project[Thu Sep 12 09:04:31 UTC 2024] Finished branch indexing. Indexing took 0.83 secFinished: SUCCESS
Opening the main branch build confirms that the Jenkinsfile was detected and that a build was triggered immediately after processing.
Understanding the Jenkinsfile for Code Quality Pipeline
The Jenkinsfile for the code quality pipeline comprises multiple stages:
In the Pull Request Number stage, a conditional block prints the pull request number using the environment variable CHANGE_ID if the build is triggered by a pull request.
The Environment Variables stage prints all Jenkins-provided environment details such as commit hash, branch name, and build URLs.
Below is an example Jenkinsfile:
pipeline { agent any stages { stage('Environment Variables') { steps { sh 'printenv' sh 'ls -la' } } stage('Pull Request Number') { when { changeRequest target: 'main' } steps { echo "PR: ${CHANGE_ID}" } } stage('Setup') { steps { sh 'poetry install --with dev' } } stage('Test') { steps { sh 'poetry run pytest' } } }}
When a pull request triggers a build, the pipeline prints the pull request number and then proceeds to install dependencies and execute tests.After updating your Jenkinsfile, commit and push your changes with the following commands:
Excluding the Main Branch from the Code Quality Pipeline
To ensure that the code quality pipeline does not run on pushes to the main branch (allowing the release pipeline to handle these events):
Modify the branch source configuration to include a name filter with wildcards.
Add an exclude filter for the main branch, then save the configuration.
After pushing new commits to the main branch, Jenkins will no longer trigger a build for that branch in the code quality pipeline. You can verify this exclusion via the Jenkins UI.
Triggering the Code Quality Pipeline with Pull Requests
To demonstrate how pull requests trigger the pipeline:
Ensure your local repository is up-to-date:
git pull
Create a new feature branch:
git checkout -b feature-one
Make changes (e.g., updating version identifiers or modifying code) and commit your changes.
Push the feature branch:
git push origin feature-one
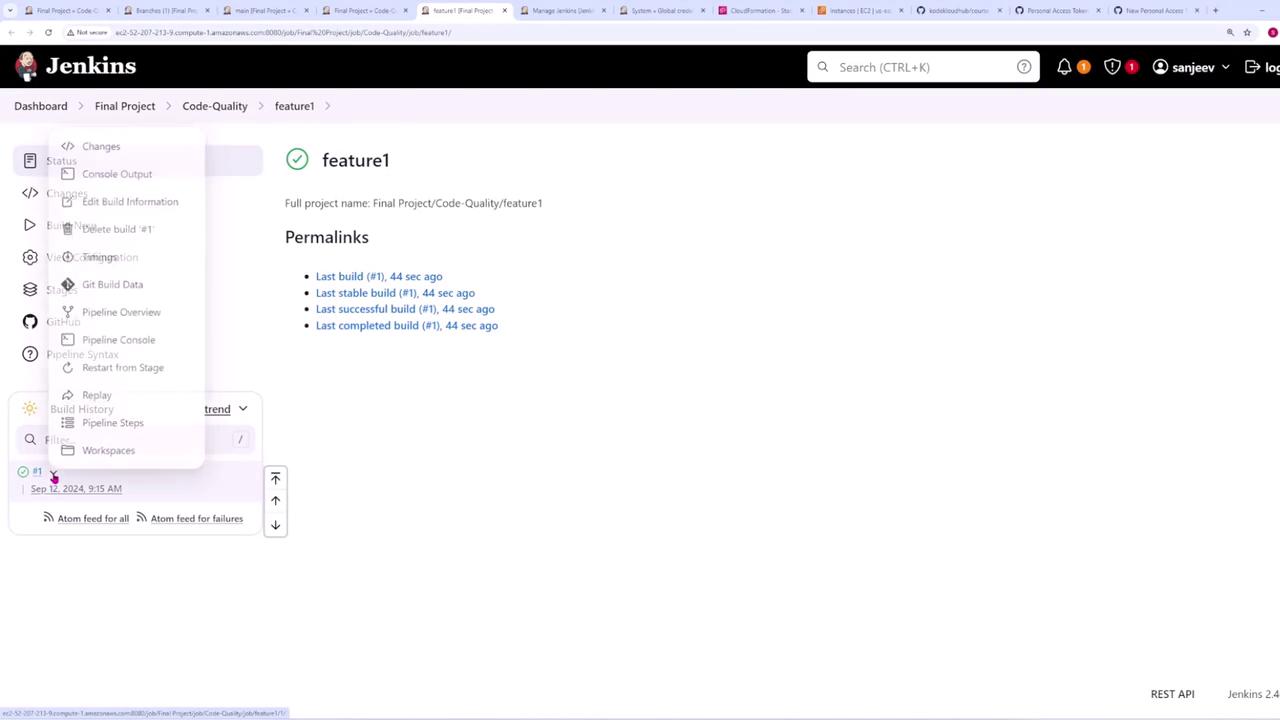
Once the new branch is detected by Jenkins, a new build entry will appear under the “Final Project/Code-Quality” folder. You can open the build’s console output to inspect environment variables, such as the branch name now set to “feature-one.”
The console output will display values for variables like WORKSPACE, JOB_NAME, and GIT_COMMIT. For example:
After the build completes, the output confirms that dependencies were installed and tests executed successfully:
- Installing tomlkit (0.13.2)- Installing Werkzeug (0.3.3)- Installing Flask (0.3.3)- Installing pytest (8.3.2)- Installing python-semantic-release (9.8.6)...+ poetry run pytest============================= test session starts ==============================platform linux -- Python 3.9.16, pytest-8.3.2, pluggy-1.5.0rootdir: /var/lib/jenkins/workspace/Final_Project_Code-Quality_feature-onecollected 3 itemstest_app.py ... [100%]============================== 3 passed in 0.26s ===============================
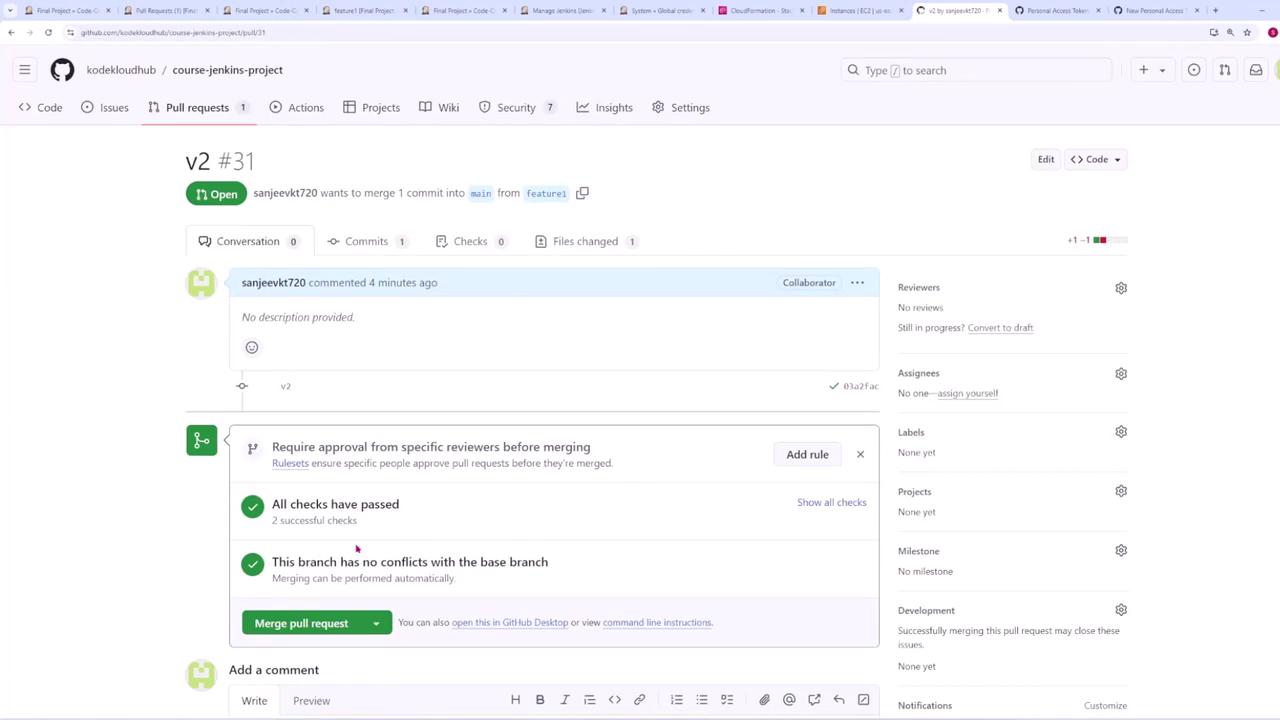
When the new feature branch is ready, create a pull request from the feature branch to the main branch. The Jenkins multibranch pipeline will then detect the pull request and build it accordingly.
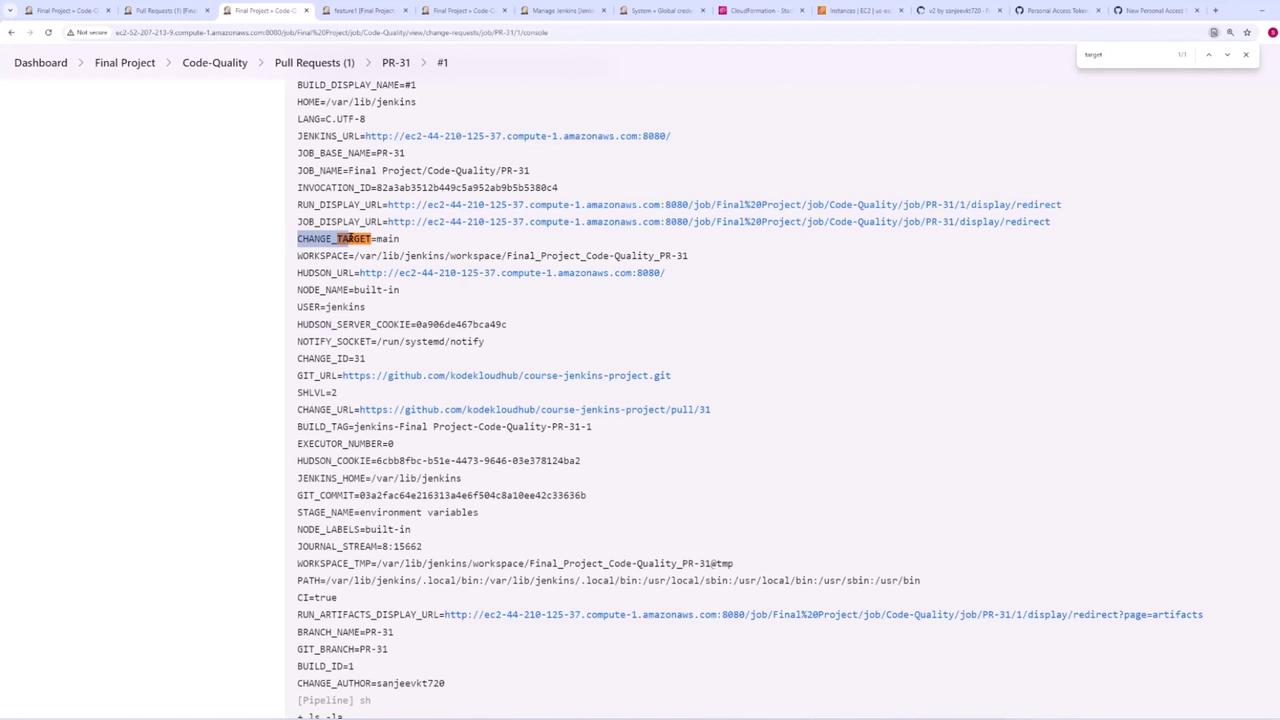
After creating the pull request, Jenkins will generate a build. In the build’s console output, you will notice environment variables such as CHANGE_BRANCH (indicating the feature branch), CHANGE_TARGET (showing “main”), and CHANGE_ID (the pull request number):
After a successful test run, GitHub is notified of the build result.
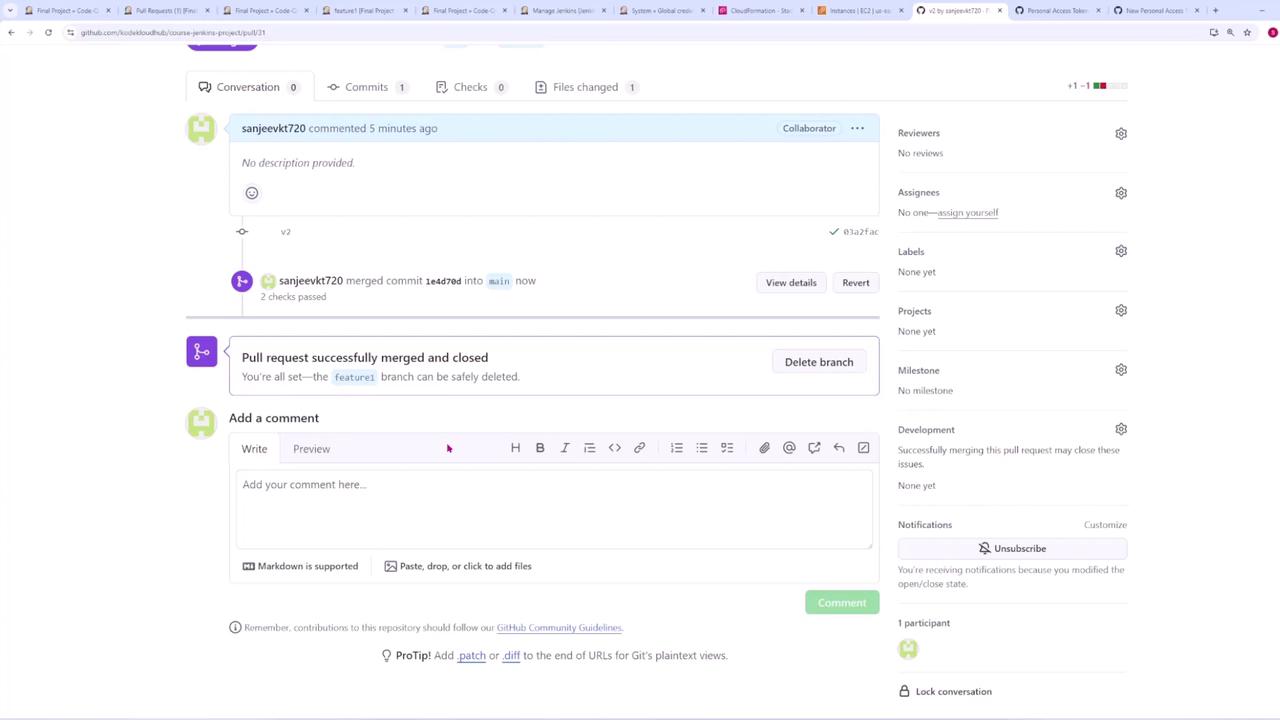
Once the pull request is reviewed and merged into the main branch, no build is triggered in the code quality pipeline due to the exclusion. The release pipeline will handle main branch integrations instead.
This concludes the setup and demonstration for the code quality pipeline. In the next lesson, we will focus on configuring the release pipeline to handle main branch commits exclusively.For more detailed documentation on Jenkins pipelines and continuous integration best practices, explore the Jenkins Documentation and related CI/CD guides.Happy building!