

Setting Up the Jenkins Pipeline
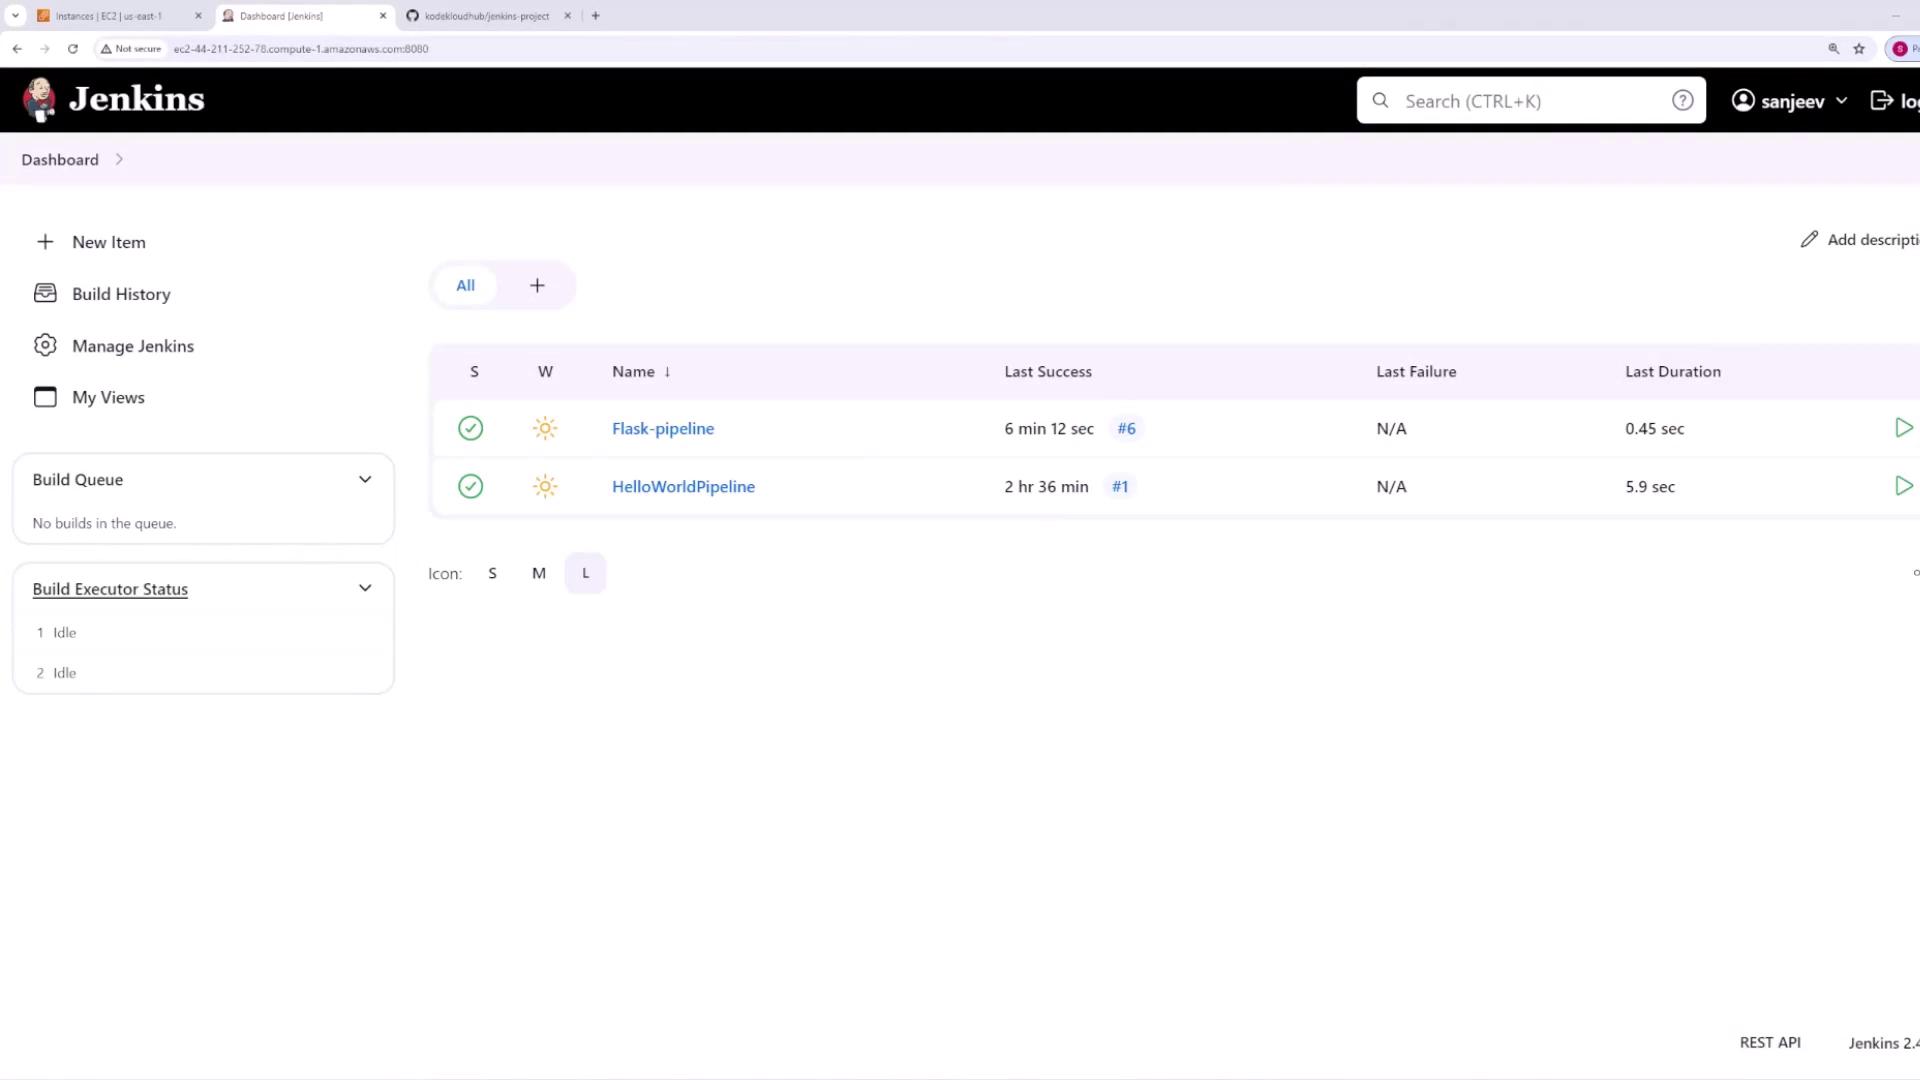
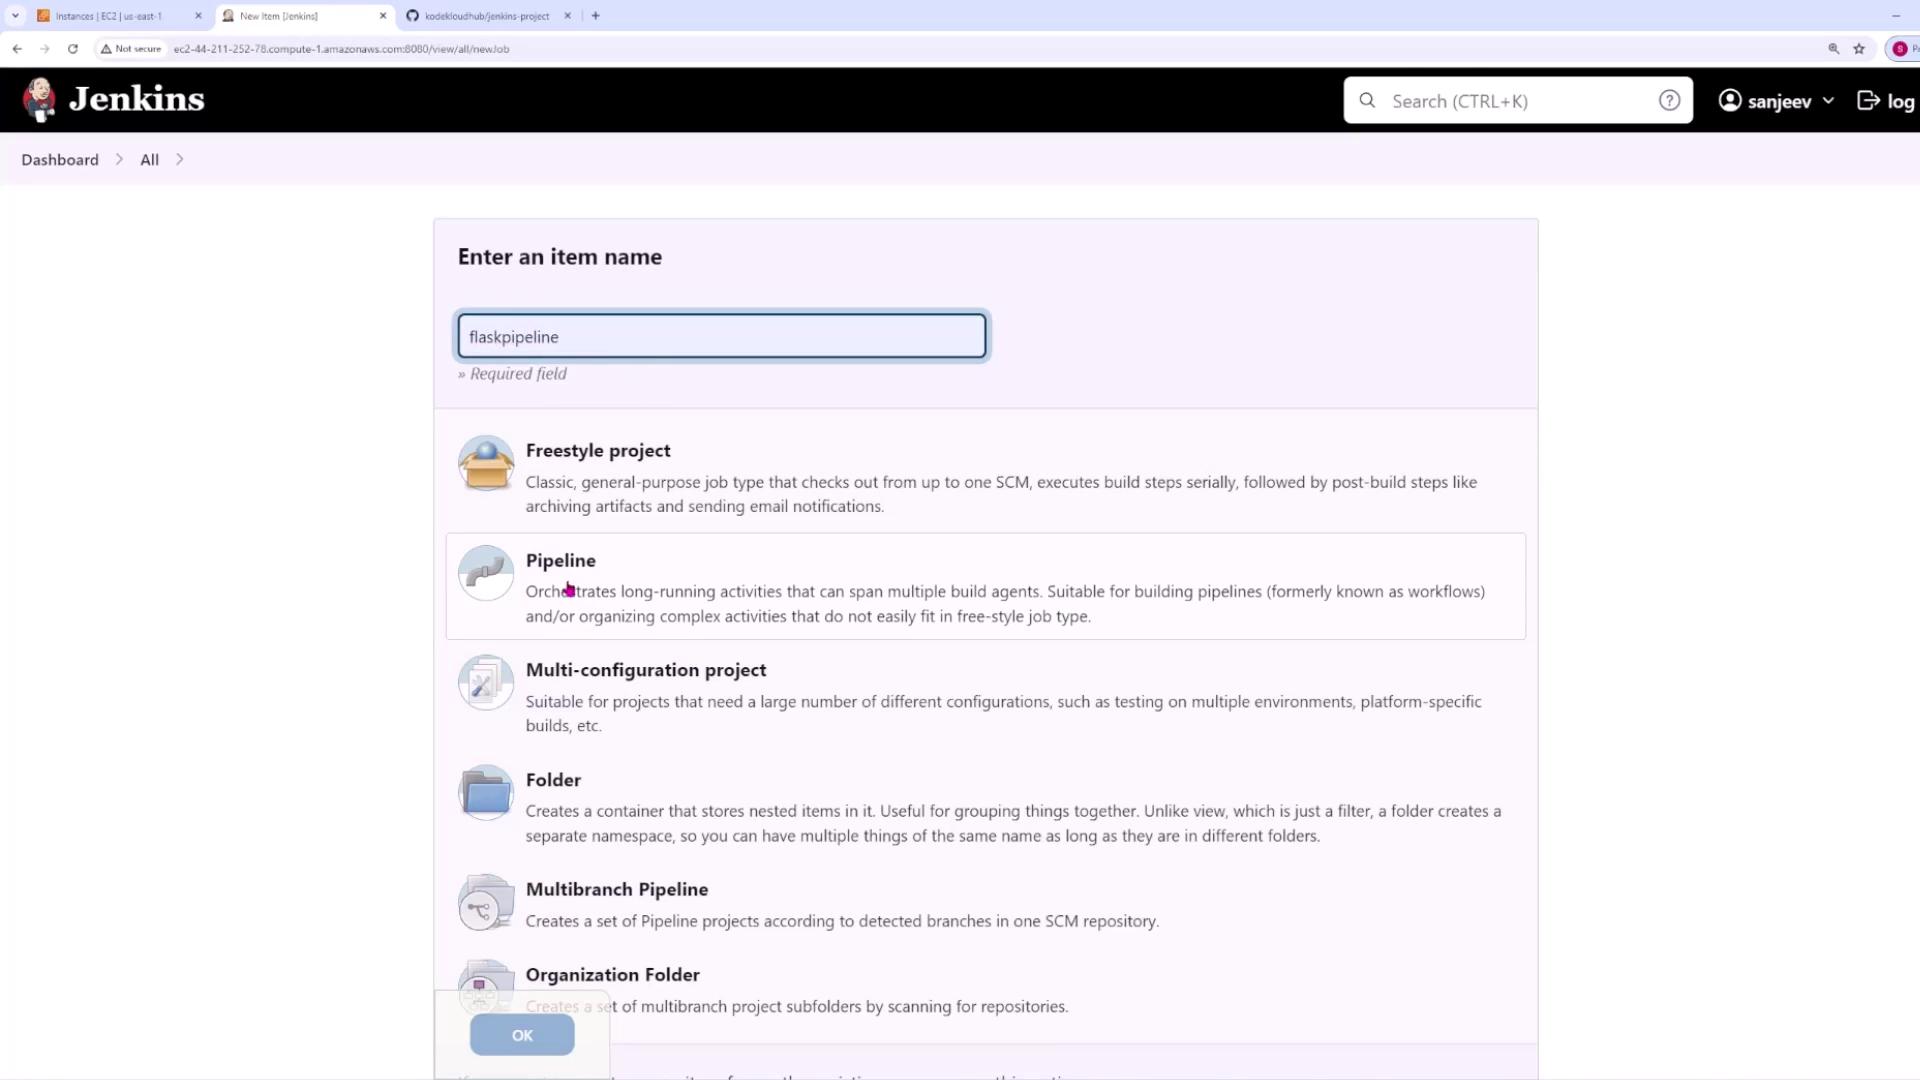
Begin by creating a new pipeline in Jenkins for your Flask project:- In Jenkins, create a new item, name it “Flask Pipeline,” and select Pipeline as the project type.
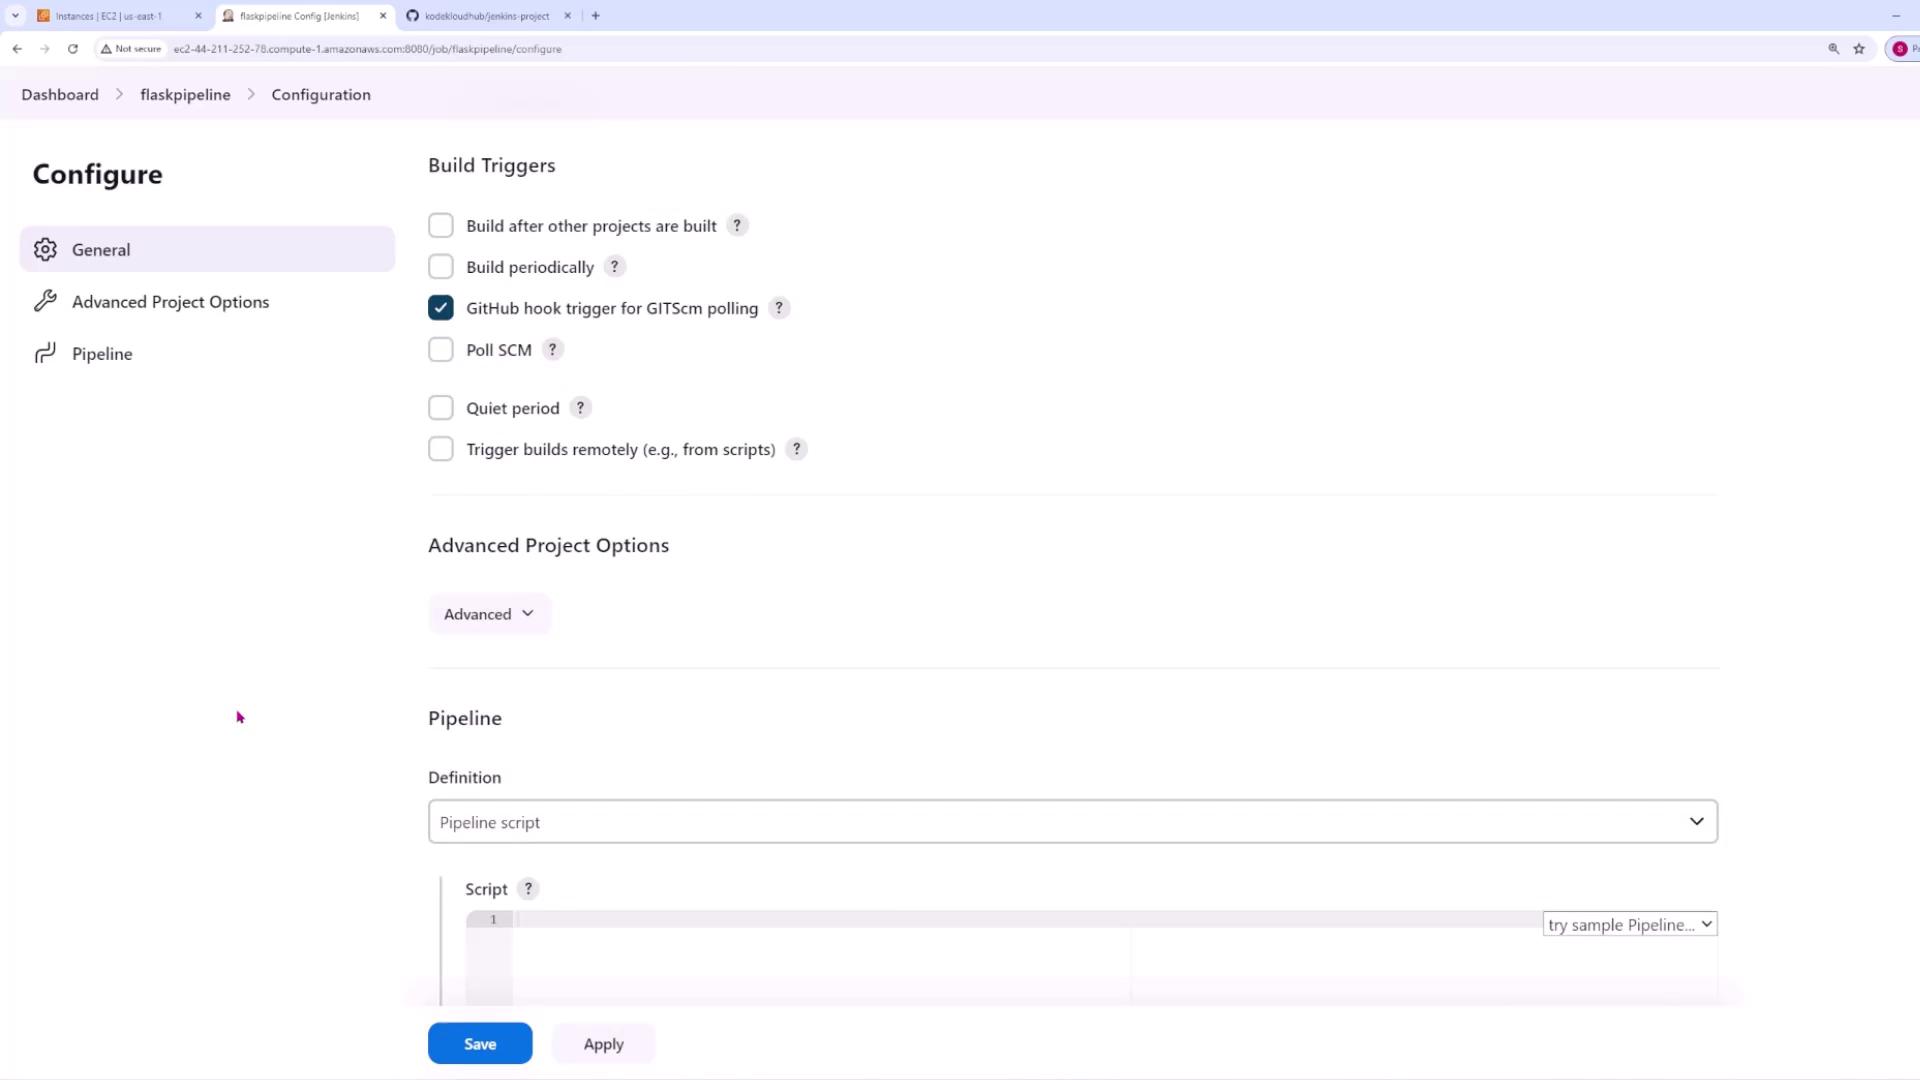
- Configure the build trigger to use the GitHub hook trigger for Git SCM polling.
- For the pipeline configuration, use a Jenkinsfile stored in the application’s Git repository instead of defining the script directly in Jenkins. This way, Jenkins fetches its instructions from your GitHub repo.
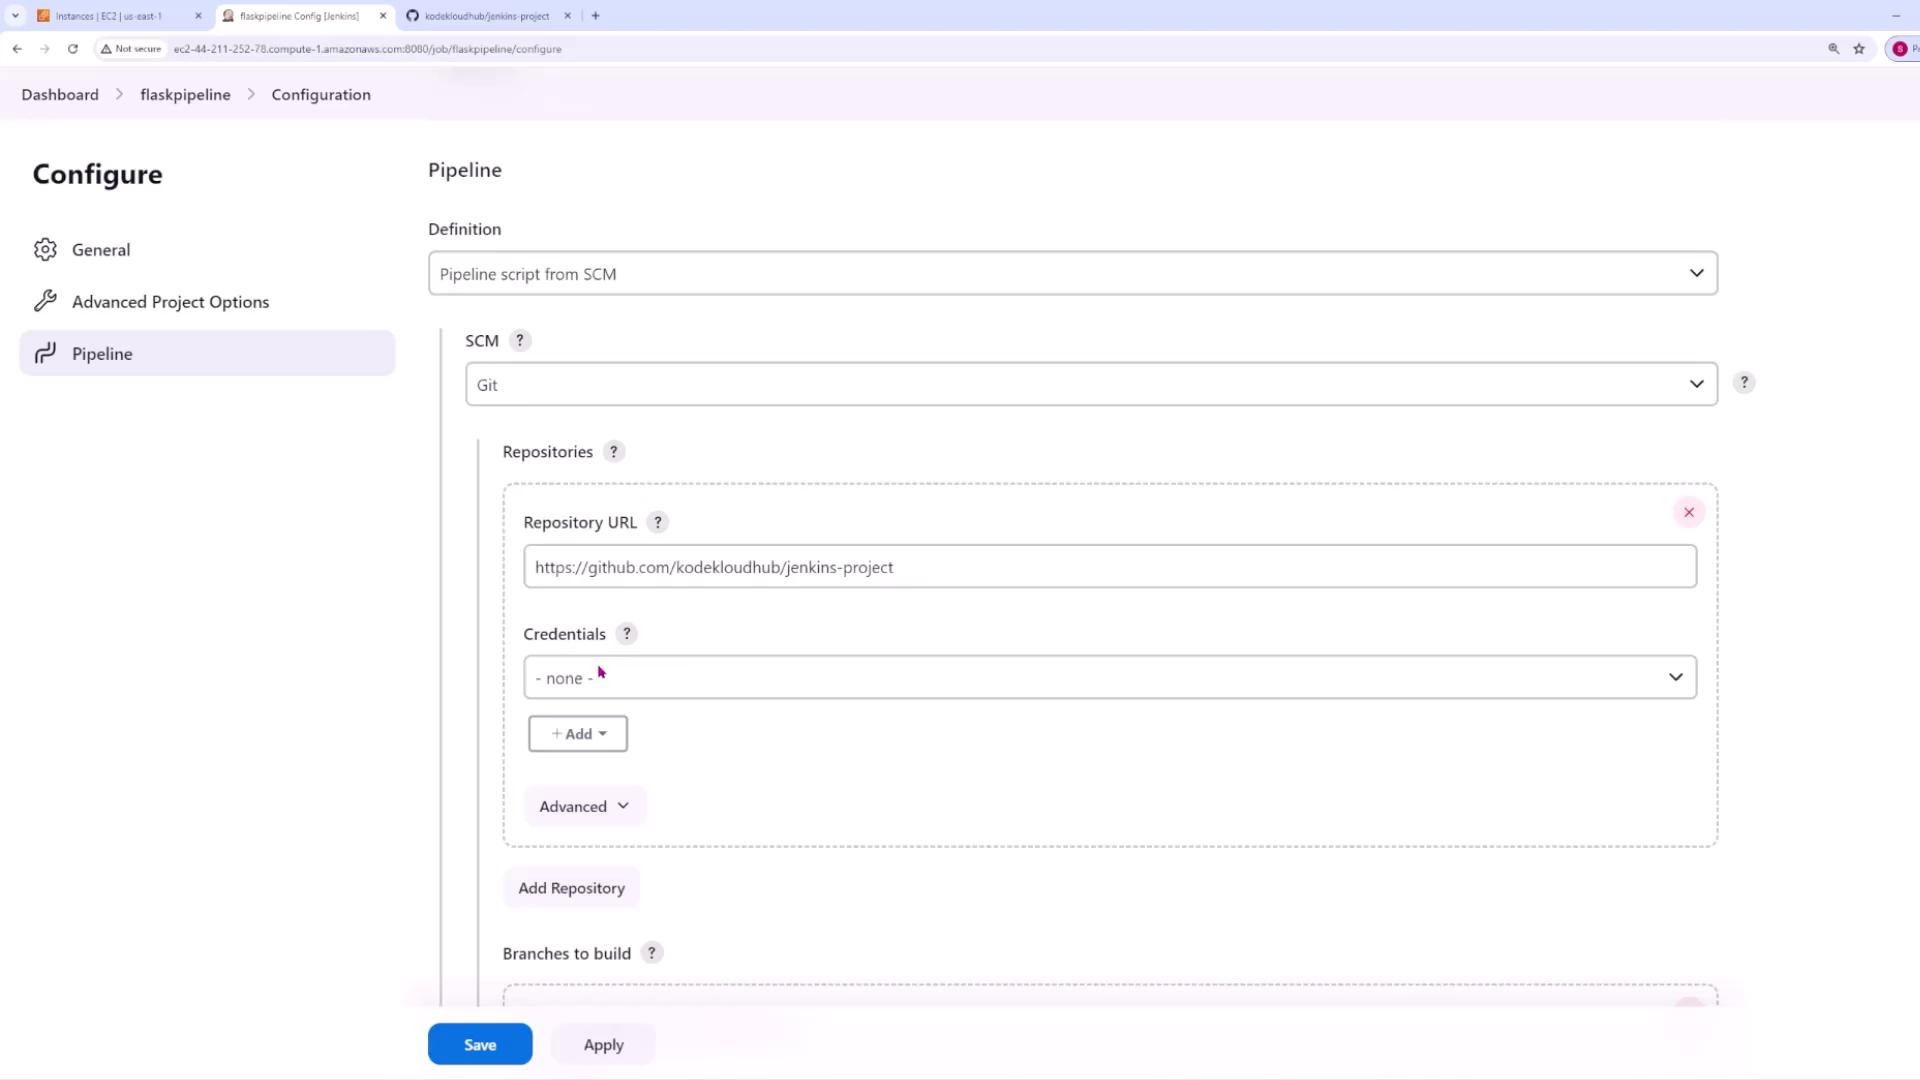
- Select Pipeline script from SCM, choose Git, and enter the URL of your Git repository. If your repository is private, be sure to provide the appropriate credentials.
- Specify the branch to build as “main” (or your designated branch) if your repository contains only that branch.
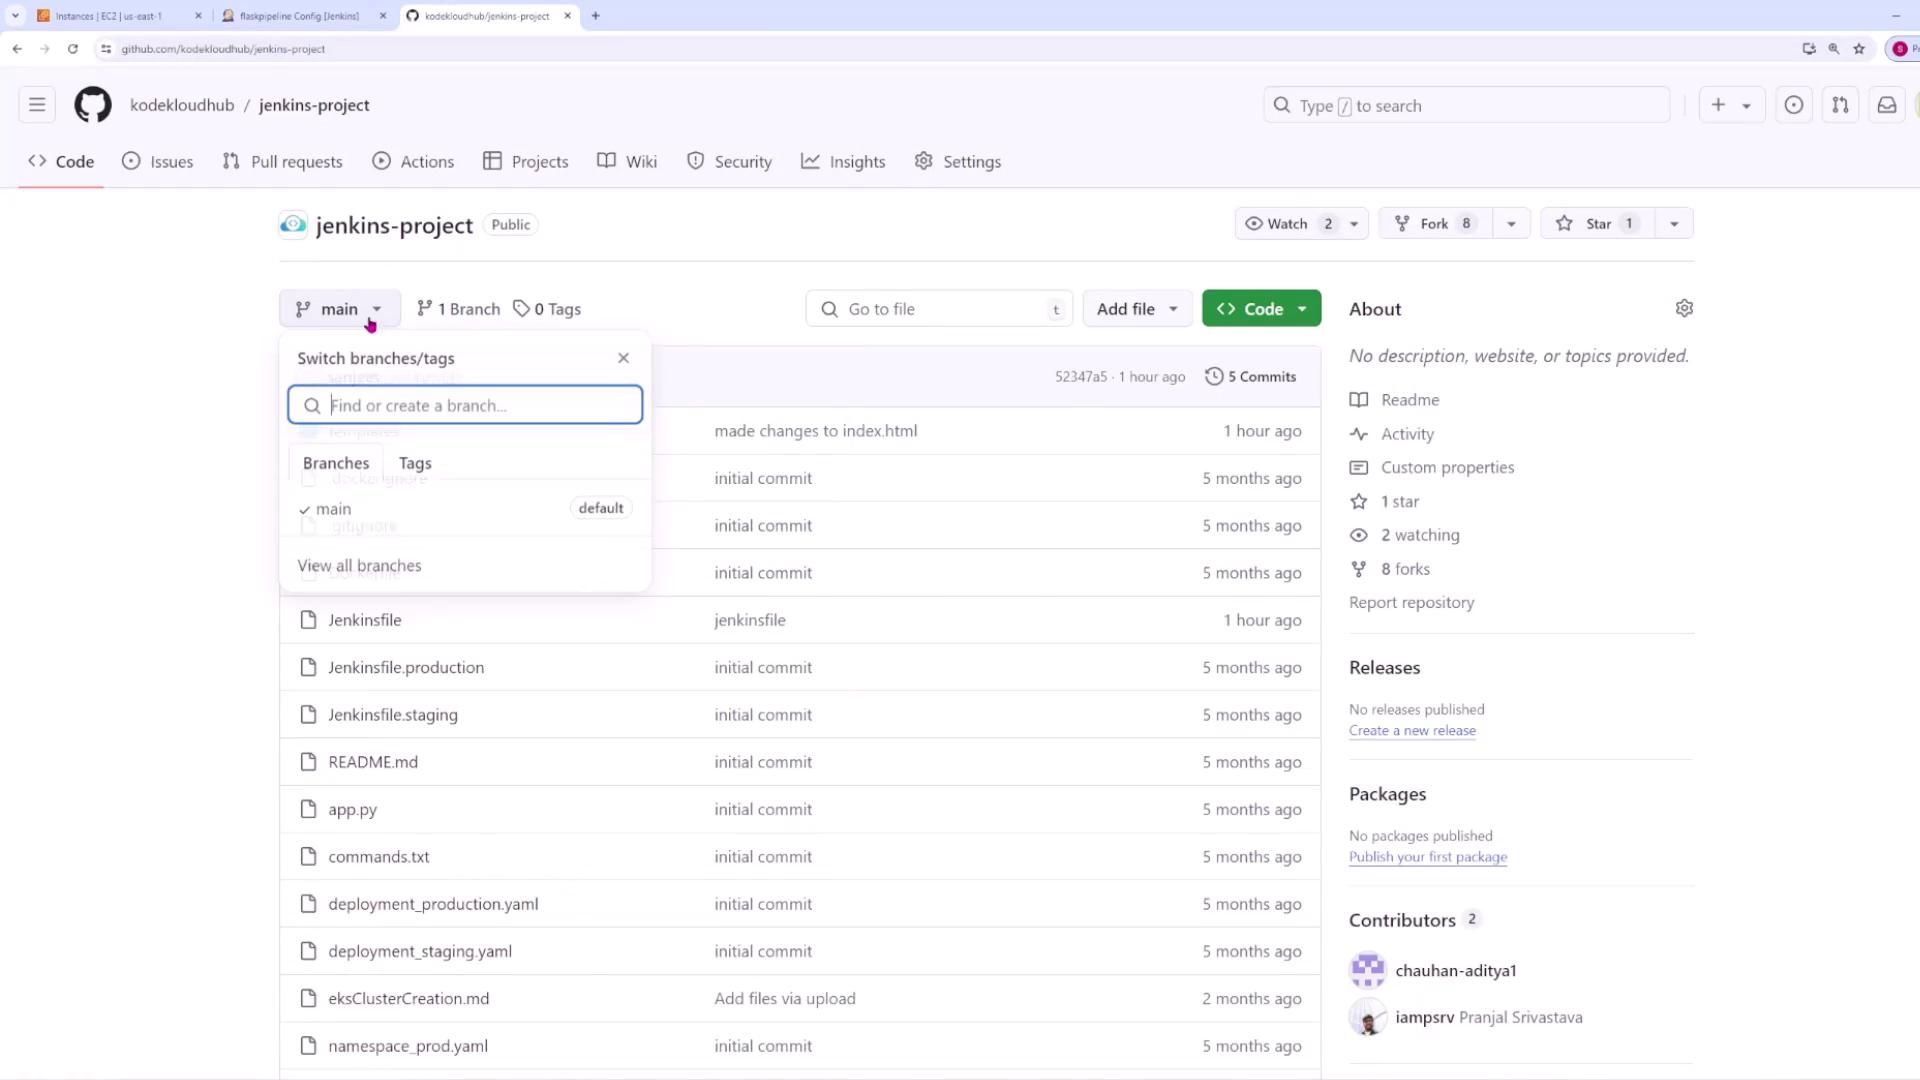
- By default, Jenkins will look for a file named Jenkinsfile in the repository’s root directory. If your file is located elsewhere or under a different name, provide the full path accordingly. In our case, the Jenkinsfile is in the root directory.
Exploring the Application Files
Our project is a straightforward Python Flask application. Below is an overview of the key files:Main Application Code: app.py
Unit Tests: test_app.py
This file sets up the automated unit tests using Pytest.Dependency File: requirements.txt
This file lists the external dependencies needed to run the Flask application:HTML Template: index.html
The user interface for the Flask application is defined in thetemplates/index.html file. Here is an excerpt including the relevant styling:
Ensure that all files are correctly committed to your repository before triggering the Jenkins pipeline.
Configuring the Jenkins Pipeline with a Jenkinsfile
Below is the initial version of the Jenkinsfile that sets up the stages of the pipeline:- Checkout Stage: Retrieves the source code from Git and lists the files.
- Setup Stage: Installs dependencies as specified in
requirements.txt. - Test Stage: Executes the tests using Pytest.
test_app.py, commit your changes and push them to your repository using:
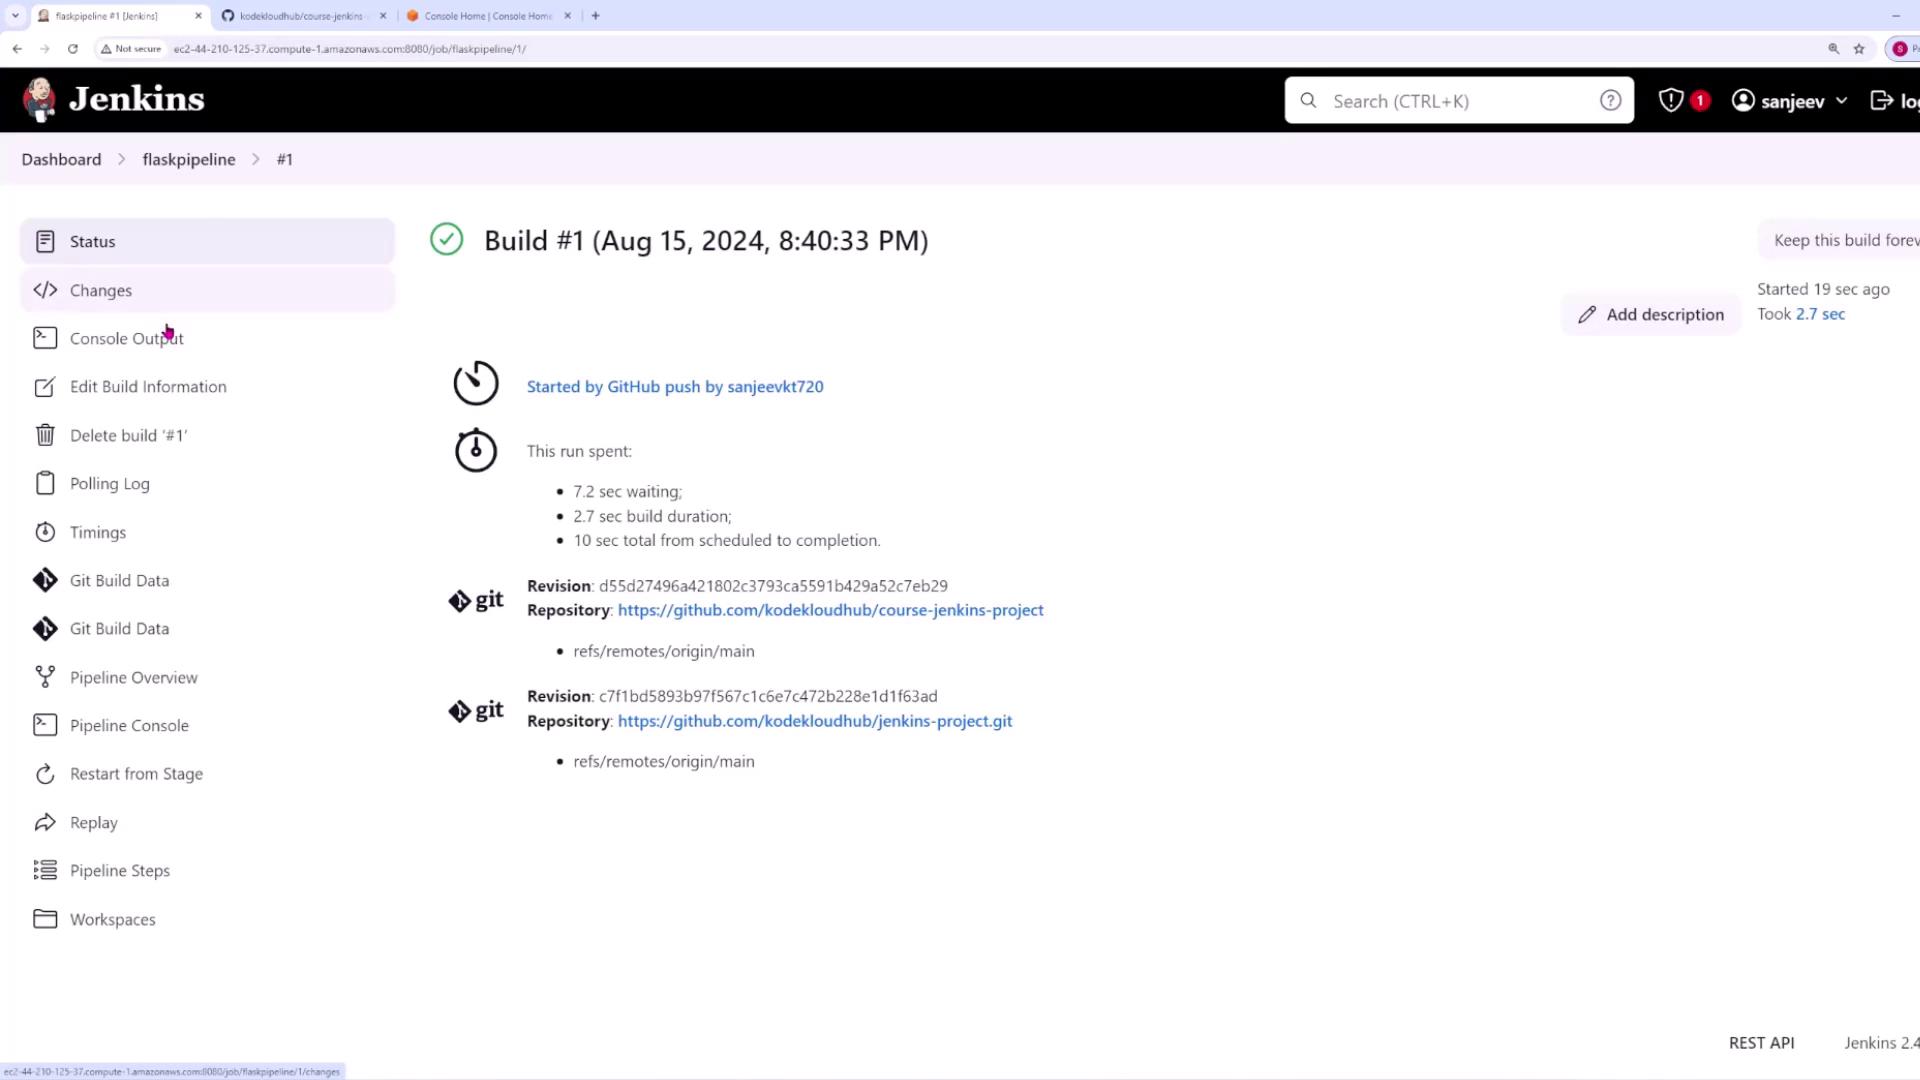
- The source code is checked out (twice if the default checkout is not skipped).
- The file list is printed using
ls -ltr. - Dependencies are installed from
requirements.txt. - Pytest runs and confirms that all tests pass.
Optimizing the Pipeline: Skipping the Default Checkout
To avoid the redundant default checkout, update your Jenkinsfile with theskipDefaultCheckout() option:
Integrating continuous testing within your CI/CD pipeline ensures that issues are identified early, making maintenance and scaling more efficient.
Conclusion
By following this approach, you can seamlessly integrate a Flask application with Jenkins to perform automated unit tests using Pytest. This pipeline configuration supports continuous integration and assists in maintaining code quality throughout the development lifecycle. For more details on continuous integration with Jenkins, visit the Jenkins Documentation.Further reading and additional materials can be found in links below: Happy coding and testing!