

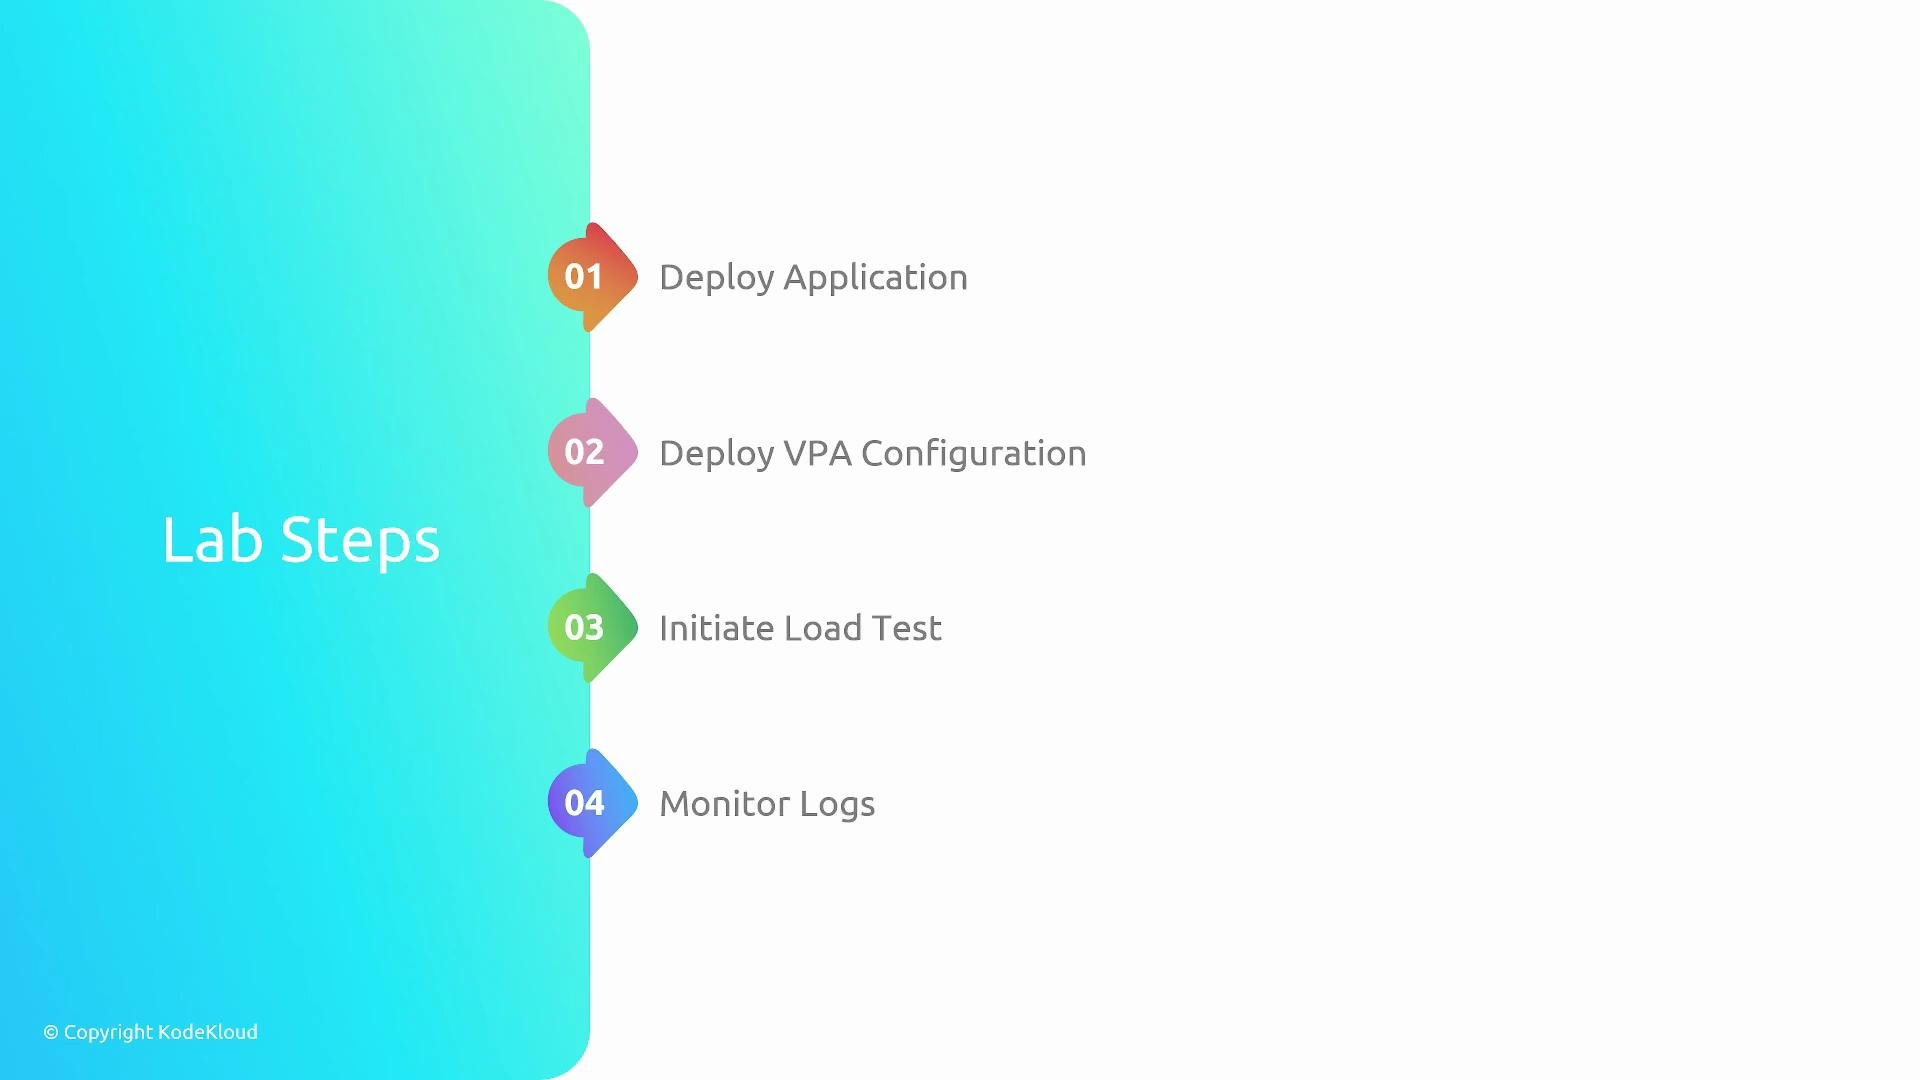
- Deploy the sample Flask application (Deployment + Service).
- Apply a VPA with
updateMode: Offto collect recommendations only. - Generate load against the app so VPA can observe usage.
- Inspect the VPA updater logs while
Offto confirm no evictions occur. - Switch the VPA to
Auto(orRecreate) to enable automatic application. - Watch the updater evict pods and confirm new pods run with updated requests.
For more on VPA concepts, see the Kubernetes docs: Vertical Pod Autoscaler.
1) Deploy the sample app
Apply the manifest for the sample Flask application. The manifest creates both a Deployment and a Service so the app can be load-tested.2) VPA configuration (initial)
Create a VPA that targets theflask-app Deployment. Start with updateMode: Off so the VPA only computes and exposes recommendations without evicting pods.
- Targets the
flask-appDeployment. - Uses
updateMode: Offso the updater will not evict pods (only recommendations are generated). - Sets
minAllowedandmaxAllowedto constrain suggestions. - Controls
cpuandmemoryresources.
kubectl describe vpa output:
3) Start a load test
Generate traffic so the VPA collects realistic resource usage metrics. For this lab the provided script is used:4) Inspect the VPA updater logs (while updateMode is Off)
WhileupdateMode remains Off, confirm the updater is collecting data but not evicting pods.
Identify the updater pod name (example shown below uses vpa-updater-59469d986c-gw5jf — replace with your pod name):
VPA behavior is split into two concerns: (1) computing recommendations based on observed usage, and (2) applying those recommendations by evicting pods so new pods start with updated requests.
updateMode: Off disables automatic application; use Auto or Recreate to enable eviction and automatic application.5) Enable automatic updates
When you’re ready for the VPA to apply recommendations, changeupdateMode to Auto (or Recreate if you require a different eviction behavior). Editing in-place:
updatePolicy block to:
Enabling
Auto (or Recreate) will allow the VPA updater to evict pods to apply recommended resource requests. Be prepared for transient pod restarts and possible brief disruptions to service. Use during maintenance windows if running in production.6) Watch the updater apply recommendations
WithAuto enabled and load in effect, the updater will accept recommendations, evict selected pods, and let the Deployment create new pods with the updated resource requests. Tail the updater logs again to observe this flow:
7) Confirm new pods are running with updated resource requests
After evictions and recreations, list pods and verify ages and resource requests. New pods created after eviction will have a low AGE value:resources.requests fields to verify they reflect the VPA recommendations.
That completes the end-to-end demo. You can now practice applying VPA manifests, generating load, and watching the updater behavior. For additional reading, consult:
- Kubernetes VPA in the Autoscaler repo: https://github.com/kubernetes/autoscaler/tree/master/vertical-pod-autoscaler
- Kubernetes documentation: https://kubernetes.io/docs/