

When to Use Azure Batch
Azure Batch is ideal for High Performance Computing (HPC) workloads. In HPC scenarios, you typically have compute-intensive tasks that do not require deep management of the underlying infrastructure. Azure Batch simplifies job management by automatically scaling compute nodes and scheduling tasks.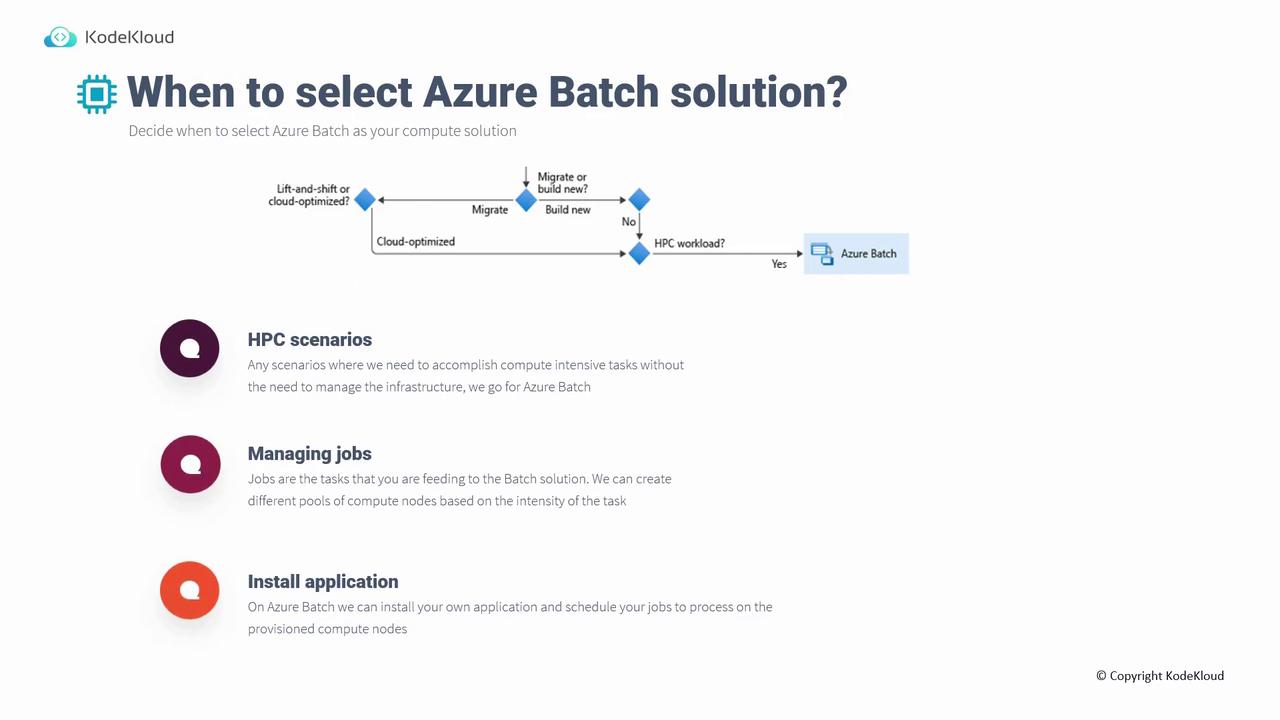
- Need to manage a large number of jobs.
- Want to scale compute nodes automatically based on task intensity (e.g., running simulations that require multiple nodes).
- Prefer to install and run your own application code rather than relying solely on built-in solutions. For example, you might process images stored in a storage account and then output the processed results.
How Azure Batch Works
The diagram below illustrates the complete data processing workflow using Azure Batch. Imagine that you have an Azure Data Lake Storage account that holds your data (distinct from regular Azure Storage). A client uploads files—such as images or other data—to Azure Data Lake Storage. In parallel, code provisions the necessary compute resources and jobs. The process pulls data from storage, executes compute-intensive operations (like image processing or simulations), and then pushes the processed data back to storage for your client application to retrieve.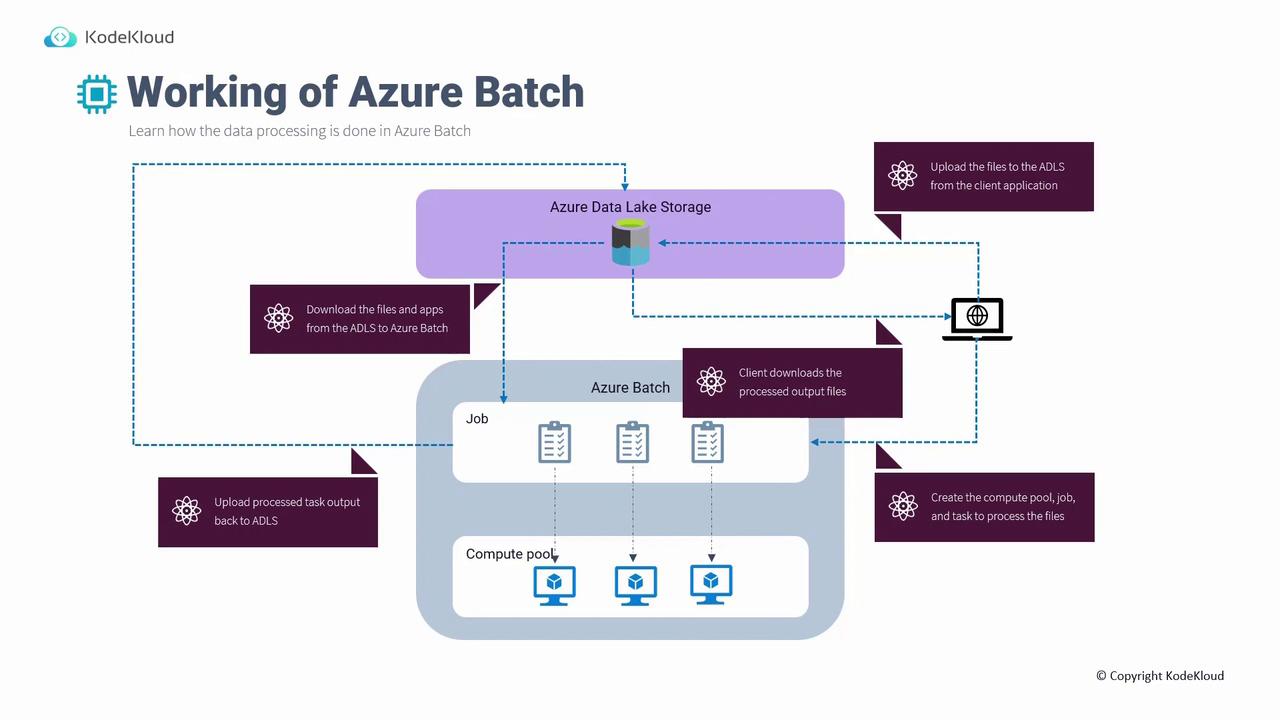
This lesson demonstrates Azure Batch setup using the Azure Portal and Azure CLI commands. Make sure you have the appropriate permissions and Azure CLI installed on your system.
Step 1: Creating the Resource Group and Storage Account
Begin by creating a resource group in your desired location. Use the following command:If you encounter policy restrictions allowing deployments only in specific regions (e.g., East US and West US), update the location parameter to match an allowed region.
Step 2: Creating the Batch Account
Create your batch account, which combines jobs, tasks, and compute pools. Replace parameters as needed:Step 3: Authenticating to the Batch Account
Before creating pools, jobs, and tasks, authenticate to your batch account with the following command:Step 4: Creating the Compute Pool
Create a compute pool to provision the necessary virtual machines. In this example, the pool (named “kpool”) uses a Standard_A1_v2 VM size, employs a canonical Ubuntu 18.04 image, and targets two dedicated nodes: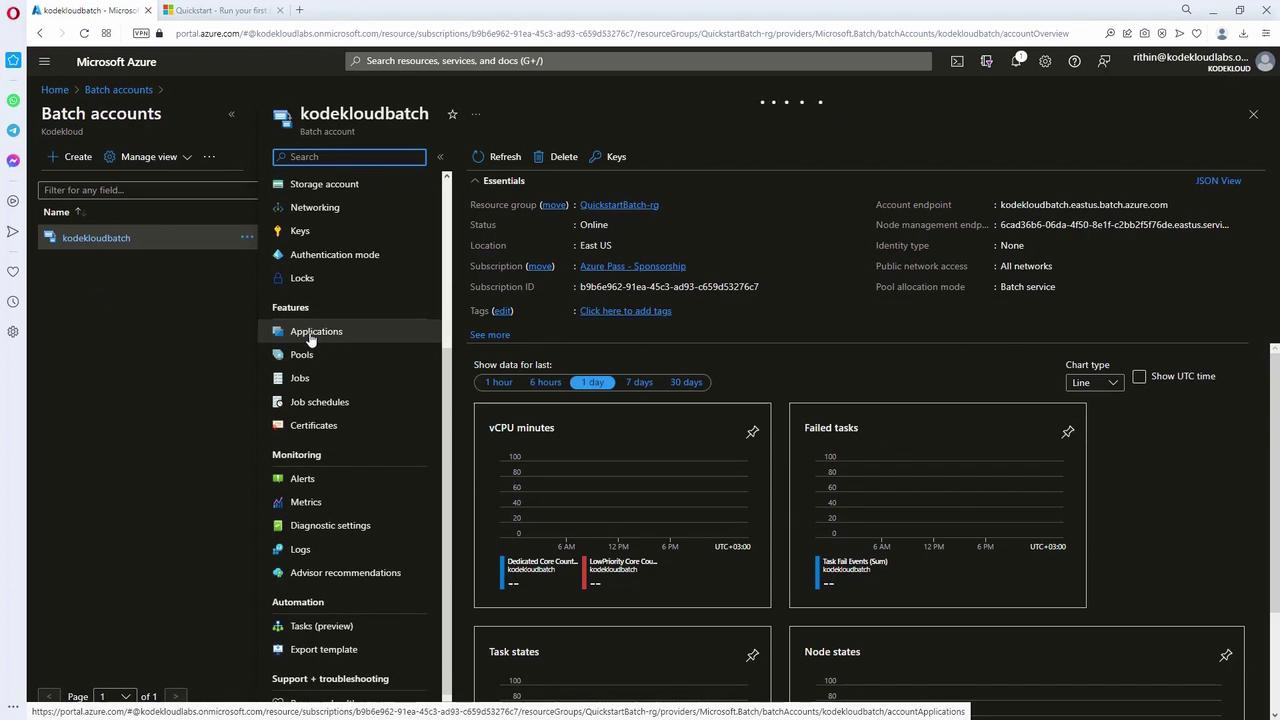
Step 5: Creating Jobs and Tasks
Once the compute pool is in a “steady” state, create a job that will run on the pool: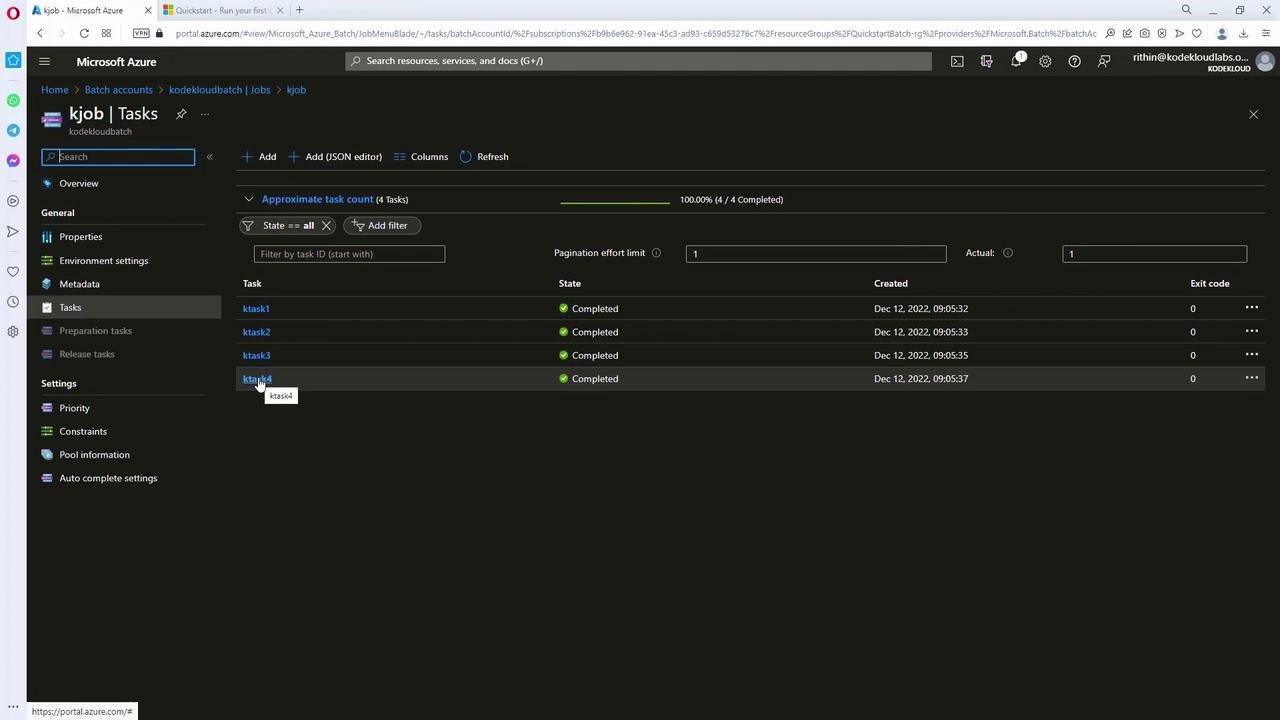
Summary
In this lesson, you learned how to create an Azure Batch solution by:- Establishing a resource group and storage account.
- Creating and authenticating a batch account.
- Provisioning a compute pool.
- Setting up jobs and tasks for parallel execution.