

- Logging in to Docker Hub
- Pulling an existing image
- Retagging and pushing to your account
- Updating the Kubernetes Deployment manifest
- Deploying via Flux
- Verifying the live application
Prerequisites
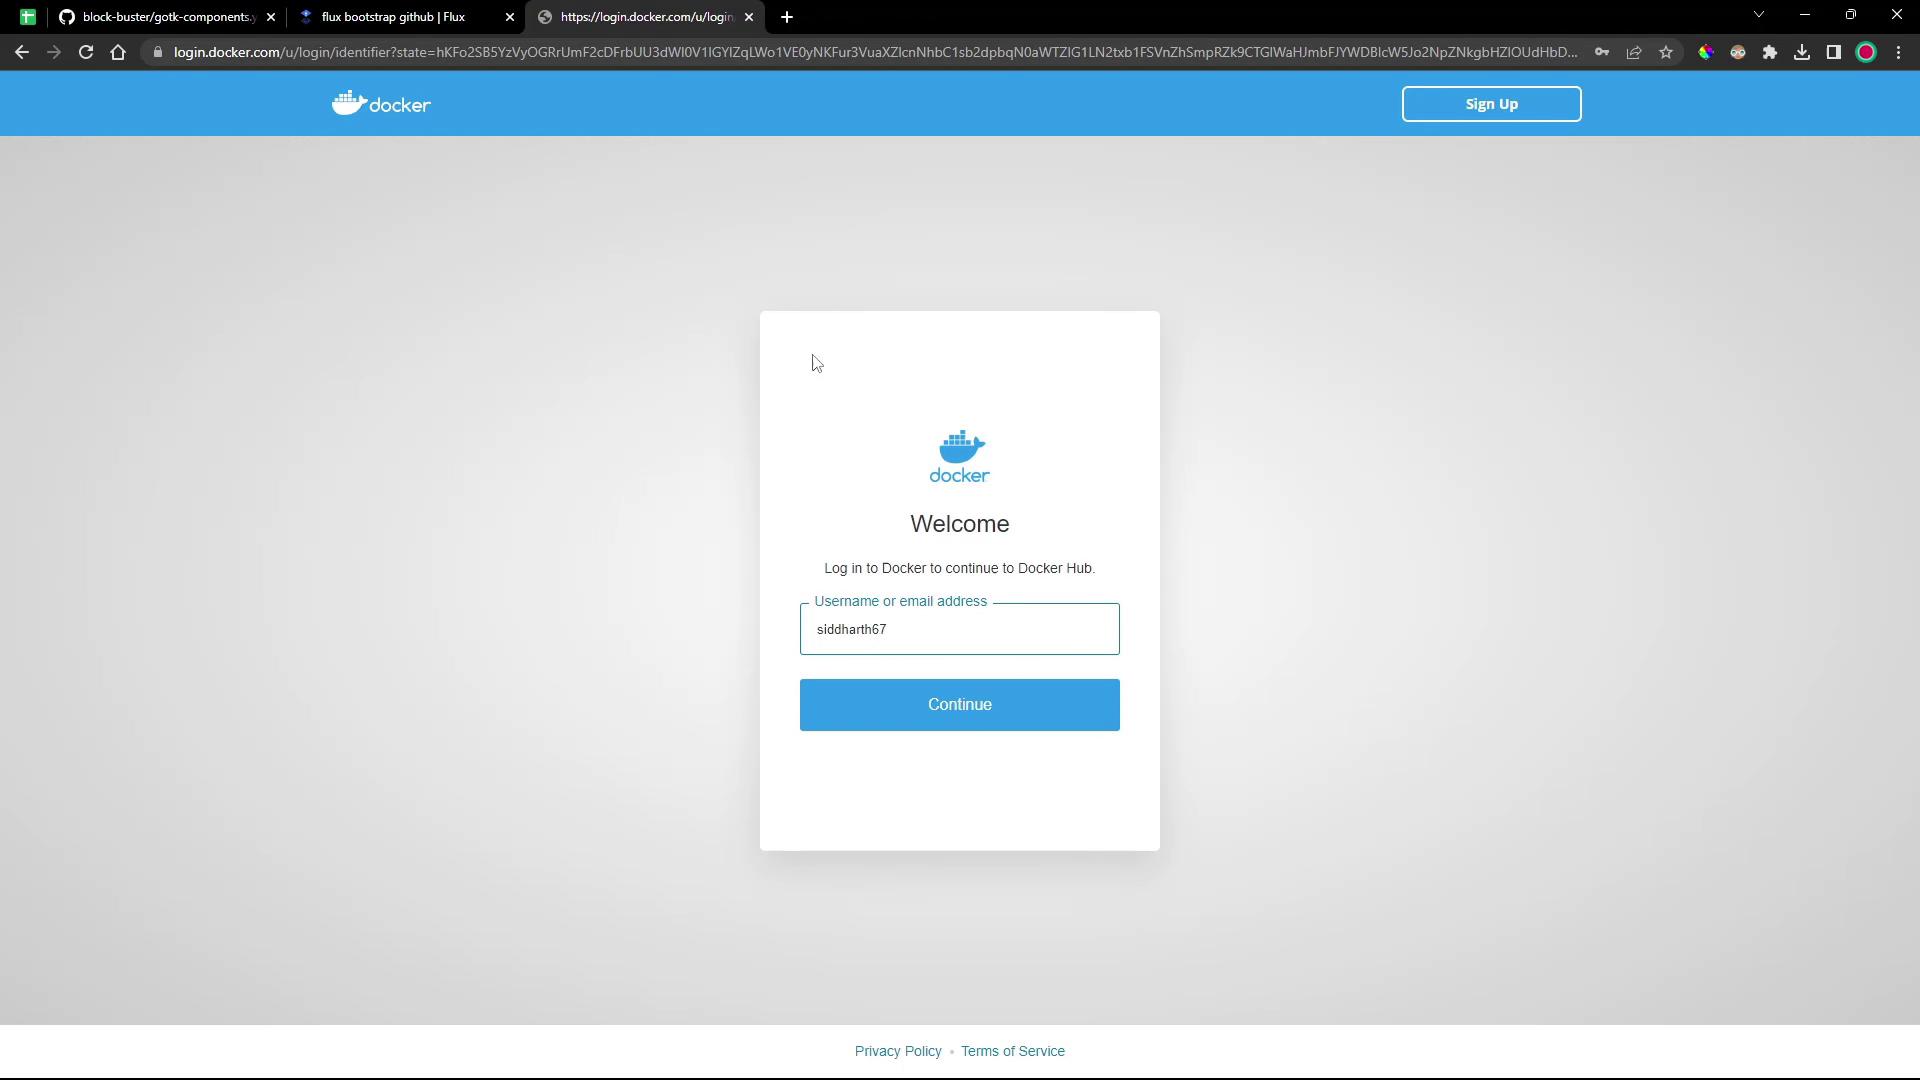
1. Log in to Docker Hub
First, clear any existing sessions and then authenticate:For security, use a Docker Hub access token instead of your account password.
2. Pull the Base Image
Fetch the pre-built Block Buster image from the original repository:3. Retag and Push to Your Docker Hub
Tag the image under your own namespace and push:Replace
<your-username> consistently. Never commit credentials or tokens into Git repositories.bb-app-flex-demo repository with tag 7.8.0 appears in your Docker Hub account.
4. Update the Kubernetes Deployment Manifest
Switch to the8-demo branch and edit the deployment to reference your image:
deployment.yaml and update the container image:
5. Deploy with Flux
In your Flux cluster repository, create a GitRepository source and Kustomization:6. Verify the Application
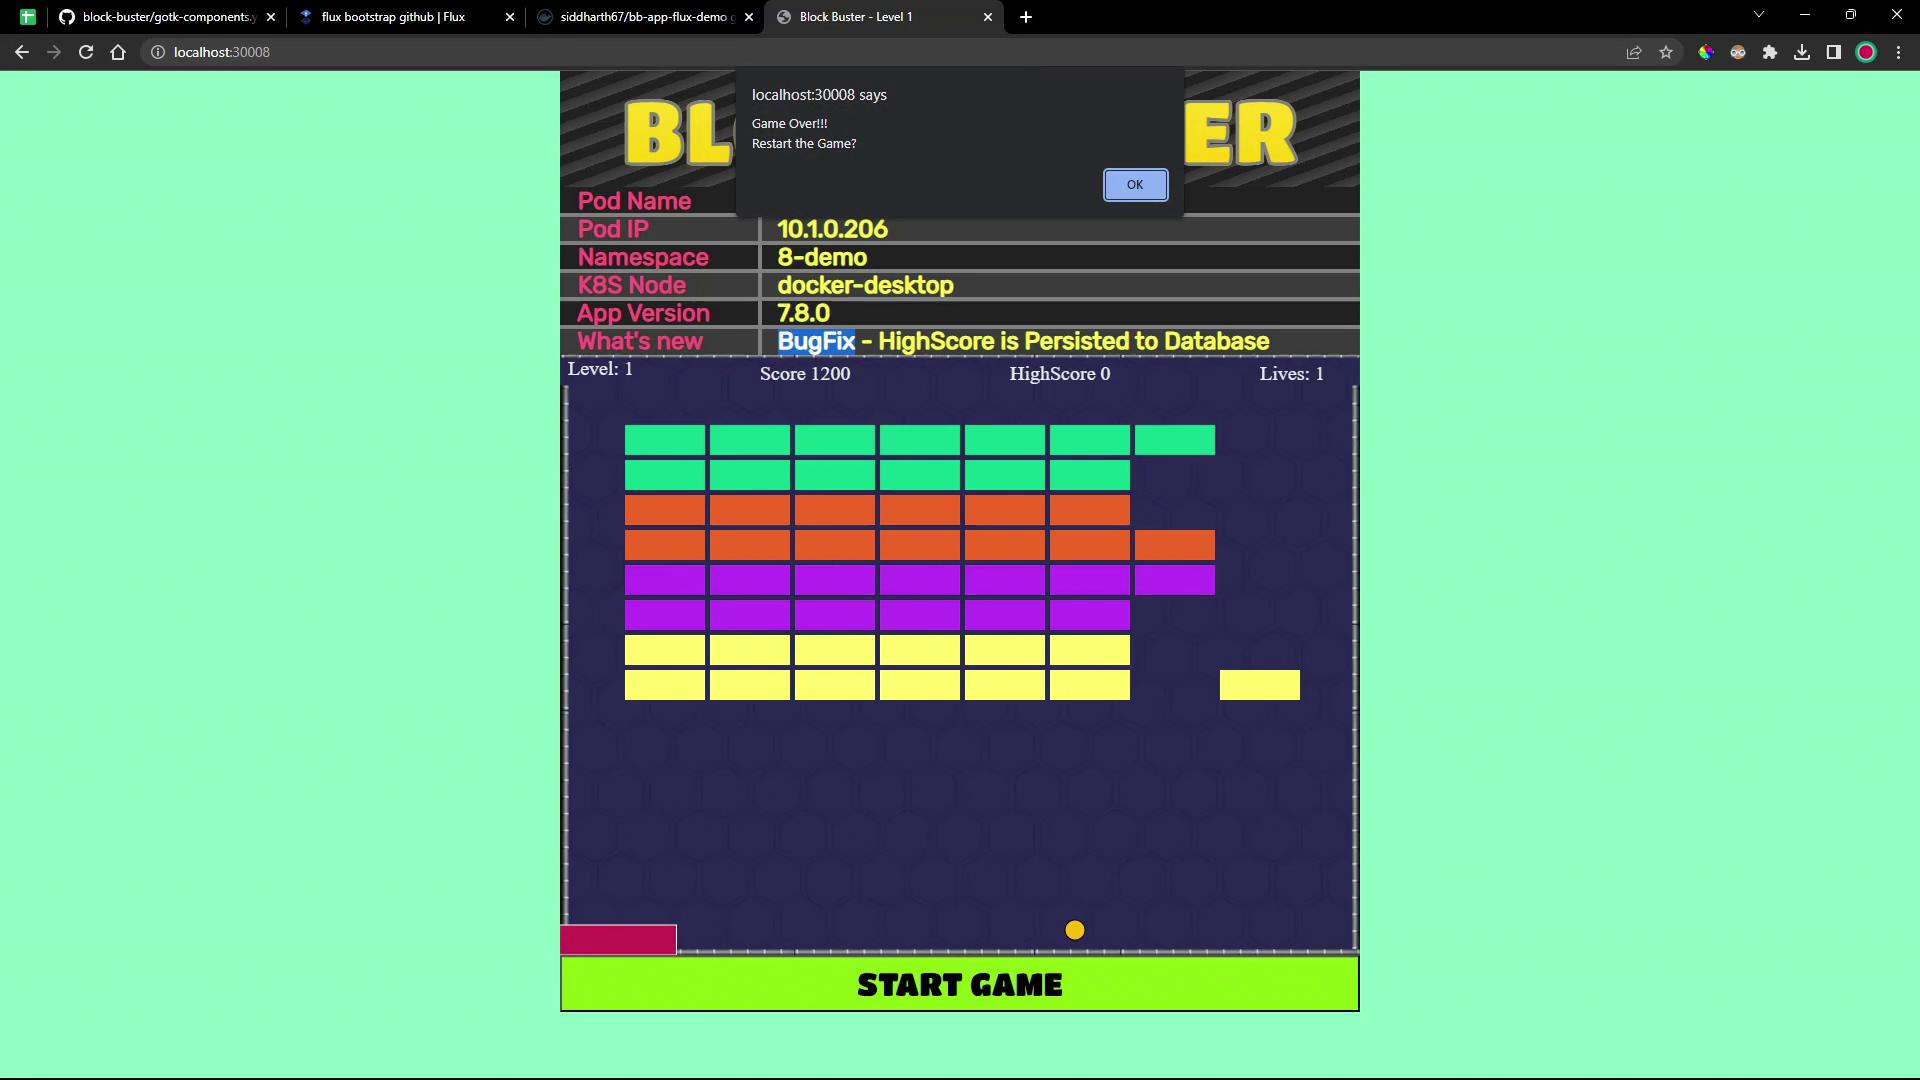
Point your browser to the NodePort (e.g.,localhost:30008) and confirm the high score persistence in version 7.8.0:
You’ve now integrated Docker Hub with Kubernetes and automated your deployment using Flux GitOps. Next up: creating a
FluxRepository to track image updates and automate version bumps.