

1. Prepare Your Slack Workspace and Channel
If you don’t have a Slack workspace yet, create one by following Slack’s Help Center instructions: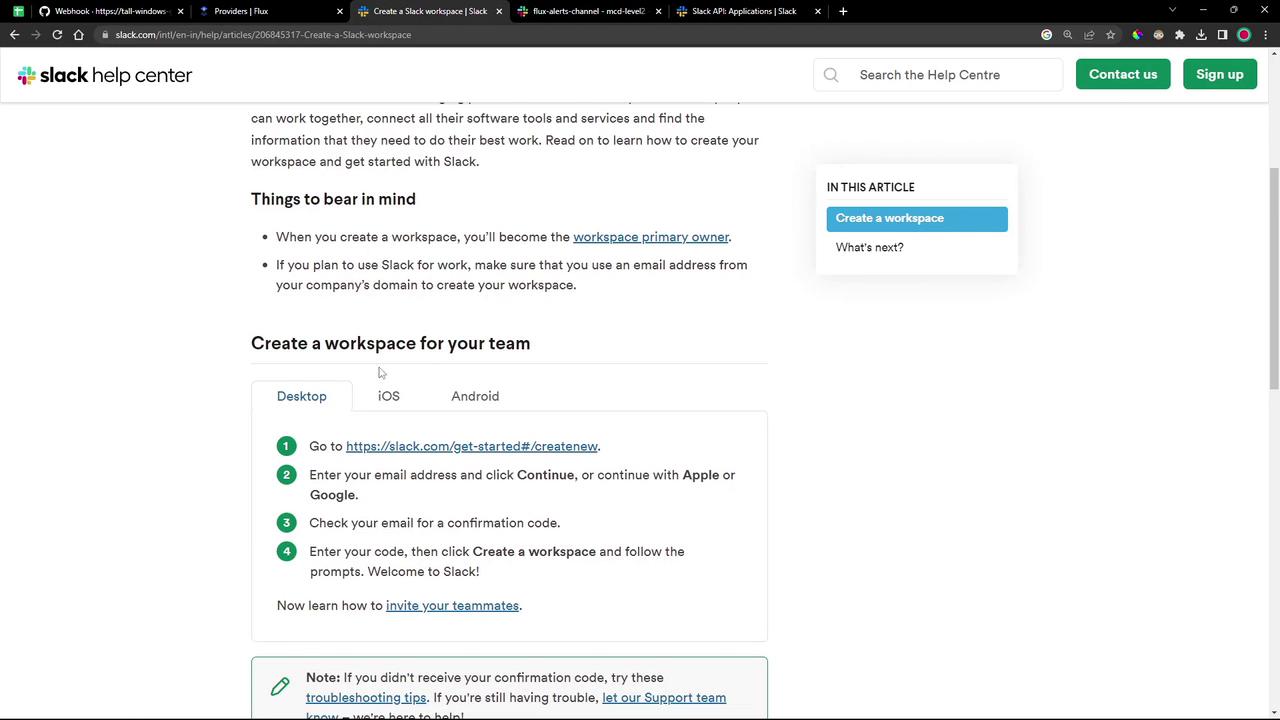
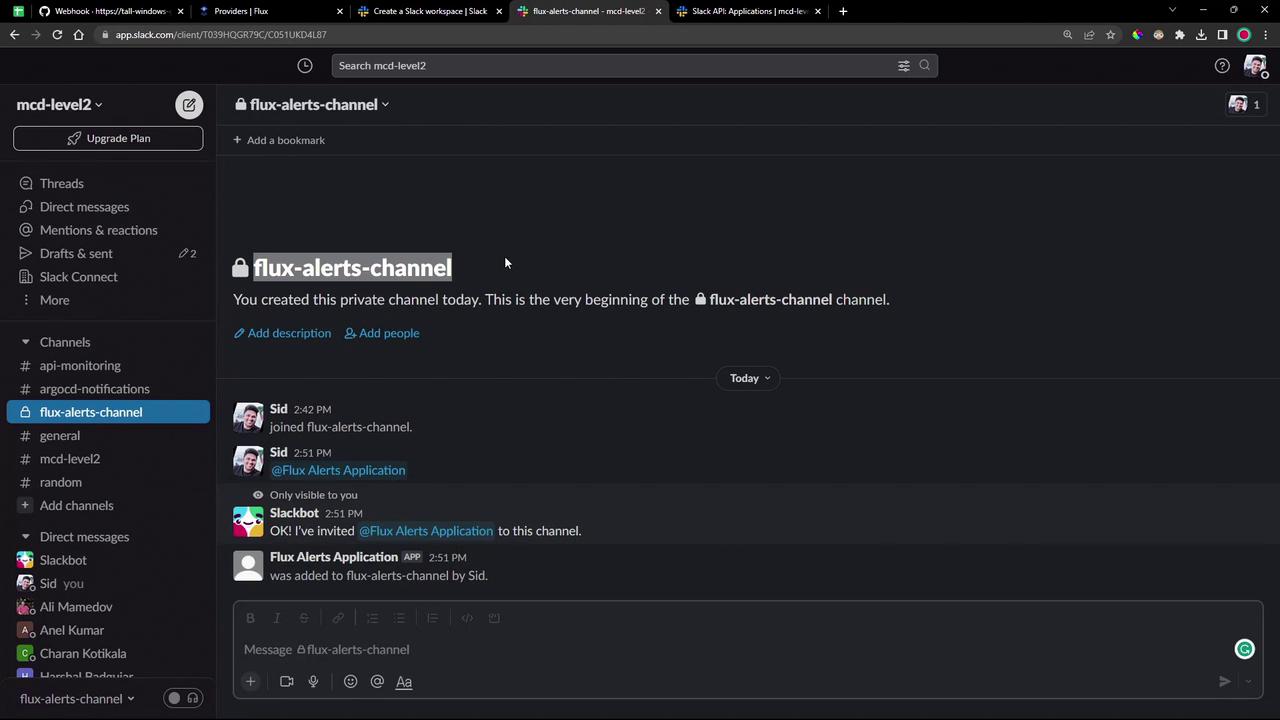
flux-alerts-channel:
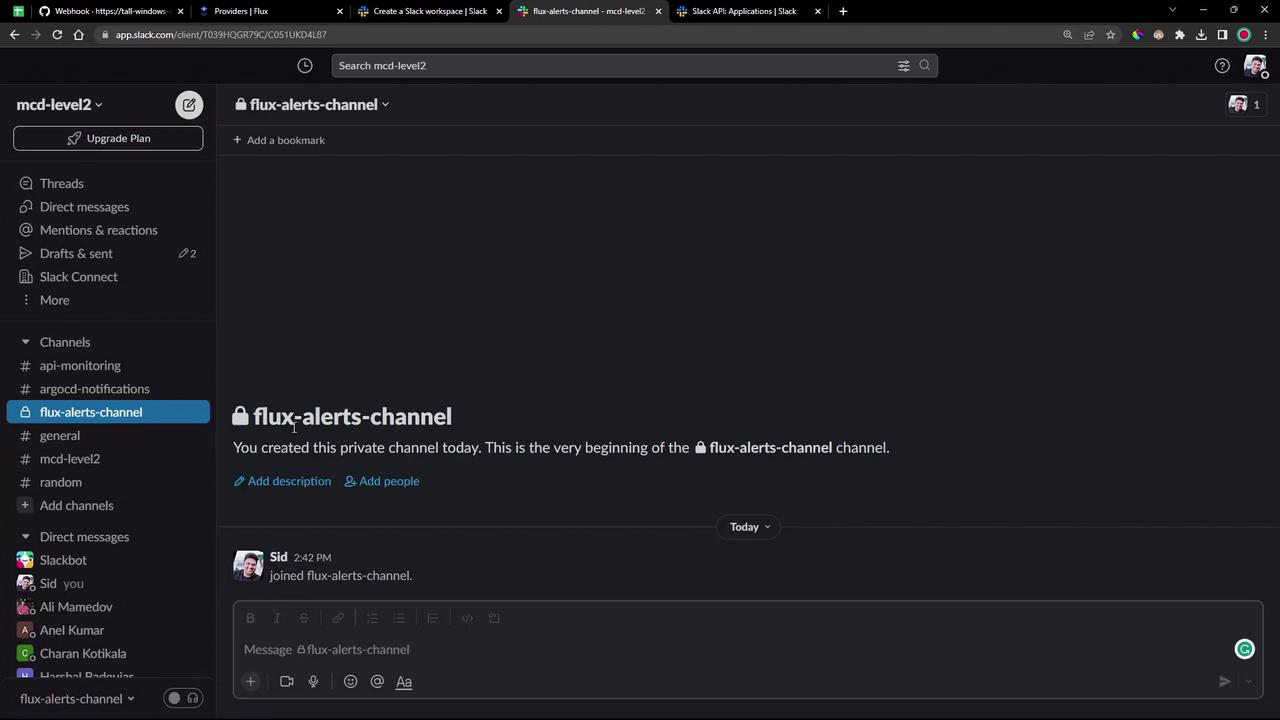
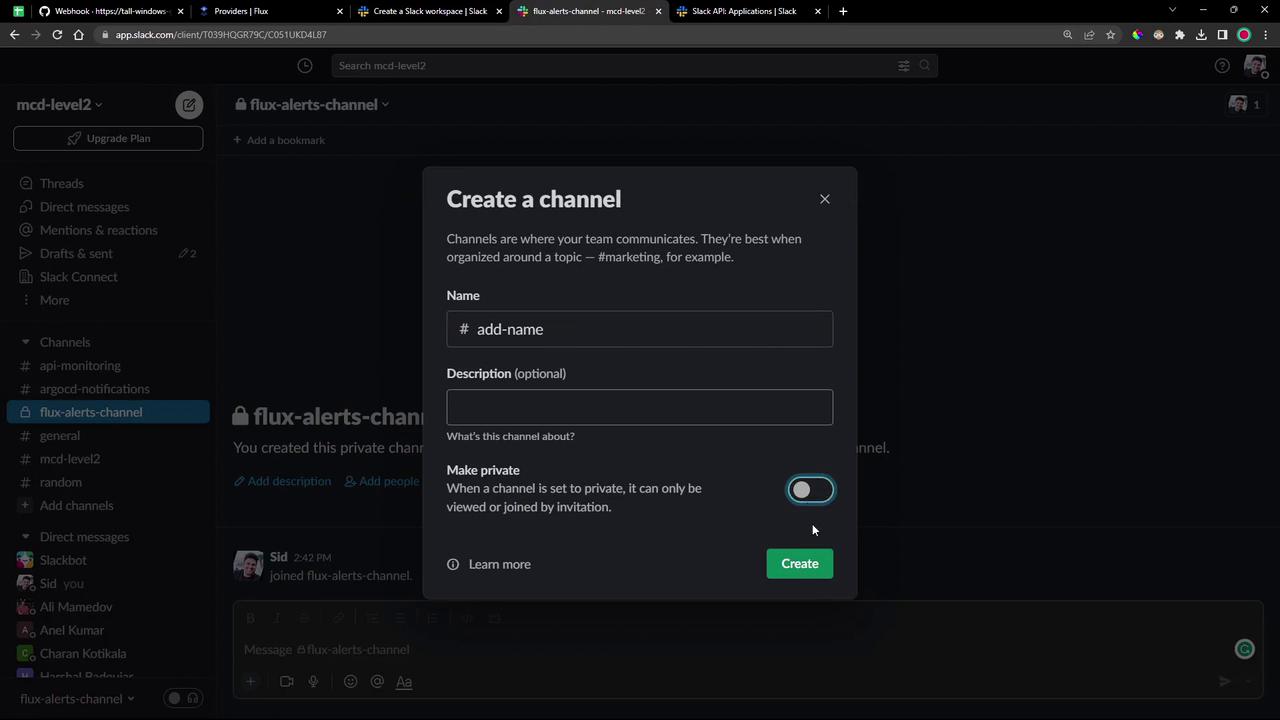
2. Create and Configure a Slack App
2.1 Create the Slack App
- Go to the Slack API dashboard.
- Click Create an App, give it a name (e.g., Flux Alerts Application), and select your workspace.
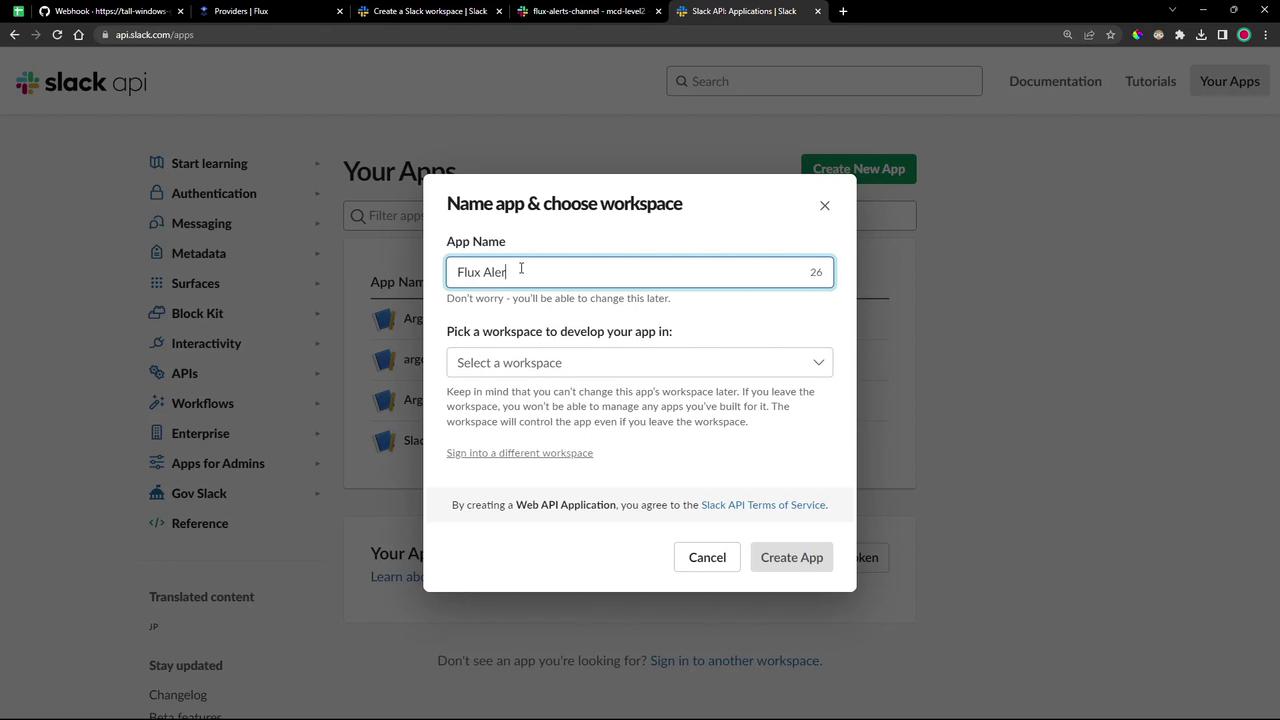
2.2 Configure OAuth & Permissions
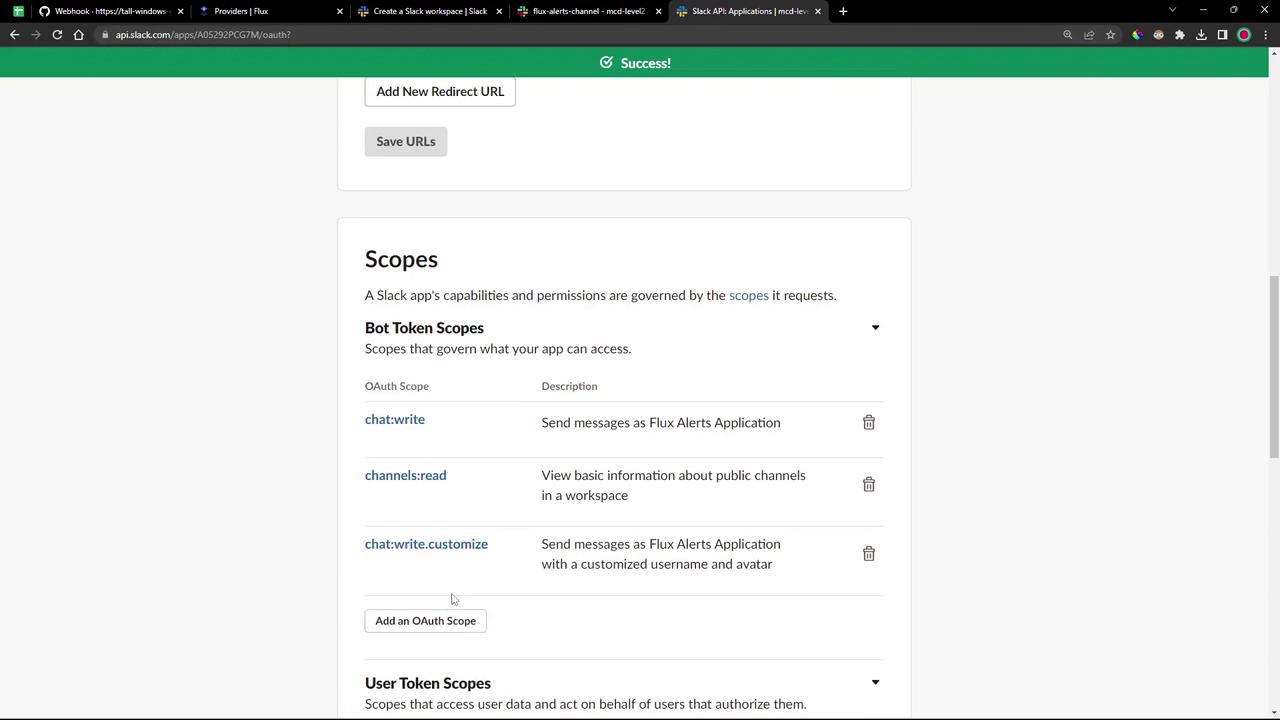
Under Features → OAuth & Permissions, add the following Bot Token Scopes: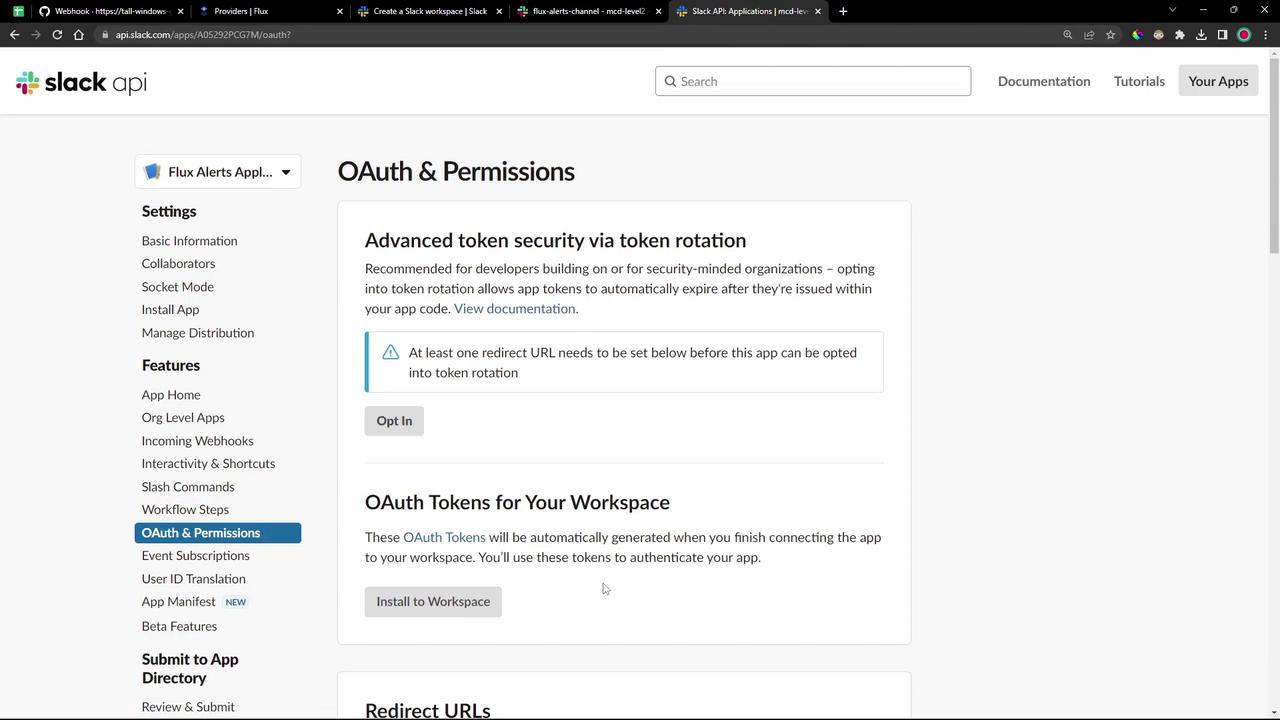
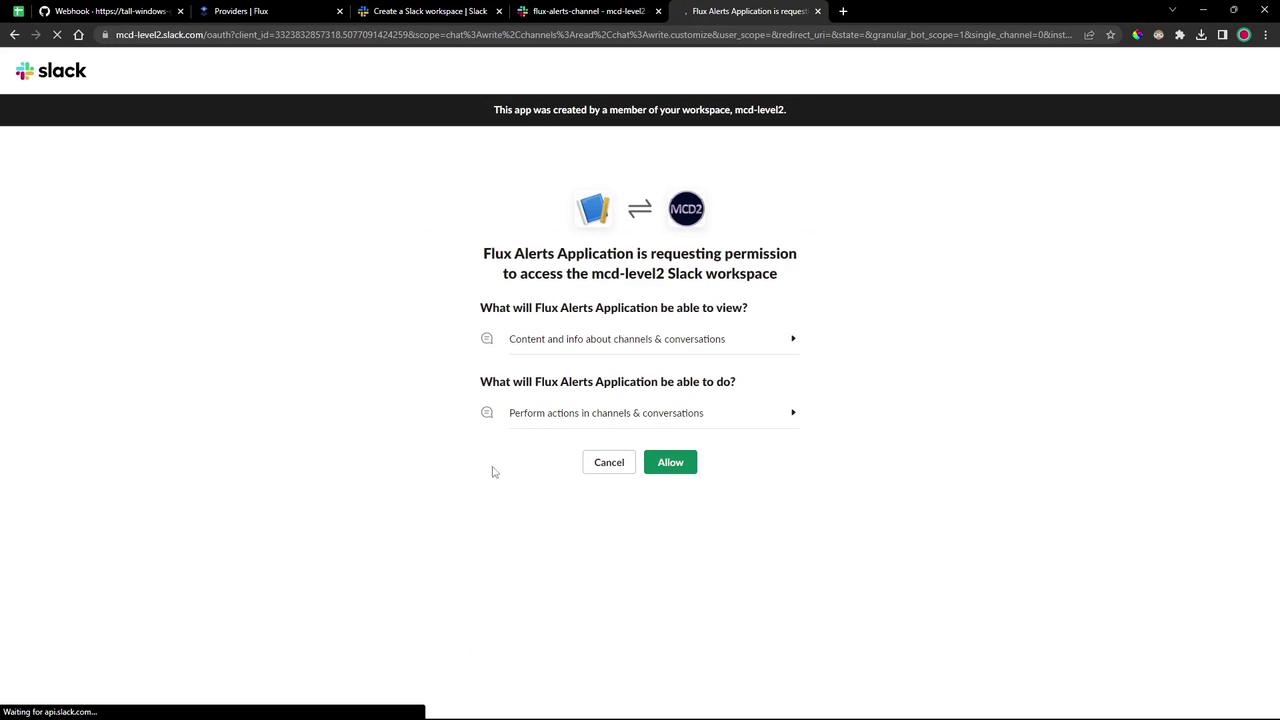
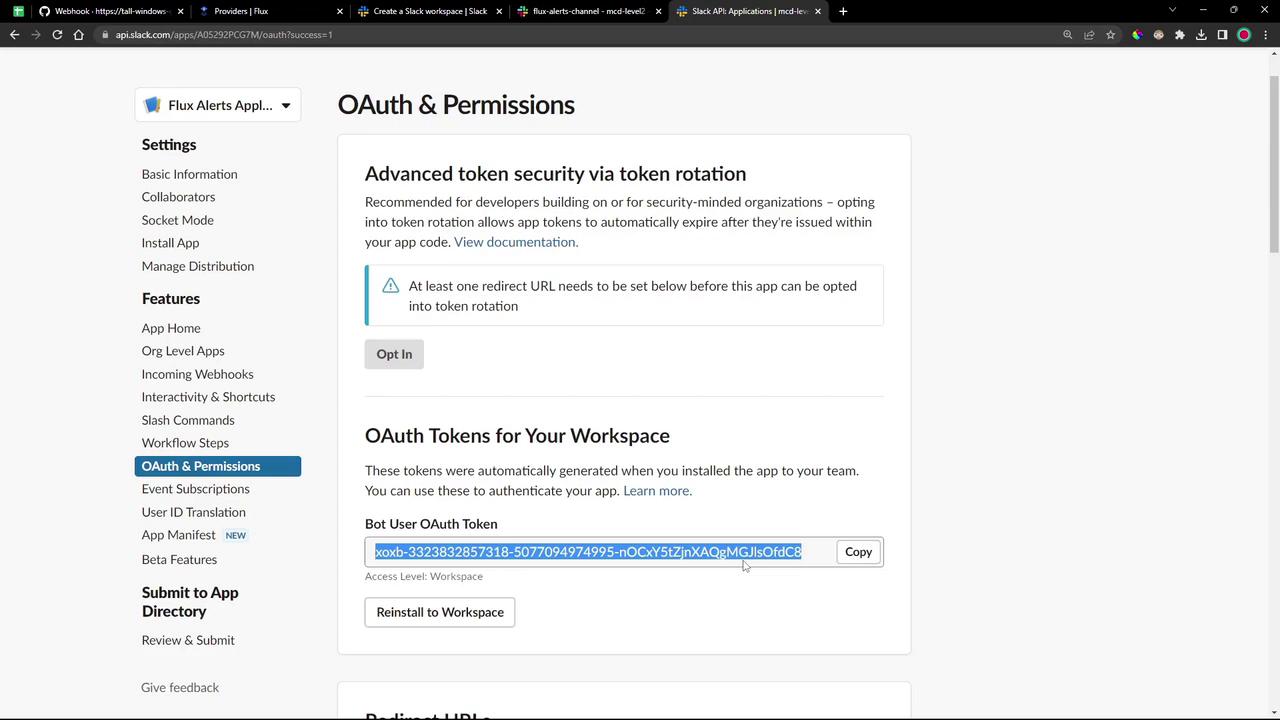
Keep your Bot User OAuth Token secure. Treat it like any sensitive credential.
2.3 Invite the Bot to Your Alert Channel
If your alerts channel is private, you must add the app as a member: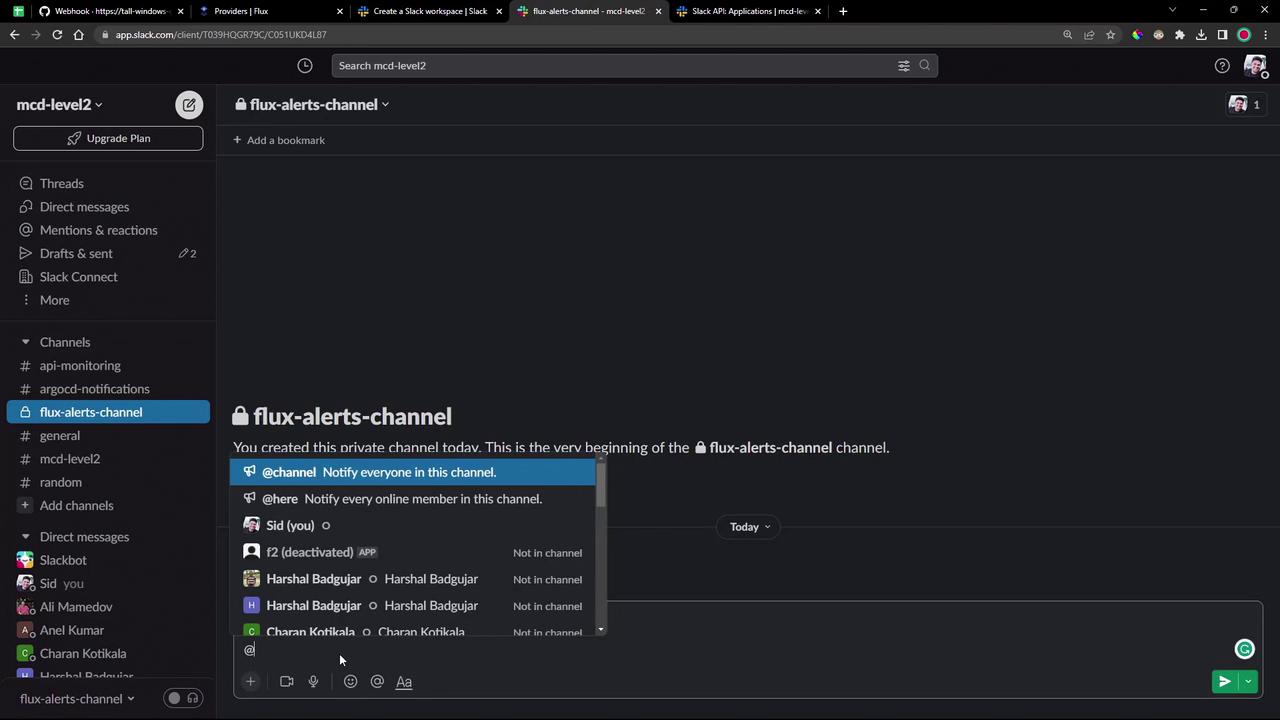
3. Configure Flux Notification Controller
3.1 Create the Slack Bot Token Secret
Store your Slack Bot Token in theflux-system namespace:
Replace
xoxb-xxxxxxxxxxxxxxxxxxxx with your actual Bot User OAuth Token.3.2 Define the Slack Provider
Flux’s Provider API lets you specify how notifications are sent. See Flux Notification Providers: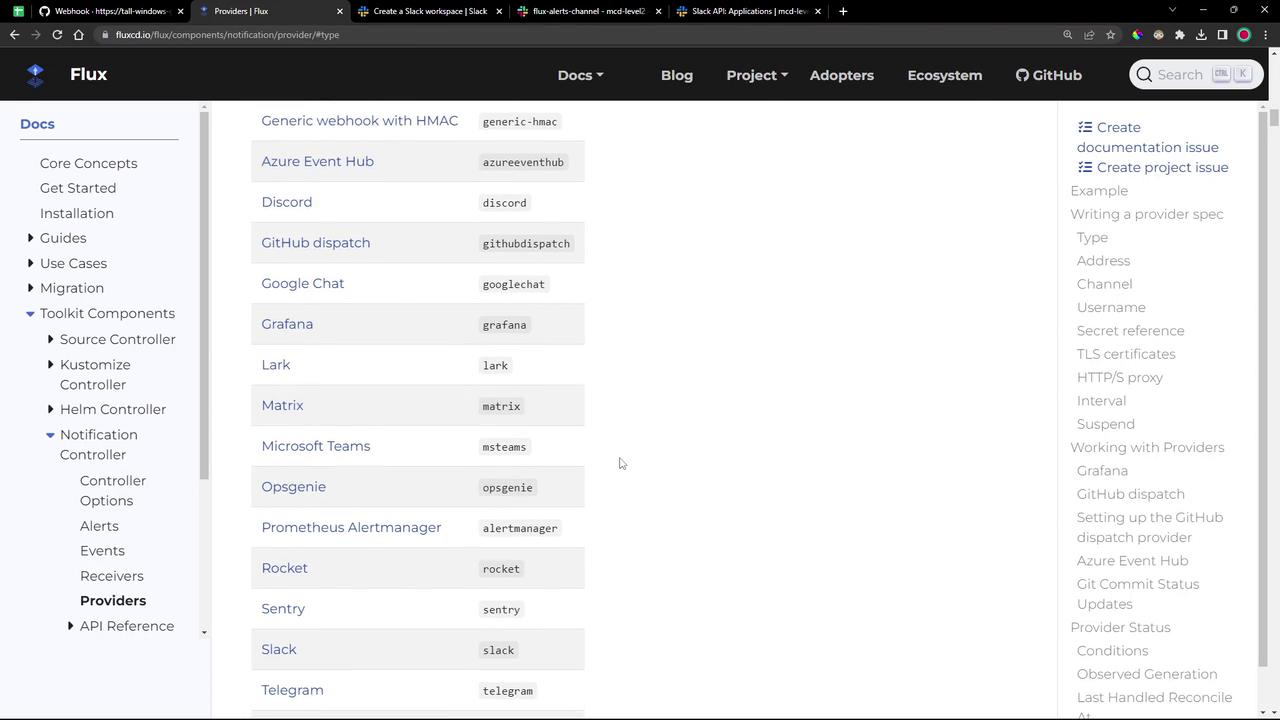
Create
notification-provider-slack.yaml:
3.3 Define an Alert
Alerts let you filter events by severity and resource type before sending them via your provider. Createnotification-alert-slack.yaml:
4. Confirm Setup
Make sure Flux picks up your changes and that both the provider and alert areREADY:
5. Trigger and Observe Notifications
Change something in your Git repository—for example, reduce the replica count in your deployment: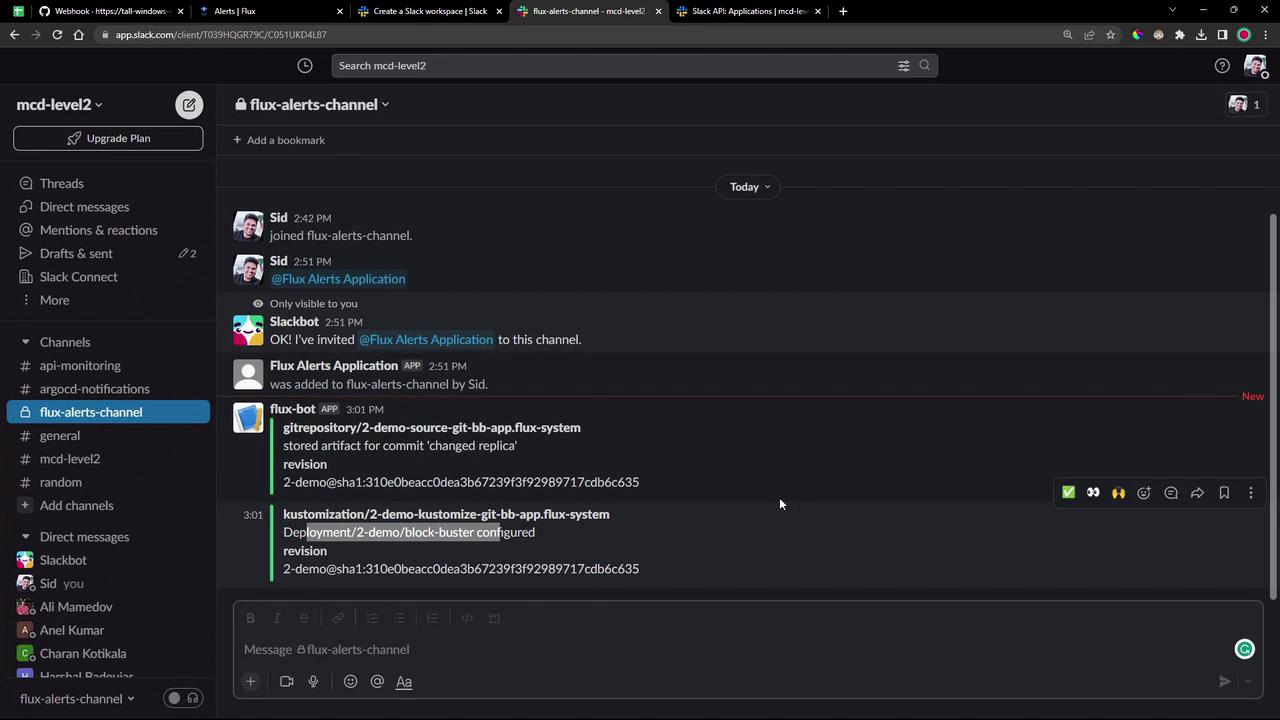
6. Verify the Update in Kubernetes
Confirm that your deployment reflects the new replica count:Congratulations! You have successfully configured Flux Notification Controller to deliver Slack alerts for all your Flux events.