- Switch to the
3-demobranch containing akustomization.yaml - Create a Flux
GitRepositorysource - Define a Flux
Kustomizationresource - Verify the setup with Flux commands
- Inspect the deployed Kubernetes resources
- View the updated Block Buster application
1. Switch to the 3-demo Branch
First, clone or navigate to your application source and check out the 3-demo branch where the kustomization.yaml is already defined:
Contents of
kustomization.yaml:
Because the
kustomization.yaml is present, the Kustomize controller will skip the normal build phase and apply resources directly.2. Create a Git Source in the Flux Cluster
Switch to your Flux configuration repository:GitRepository resource that points to branch 3-demo of your app repo:
3-demo-source-git-bb-app.yaml:
Flux will poll the Git repository every 10 seconds and store an artifact for the specified branch.
3. Create the Kustomization Resource
Next, define a FluxKustomization that applies the overlay found under kustomize:
3-demo-kustomize-git-bb-app.yaml:
4. Verify with Flux
Check that the Git source is registered:5. Inspect Deployed Resources
List all namespaces to ensure3-demo exists:
3-demo namespace:
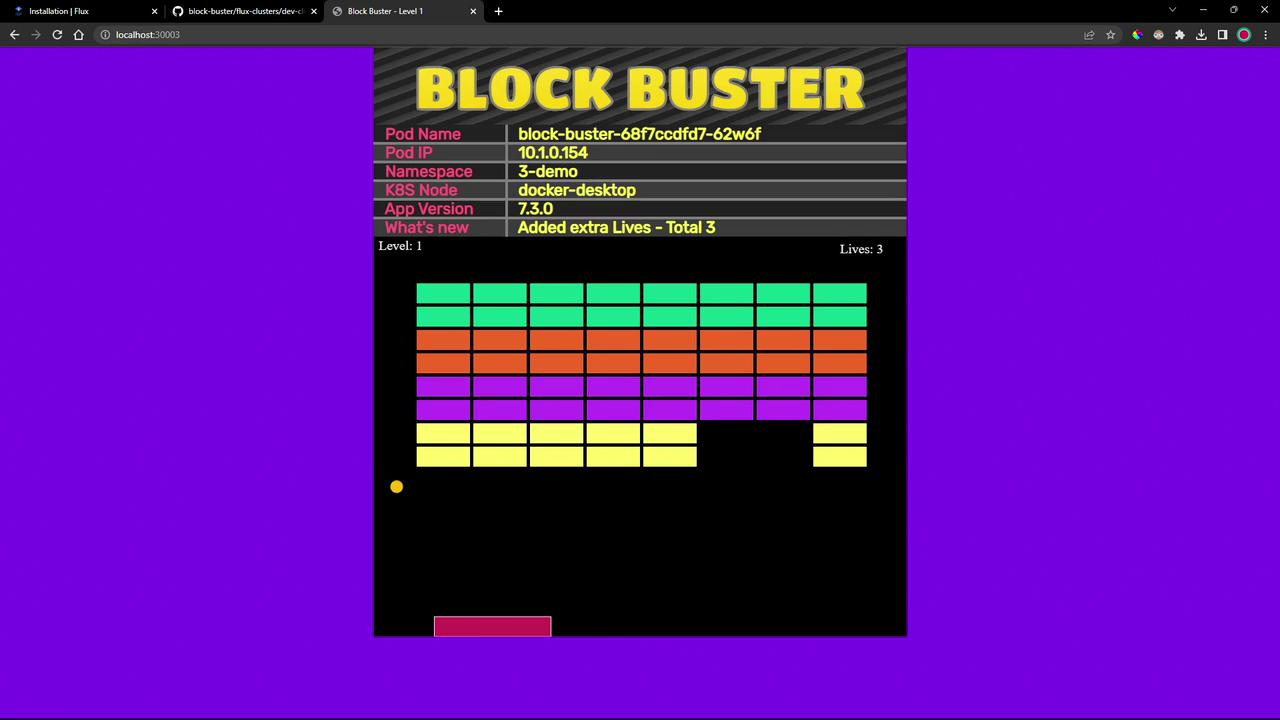
6. View the Updated Application
Open your browser to http://<node-ip>:30008. You’ll notice that the game now shows three lives instead of one: