

NodePort services.
Why Use Flux 2 for Monitoring?
Using Flux 2 to manage your monitoring stack as GitOps ensures:- Declarative configuration
- Automated drift detection and remediation
- Version control of all resource definitions
1. Prepare the Flux Monitoring Manifests
Flux maintains example manifests for the Kube Prometheus Stack in its repository undermanifests/monitoring/kube-prometheus-stack:
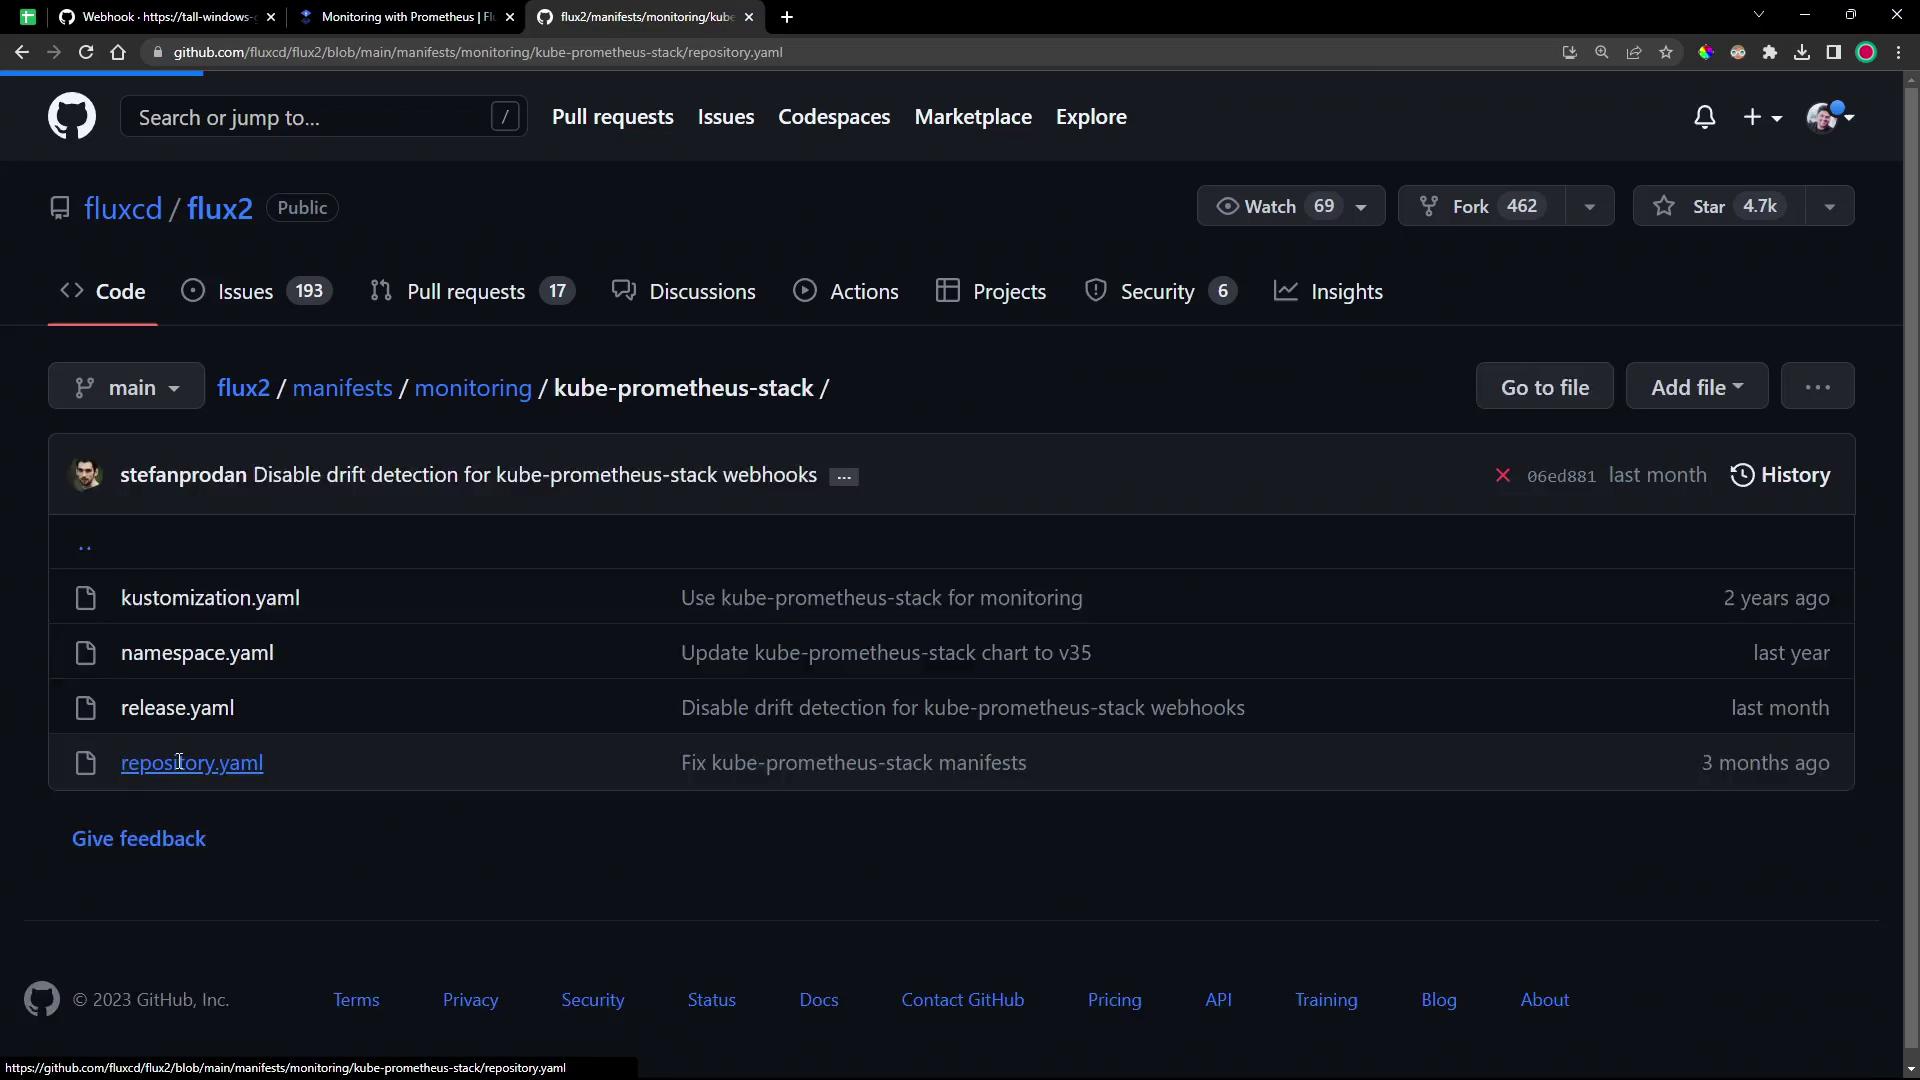
a. HelmRepository
This resource fetches the Helm charts from the Prometheus Community Helm Repository:b. HelmRelease
TheHelmRelease installs version 0.45.x of the kube-prometheus-stack chart into the monitoring namespace. It also configures custom retention and resource requests:
Defining
crds: Create ensures that all CustomResourceDefinitions required by the chart are installed before the HelmRelease.2. Deploy the Flux Resources
In your cluster Git repository (for example,flux-clusters/dev-cluster), create the Flux sources and kustomization:
Make sure the
monitoring namespace does not already exist or is managed by another tool, as Flux will create it.3. Verify Deployment
After Flux syncs, confirm that themonitoring namespace and its resources are created:
4. Expose Prometheus and Grafana
By default, both Prometheus and Grafana services useClusterIP. To access them externally, switch to NodePort:
5. Access the Prometheus UI
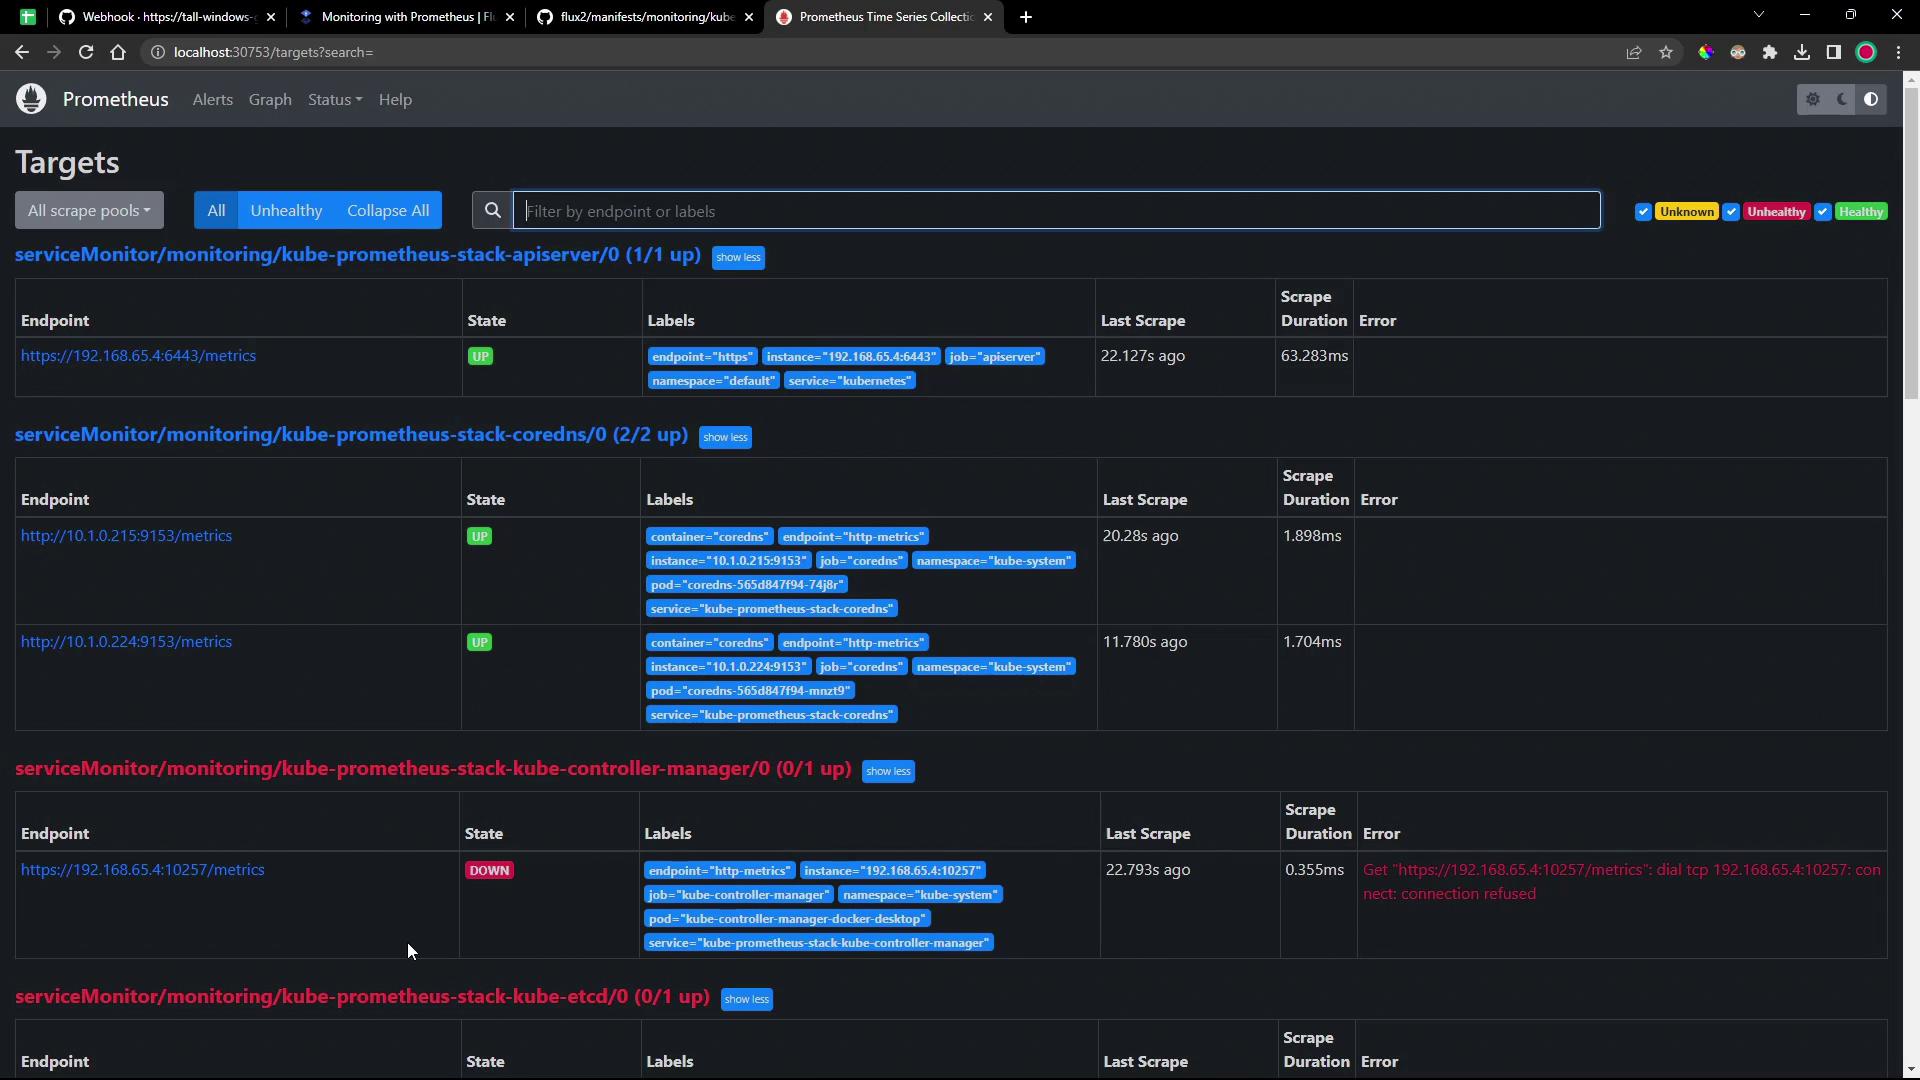
Open the Prometheus interface in your browser athttp://<node-ip>:30753. The dashboard displays service monitor health:
6. Access the Grafana Dashboard
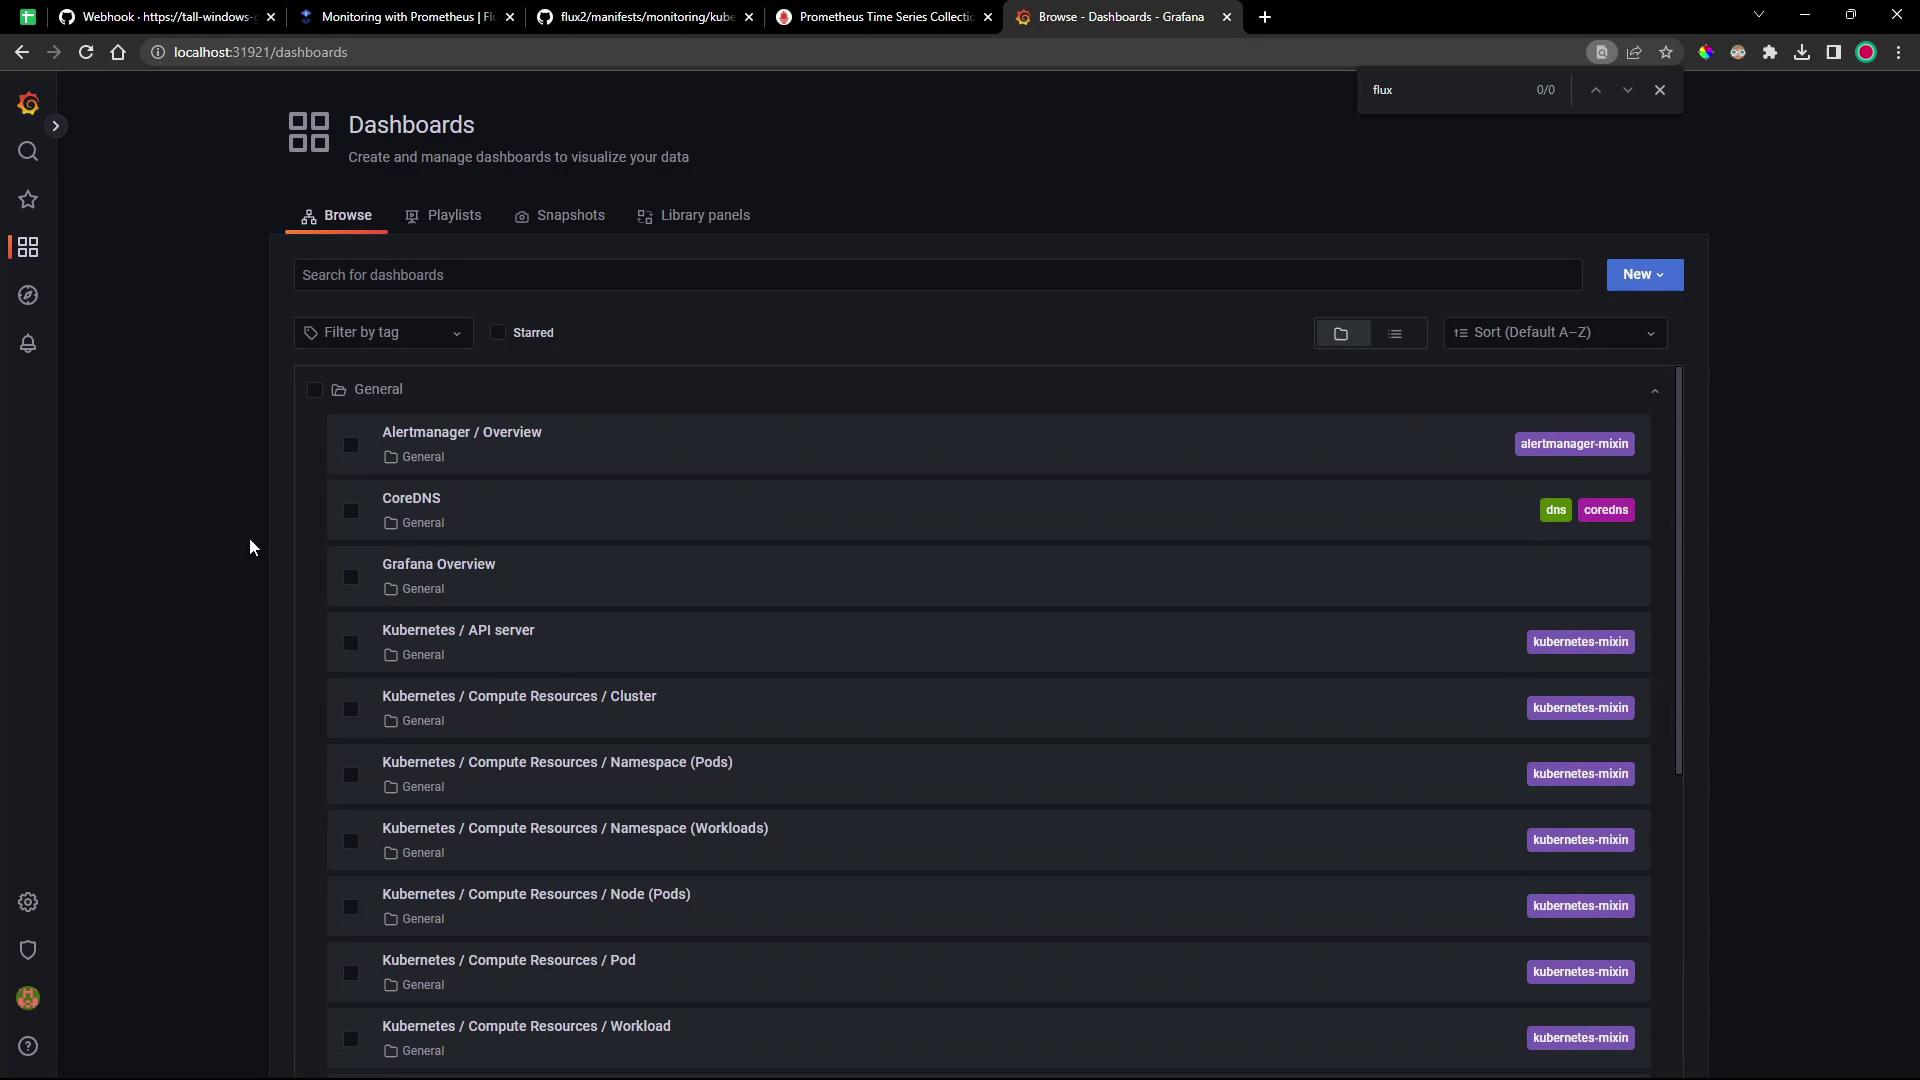
Visithttp://<node-ip>:31921 and log in with credentials stored in the kube-prometheus-stack-grafana secret:

7. Explore Prometheus Targets
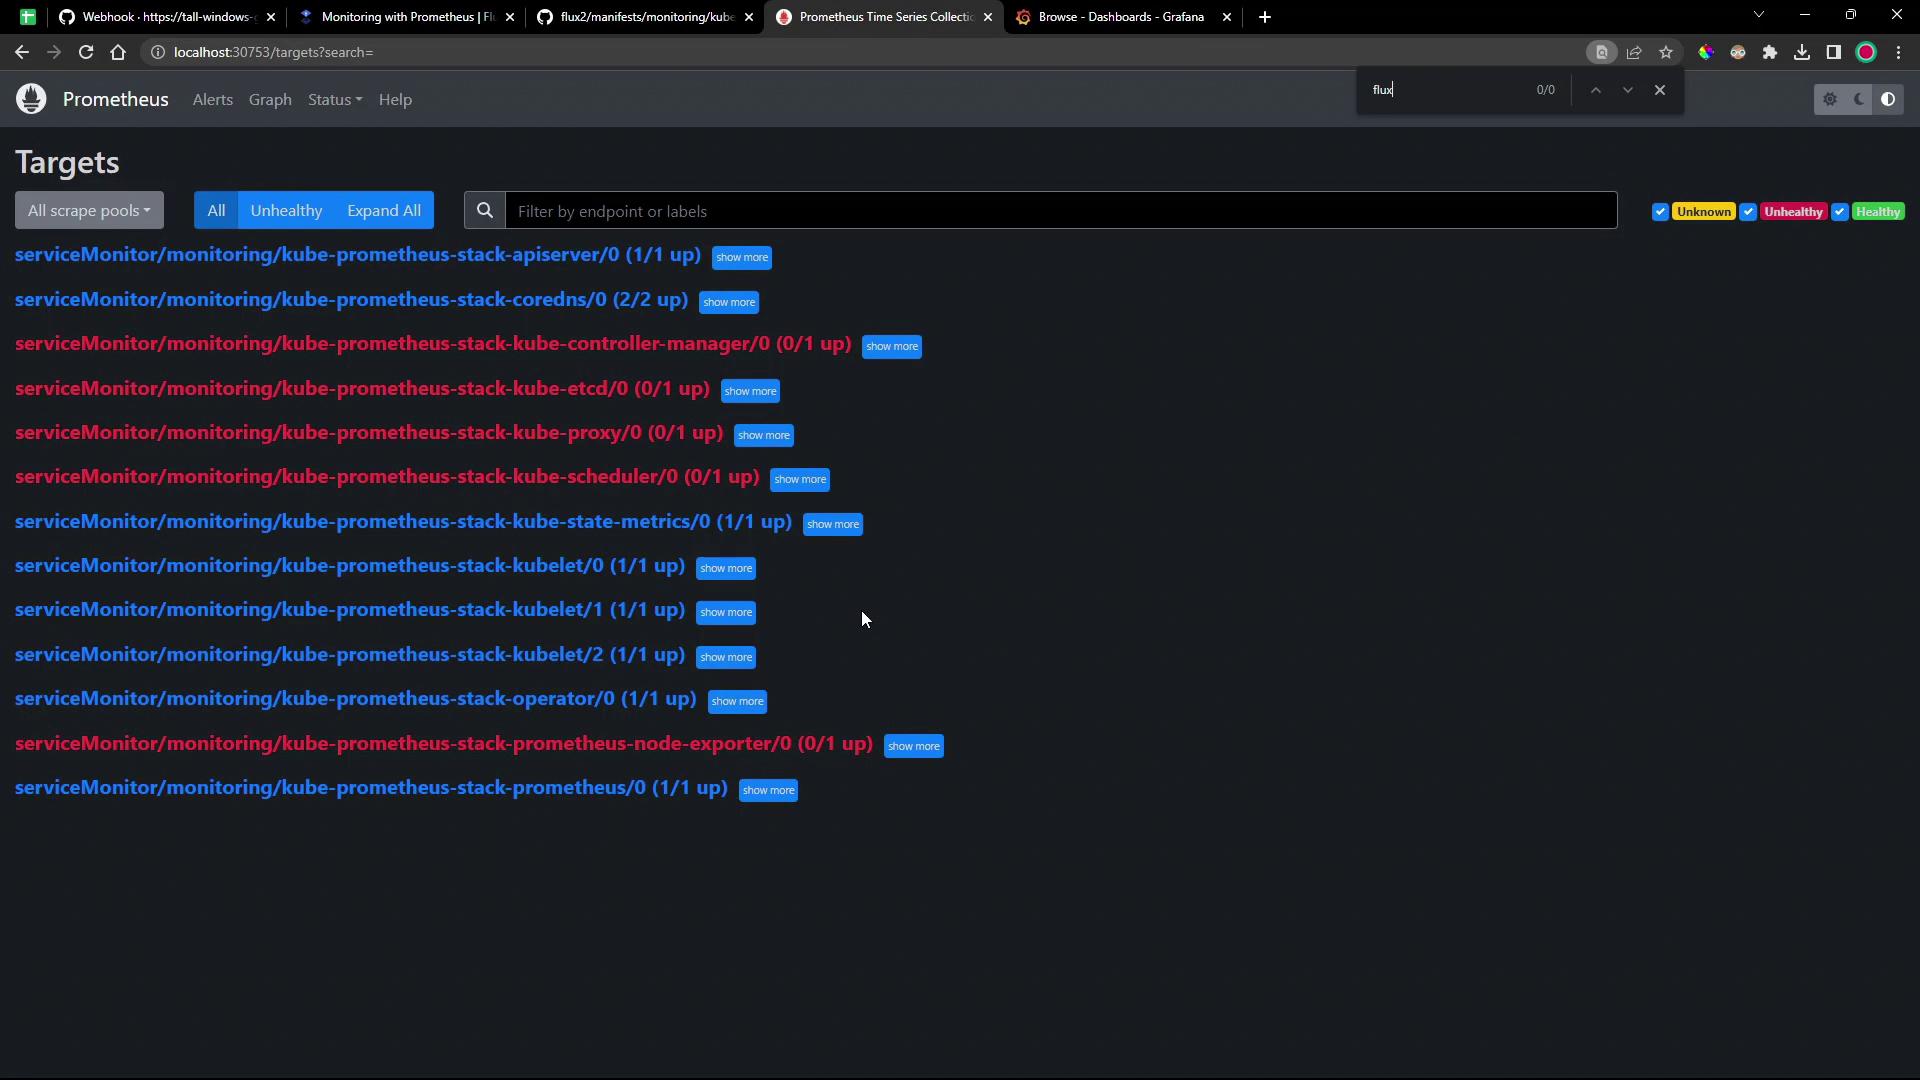
Check the Prometheus/targets page to see which endpoints are scraped:
Next Steps
- Configure
ServiceMonitorresources to scrape Flux controllers. - Deploy custom Grafana dashboards for Flux metrics.
- Integrate alerts into your incident management workflow.
References
- Flux GitRepository Source Documentation
- Flux Kustomization Documentation
- Prometheus Community Helm Charts
- Kube Prometheus Stack on Artifact Hub