

- Record baseline metrics
- Configure the AWSFIS-Run-Disk-Fill SSM document
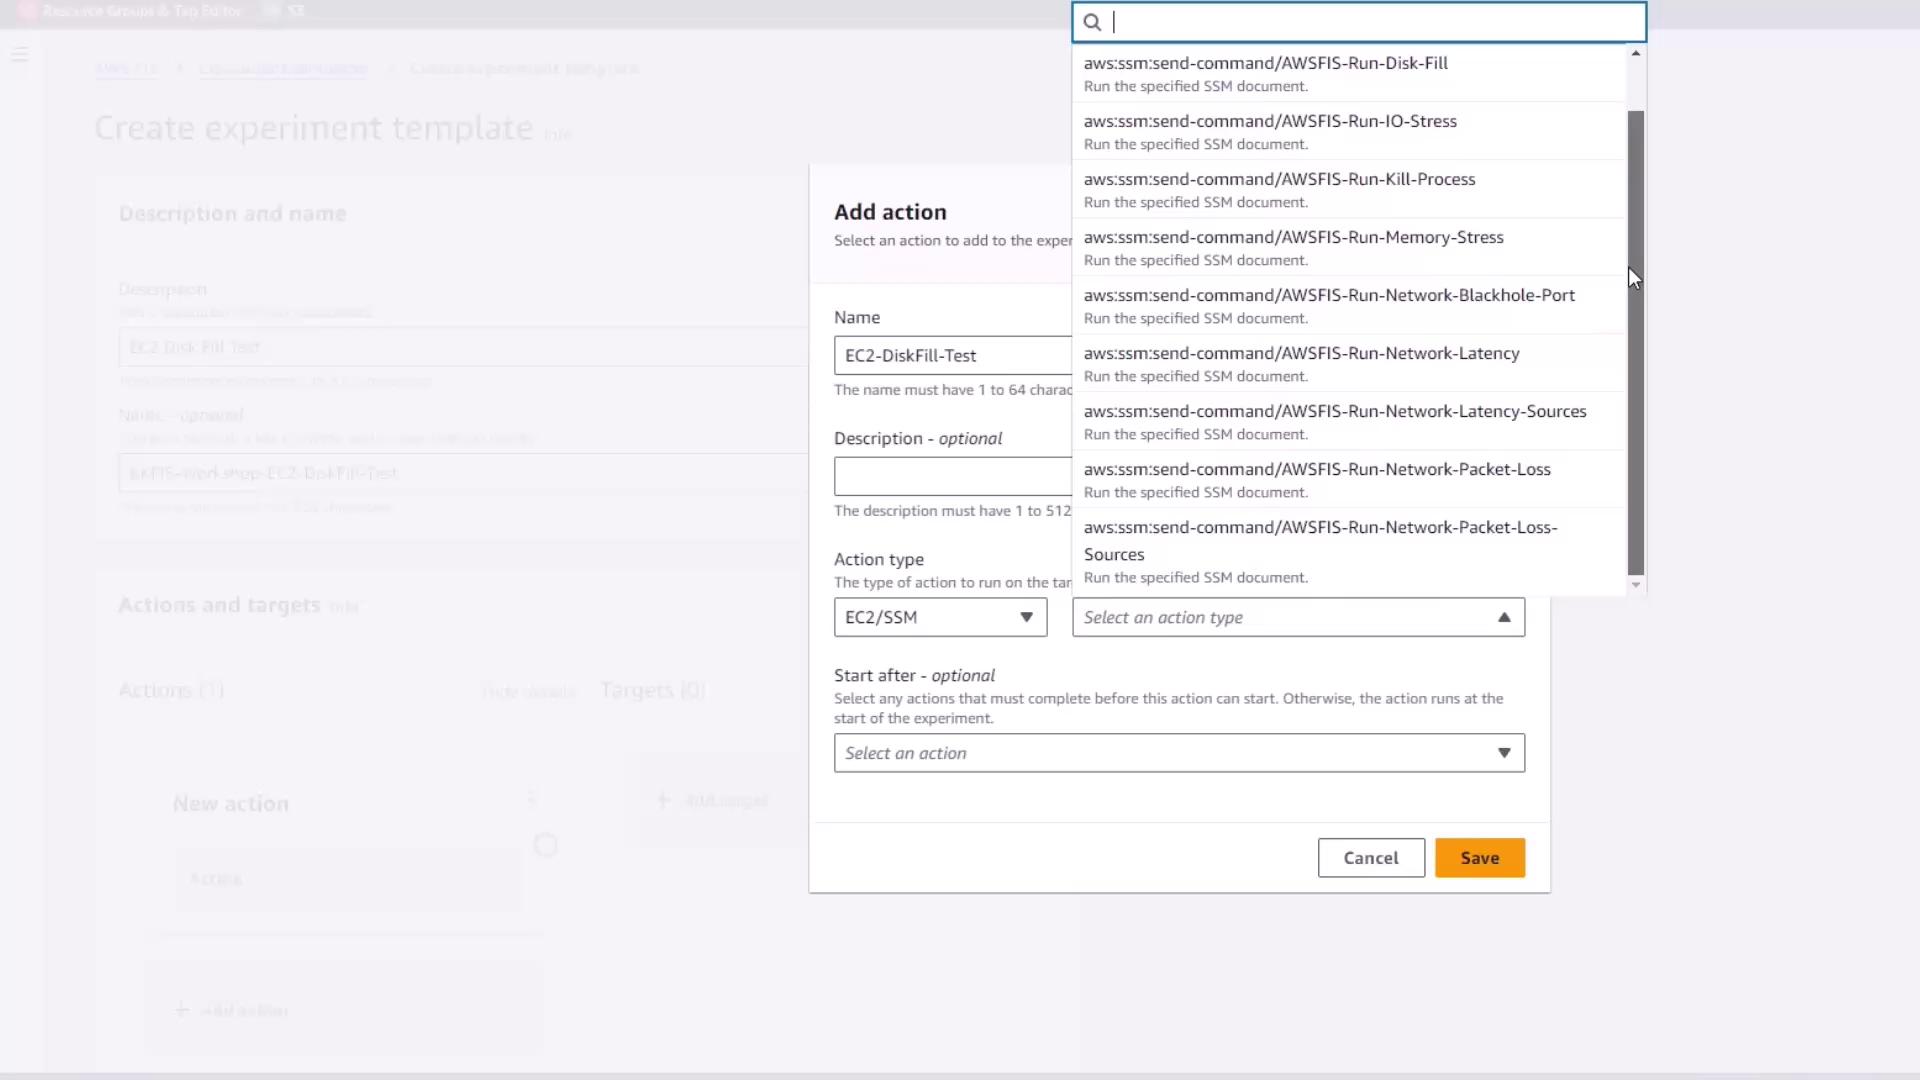
- Create and run an FIS experiment template
- Compare post-fault metrics against the baseline
Prerequisites
- EC2 instances tagged EKS pet site, running Amazon Linux or Ubuntu
- SSM Agent installed on target instances
- IAM role with permissions for SSM commands and CloudWatch logging
1. Record Baseline Metrics
Filter the running instances by name “EKS pet site” and select instance 03DF9.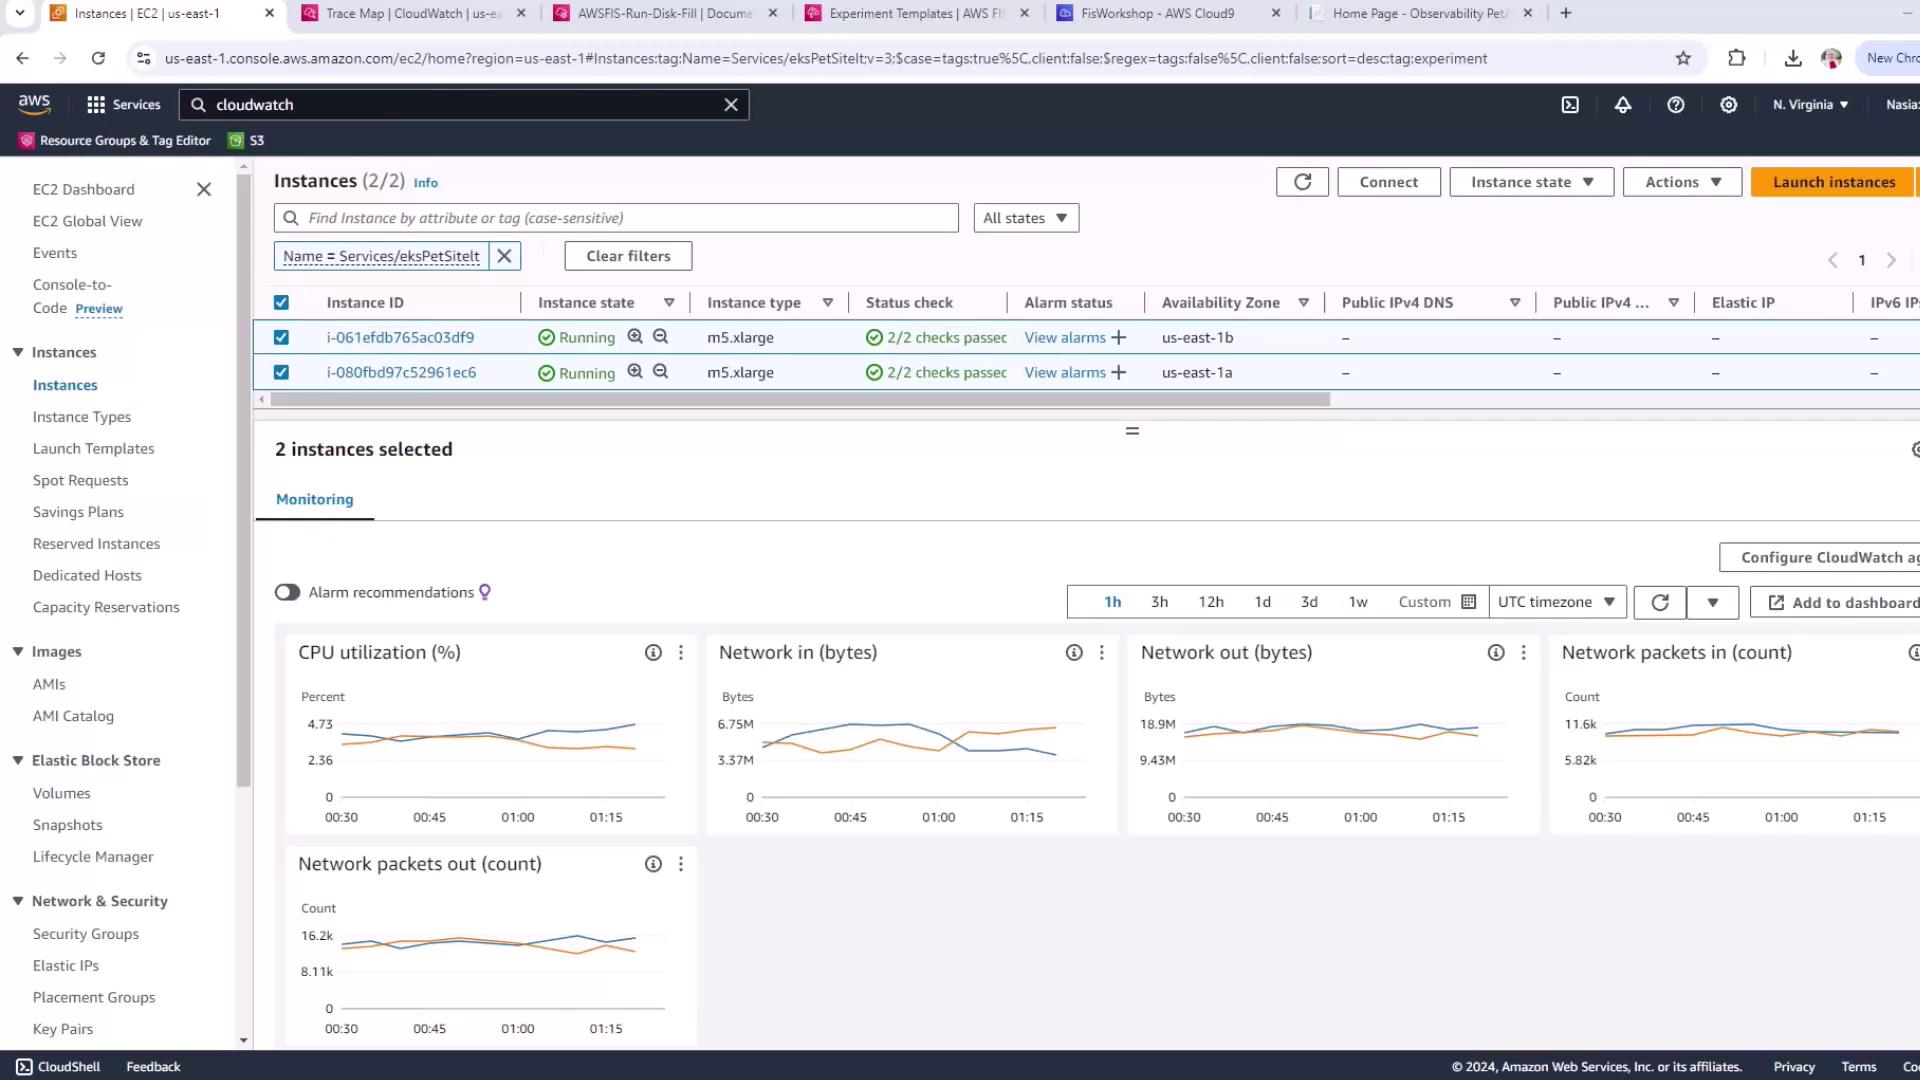
These values establish our steady-state before fault injection.
2. Configure the Disk Fill SSM Document
Navigate to AWS Systems Manager and search for fis services.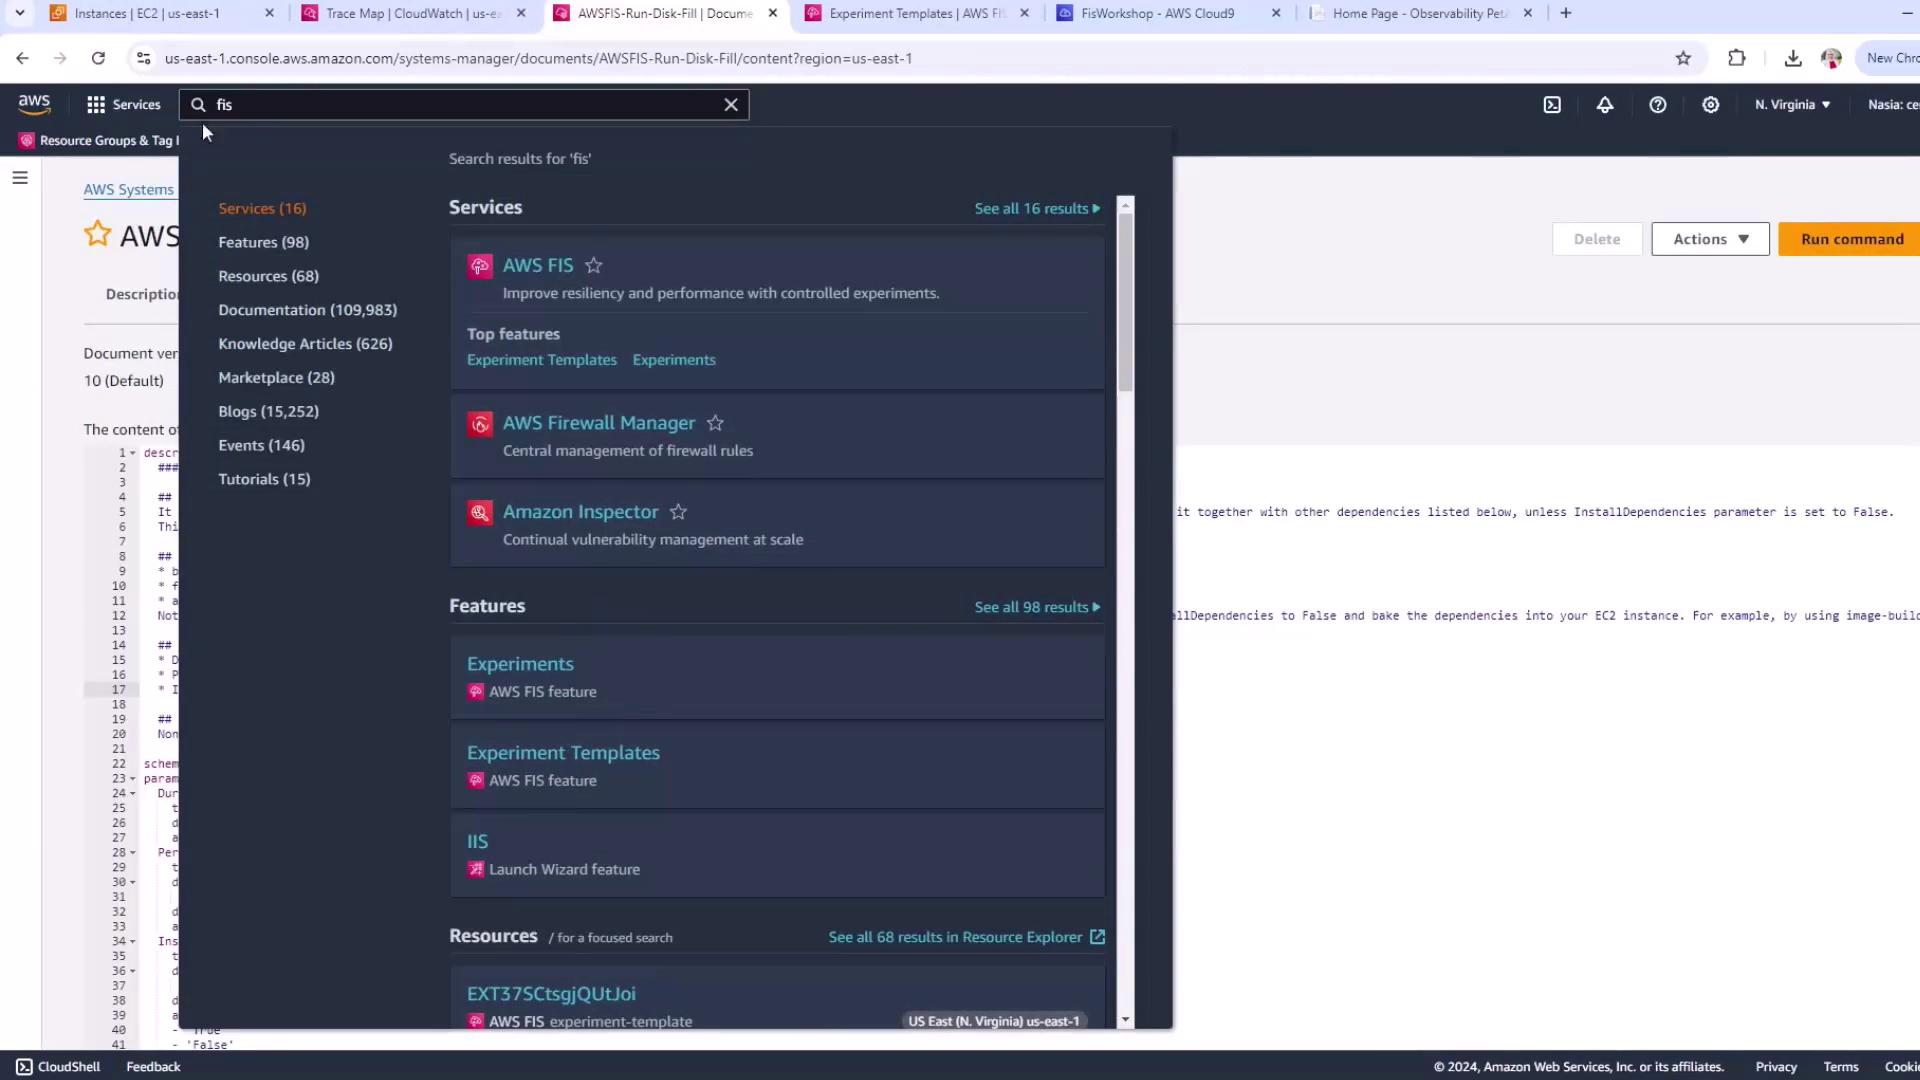
fallocate to stress disk allocation and installs bc and fallocate if needed.
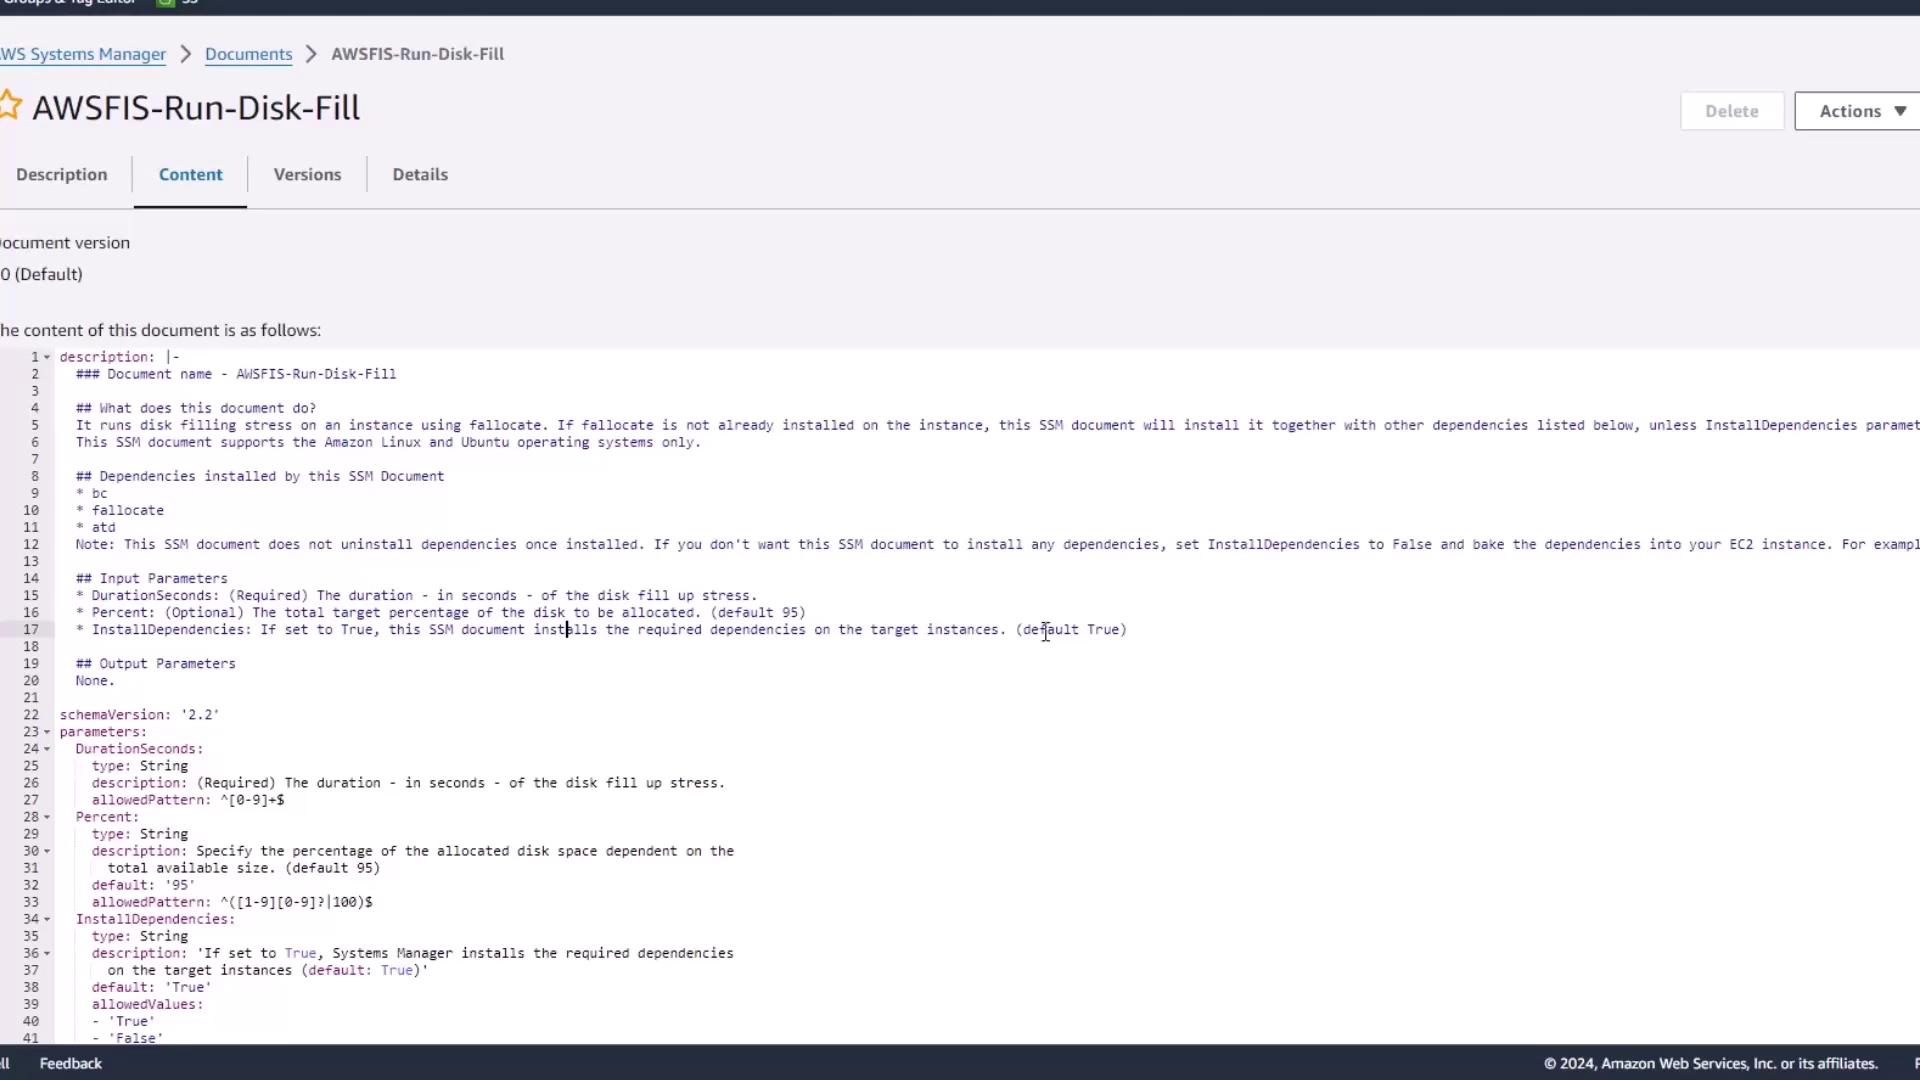
This SSM document does not uninstall dependencies after the test. To avoid repeated installs, pre-bake
bc and fallocate and set InstallDependencies=false.Input Parameters
3. Create the FIS Experiment Template
- Open AWS Fault Injection Simulator (FIS) and click Create experiment template.
- Enter your AWS account, a name (e.g.,
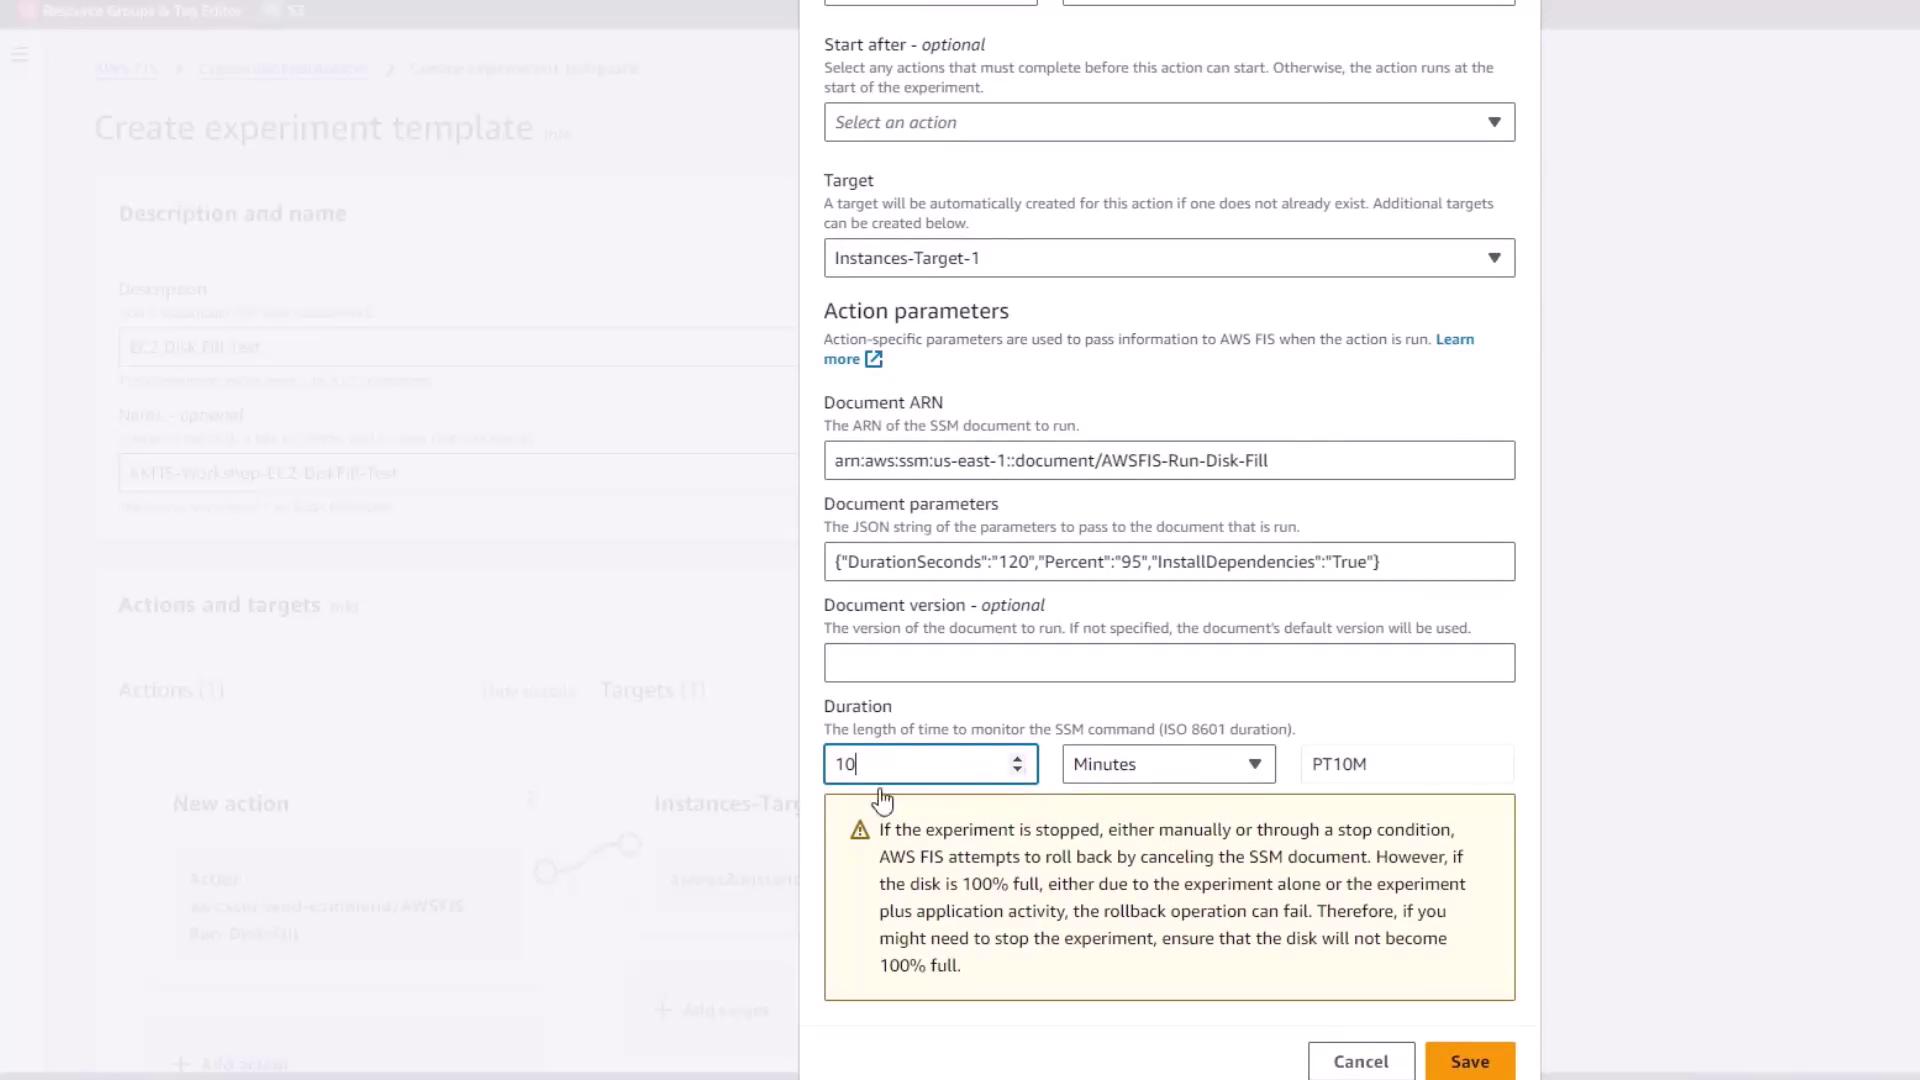
ec2-disk-fill-test), and a description. - Under Actions, choose Add action:
- Name: disk-fill
- Action type: aws:ssm:send-command
- Document: AWSFIS-Run-Disk-Fill
- Parameters:
- Action timeout: 600 seconds
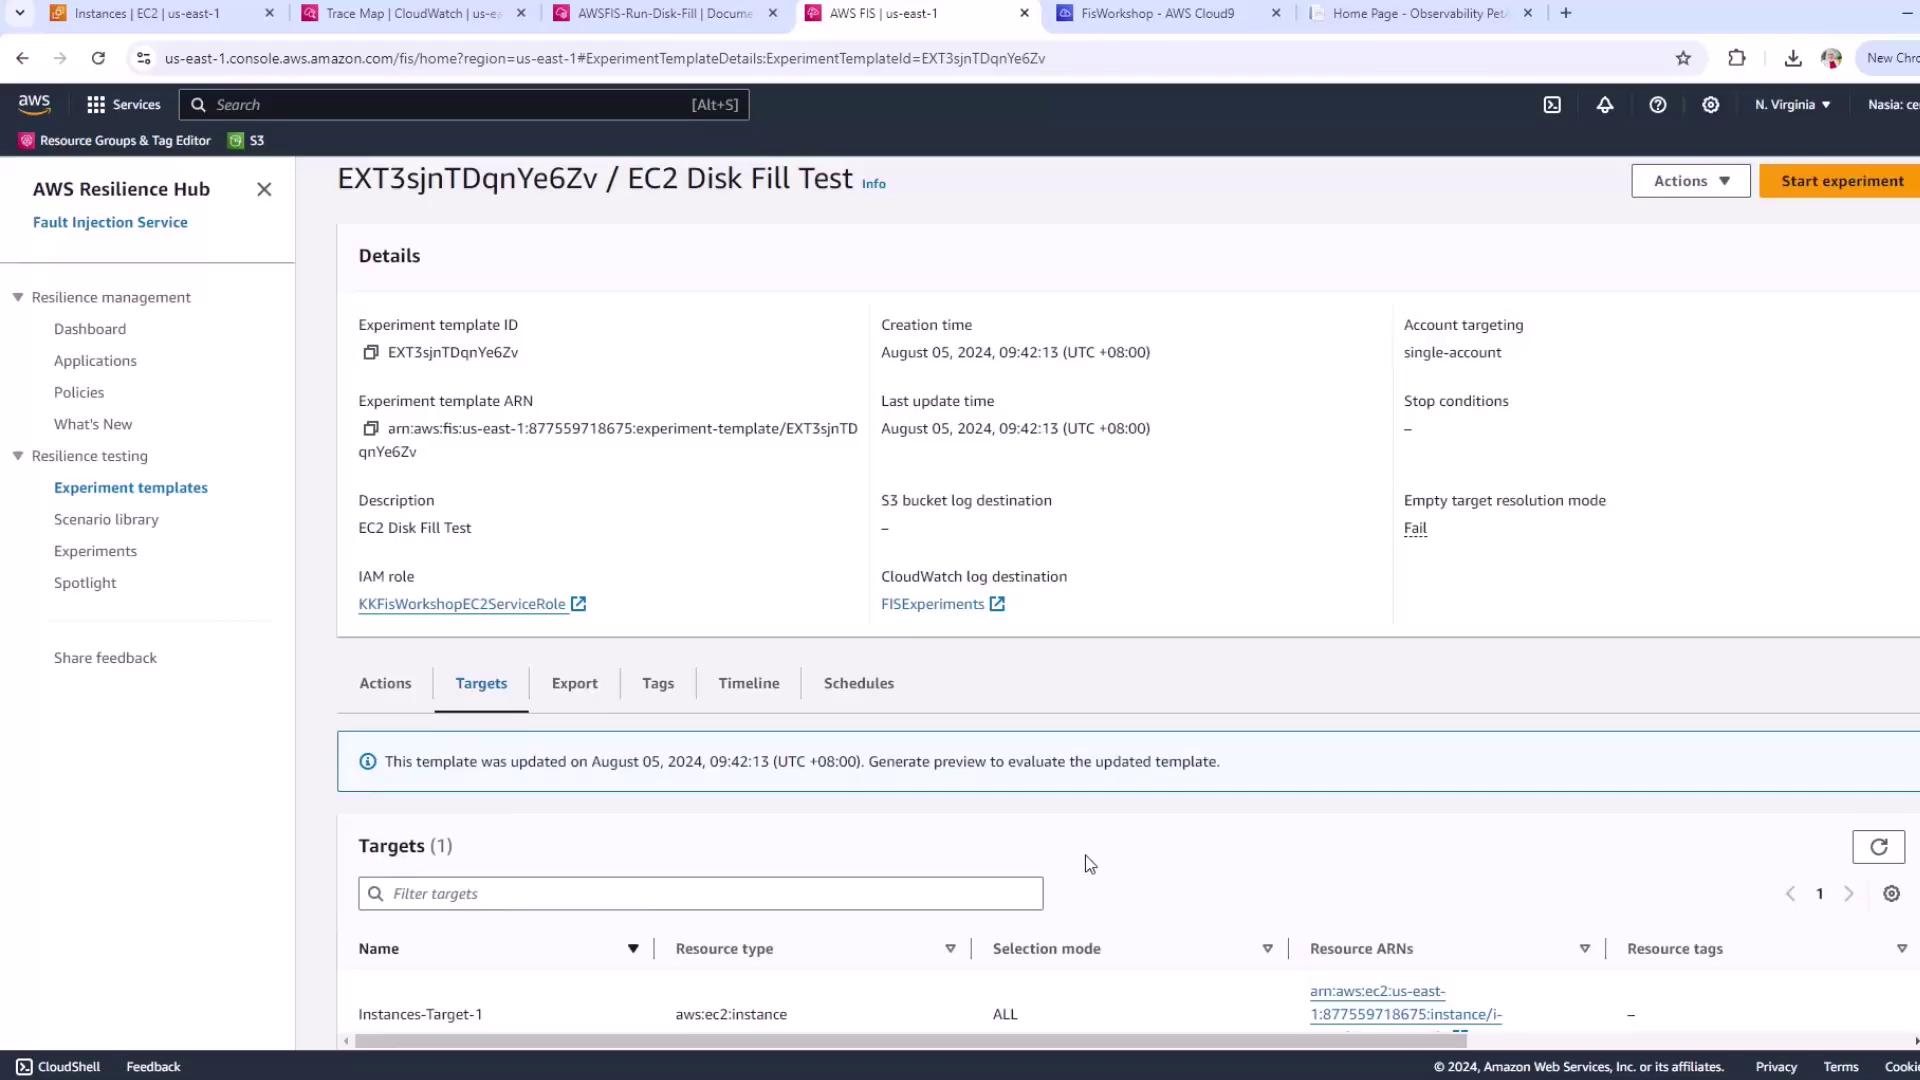
- In Targets:
- Resource type:
AWS::EC2::Instance - Resource IDs:
03DF9 - Selection mode: All
- Resource type:
- Assign an IAM role with SSM permissions. For logging, choose CloudWatch log group
FIS experiments. - Review and create the template.
4. Run and Monitor the Experiment
Start the experiment. Observe its state transition from Pending → Running → Completed.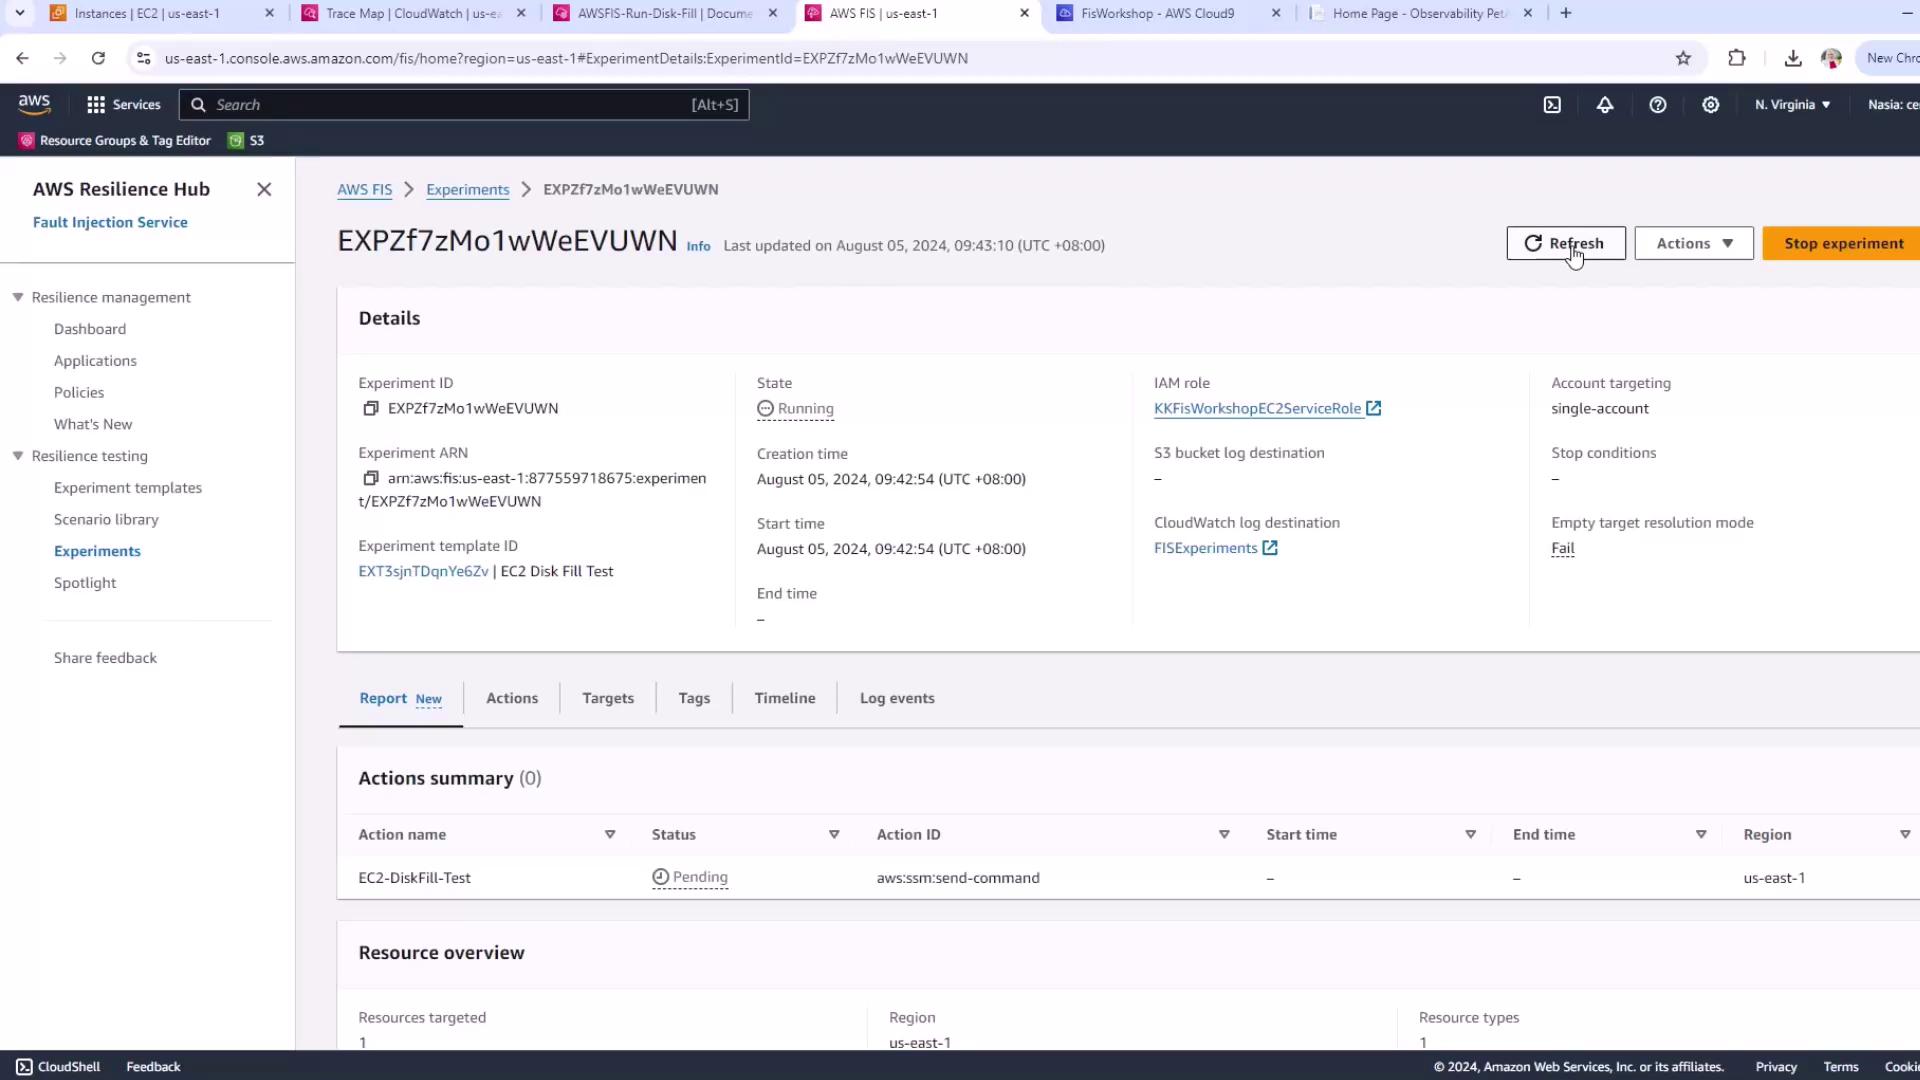
Disk fill stress can cause system instability and data loss. Only run on non-production or isolated environments.