In this lesson, you will perform the manual steps required to install and configure an EC2 environment when Cloud9 IDE is not available. You’ll create an IAM role, launch and prepare an EC2 instance, clone repositories, configure your AWS environment, and deploy with AWS CDK.
These steps mimic the Cloud9 IDE setup by granting the EC2 instance permissions via an IAM role and installing all required CLI tools, Docker, Kubernetes clients, and CDK.

1. Create an IAM Role for EC2

  1. Open the IAM console, choose RolesCreate role.
  2. Select AWS service and EC2 use case, then Next.
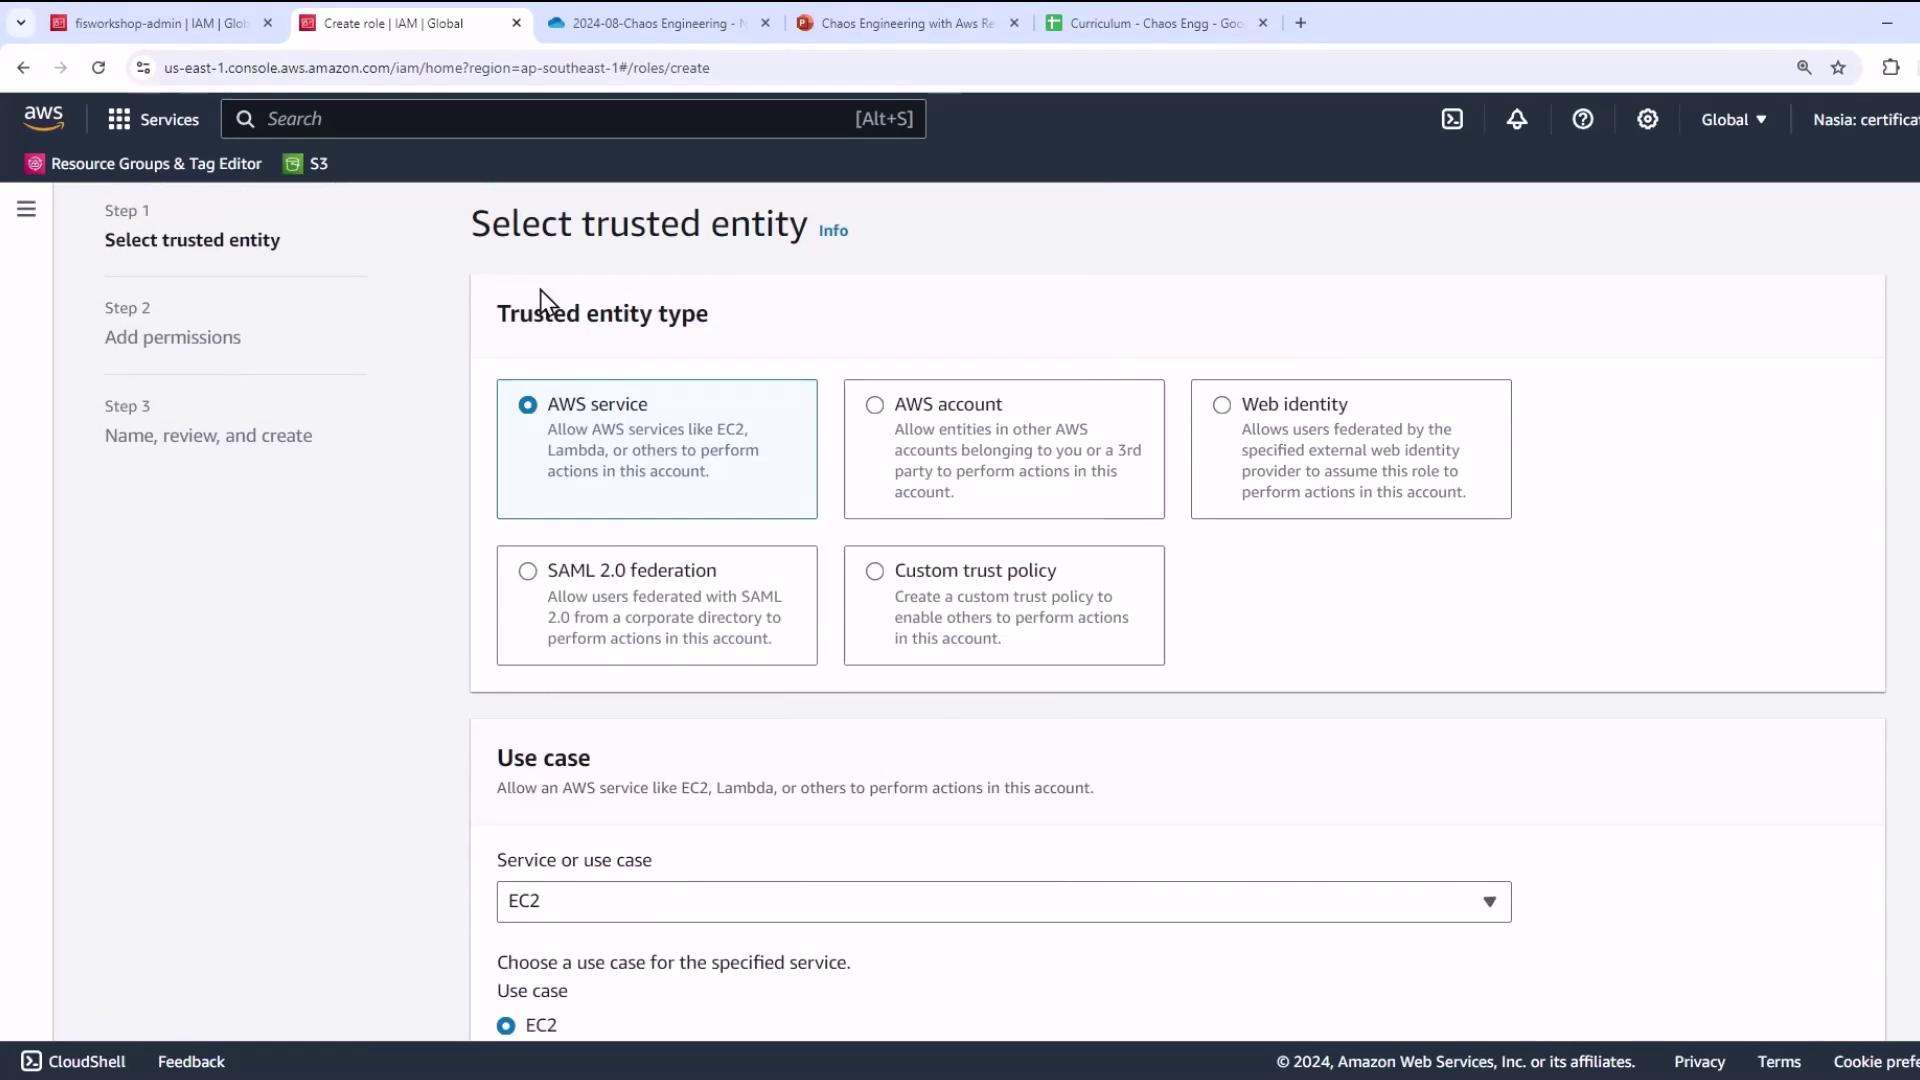
The image shows an AWS IAM console screen where a user is selecting a trusted entity type for creating a role, with options like AWS service, AWS account, and Web identity. The "AWS service" option is selected, and the use case is set to EC2.
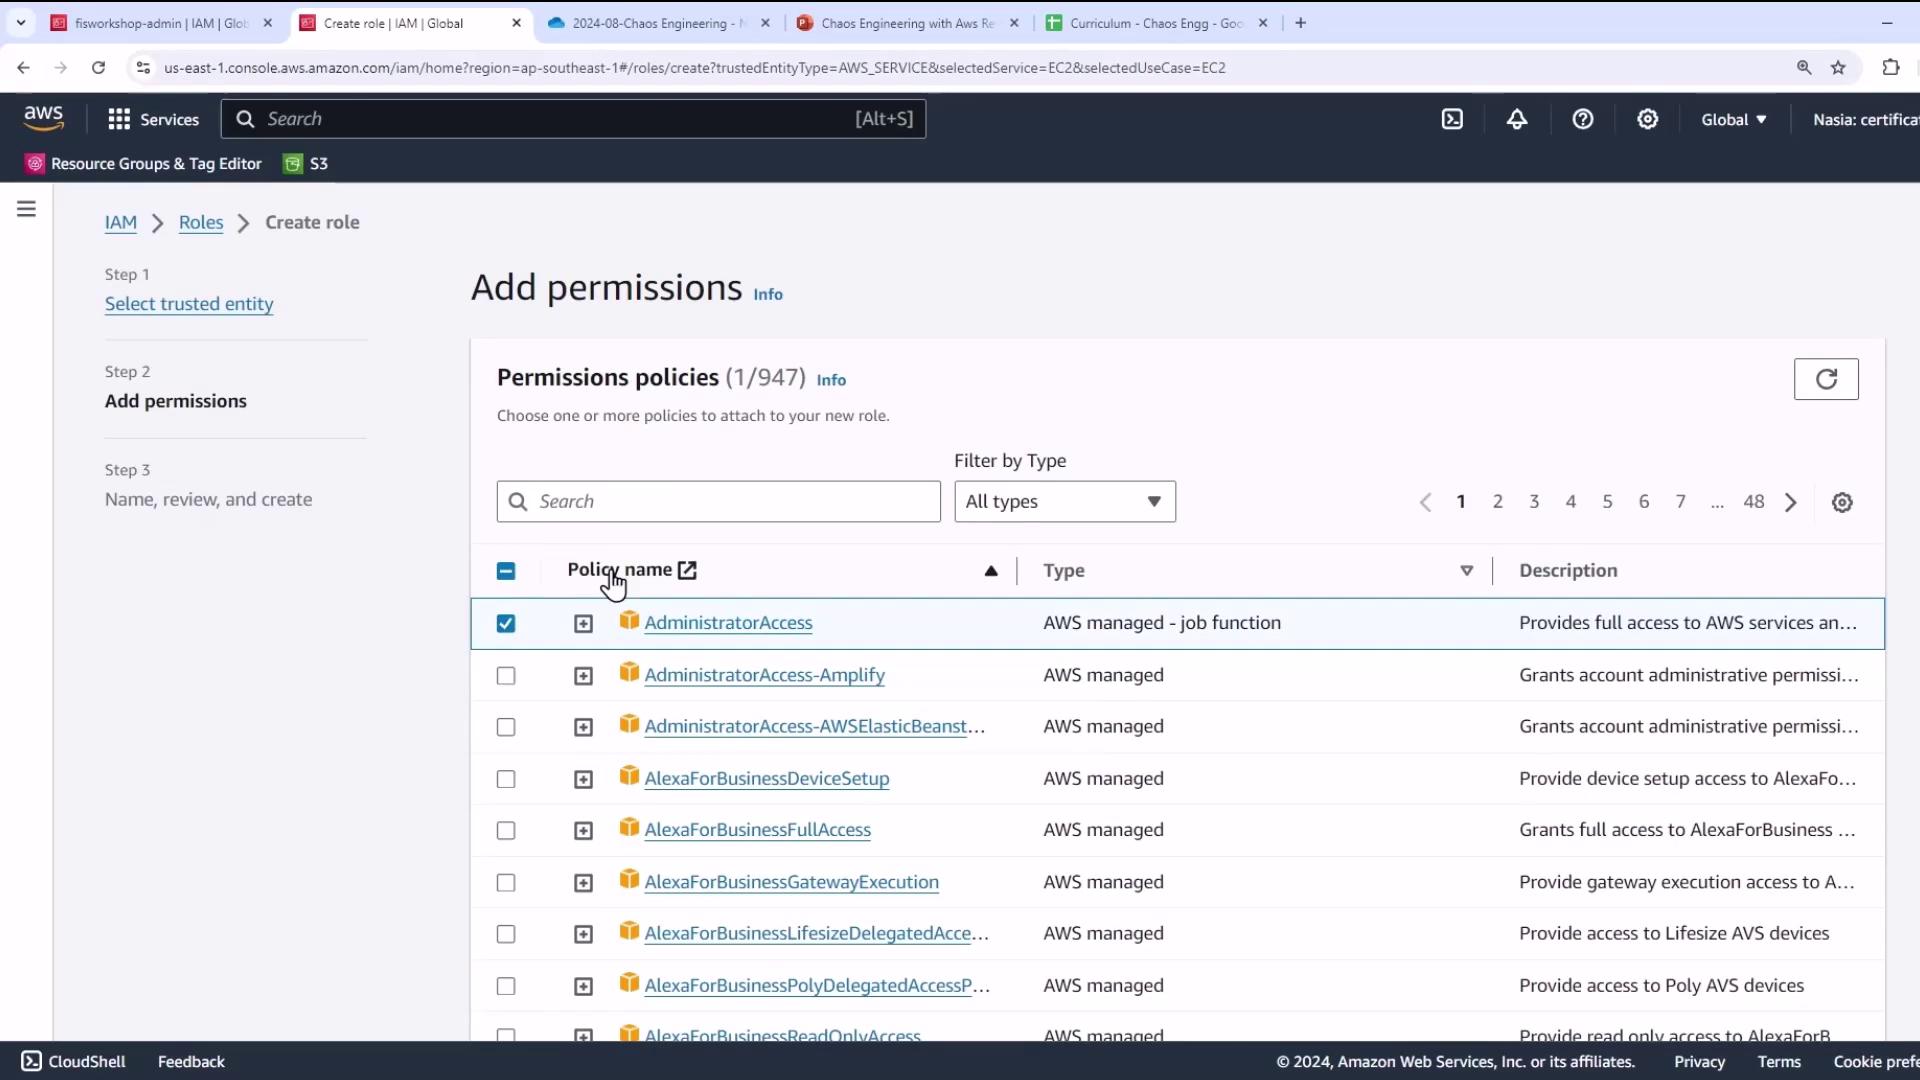
  1. Attach these AWS managed policies:
The image shows an AWS IAM console screen where a user is adding permissions to a role, with various AWS managed policies listed.
  1. Use the exact trust policy and name from the GitHub repo (e.g., fisworkshop-admin):
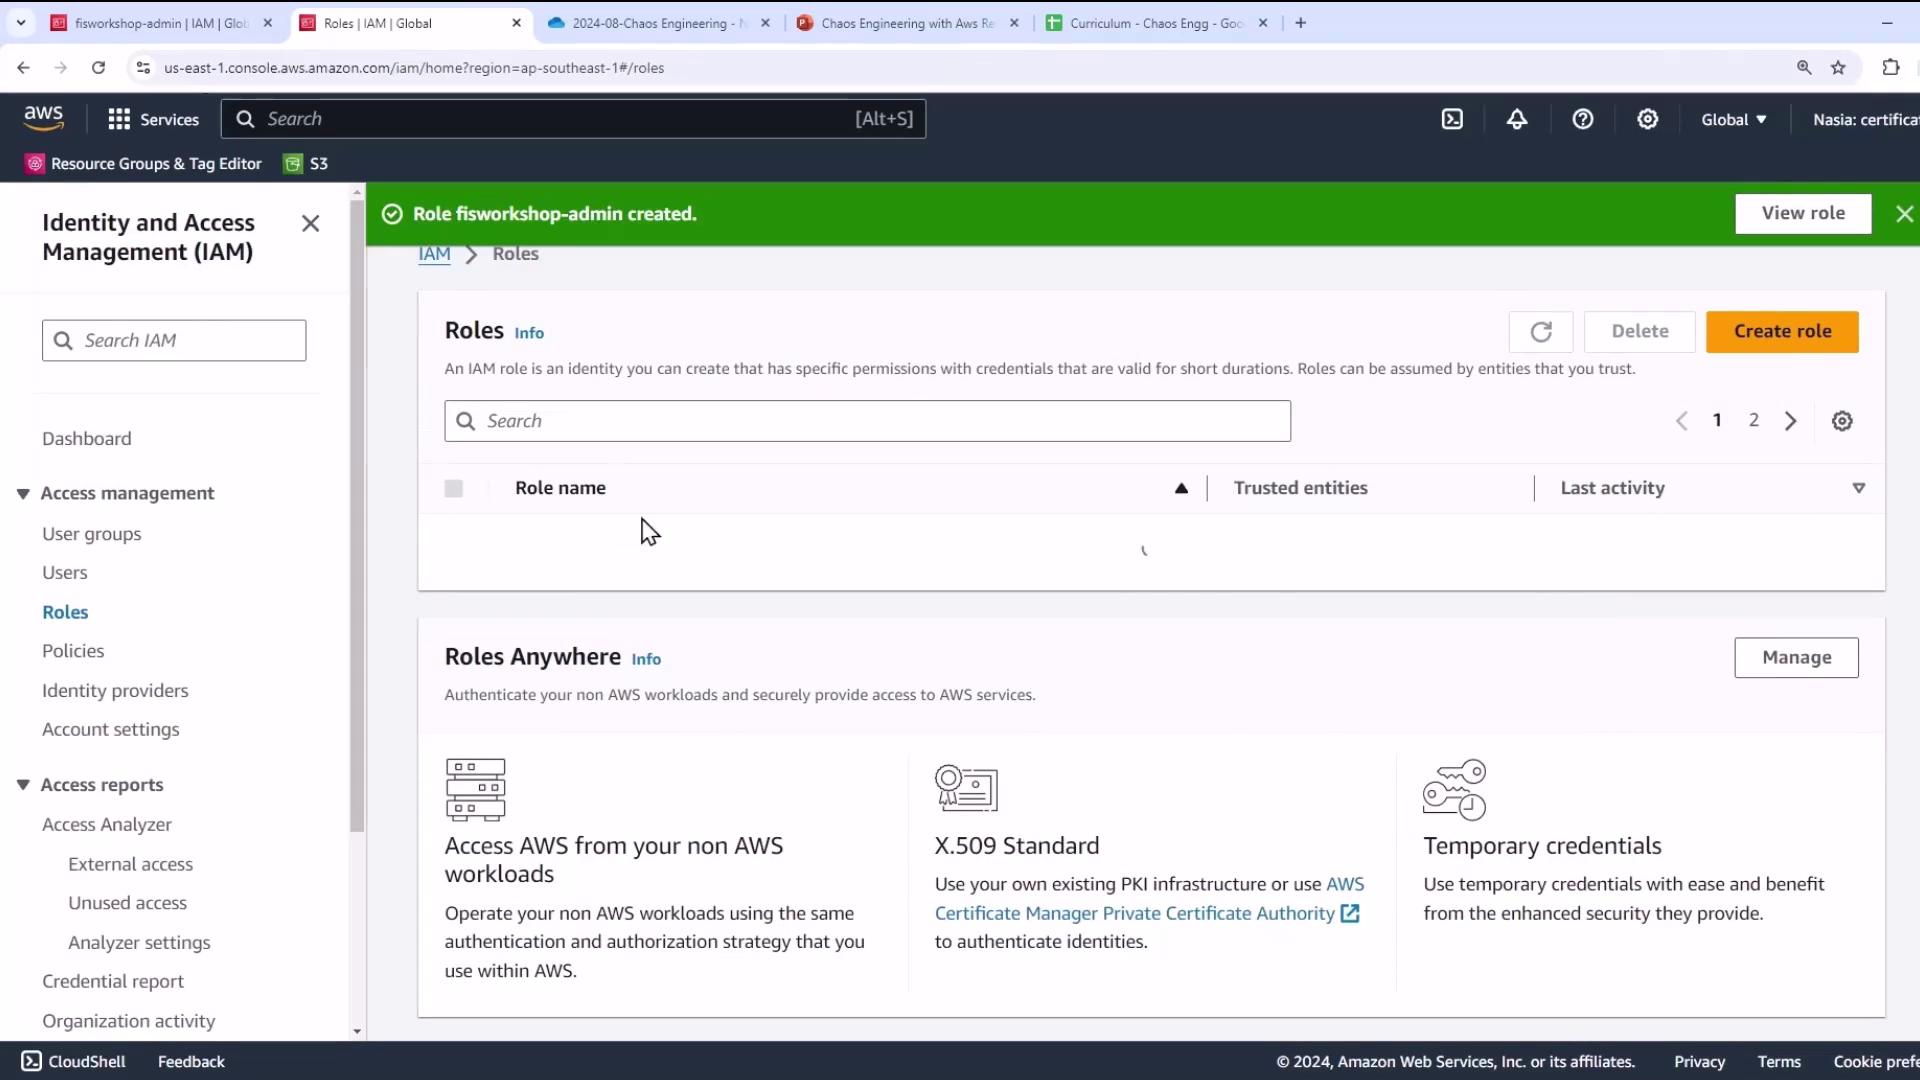
  1. Complete the role creation.
The image shows the AWS Identity and Access Management (IAM) console, specifically the "Roles" section, with a notification indicating that a role named "fisworkshop-admin" has been created.
  1. (Optional) Verify the role’s summary and trust relationships.
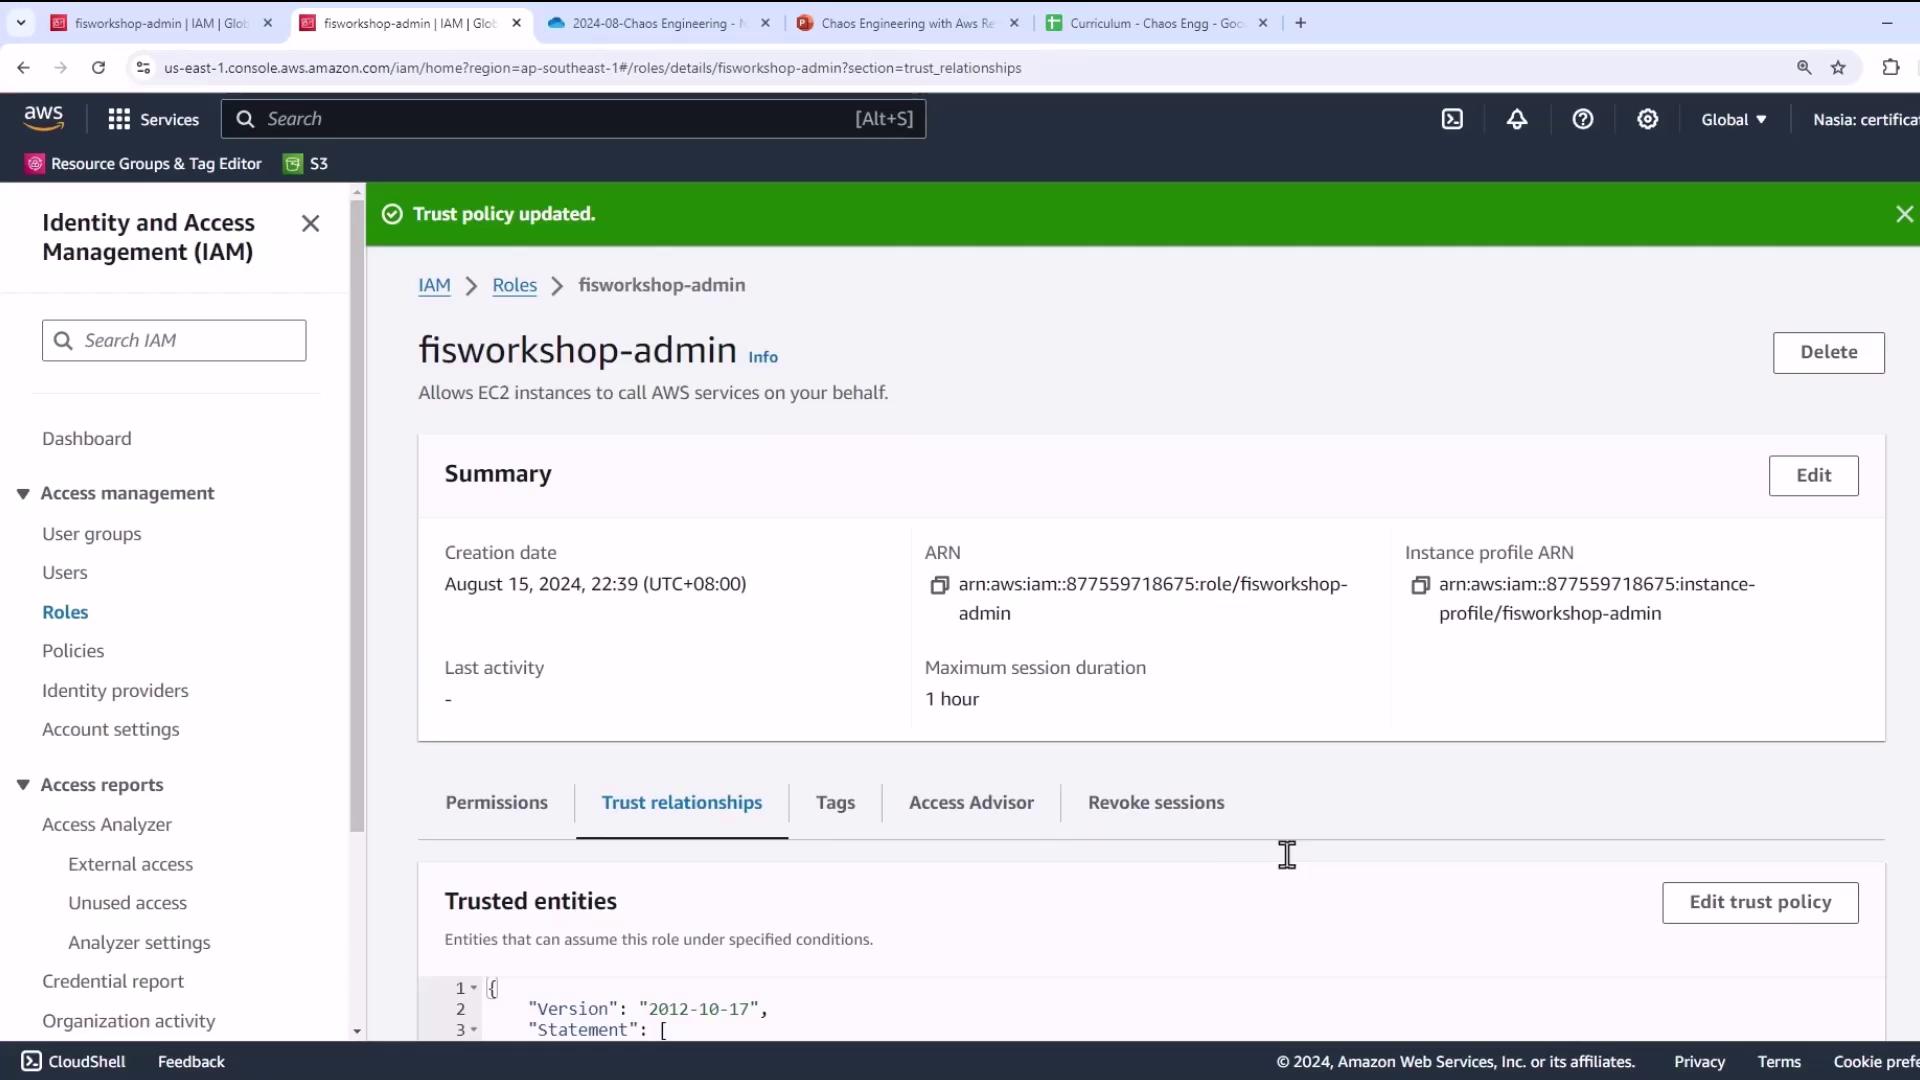
The image shows an AWS Identity and Access Management (IAM) console screen for the role "fisworkshop-admin," displaying its summary details and trust relationships.

2. Launch an EC2 Instance

  1. In the EC2 console, click Launch instance.
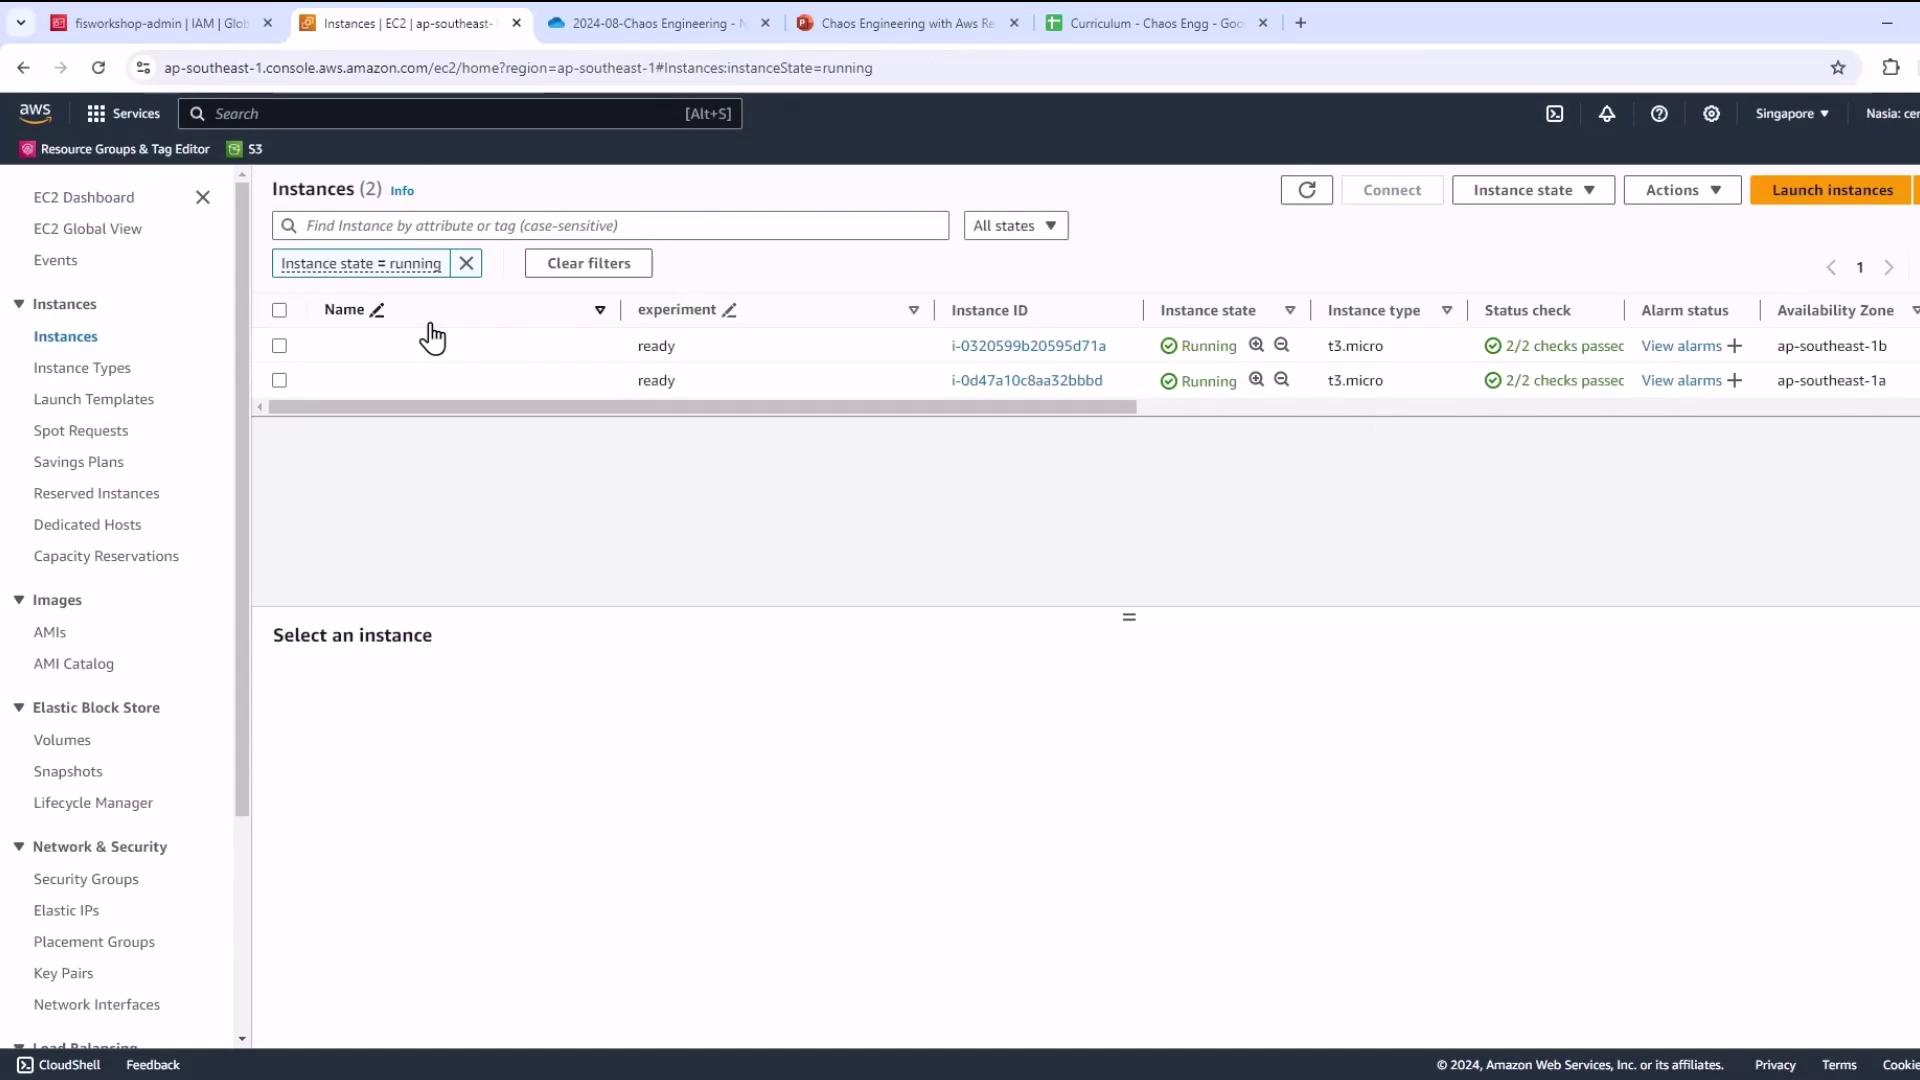
The image shows an AWS EC2 management console with two running instances listed, both of type "t3.micro" and located in the "ap-southeast-1" region.
  1. Name the instance, choose Amazon Linux AMI, and select an instance type (e.g., m5.xlarge for CDK deployments).
The image shows an AWS EC2 instance launch configuration screen, where a user is selecting an Amazon Machine Image (AMI) and instance type, with details about pricing and free tier eligibility.
  1. (Optional) Create or choose an SSH key pair for shell access.
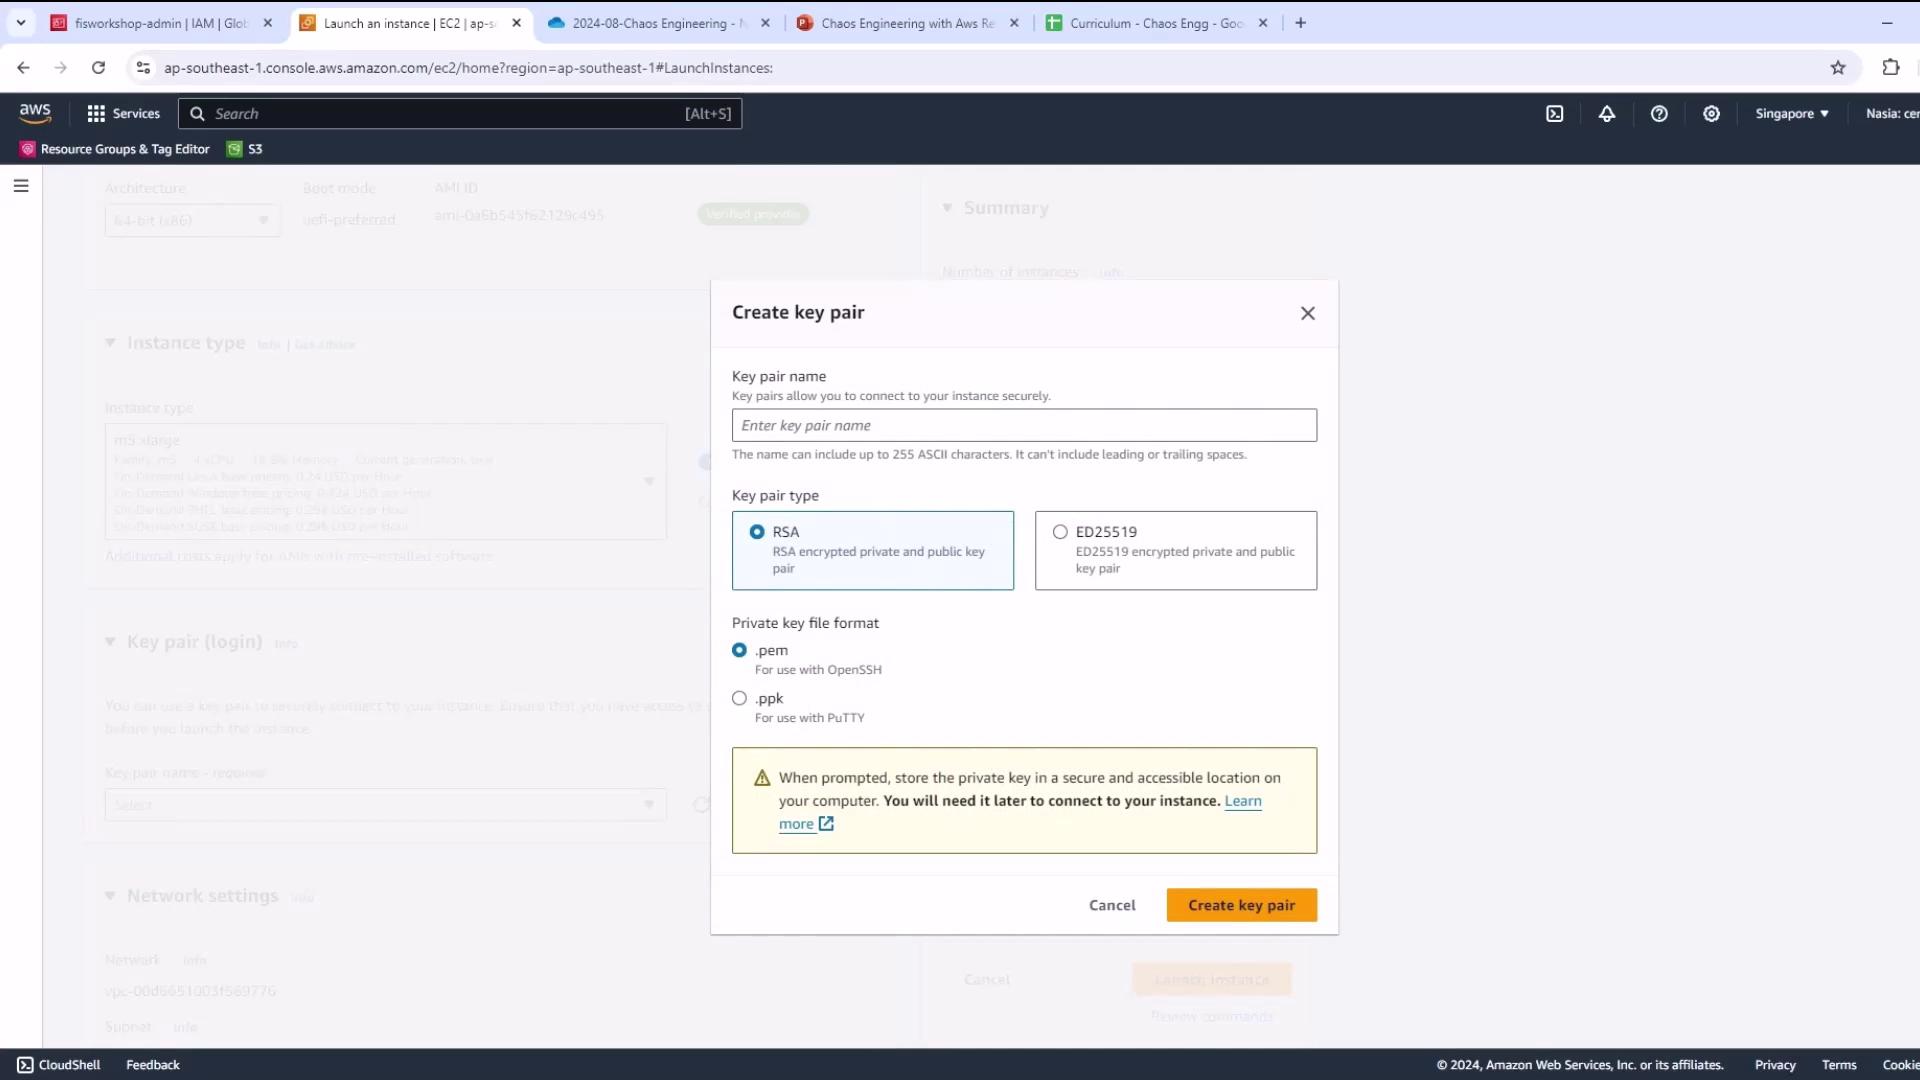
The image shows a dialog box for creating a key pair in AWS, with options to select the key pair type and private key file format.
Opening SSH (port 22) to 0.0.0.0/0 is insecure. Restrict to your IP range where possible.
  1. Keep default VPC/subnet and allow SSH access.
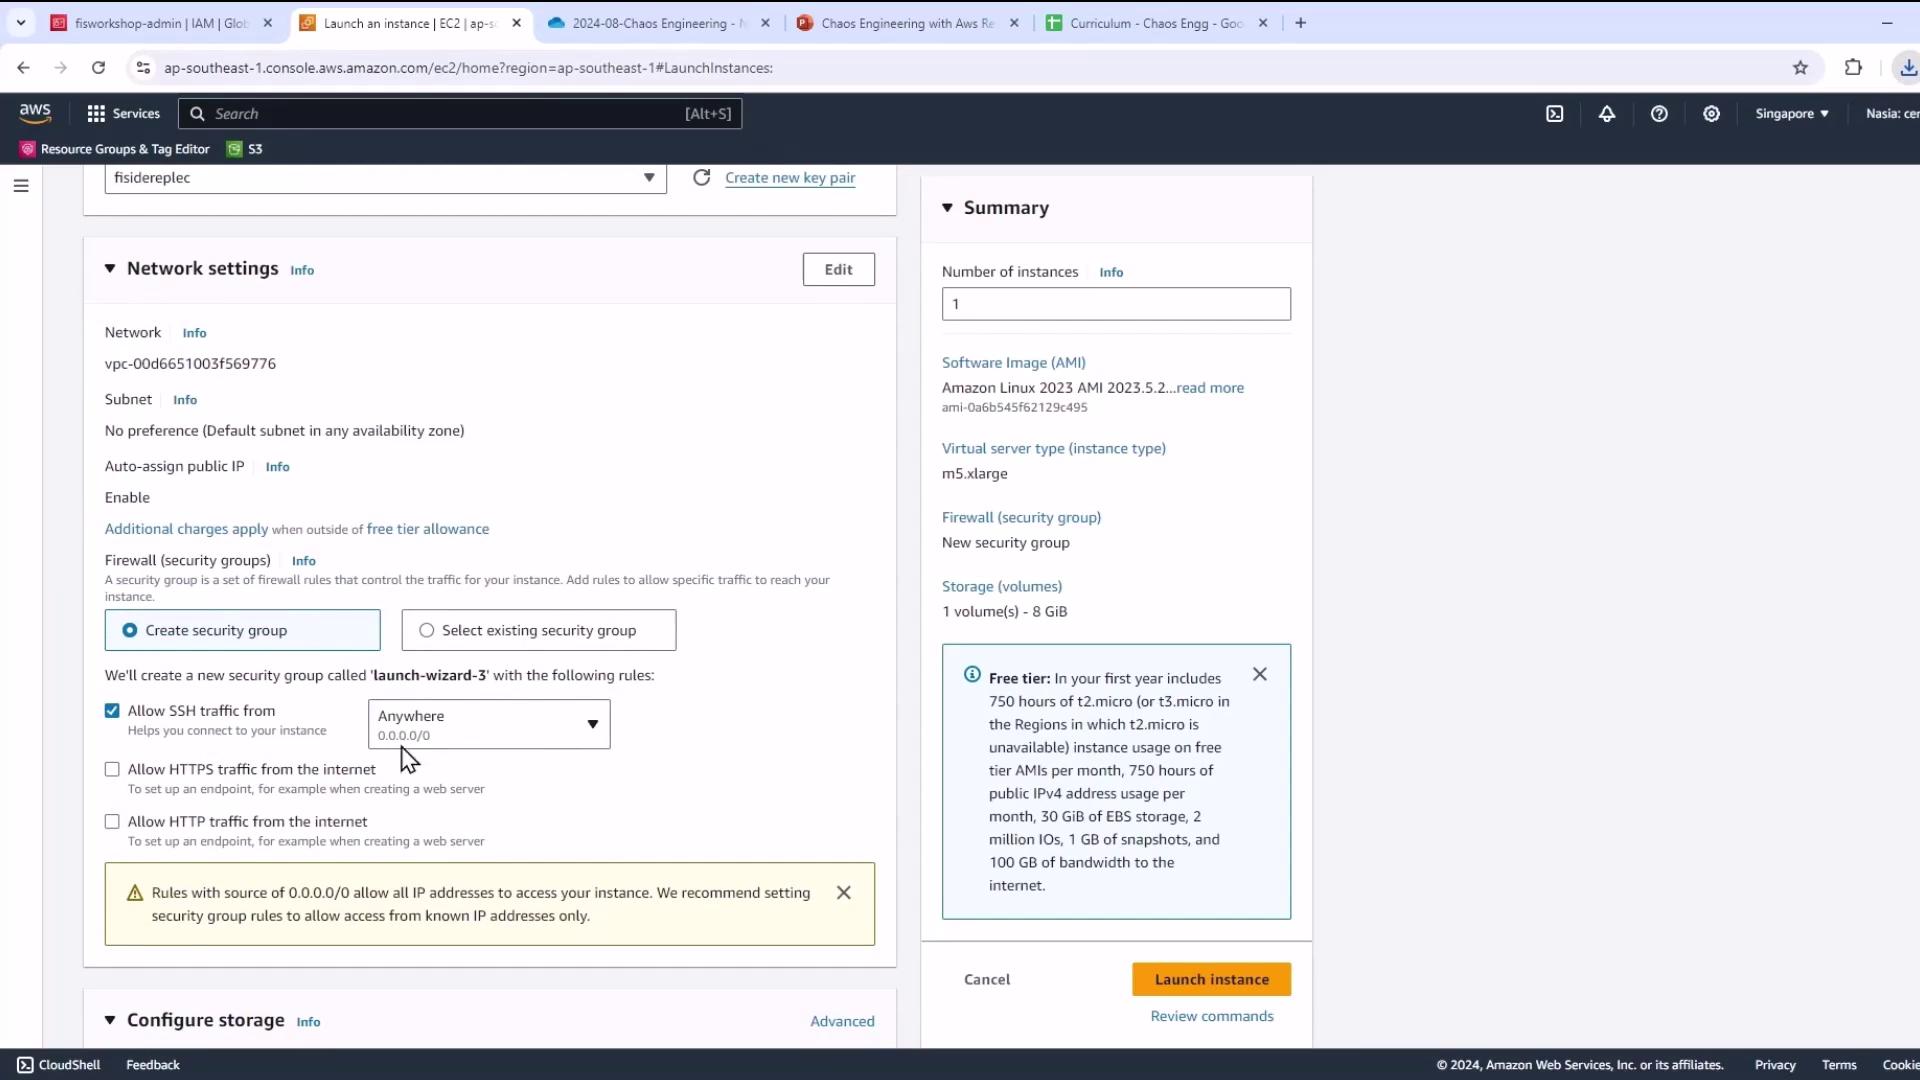
The image shows an AWS EC2 instance launch configuration screen, detailing network settings and a summary of the instance specifications.
  1. Under Storage, increase the root volume size to meet lab requirements.
The image shows an AWS EC2 instance launch configuration screen, detailing security group settings, storage configuration, and free tier information.
  1. In Advanced Details, select the IAM instance profile you created (fisworkshop-admin) to grant AWS API permissions.
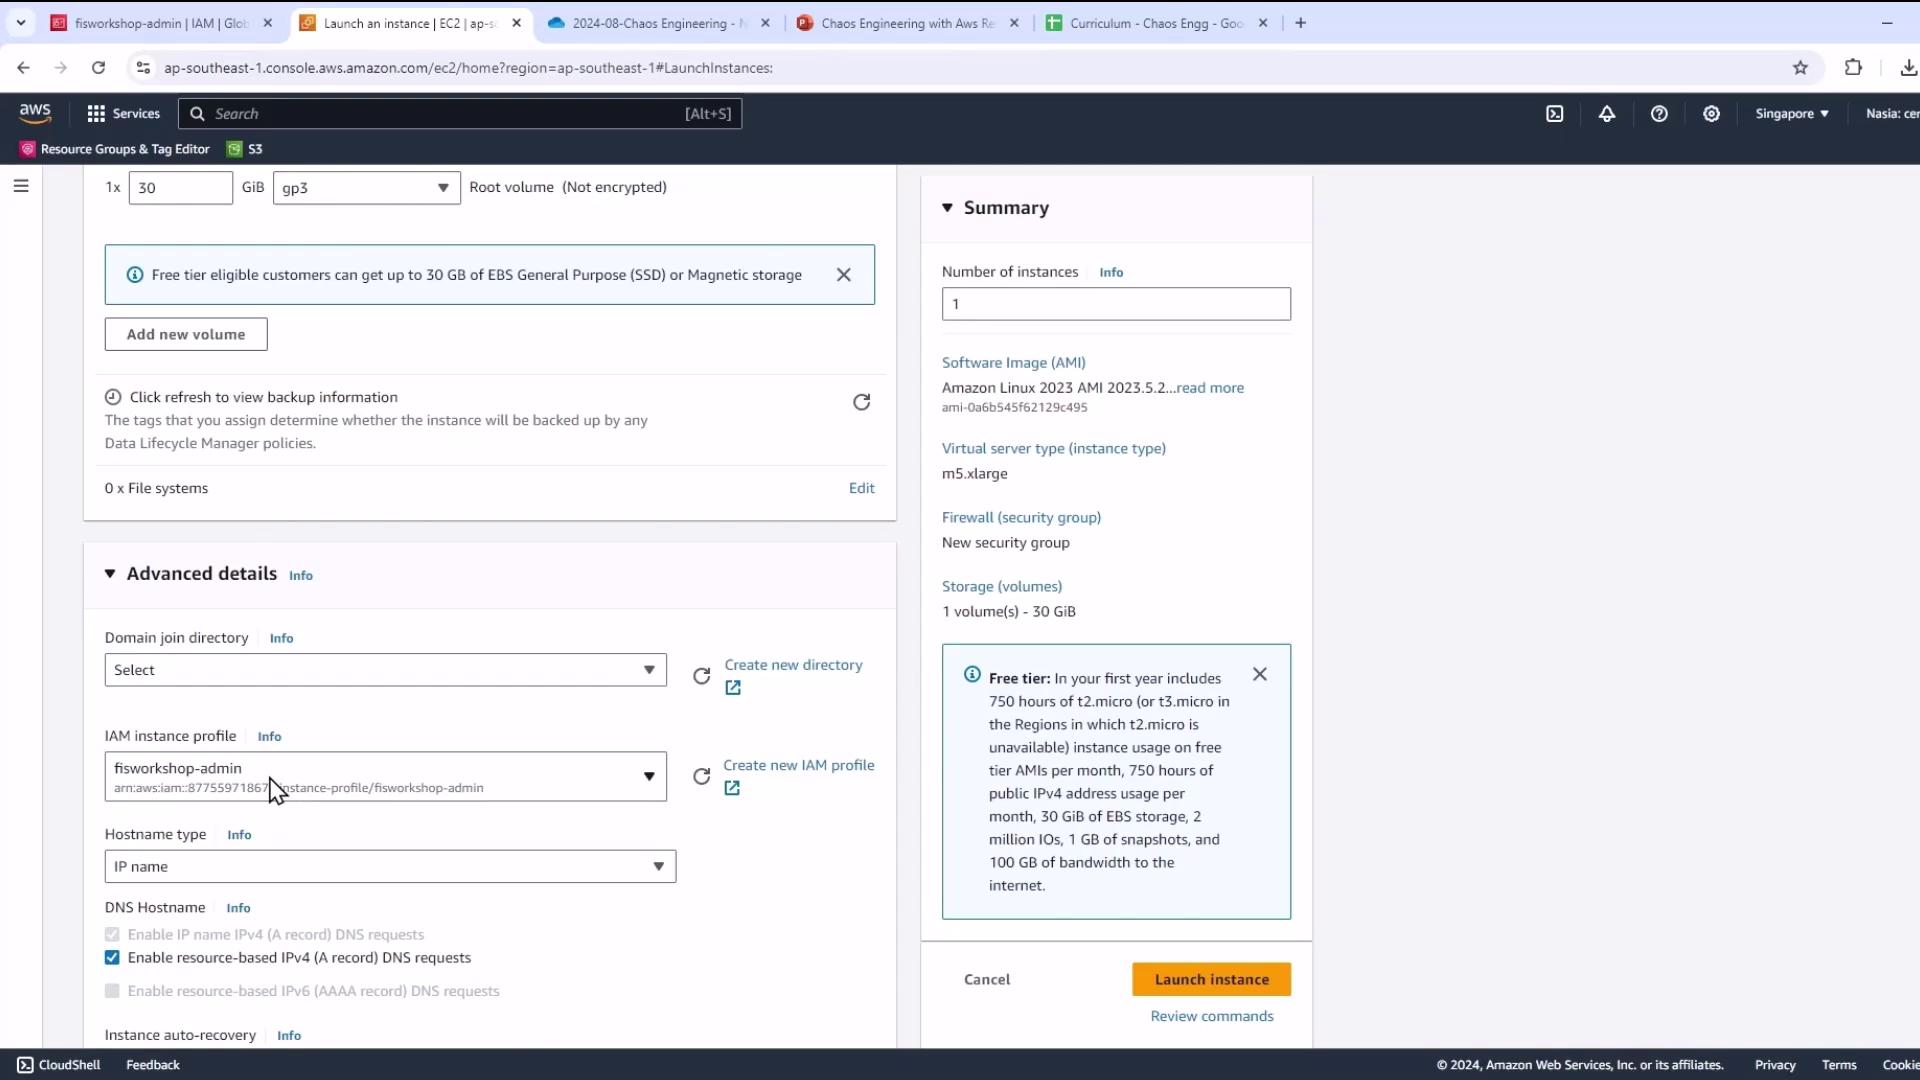
The image shows an AWS EC2 instance launch configuration screen, detailing options for storage, instance type, and advanced settings. The summary section on the right provides an overview of the selected configurations.
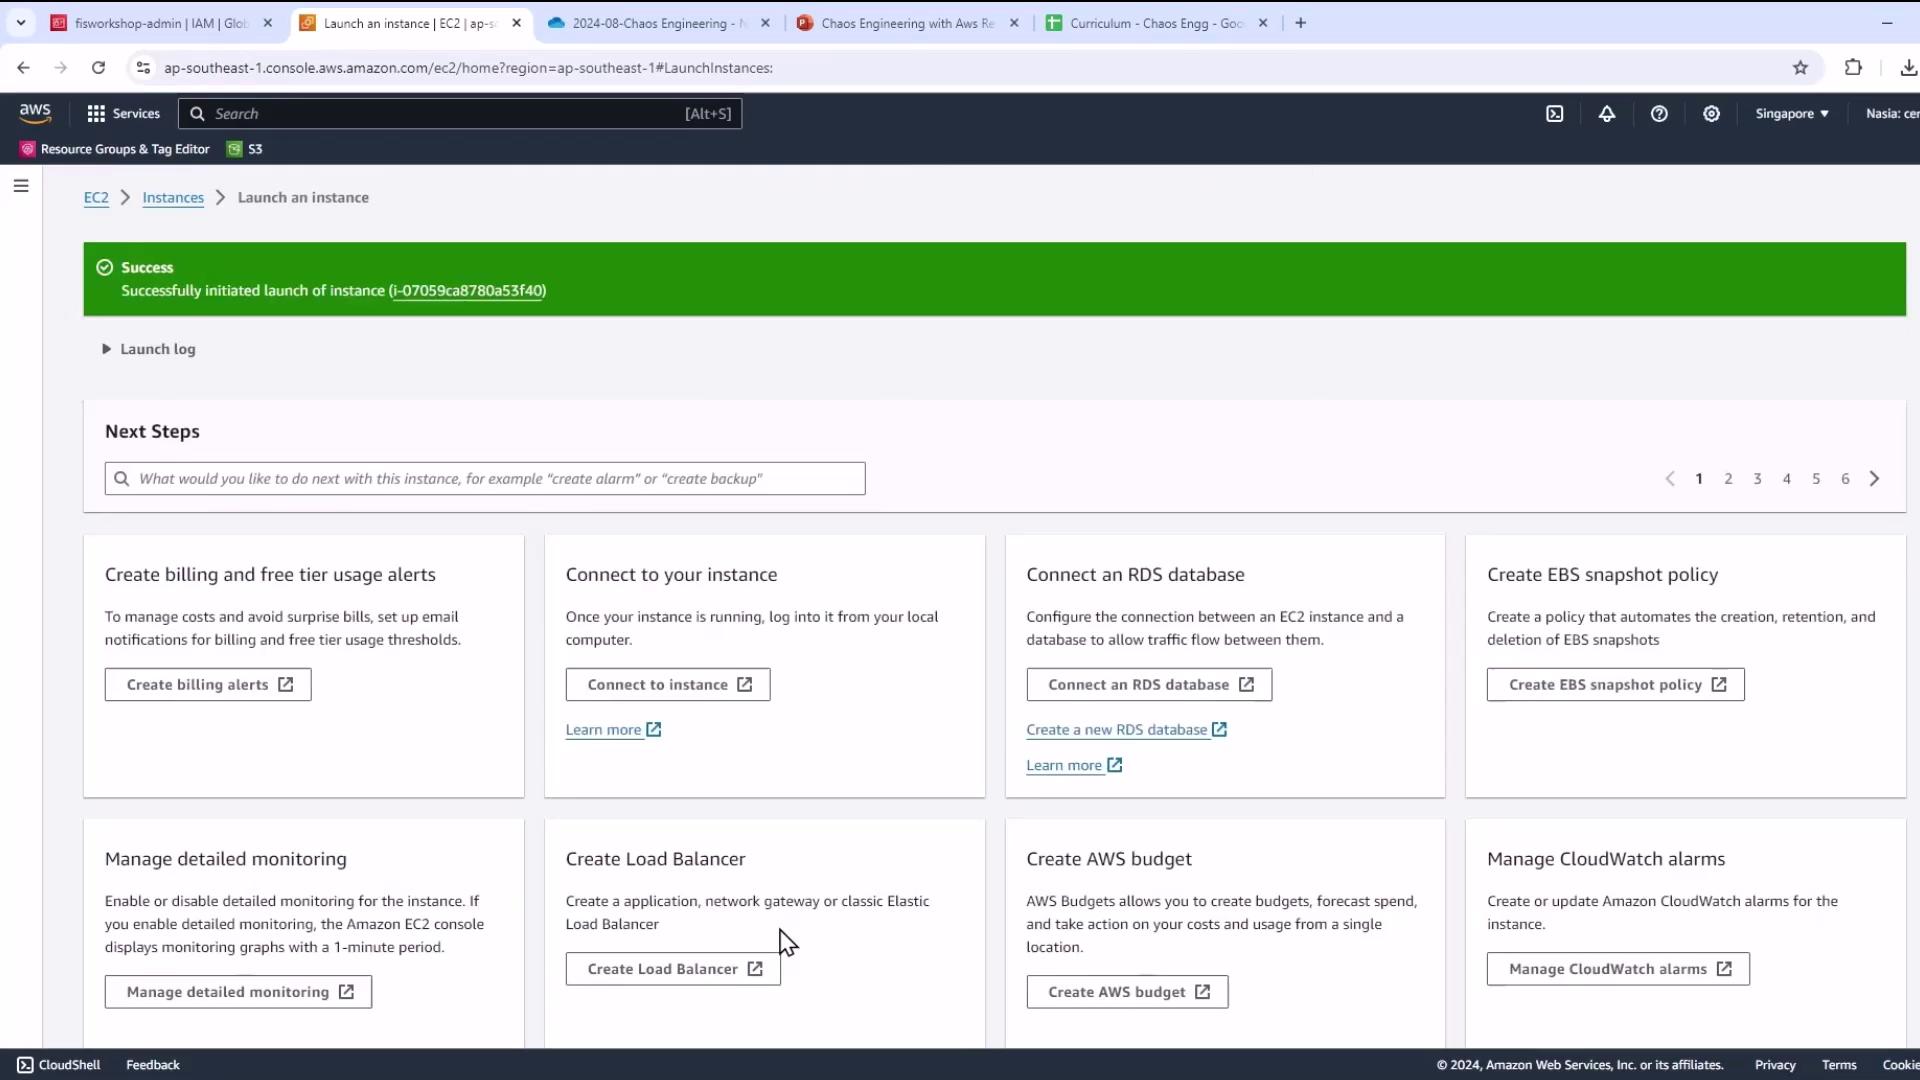
  1. Launch and confirm success.
The image shows an AWS EC2 console with a success message indicating the launch of an instance. It also displays various next steps and options for managing the instance, such as creating billing alerts and connecting to the instance.
  1. Wait until your instance is running & passes 2/2 status checks.
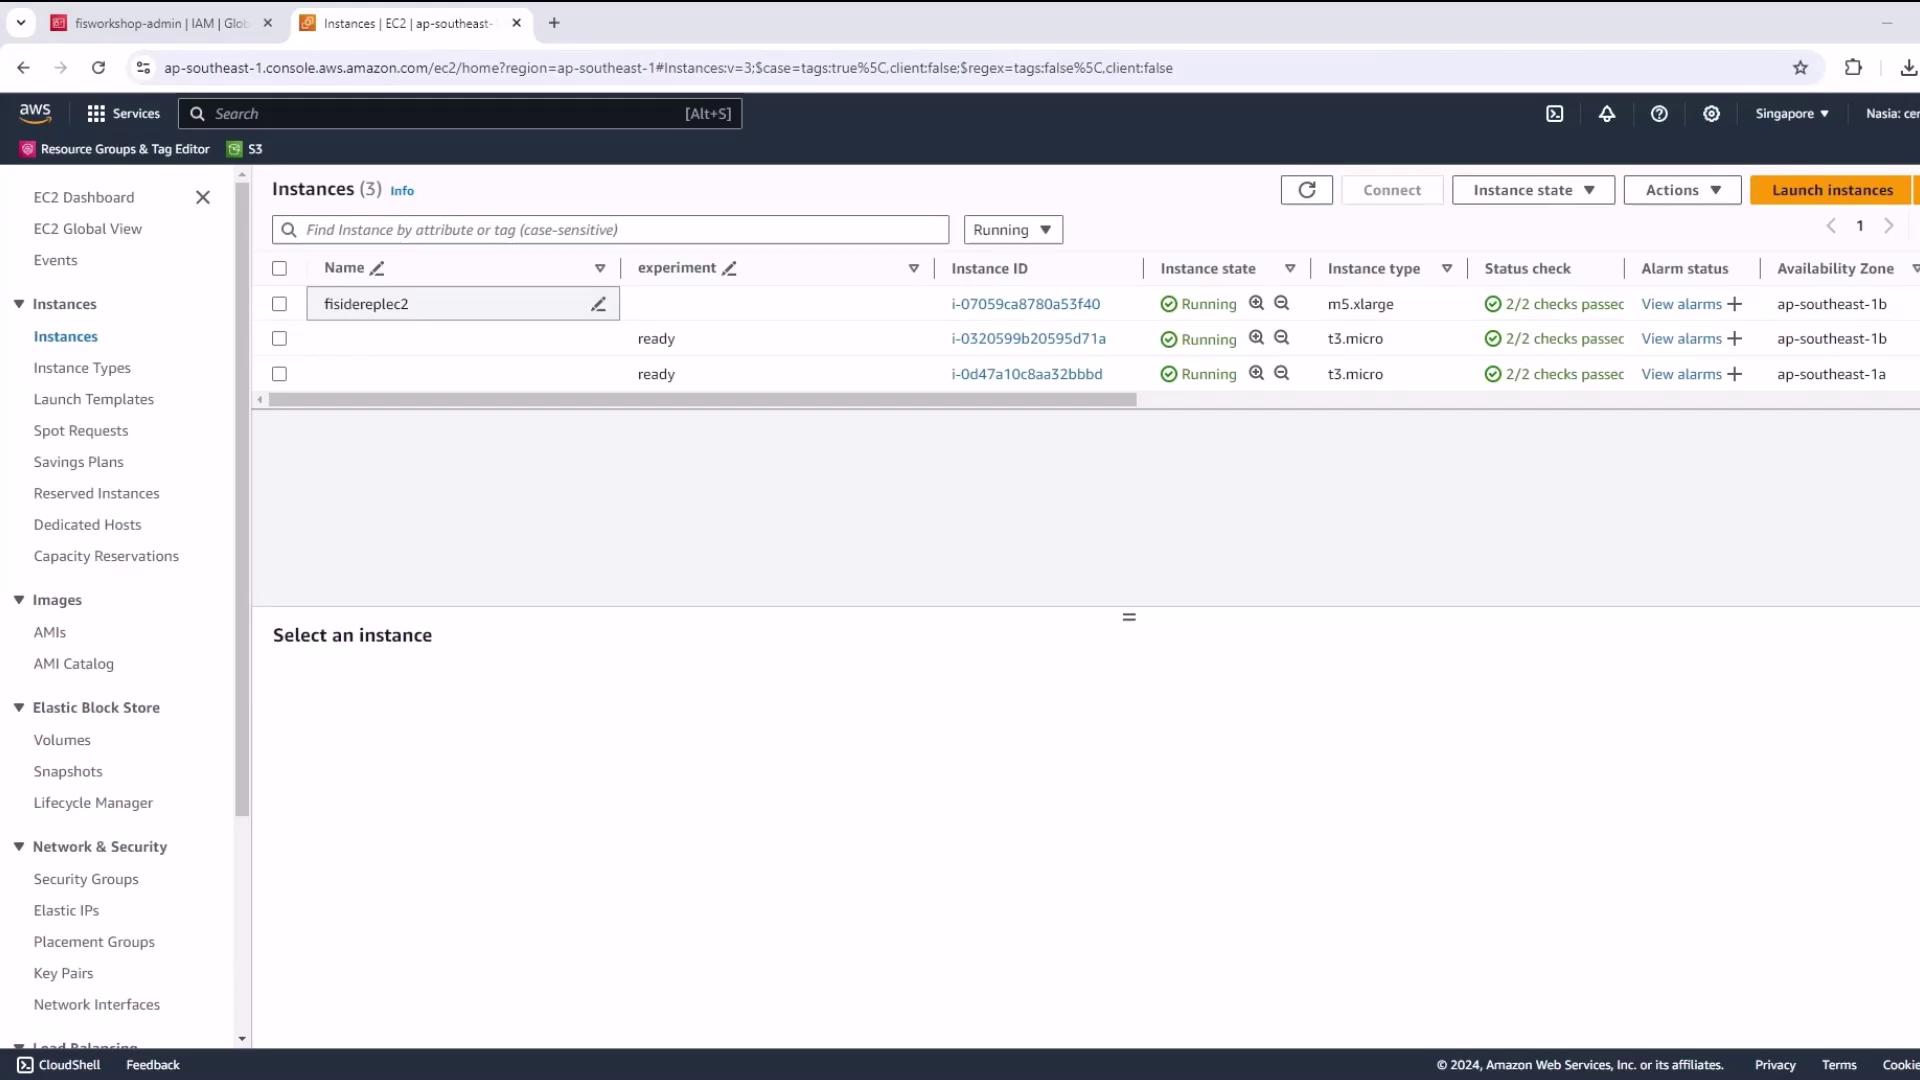
The image shows an AWS EC2 dashboard with a list of running instances, displaying details like instance ID, state, type, and availability zone.

3. Connect and Prepare the EC2 Environment

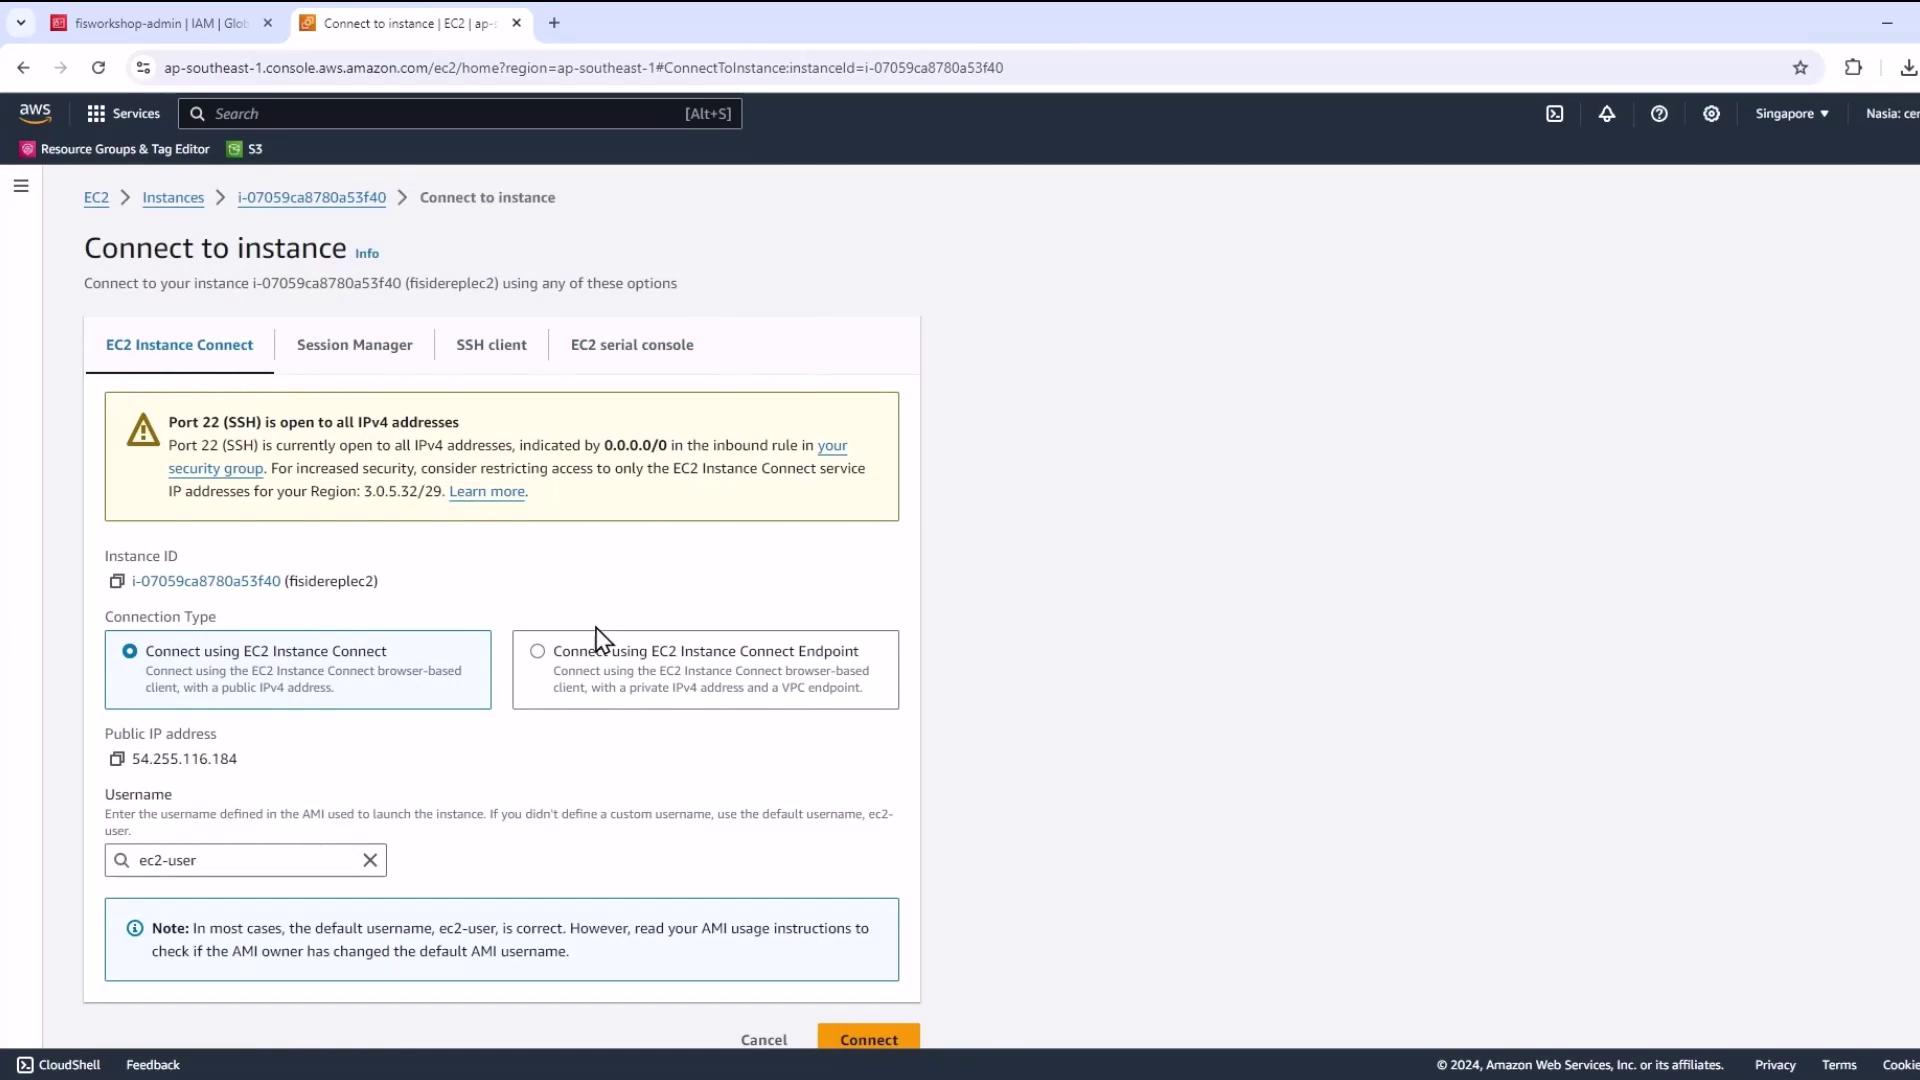
  1. Select your instance, click ConnectEC2 Instance Connect.
The image shows an AWS EC2 console screen for connecting to an instance, with options for EC2 Instance Connect and a warning about Port 22 (SSH) being open to all IPv4 addresses.
If EC2 Instance Connect isn’t available, use your SSH key pair and ssh -i <key.pem> ec2-user@<public-ip>.
  1. Switch to root:
  1. Install Git and clone the repository:
  1. Run the prerequisites script:
This installs Docker, kubectl, Helm, eksctl, Node.js, AWS CDK, and more. You should see versions such as:

4. Clone the AWS FIS Workshop

Create a workspace and clone the official AWS Fault Injection Simulator workshop:

5. Configure AWS Environment Variables

Set your account ID and region for all CLI calls:
Validate your IAM role assignment:

6. Deploy the Application with AWS CDK

  1. Navigate to your CDK project (e.g., pet_stack), install dependencies, and fix audits:
  1. Bootstrap the CDK environment:
You should see output like:
  1. Confirm in CloudFormation that CDKToolkit is in CREATE_COMPLETE.
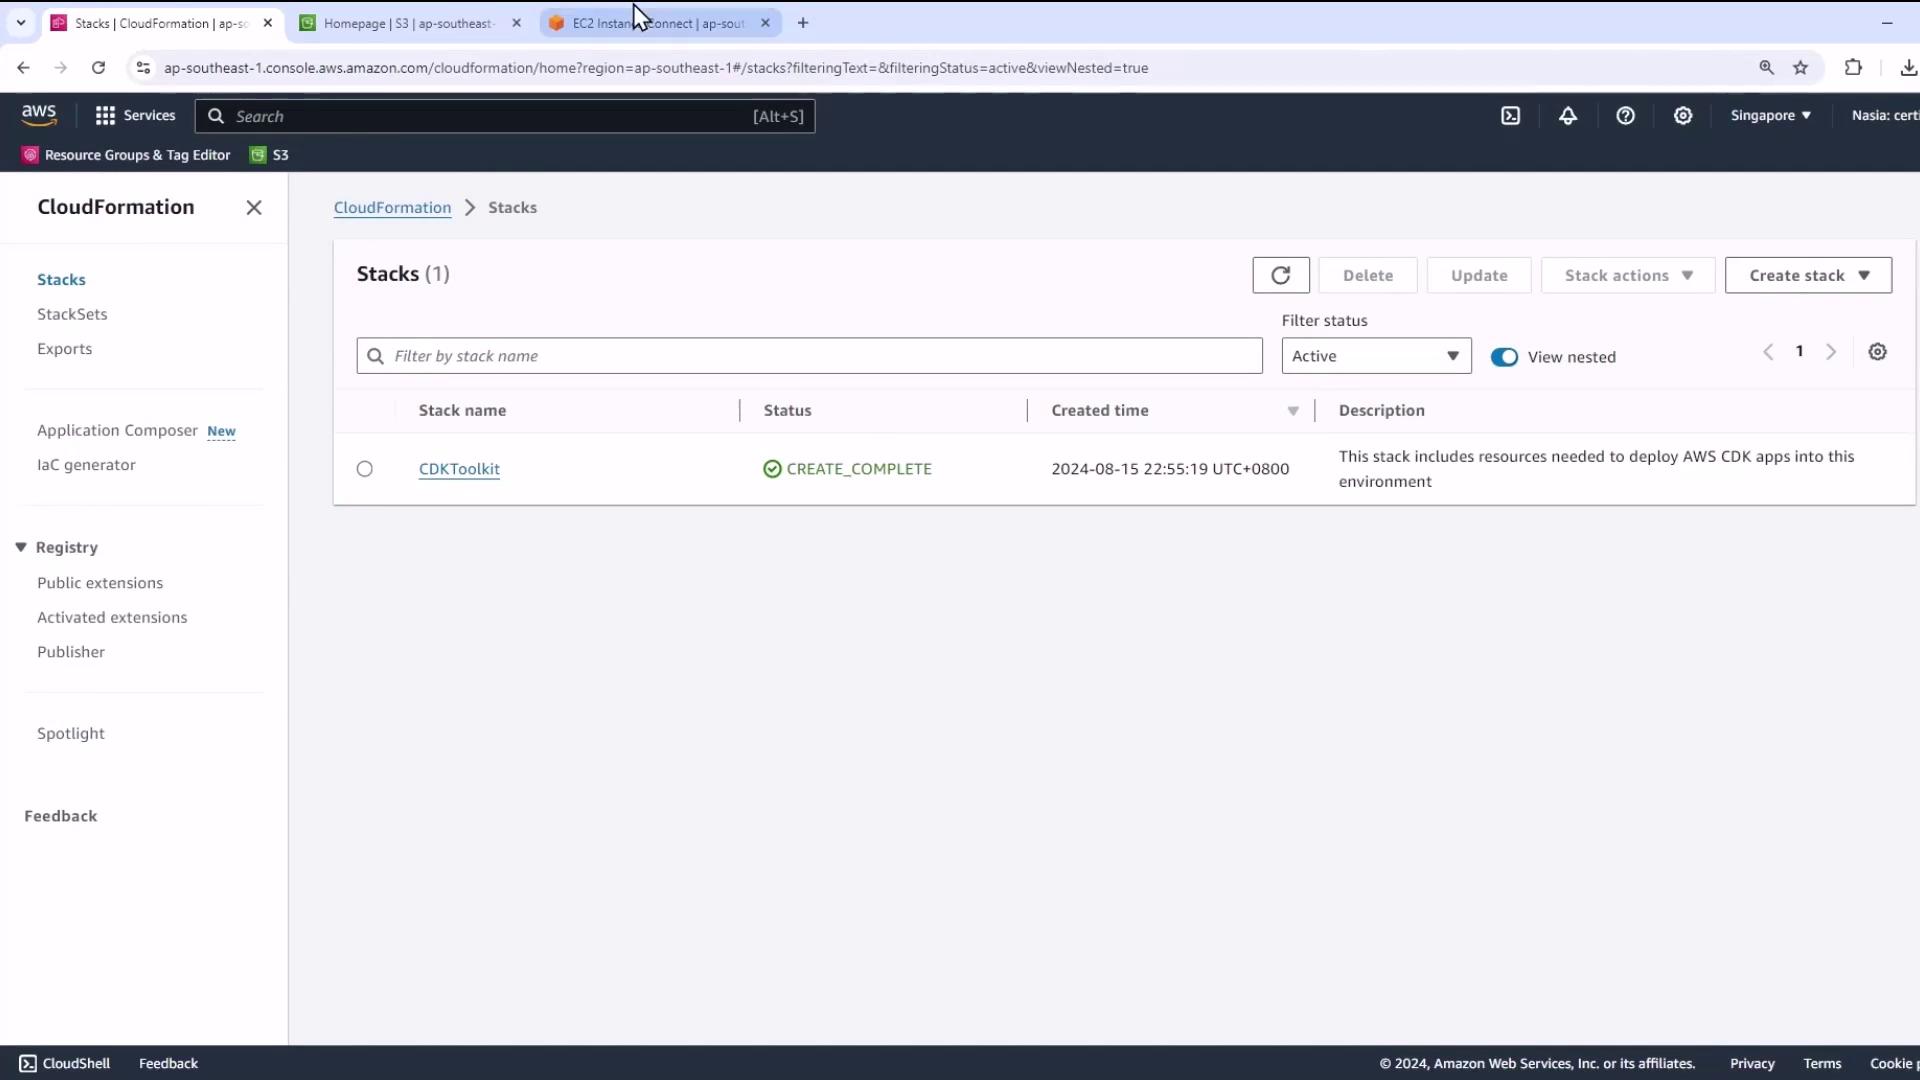
The image shows an AWS CloudFormation dashboard with a stack named "CDKToolkit" that has a status of "CREATE_COMPLETE." The stack was created on August 15, 2024, and includes resources for deploying AWS CDK apps.

7. Final Deployment Steps

  1. Export your current role ARN and deploy the full stack (may take ~30 minutes):
  1. After deployment completes, explore the next experiments in: ~/environment/workshopfiles/fis-workshop.

Watch Video