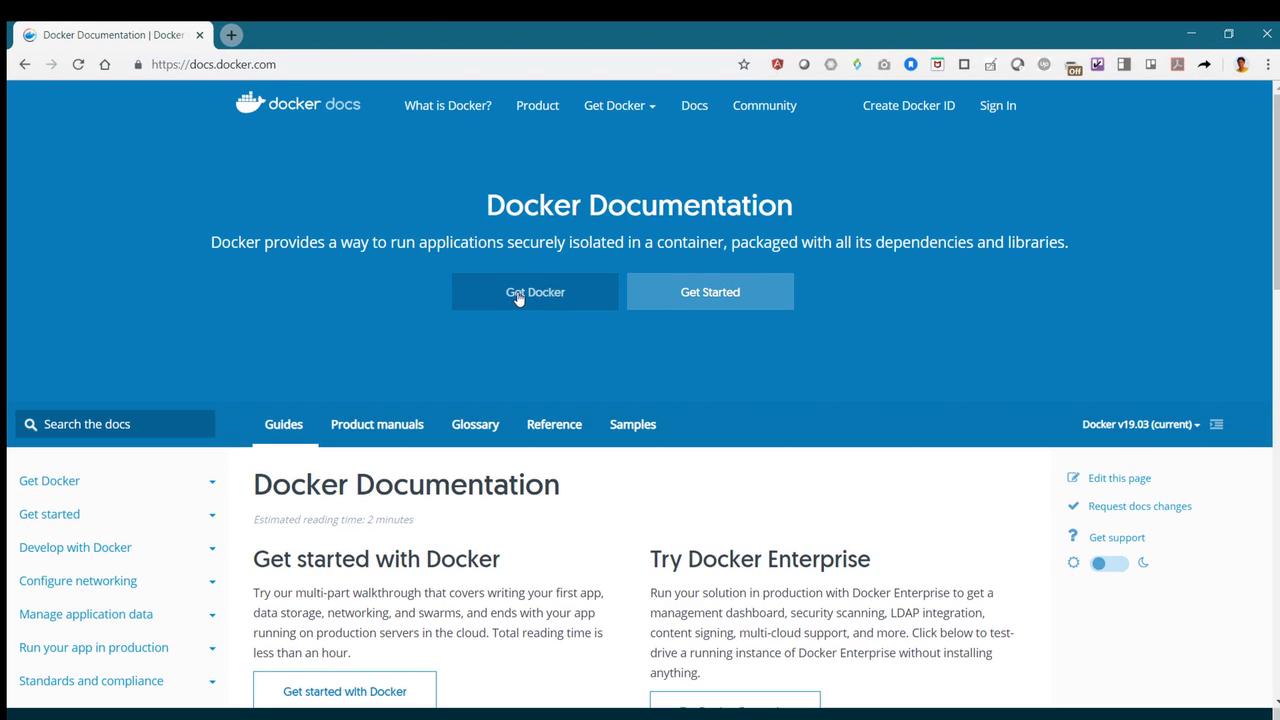
In this lesson, you’ll learn how to install and get started with Docker—a powerful containerization platform essential for modern application deployment. We’ll walk you through setting up Docker on a supported system, using an Ubuntu VM as our example. Open your browser and navigate to docs.docker.com. Click on the “Get Docker” button to access the Docker Engine Community Edition page, which is the free version featured in this guide.
The image shows the Docker Documentation webpage, offering resources and guides for using Docker, a platform for running applications in containers.
From the left-hand menu, select your system type. For this demonstration, choose Linux, then select your Ubuntu flavor (such as Disco, Cosmic, Bionic, or Sanyo). Make sure to review the prerequisites confirming that your Ubuntu system is 64-bit and one of the supported versions.
Ensure that your system meets all prerequisites before proceeding with the Docker installation.

Step 1: Remove Older Docker Versions

Before installing Docker, it is crucial to remove any existing Docker packages. Run the following command:
Since this setup uses Ubuntu Bionic, verify your Ubuntu version by checking the release information:
Example output:
Also, remove any older versions to ensure a clean installation:

Step 2: Install Docker

There are two primary methods to install Docker: using the package manager or the convenience installation script.

Option 1: Using the Package Manager

  1. Update the Repository and Install Prerequisites
    Update your package list and install necessary packages:
  2. Add Docker’s Official GPG Key
    Add the GPG key for Docker:
  3. Verify the GPG Key Fingerprint
    Run the following command and ensure the output matches:
The expected output should look like:

Option 2: Using the Convenience Installation Script

If you prefer a simpler method, use Docker’s convenience script:
After executing the script, you can verify its presence:

Step 3: Verify Docker Installation

After installation, check Docker’s version to confirm the installation:
A typical output showing Docker version 19.03.1 might appear as follows:

Step 4: Run a Docker Container

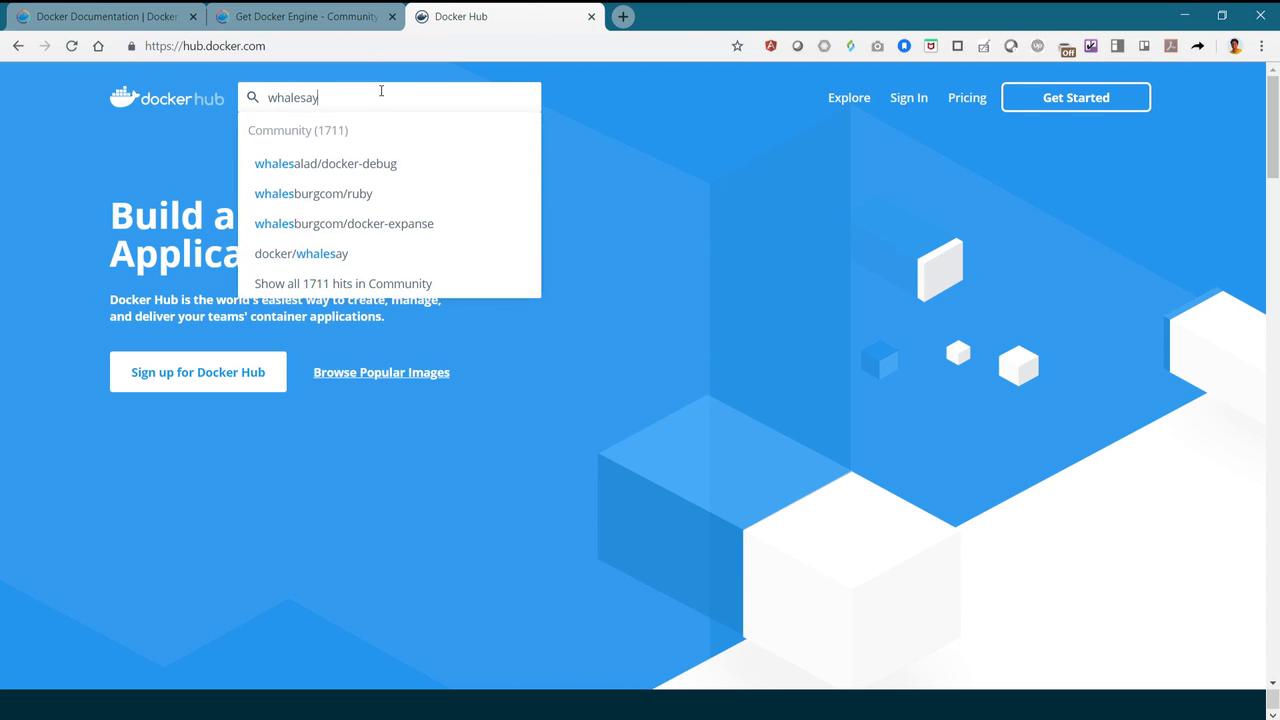
To confirm Docker is running correctly, try launching a simple container. Docker Hub offers a variety of images; in this guide, we’ll use the fun “whalesay” image.
  1. Run the Initial Container Command
    Expected output:
  2. Modify the Command with Sudo and Change the Message
    When executed, Docker pulls the whale image from Docker Hub and displays a message:
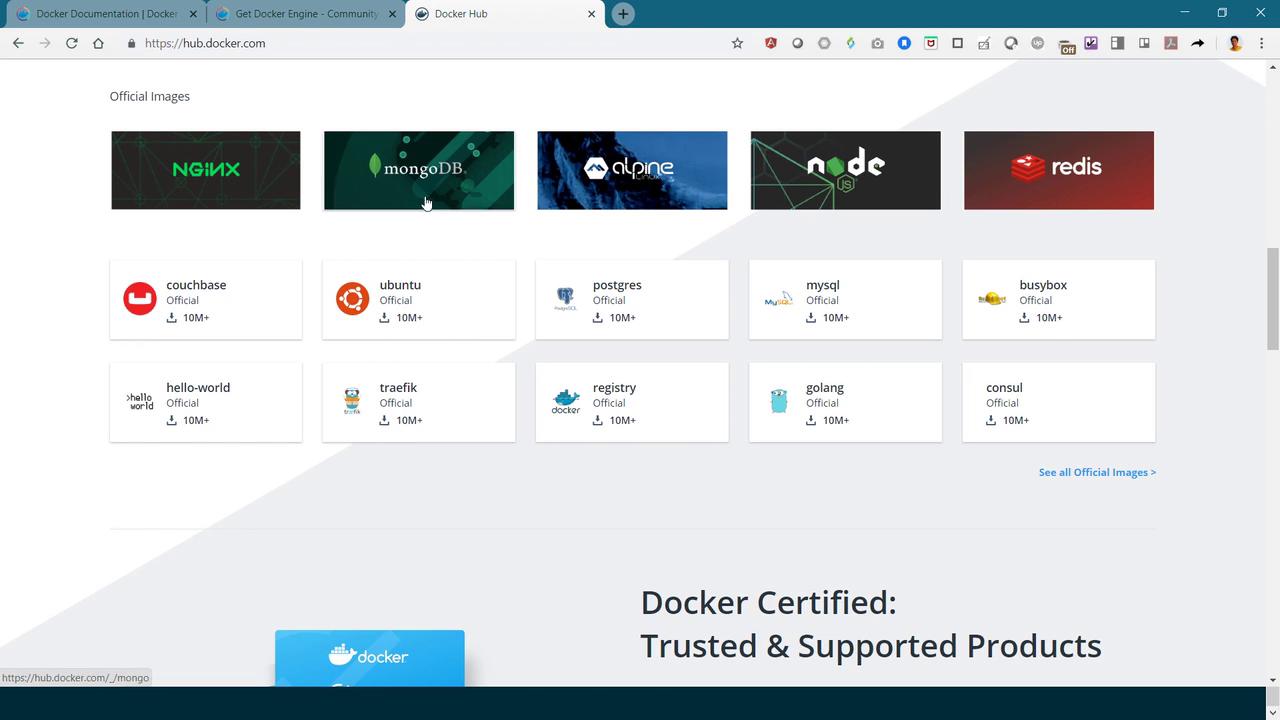
The image shows the Docker Hub webpage featuring official images like NGINX, MongoDB, Alpine, Node.js, Redis, and others, each with over 10 million downloads.
The image shows the Docker Hub website with a search bar suggesting results for "whalesay" and options to sign up or browse popular images.
While this guide provides an overview of setting up Docker, hands-on labs are available for those who want to experiment and gain further practical experience.

Conclusion

This demonstration has provided a comprehensive guide to installing Docker on an Ubuntu system, from removing previous installations to launching your first container. With Docker now installed, you can begin exploring containerized application deployments and enjoy the benefits of modern development workflows. Happy containerizing!

Watch Video