Create manage and diagnose advanced file system permissions
This comprehensive guide covers creating, managing, and diagnosing advanced file system permissions in Linux using standard permissions, ACLs, and additional file attributes.
Welcome to this comprehensive guide on advanced file system permissions in Linux. In this tutorial, we cover how to create, manage, and diagnose file permissions using standard permissions as well as Access Control Lists (ACLs) and additional file attributes.Imagine issuing the command:
ls -l
This command lists files along with their permissions. In our example, files are owned by the user “adm” and belong to the “ftp” group. The permission sets are broken down as follows:
The first three bits (rw-) indicate that the owner (“adm”) can read and write.
The next three bits (rw-) allow members of the “ftp” group to also read and write.
The final three bits (r--) provide read-only access for other users.
Below is a sample output of the ls -l command:
[aaron@LFCS-CentOS attributes]$ ls -ltotal 0-rw-rw-r--. 1 adm ftp 0 Mar 24 17:55 file1-rw-rw-r--. 1 adm ftp 0 Mar 24 17:55 file2-rw-rw-r--. 1 adm ftp 0 Mar 24 17:55 file3[aaron@LFCS-CentOS attributes]$
Notice how the permissions allow the group and others different levels of access. For a user like Aaron Lockhart, who is not in the “ftp” group, only the read permission from the third set is applicable.
If we need to grant specific users additional access—such as providing Aaron Lockhart with write access to “file3” without altering his permissions for “file1” and “file2”—reassigning file ownership is not ideal, as it would remove write access from the regular owner (“adm”). Instead, Access Control Lists (ACLs) offer a more granular approach.
Let’s start by creating a new file called examplefile and setting its content to “This is the file content”. We then change the file’s ownership to user “adm” and group “ftp”:
echo "This is the file content" > examplefilesudo chown adm:ftp examplefilels -l examplefile
Since the current user is neither “adm” nor a member of the “ftp” group, attempts to overwrite the file will result in a permission error. For example:
echo "This is the NEW file content" > examplefile
This command will yield an error such as “Permission denied”. However, reading the file with:
cat examplefile
will correctly display its content:
[aaron@LFCS-CentOS attributes]$ cat examplefileThis is the file content[aaron@LFCS-CentOS attributes]$
Standard file permissions work well in most cases, but when finer control is necessary, ACLs can be used to grant specific permissions to additional users.
To allow Aaron Lockhart to both read and modify examplefile, apply the following ACL command. If the file is not owned by the user, prepend the command with sudo:
sudo setfacl --modify user:aaron:rw examplefile
With this ACL in place, Aaron can now overwrite the file:
echo "This is the NEW file content" > examplefilecat examplefile
After modifying the file, the presence of ACLs is indicated by a plus sign (+) in the permission listing:
[aaron@LFCS-CentOS attributes]$ ls -ltotal 4-rw-rw-r--+ 1 adm ftp 29 Mar 24 18:04 examplefile...
To inspect detailed ACL settings, use the getfacl command:
The mask setting defines the maximum permissions available to users and groups affected by ACLs. This means that even if an ACL grants extended permissions, the effective permissions will be restricted by the mask. To enforce read-only access despite broader ACL entries, set the mask to r--:
In cases where you need to update ACLs for an entire directory and its contents, utilize the recursive flag (--recursive or -R). For example, to grant Aaron full permissions on all files within directory dir1:
Beyond ACLs, Linux file systems support attributes that serve as on/off switches to control file behavior. Two frequently used attributes are append-only and immutable.
To enable the append-only attribute, use chattr with the +a flag. With this attribute active, you can append data but cannot overwrite the file’s existing contents:
sudo chattr +a newfile
Verifying the content:
cat newfile
Attempting to overwrite the file:
echo "Replace with this content" > newfile# Output: bash: newfile: Operation not permitted
Appending new content is allowed:
echo "Replace with this content" >> newfilecat newfile
When a file is marked as immutable (indicated by the letter i), it becomes completely unmodifiable—even root cannot delete or alter the file. To set the immutable attribute:
sudo chattr +i newfile
Any attempt to remove the file, even with elevated privileges, will result in an error:
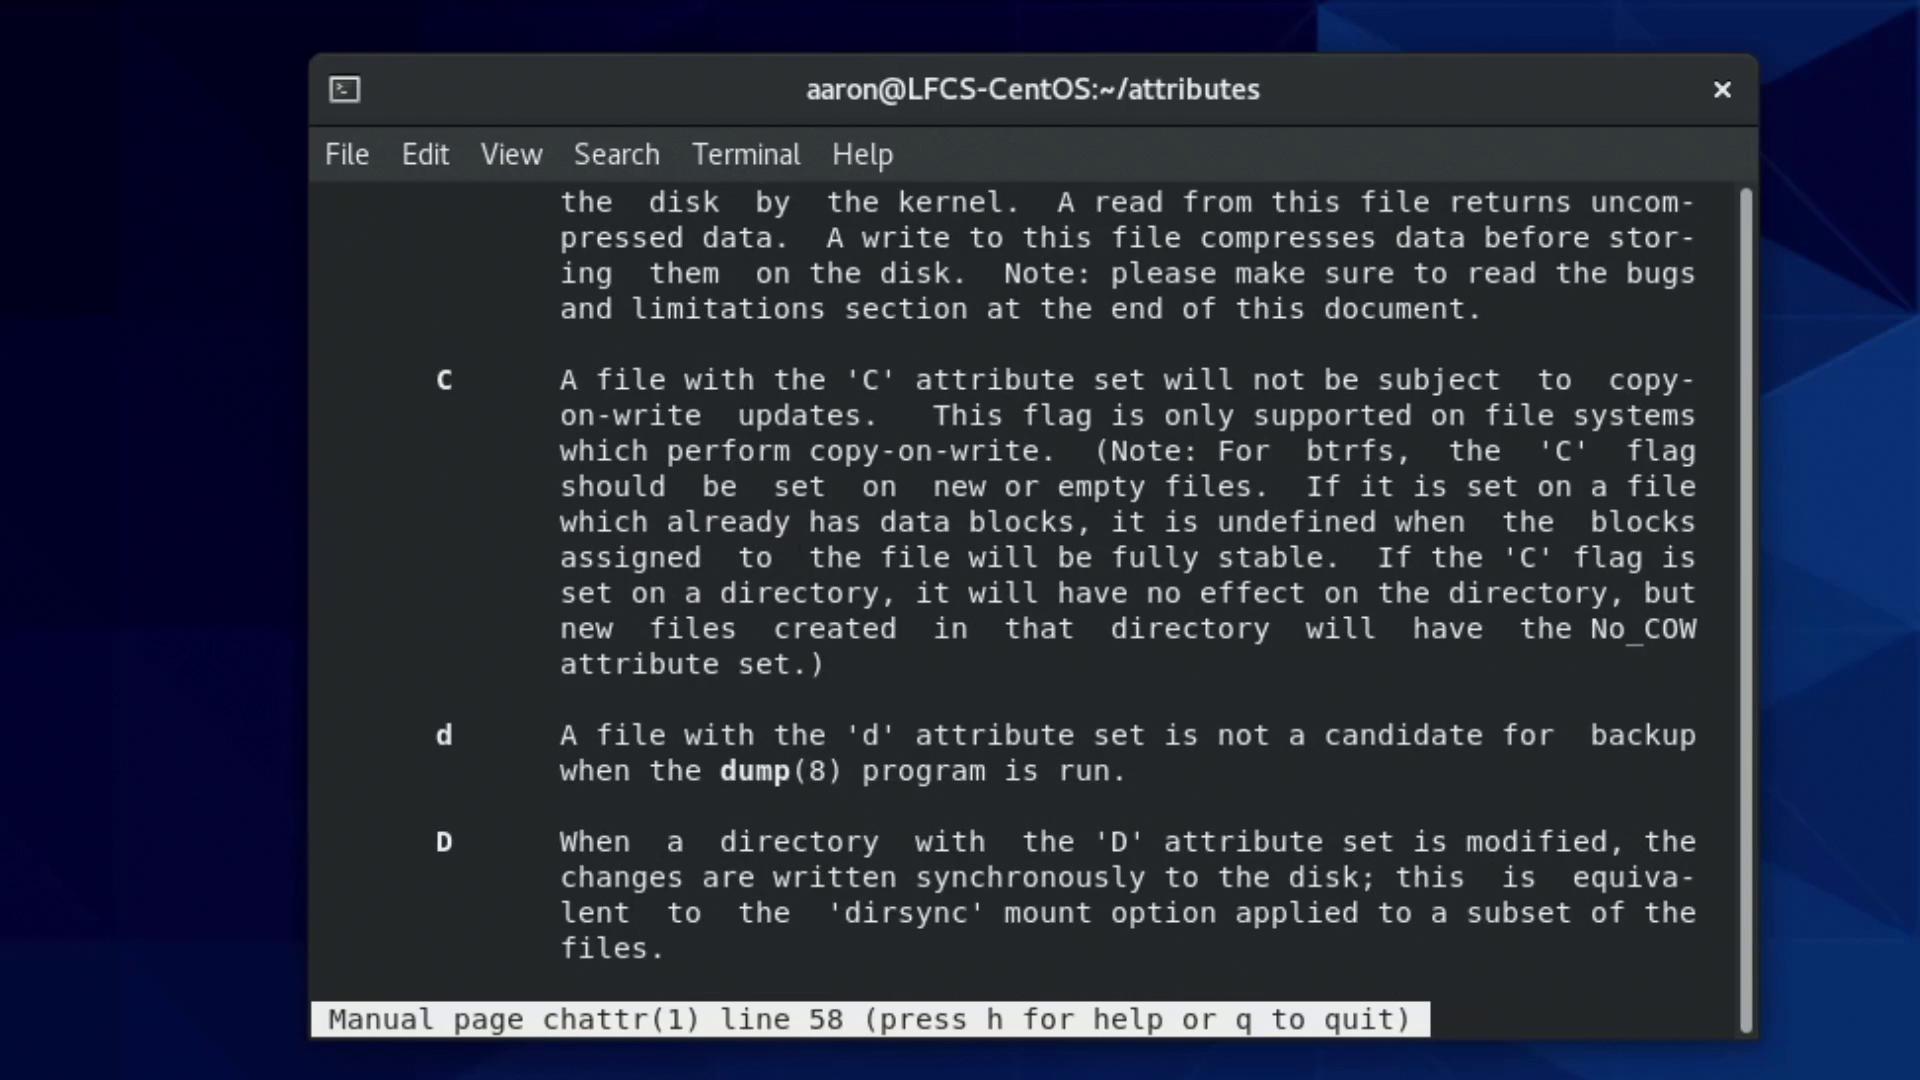
For further information on available attributes beyond append-only and immutable, refer to the manual page for chattr. Note that some attributes may have no effect, depending on your file system type. For instance, the c attribute for compression does not work on file systems such as ext4 that do not support on-the-fly compression.
Always verify your file system’s support for specific attributes to avoid unexpected behavior. Explore man chattr for a detailed list.
This tutorial provided an in-depth look at managing advanced file system permissions and attributes in Linux. You learned how to work with standard file permissions, leverage ACLs to grant specific user and group privileges, and handle additional file attributes like append-only and immutable. Continue practicing these commands in your lab exercises to enhance your proficiency in Linux system management.For more detailed information, consider exploring additional resources: