Key LVM Concepts
Before diving into the commands, it is essential to understand the core LVM terminology:- PV (Physical Volume): A real storage device such as an entire disk or a partition.
- VG (Volume Group): A collection (or pool) of physical volumes that creates a single virtual disk.
- LV (Logical Volume): A partition created within a volume group.
- PE (Physical Extent): The basic unit into which a physical volume is subdivided.
Viewing Available Physical Volumes
A Physical Volume (PV) represents a real storage device. To display all available PVs and check which ones are used by LVM, execute:/dev/sda2 is already configured as an LVM physical volume (likely set up during the CentOS installation), so it will be excluded from further operations in this lesson.
Creating Physical Volumes
To incorporate new storage, designate two of the new disks (for example,/dev/sdc and /dev/sdd) as physical volumes:
Creating a Volume Group
To utilize the available storage, create a Volume Group (VG) that aggregates the physical volumes into one virtual disk. For example, combining/dev/sdc and /dev/sdd creates a VG of 10 gigabytes. Create the volume group named “my_volume” with:
Extending a Volume Group
If you require additional storage, you can extend the volume group. First, create a physical volume on a new disk (e.g.,/dev/sde):
If a physical volume is no longer needed, you can remove it from the volume group using
vgreduce and then wipe its LVM signature with pvremove.Creating Logical Volumes
Once the physical volumes and volume group are ready, create Logical Volumes (LVs) to act as partitions within the VG. Create a logical volume named “partition1” with a size of 2GB in “my_volume”:Resizing Logical Volumes (LVs)
Growing a Logical Volume
Data in an LV is divided into physical extents (PEs). To expand an LV to utilize all available extents in its volume group, run:Shrinking a Logical Volume
To reduce a logical volume to a specific size (for example, 2GB), use:Always ensure you have a backup before reducing the size of a logical volume as this operation can result in data loss.
Creating a Filesystem on a Logical Volume
An LV must be formatted with a filesystem before it becomes useful. For instance, to format “partition1” with the XFS filesystem, run:Resizing an LV with an Existing Filesystem
If your logical volume includes a filesystem, you need to resize both the LV and the filesystem concurrently. XFS supports online expansion (but cannot be shrunk while mounted). To expand “partition1” from 2GB to 3GB, run:Viewing Logical Volume Details
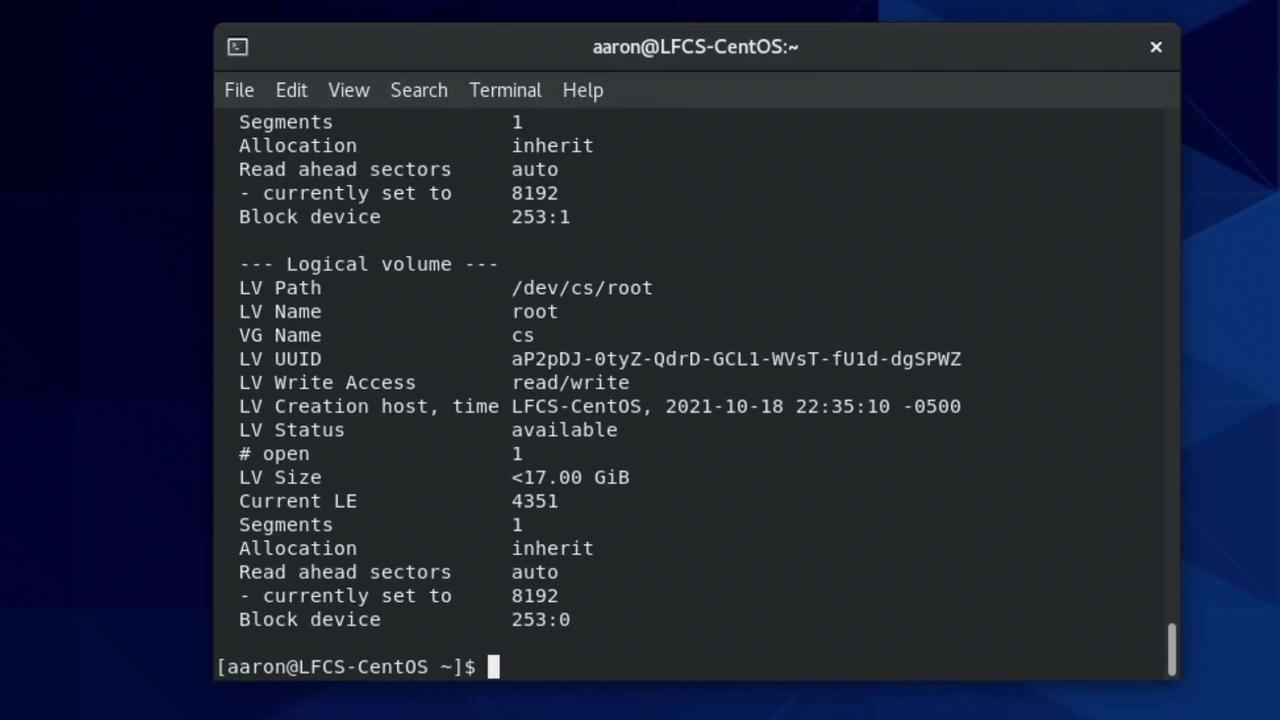
To display detailed information about your logical volumes, use:/dev/vda.
Additional LVM Commands and Tips
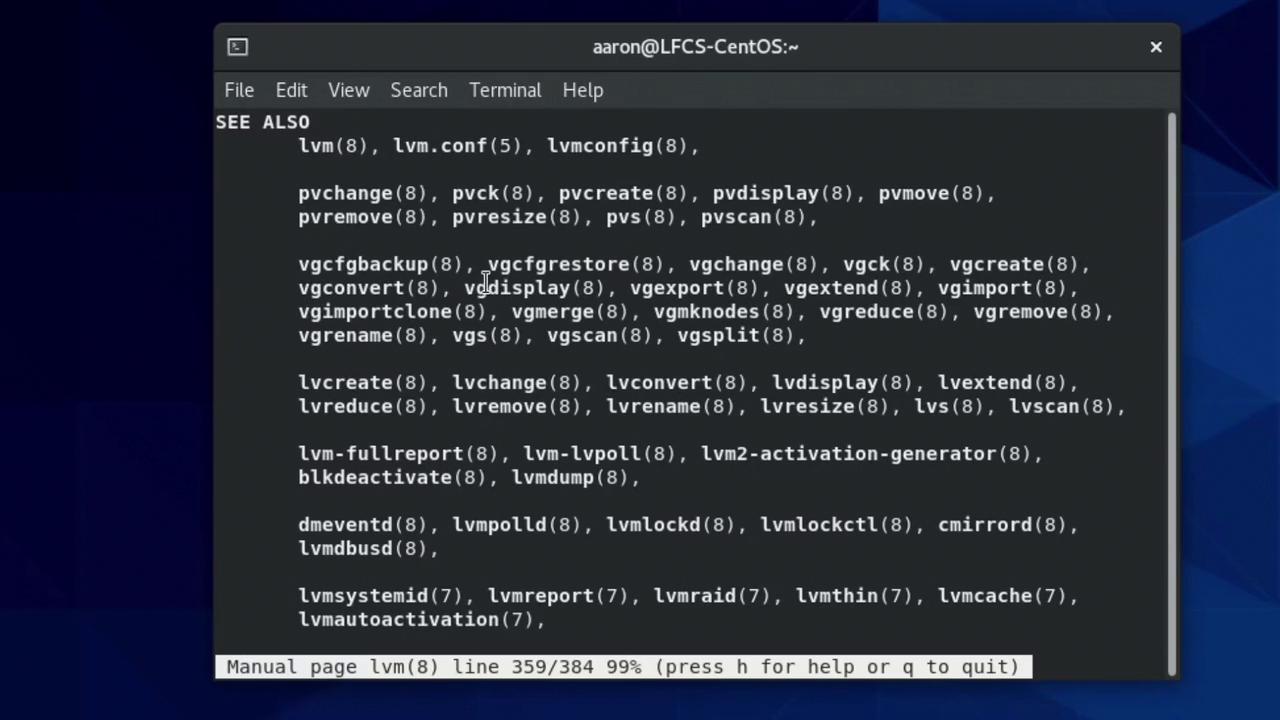
If you ever need help or a quick refresher on any LVM command, refer to the manual pages by running:- vgcreate
- vgdisplay
- vgexport
- vgchange
- vgck
- vgextend
- vgimport
- vgmerge
- vgimportdevices
- vgcfgrestore
- vgmknodes
- vgreduce
- vgs
- vgsplit