

Do not use traditional XFS command-line tools on filesystems managed by Stratis, as this may lead to unexpected behavior.

Installing and Starting Stratis
If Stratis is not yet installed on your machine, you can easily add it using YUM. Install both thestratisd daemon and the stratis-cli command-line interface. Then, start and enable the Stratis service to run automatically at boot time:
Creating a Storage Pool
After installation, verify that you have one or more available block devices (unmounted and not in use) for creating a storage pool. Use the commands below to create a pool. To create a pool from a single block device:/dev/vdc and /dev/vdd), list them on the same command line:
Creating a Filesystem
Before storing data, you need to create a filesystem within the pool. In the example below, a filesystem namedmyfs1 is created in the pool my-pool:
/dev/stratis/<pool>/<filesystem>).
Mounting the Filesystem
To access and use the new filesystem, follow these steps:-
Create a mount directory:
-
Open the
/etc/fstabfile with a text editor (for example, vi): -
Add the following line to ensure the filesystem mounts automatically at boot time:
-
Mount all filesystems defined in
/etc/fstab:
/home/aaron/mydata.txt) to the mounted location:
Expanding the Storage Pool
When you need additional space, Stratis allows you to add new block devices to an existing pool easily. For example, to add the block device/dev/vdd to the pool my-pool, execute:
Creating and Restoring Filesystem Snapshots
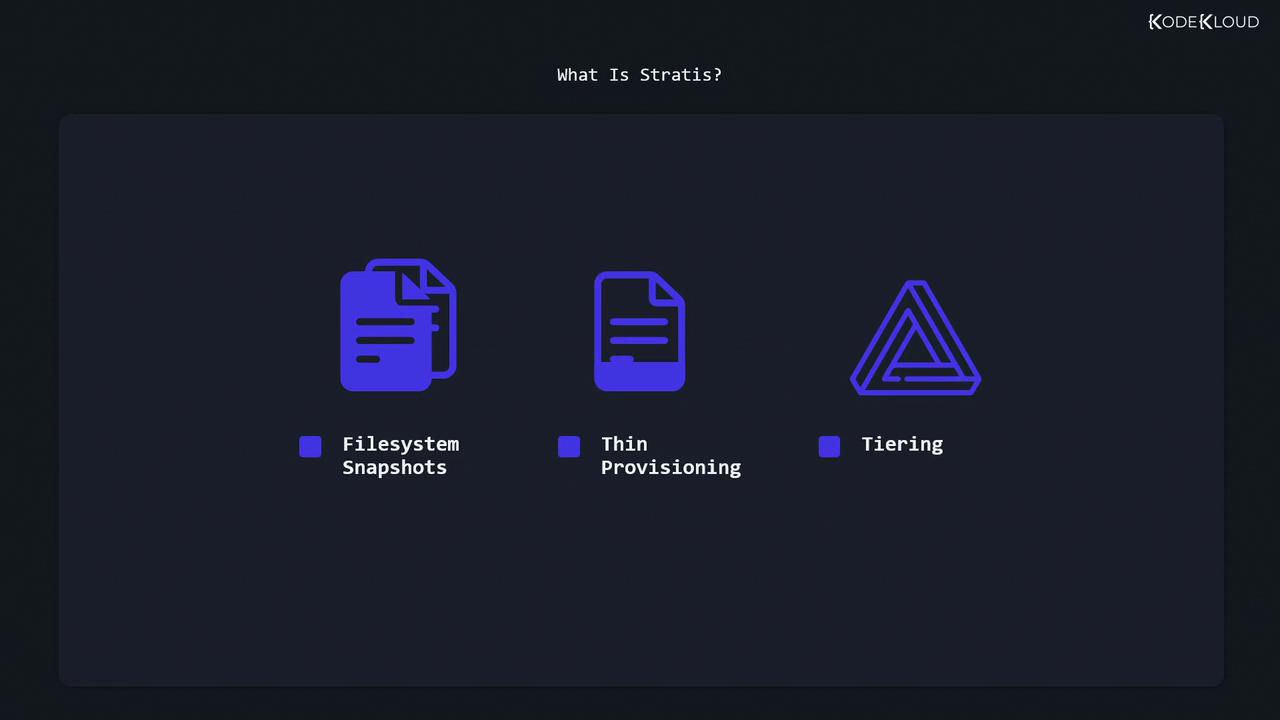
Stratis supports the creation of snapshots for filesystems, providing an effective method for backups and recovery. To create a snapshot ofmyfs1 in the pool my-pool, run:
myfs1) and its snapshot (myfs1-snapshot) should appear.
Using Snapshots for Data Recovery
Filesystem snapshots are a powerful tool for quickly recovering lost or accidentally deleted data.
/mnt/mystratis/mydata.txt), follow these steps to restore from the snapshot:
-
Remove the deleted file (if not already deleted):
-
Rename the current filesystem (e.g., to
myfs1-old): -
Rename the snapshot to use the original filesystem name:
-
Unmount and then remount the filesystem:
-
Verify the recovery:
mydata.txt has been restored as part of the recovered filesystem. Stratis snapshots offer an efficient method to back up data and ensure swift recovery in critical situations.
This concludes our lesson on managing layered storage with Stratis. For more detailed information and advanced usage, consider reviewing the Stratis documentation and additional Linux storage management resources.