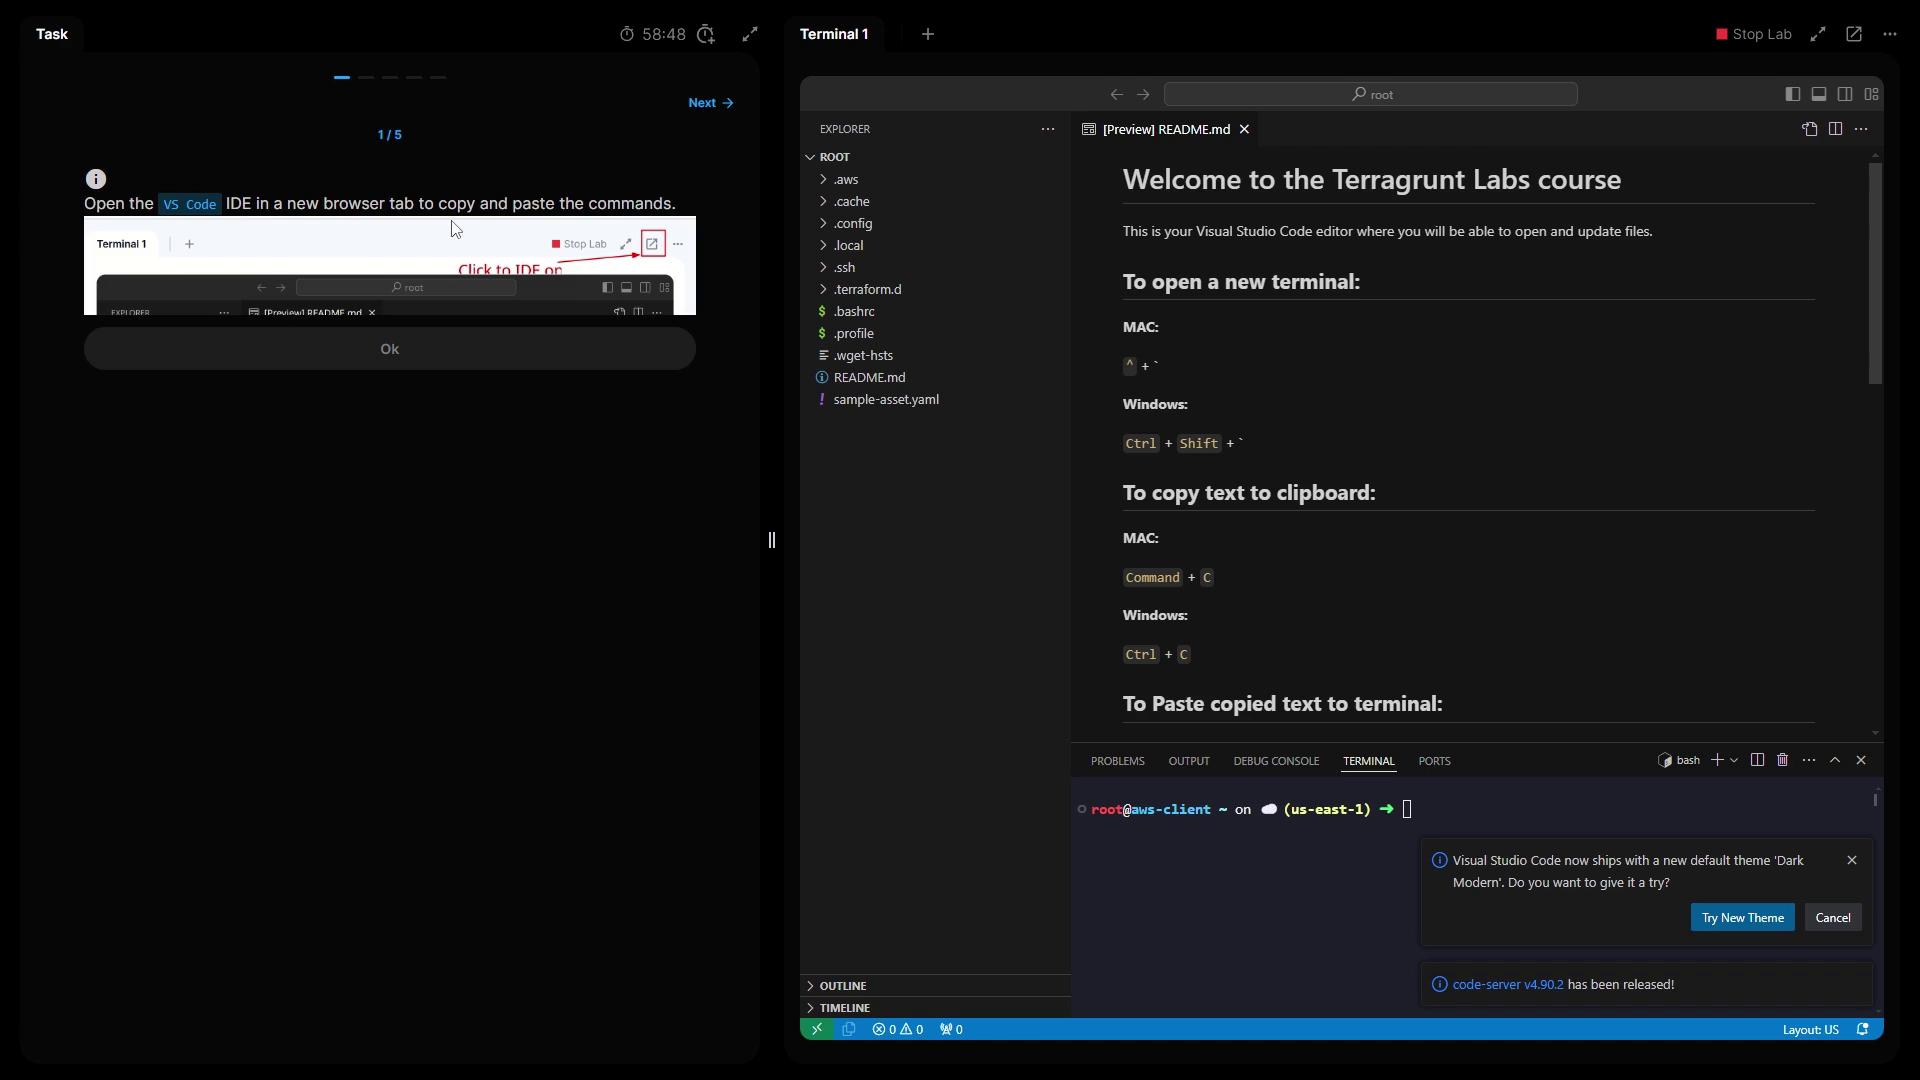
Welcome to Lab 1! This lesson will guide you through installing Terraform 1.8.3 and Terragrunt 0.58.8 in your cloud shell. You’ll also learn how to format your Terraform and Terragrunt code. When you open the lab, click Open in VS Code to launch the editor in a new browser tab. This allows you to copy and paste commands directly into the integrated terminal. Dismiss any initial prompts to get started.
The image shows a split-screen view of a Visual Studio Code environment with instructions for opening a terminal and copying text, alongside a task prompt about using VS Code in a browser tab.

Question 1: Install Terraform 1.8.3 and Verify the Version

The lab environment doesn’t include Terraform by default. Let’s confirm:
You should see:
Follow these steps to install Terraform 1.8.3:
Once you see Terraform v1.8.3, return to the lab interface and mark Question 1 complete.

Question 2: Install Terragrunt 0.58.8 and Verify the Version

Next, install Terragrunt. First, confirm it’s missing:
Expected result:
  1. Navigate to the Terragrunt GitHub releases page and locate v0.58.8.
  2. Under Assets, copy the link for terragrunt_linux_amd64.
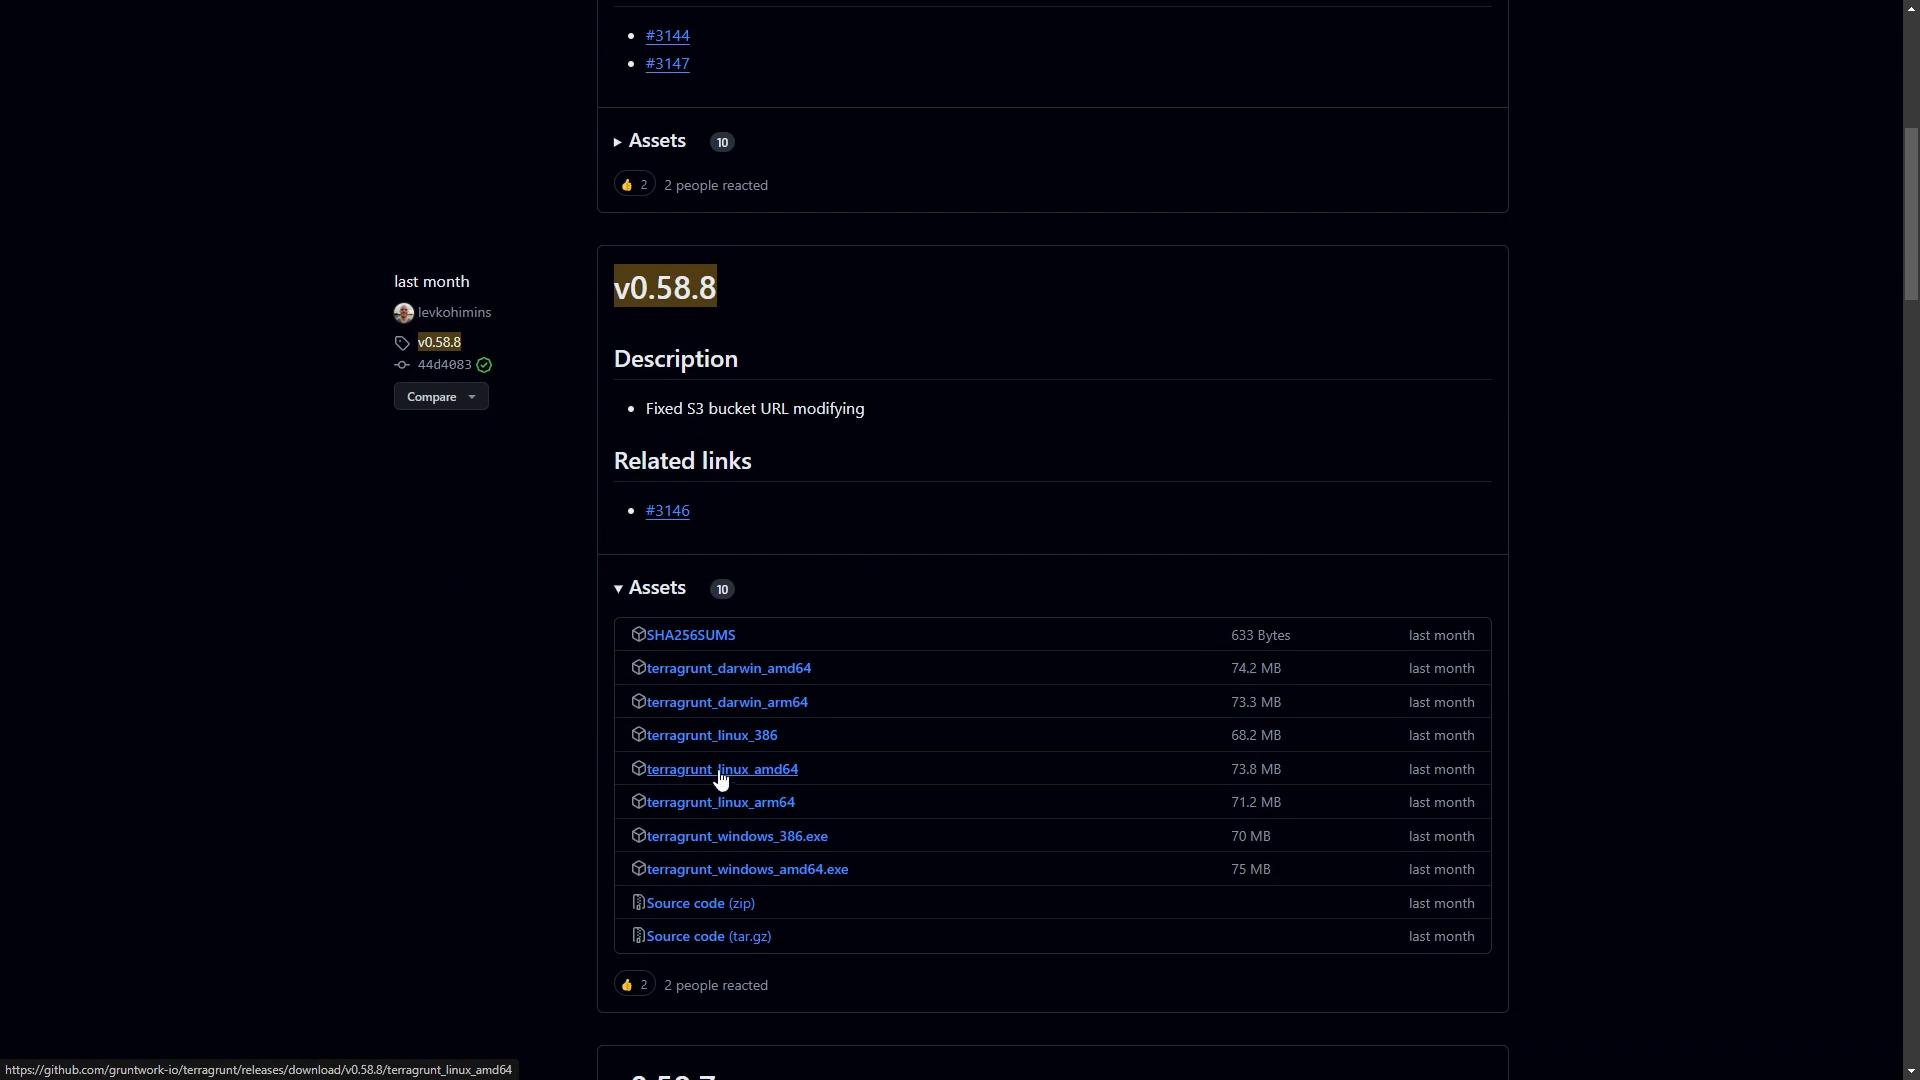
The image shows a GitHub release page for version 0.58.8 of a software, listing assets for download, including various platform-specific files and source code. The description notes a fix related to S3 bucket URL modifying.
  1. Download, make executable, and move it into your PATH:
After confirming v0.58.8, return to the lab and proceed to Question 3.

Question 3: Beautify Terraform Code with Terragrunt

Terragrunt can wrap and extend Terraform commands. To format all .tf files in your directory:
This ensures consistent indentation and style across your Terraform modules.

Question 4: Beautify Terragrunt HCL Configuration

To format a Terragrunt HCL file (.hcl), use:
This command tidies up your Terragrunt *.hcl configuration, making it easier to read and maintain.
Congratulations—Lab 1 is now complete!

Watch Video

Practice Lab