

Option 1 — Bind mounts (host directory mounted into container)
With a bind mount you attach a specific folder on the host into the container. Anything written by the container to that mount goes directly into the host folder. This is convenient for local development because you can edit code on your machine and the running container immediately sees those changes.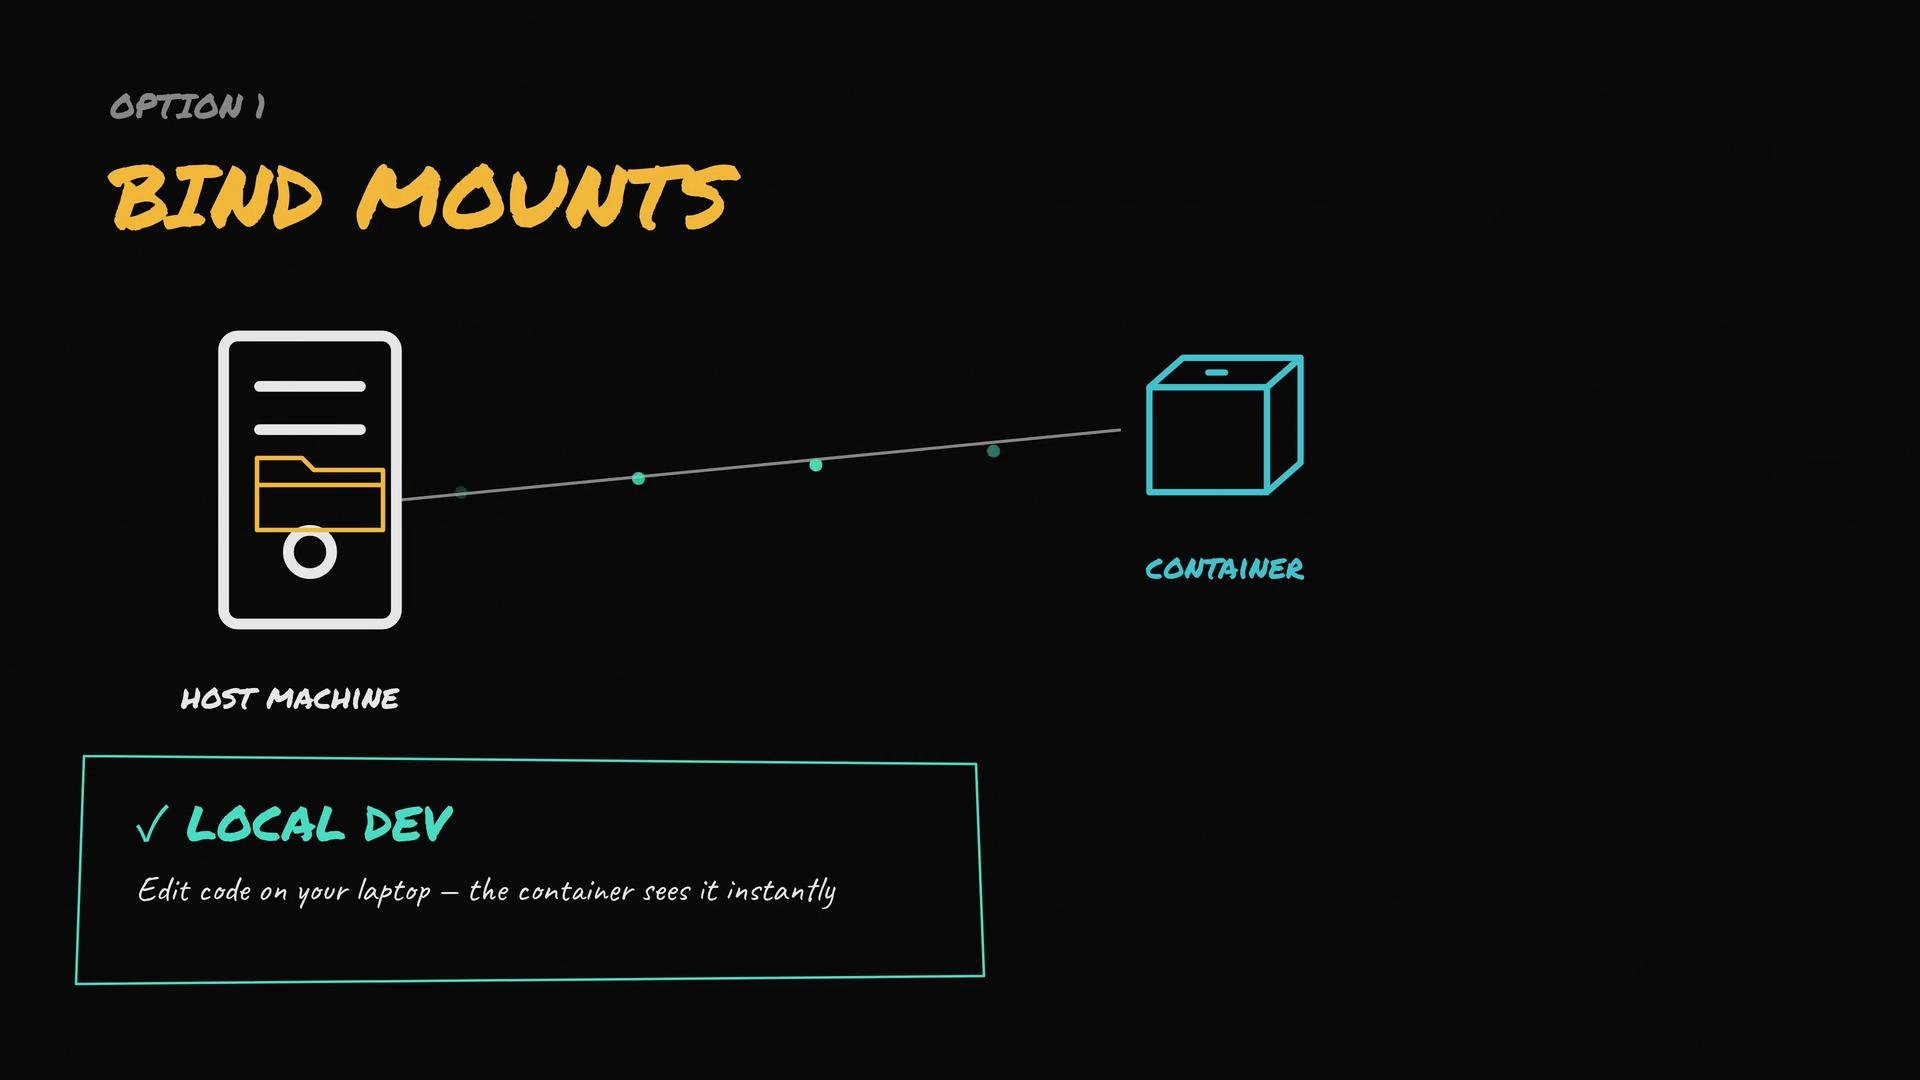
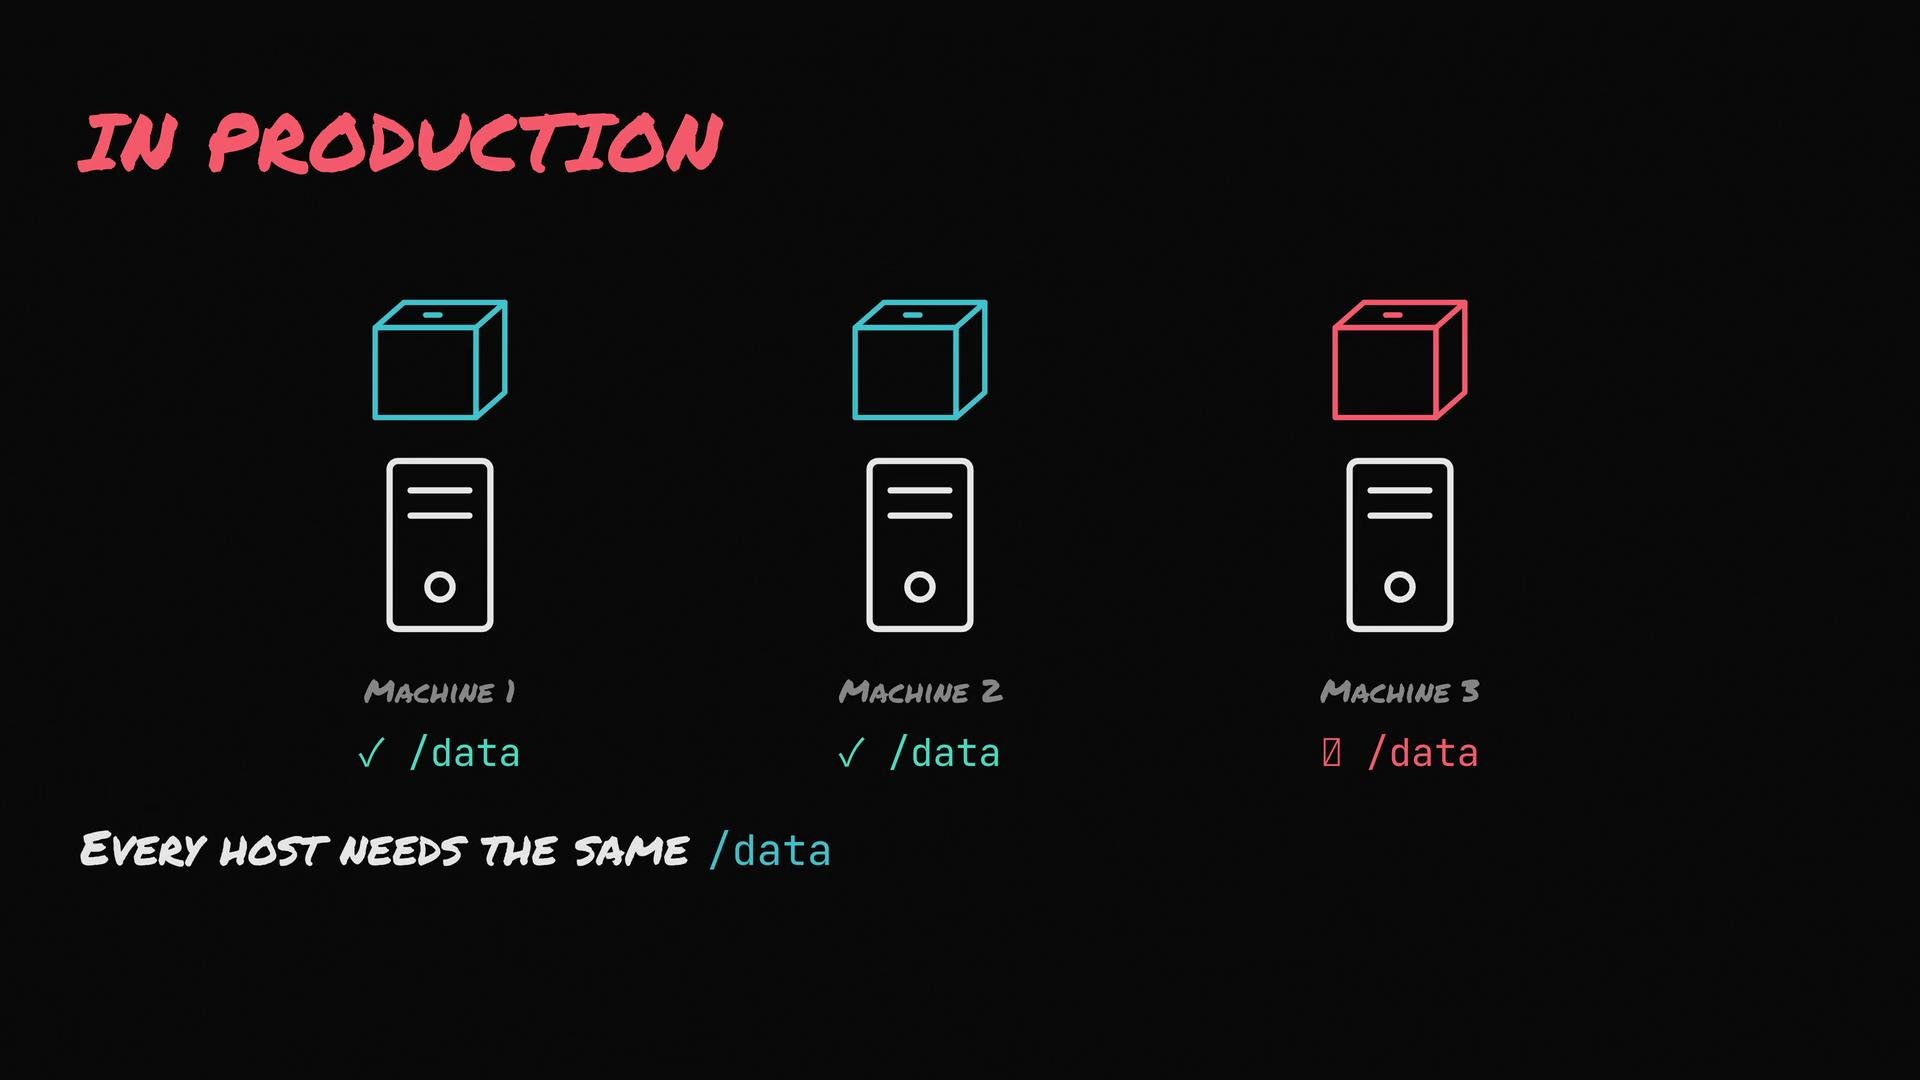
- You must ensure the same host path exists on every node in your cluster.
- Permissions and ownership on each host must be configured correctly.
- Coordination across hosts becomes operationally expensive and error-prone.
Option 2 — Named volumes (Docker-managed volumes)
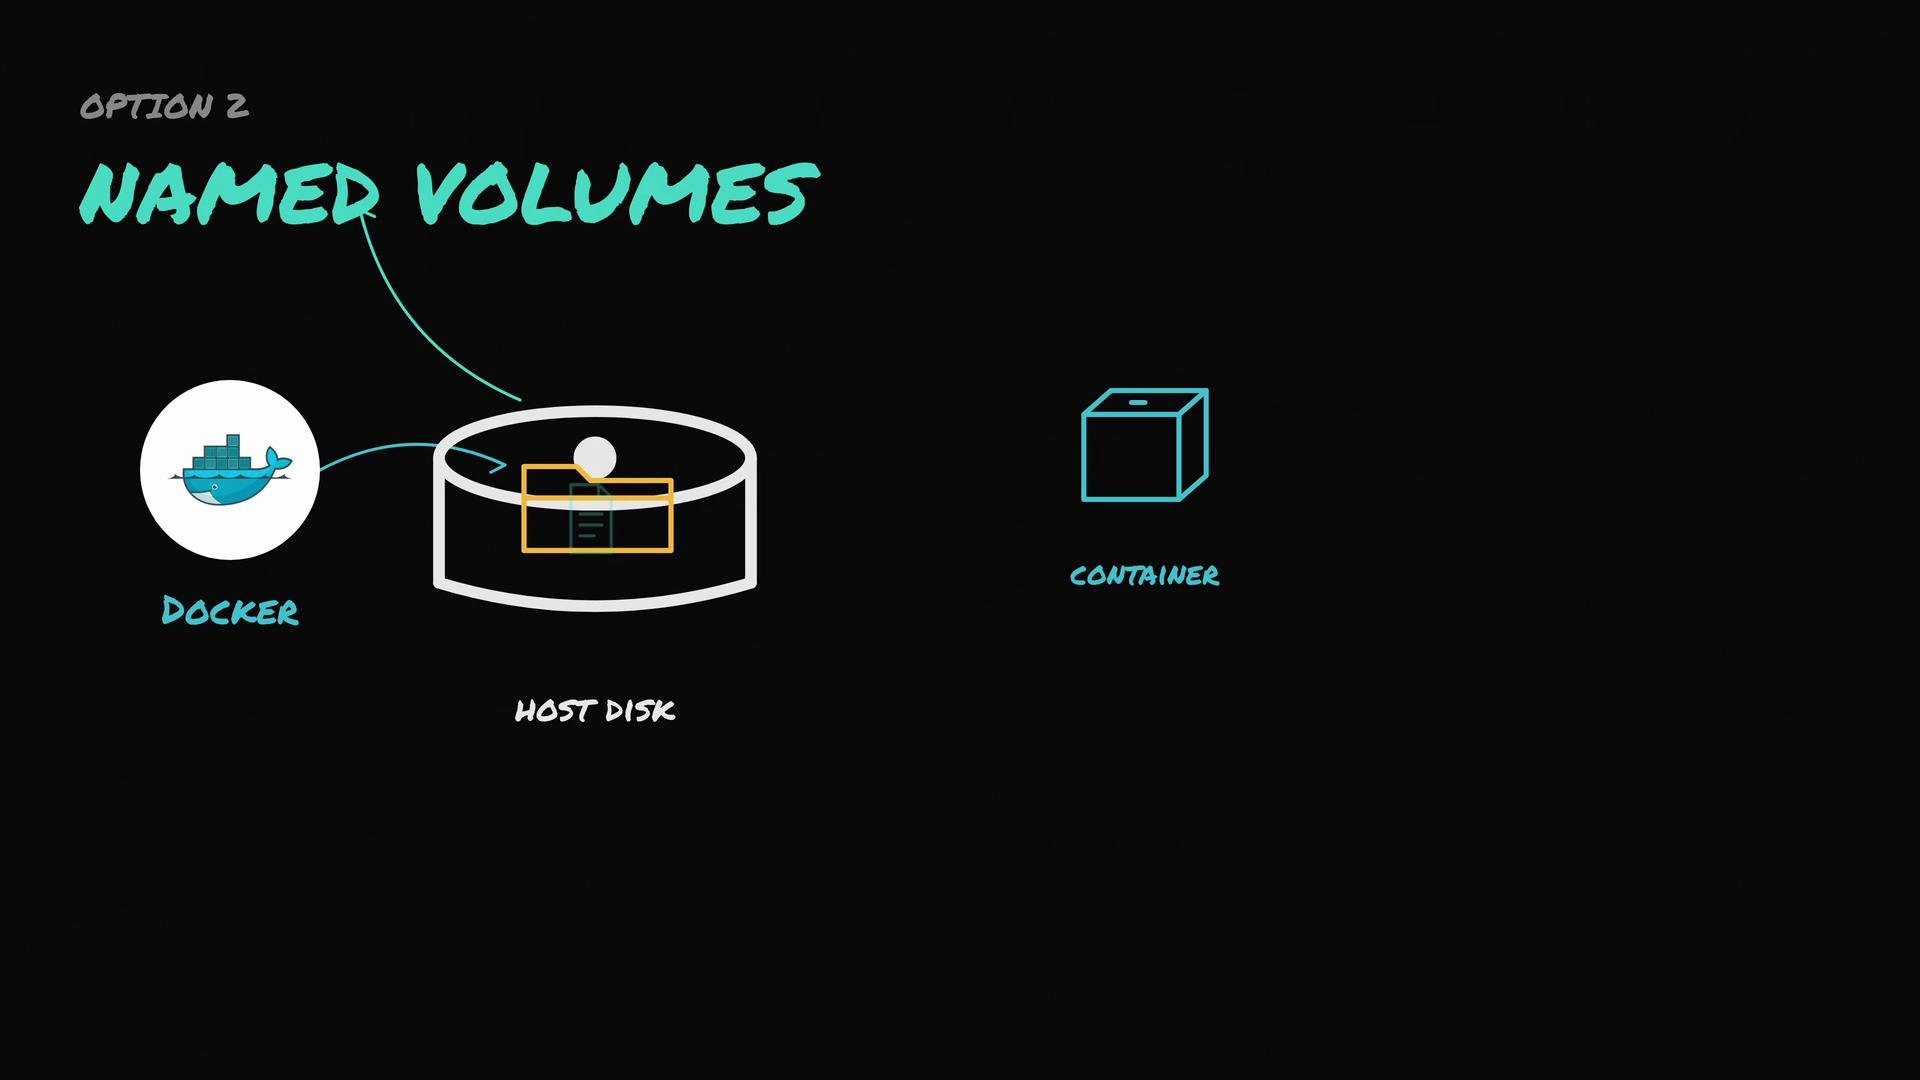
Named volumes are managed by Docker. When you use a named volume Docker creates and controls the directory on the host (typically under Docker’s volumes directory, such as/var/lib/docker/volumes), and exposes it to containers. You reference volumes by name and Docker handles the location and permissions.
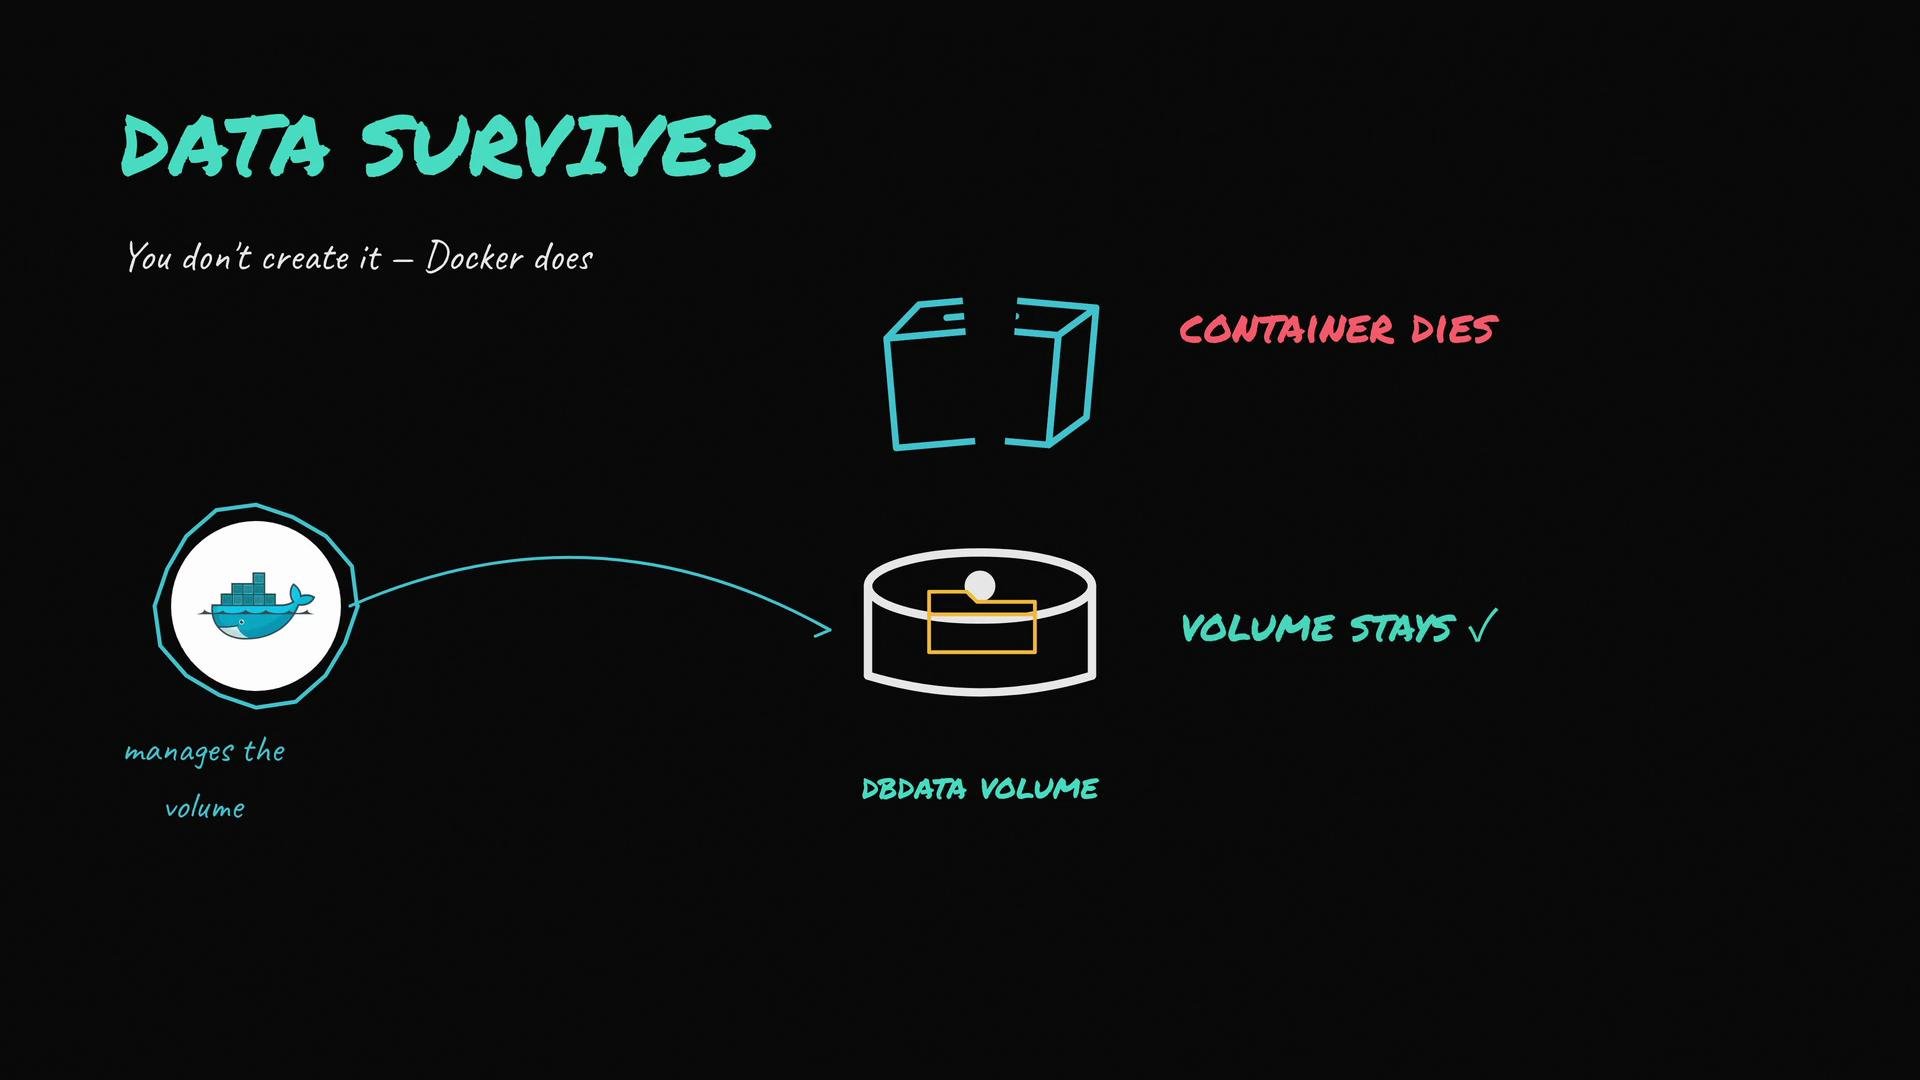
- The first time you run the command Docker will create the
dbdatavolume automatically. - On subsequent runs you can reuse
dbdatato attach the same persistent data to a new container. - If the container is removed, the volume remains on disk and can be re-attached to other containers.
- Named volumes are local to the Docker host where they are created. To share data across multiple hosts you need a volume driver or network-backed storage (NFS, cloud block storage like AWS EBS, Azure Disk, or a distributed filesystem such as GlusterFS or Ceph) that provides a shared backing store.
Quick comparison
When to use which
- Use bind mounts:
- For development workflows where editing files on the host should reflect immediately inside the container.
- When you need to expose specific host files (e.g., SSH keys, host config files).
- Use named volumes:
- For production data that must survive container recreation.
- When you want Docker to manage storage location and permissions.
- When integrating with Docker volume drivers or cloud block storage for multi-host persistence.
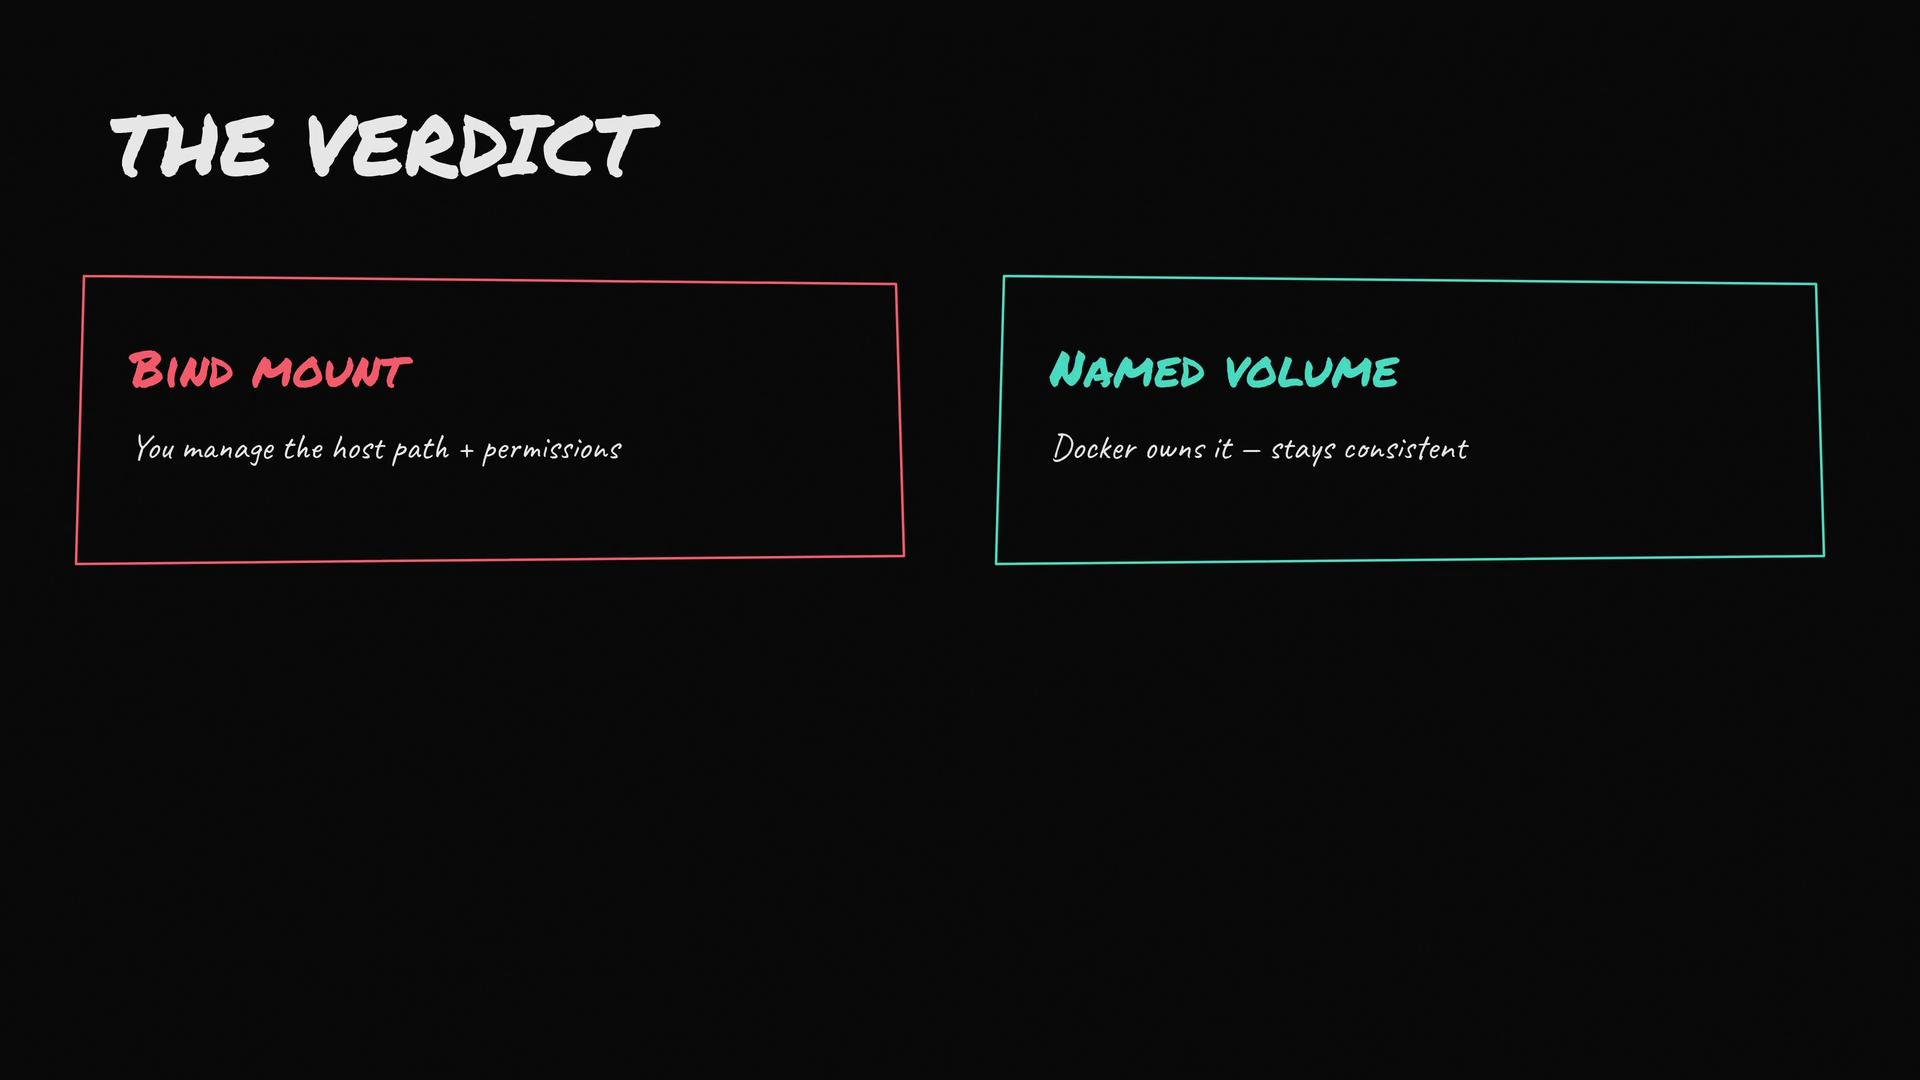
Use bind mounts for local development when you need immediate file sync with the host. Use named volumes in production to let Docker manage the host storage path and permissions, ensuring consistent, portable data persistence.